


Workflows within pages databases, allow you to automate multiple actions behind a single button, based on criteria that you define. Instead of carrying out several manual steps, staff can perform common tasks with a single click, helping to improve consistency and save time.
For example, you could create Approve and Reject buttons that automatically update records, change statuses, notify users, or perform other actions as part of the workflow. This makes it easier to standardise processes and ensures that the same sequence of actions is carried out every time.
Main Setup
Under any database within Pages>Databases, you will see a workflows link. Click this to create a new workflow
Workflow Link
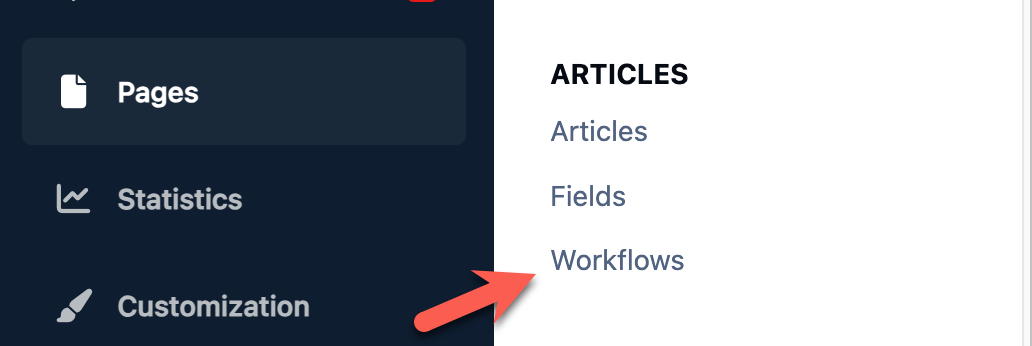
Once selected you will be able to create a new workflow using the button in the top right, and will be presented with the setup screen for that workflow. Here we are going to start setting up a workflow that will allow our staff to assign to a staff group, and lock the record from further comments
Main Setup
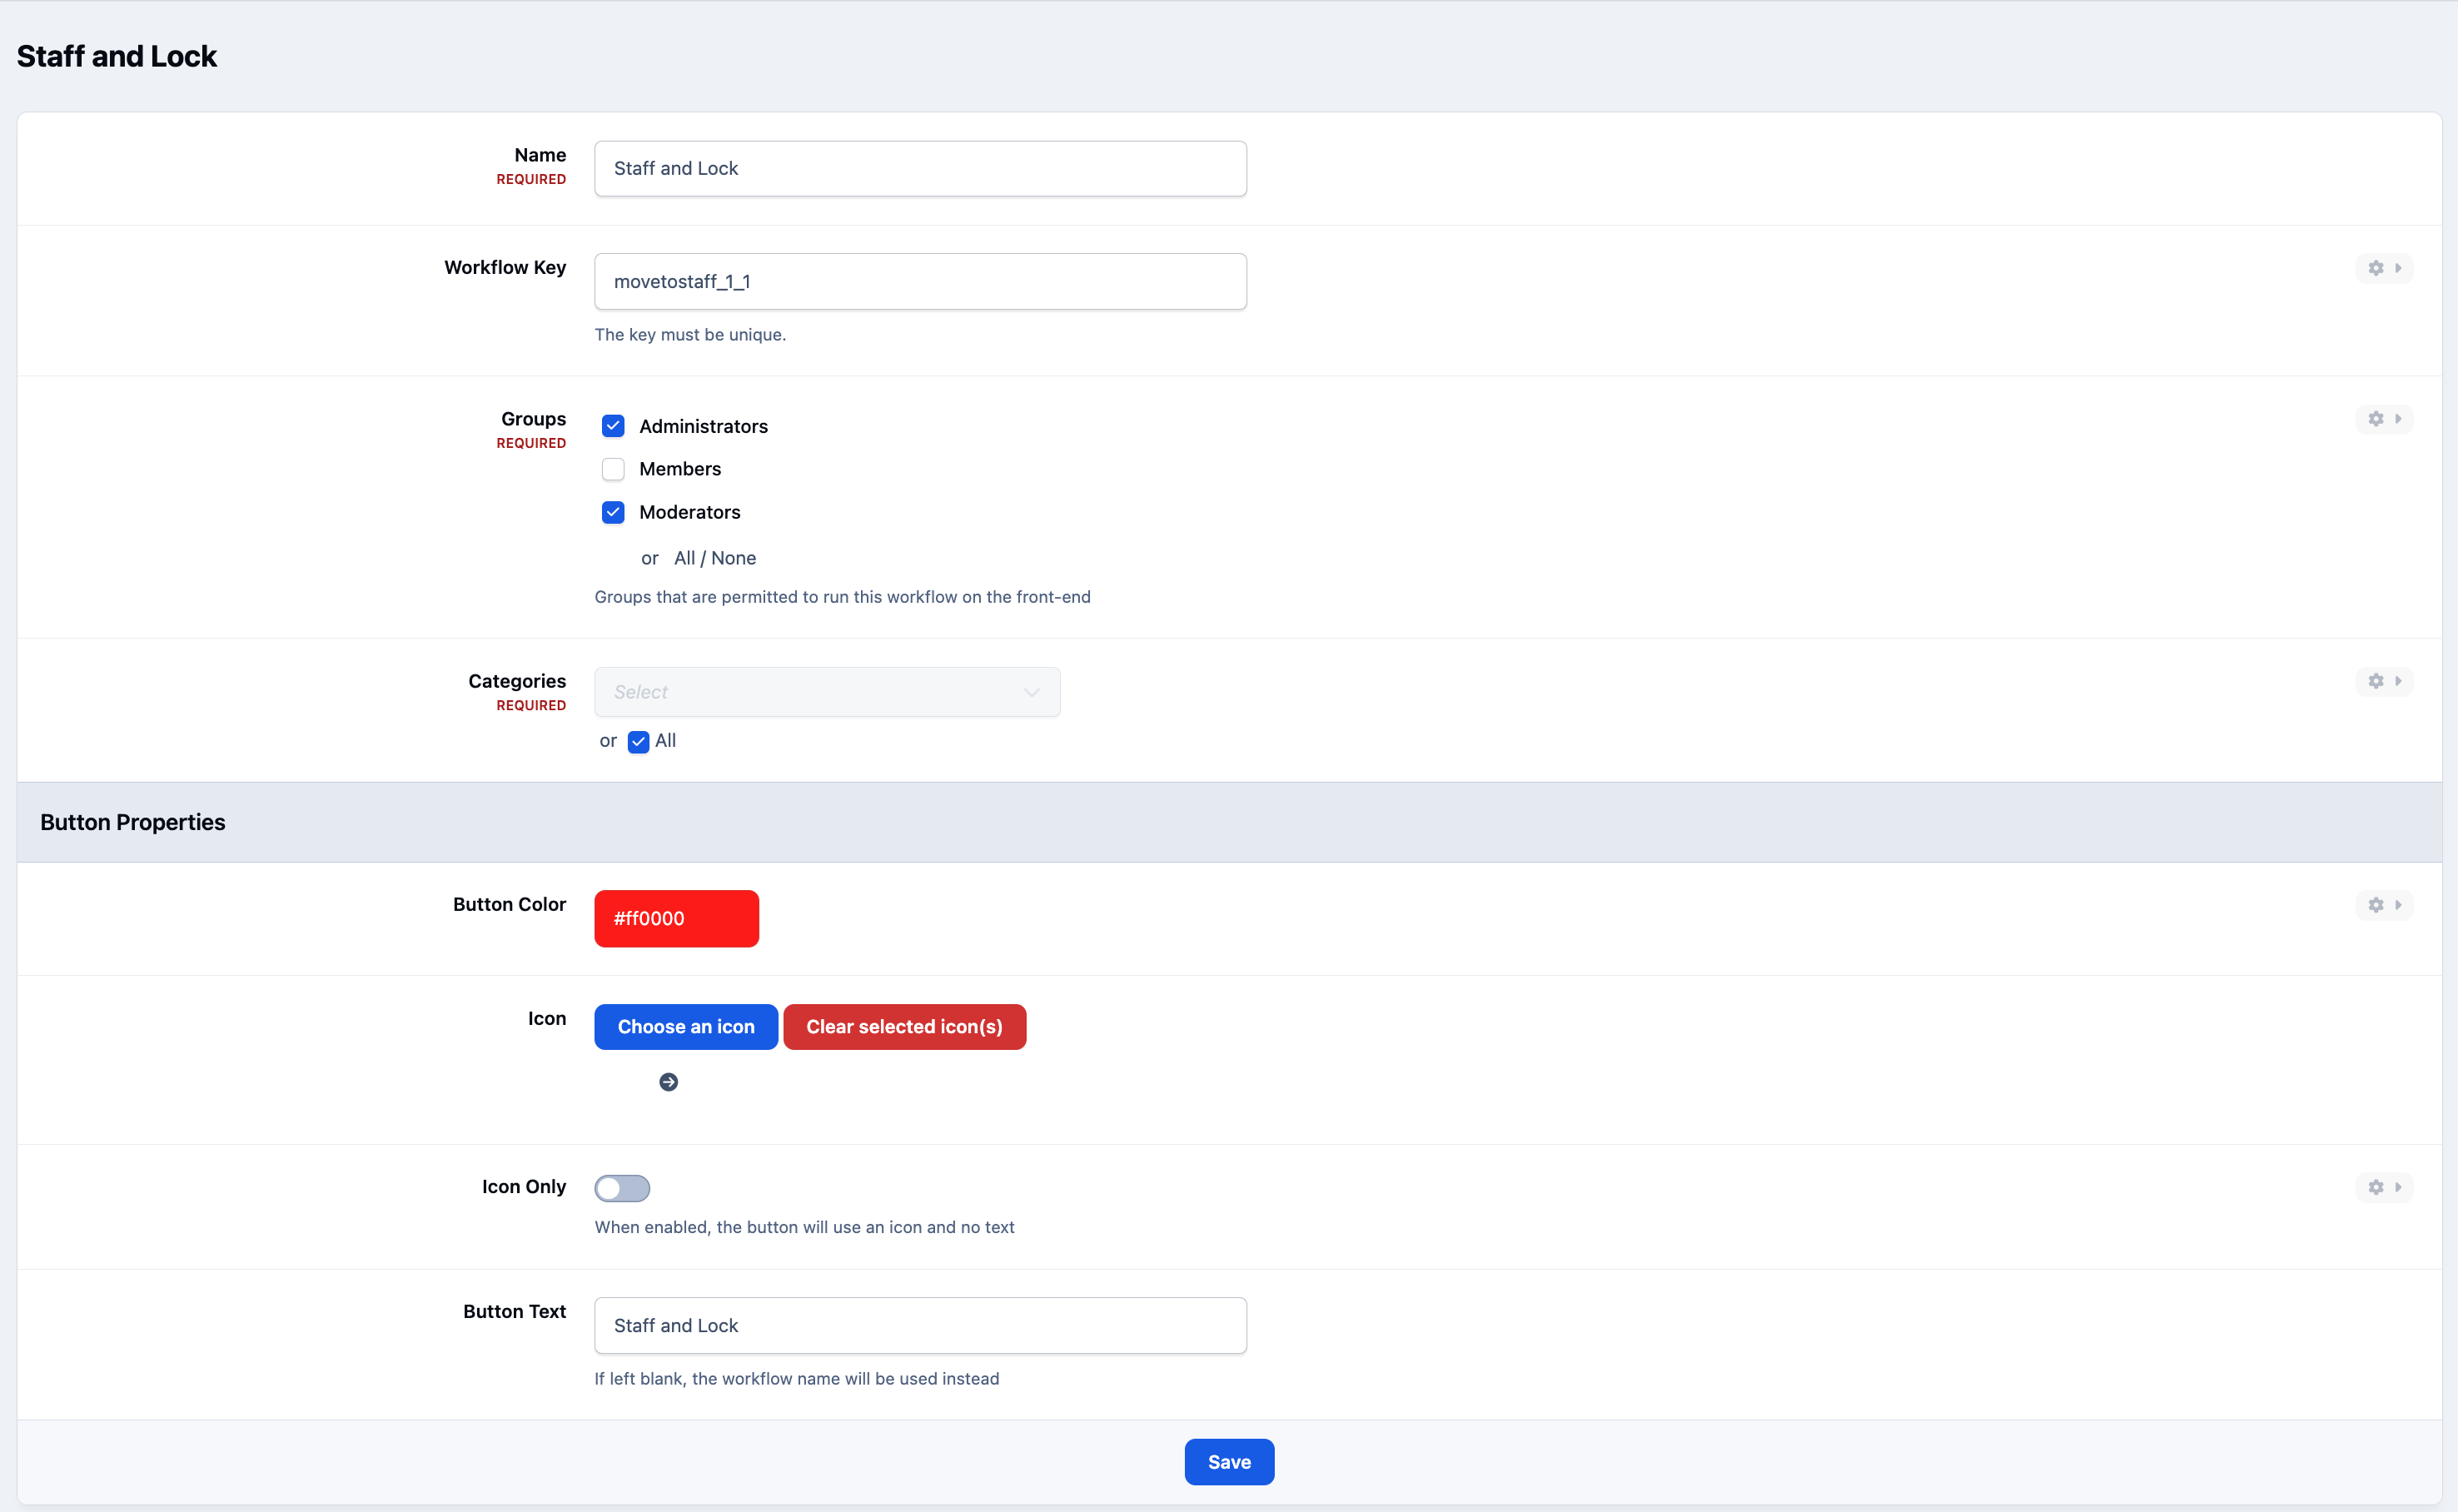
Actions
After creating the main part of the workflow, we need to create some actions. You will be taken to the page for this automatically, however if you are not, you can get to this by selecting actions from the menu at the side of your new workflow.
Selecting to add a new action, you will see a list of action types you can select from.
Action Types
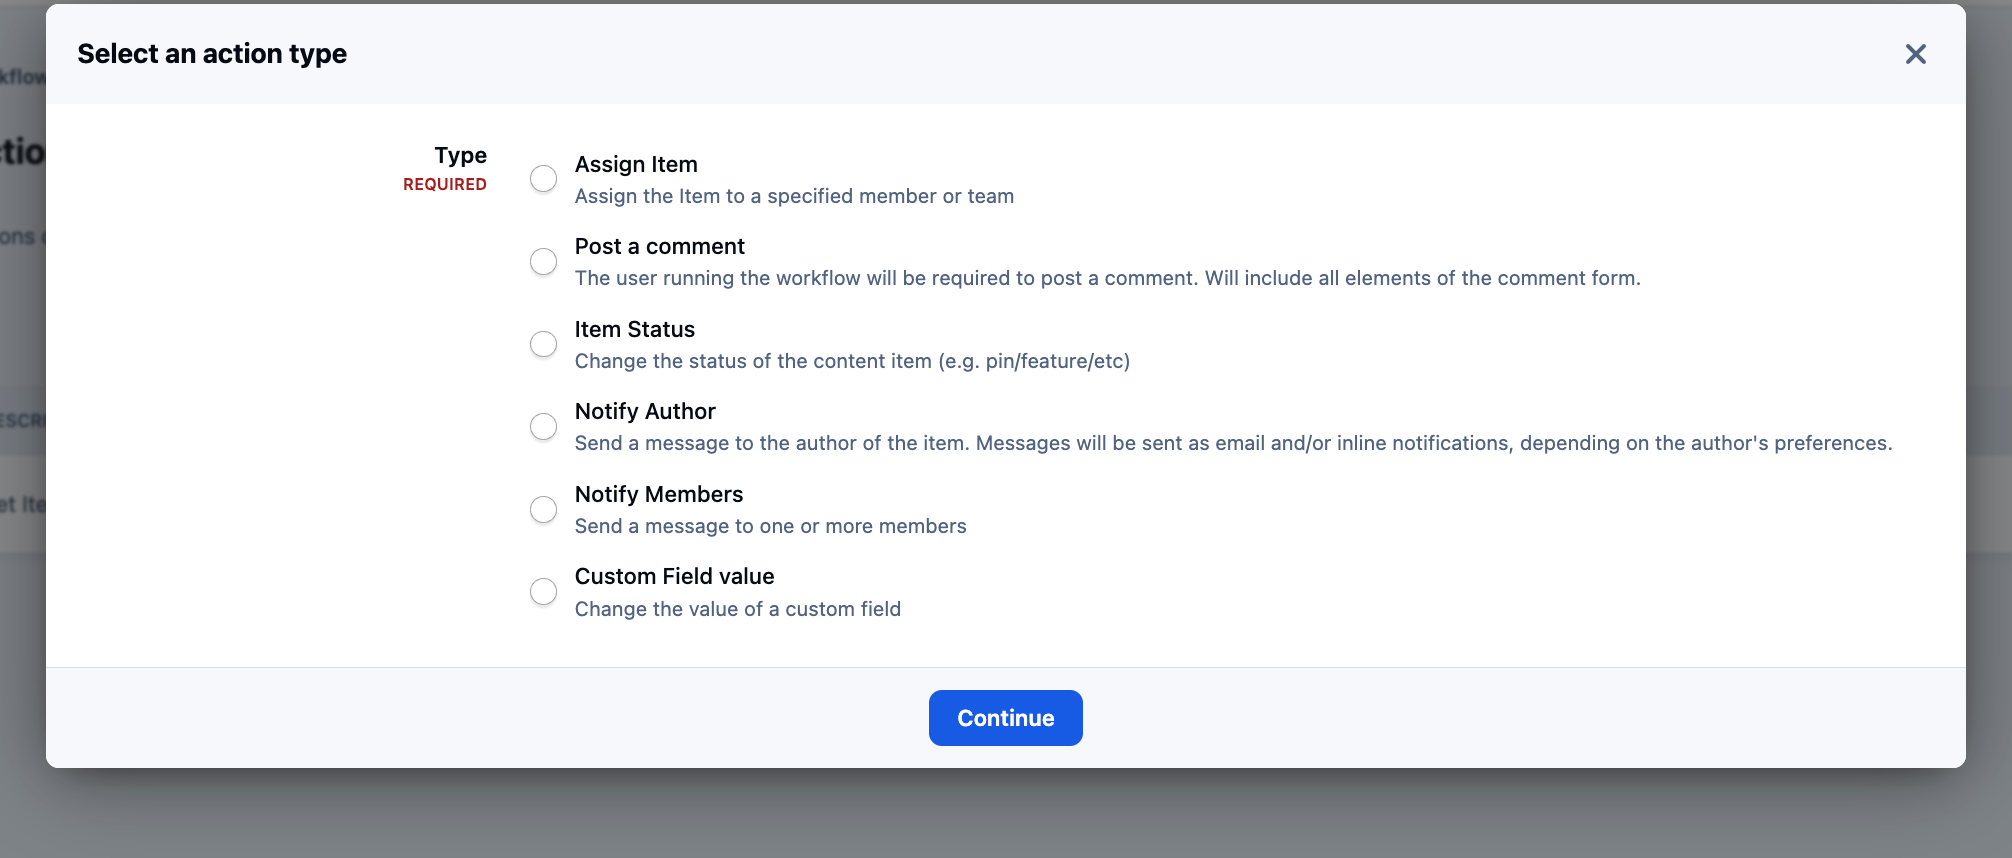
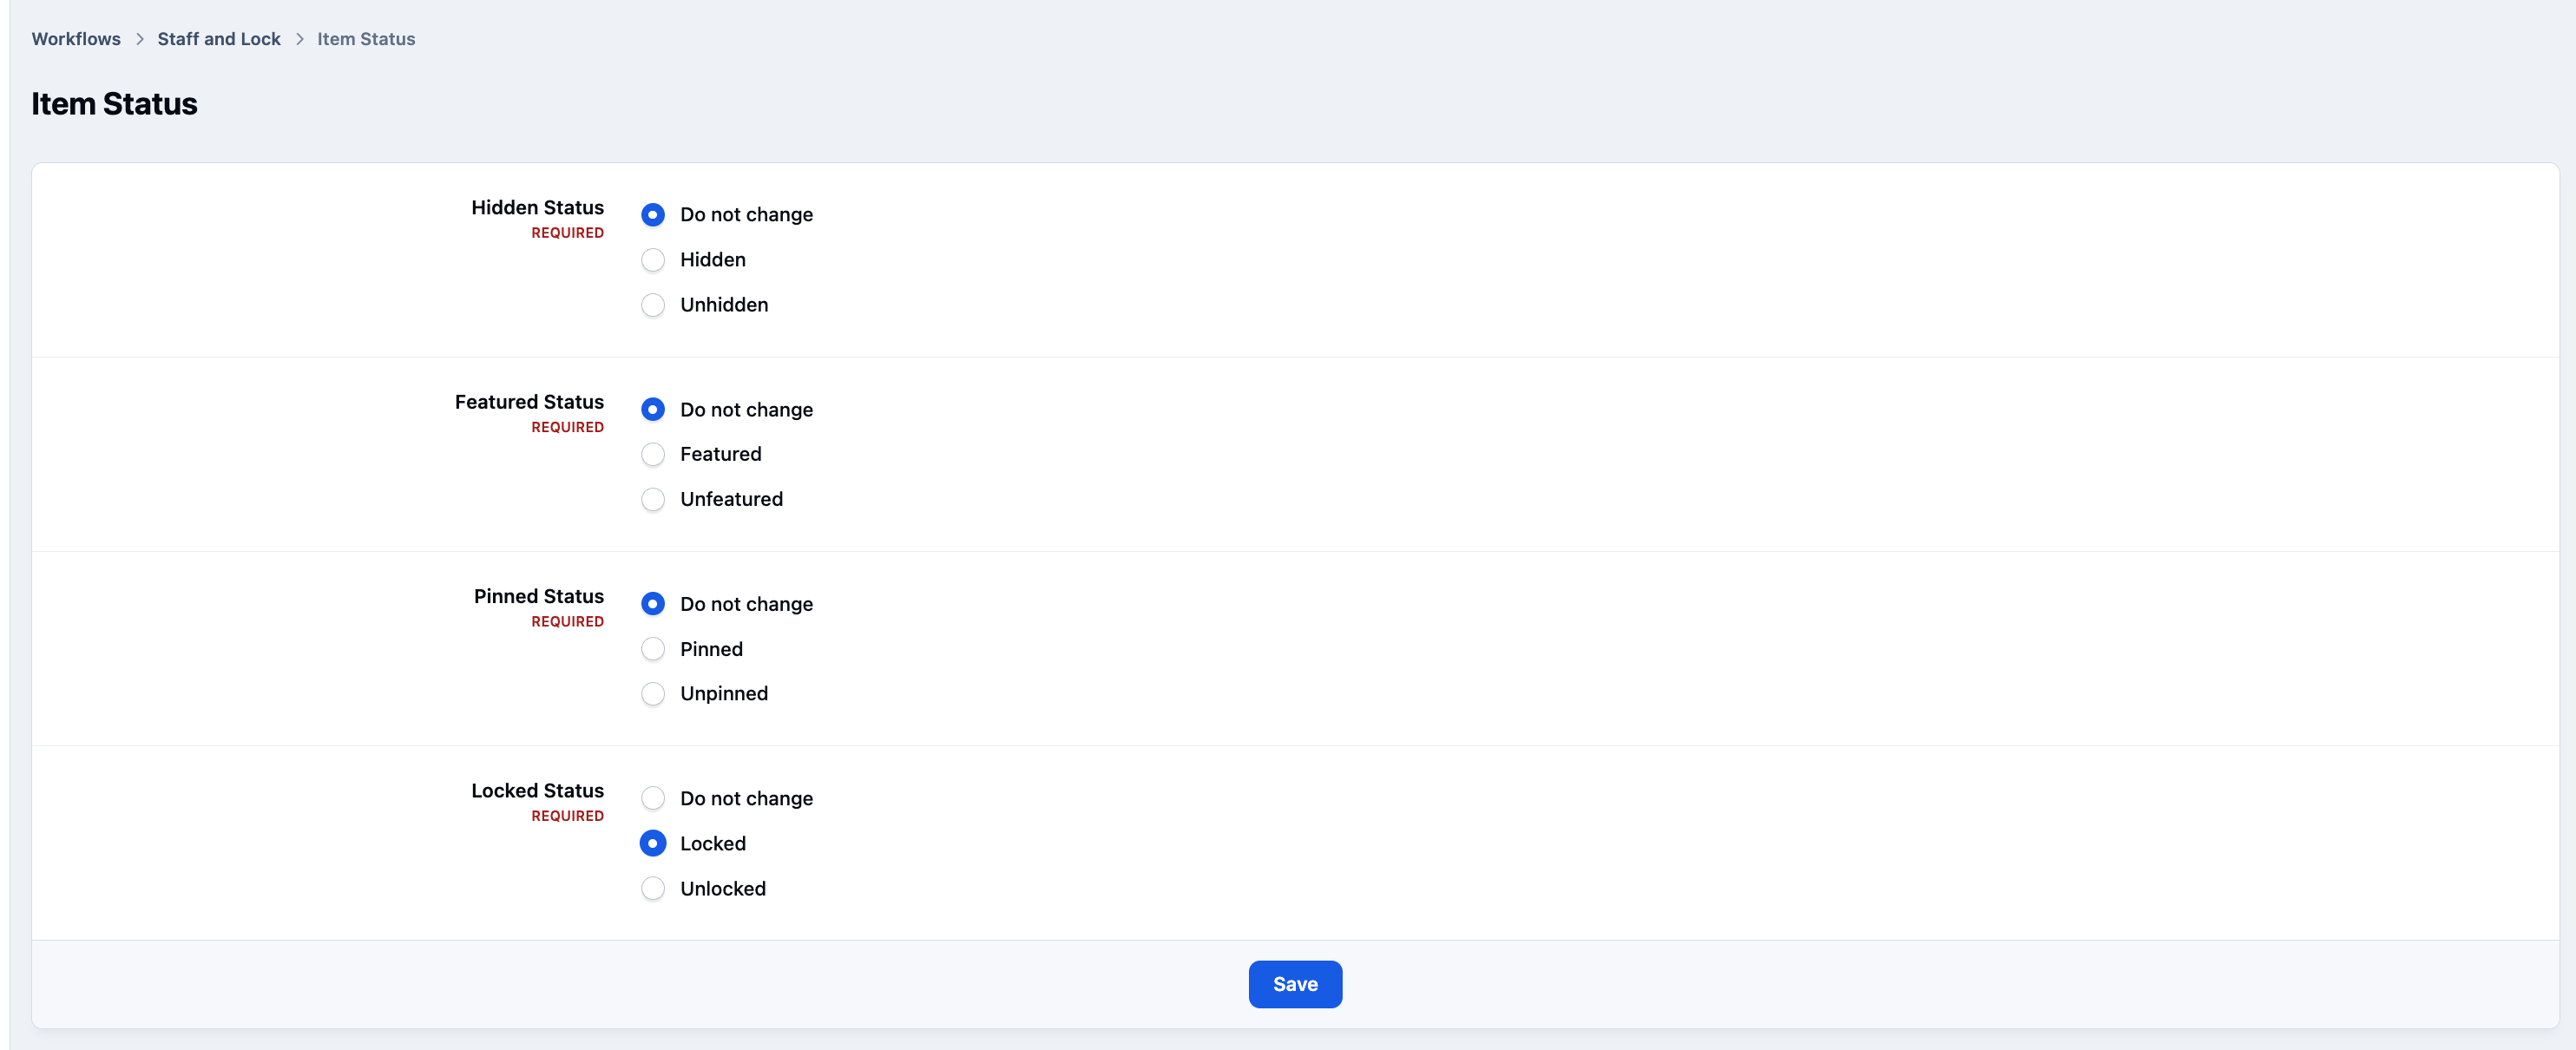
In our example we will be selecting "Item Status" for the first action, so we can change its status to locked
Status Action
Now repeat the process, but select to assign as the type. We will be assigning a staff team we have set up within assignments.
Assignment Action

Assignments
For more information about setting up teams for assignments, please refer to our assignments guide here
Matching
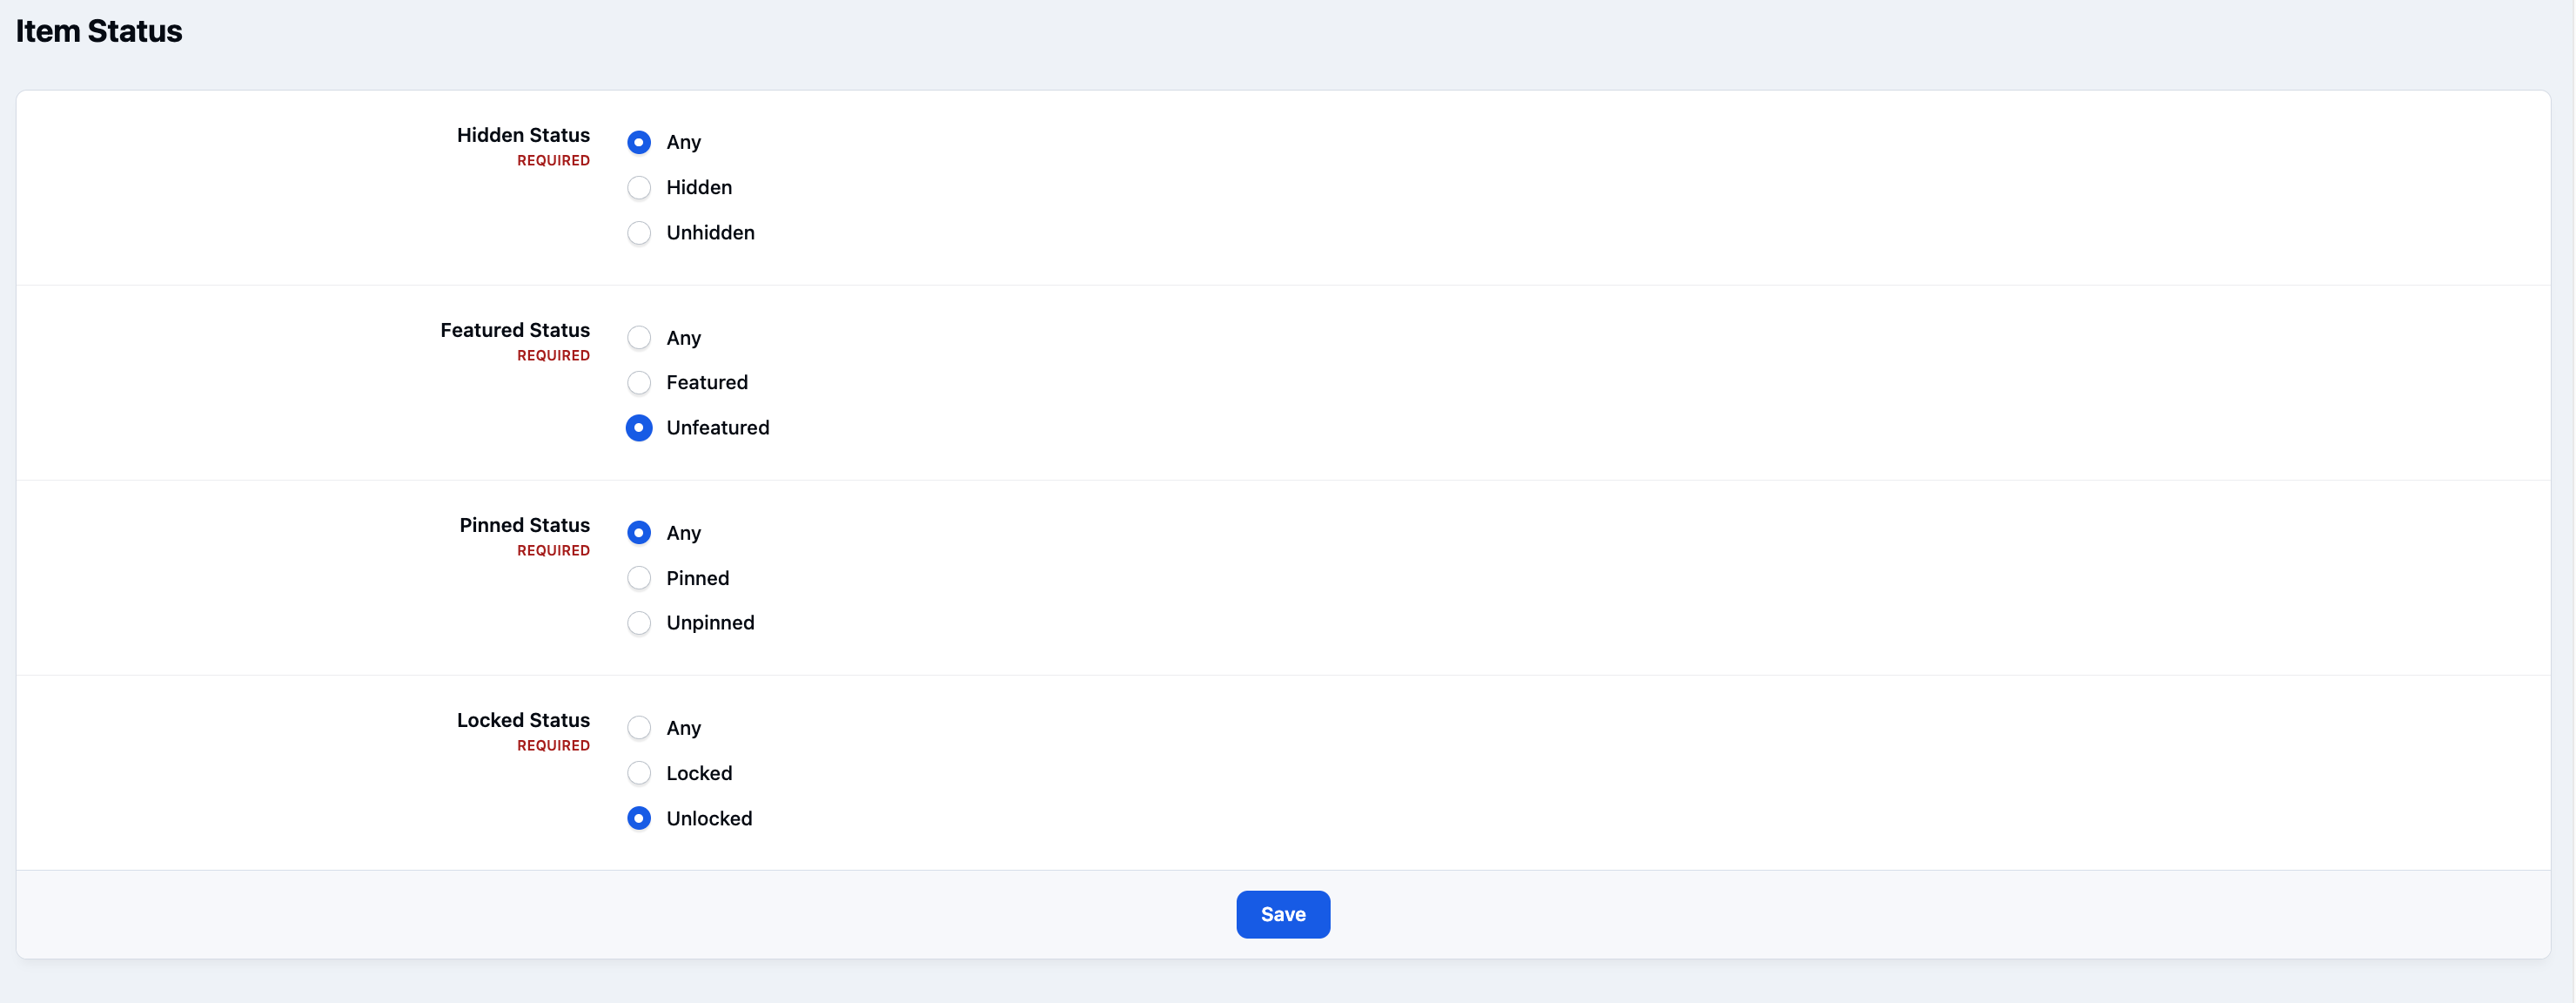
In addition to defining the actions a workflow performs, you can also control when a workflow is available by applying conditions. These conditions determine whether a workflow button is shown, ensuring it is only available when it is relevant.
You can configure these conditions from the Match Criteria section in the menu on the left while editing your workflow.
In this example, we want the workflow button to appear only if the item is not already locked, and we also want to hide it for any items that have been featured. By adding these conditions, the workflow will only be displayed when both criteria are met, helping to prevent unnecessary or inappropriate actions.
Matching Criteria
Recommended Comments