


Within Commerce, you will often need to view a member from a customer perspective rather than simply as a community member. Commerce provides a dedicated customer view that is separate from the standard member profile in the Admin CP.
This customer-focused view gives you access to important transactional information, including purchase history, total spending, active or expired subscriptions, invoices, and other Commerce-related activity. This makes it much easier to manage orders, troubleshoot issues, and provide effective customer support.
Customer Records
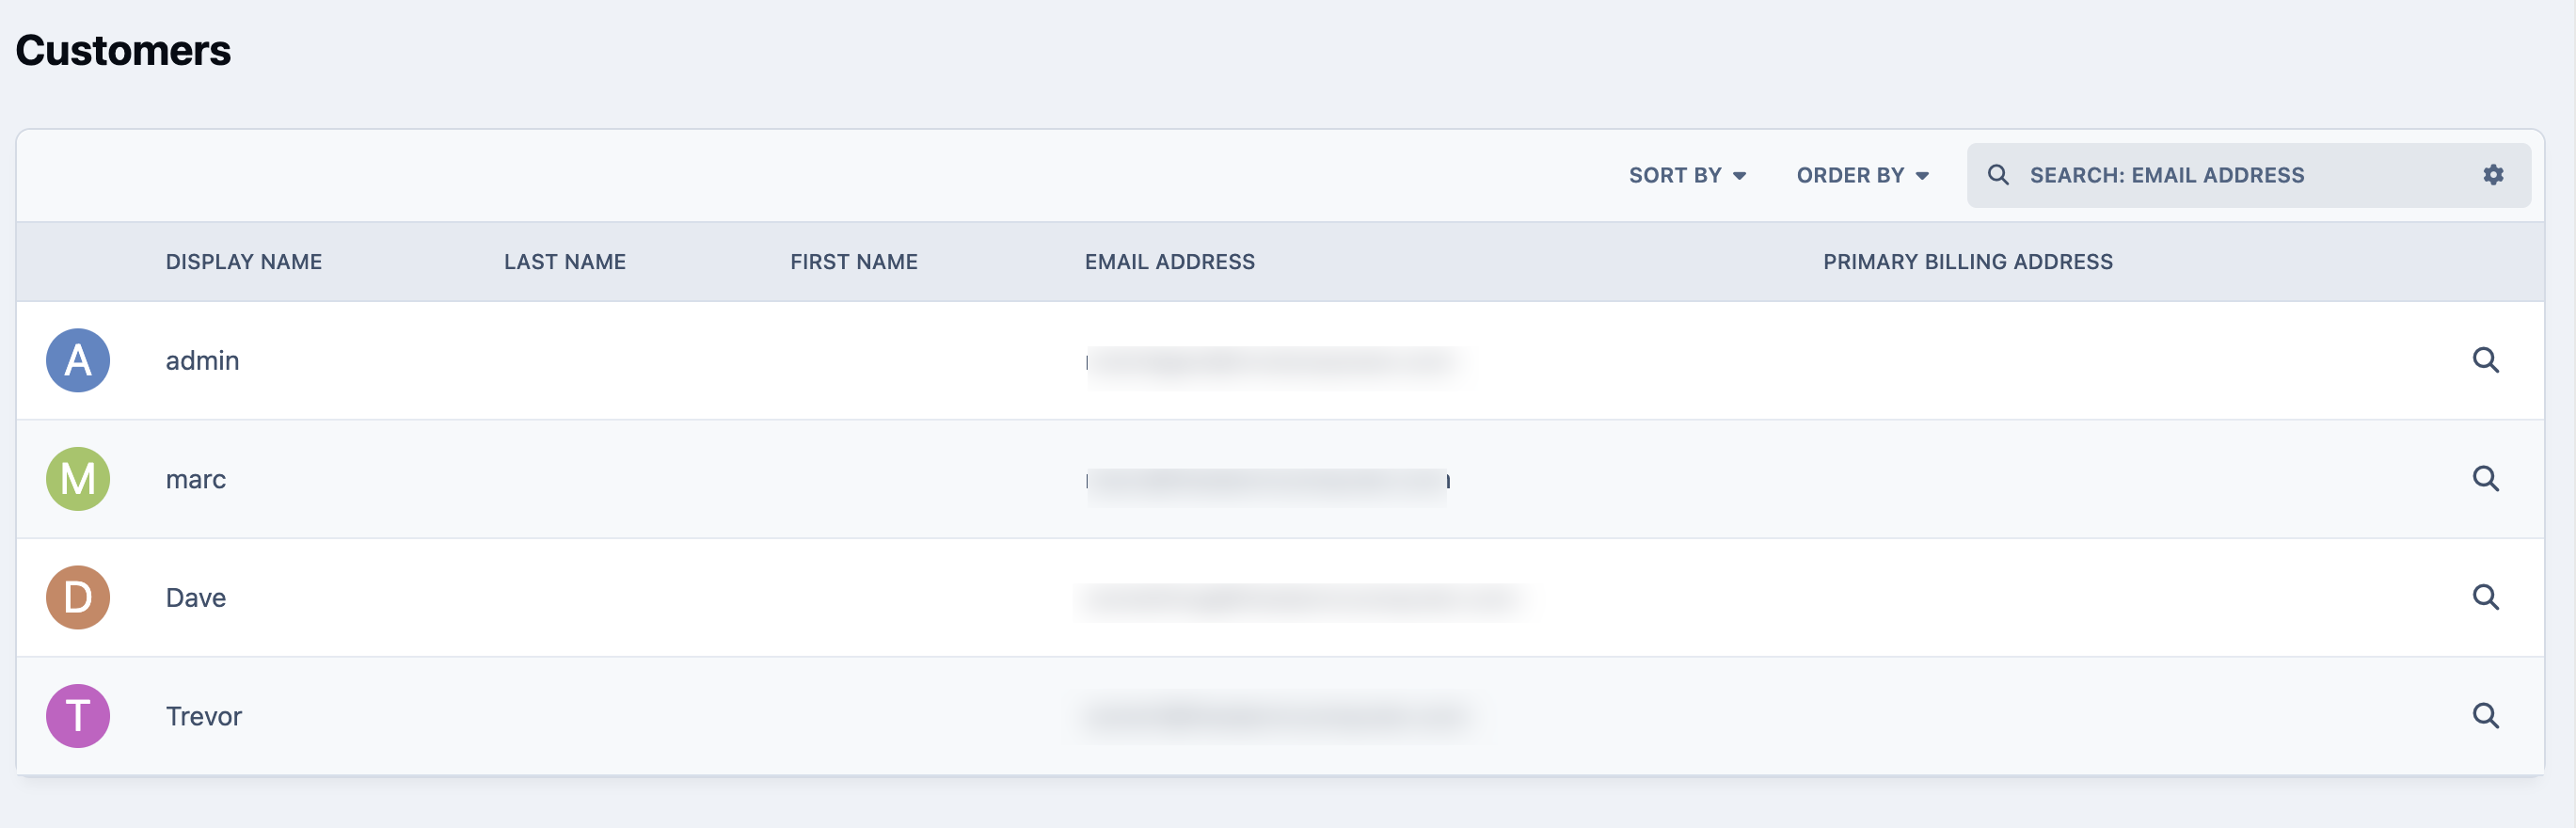
You can access a list of customer records from the following location in the Admin CP
Commerce → Customers → Customers
From this list, click on any customer to open their dedicated customer record and view their Commerce-related details.
Customer List
A customer record provides an overview of the customer’s current status within the Commerce system, as shown in the image below. From this screen, you can view their purchase history, subscription status, and invoices.
You also have the ability to create invoices, add internal notes, and manage other Commerce-related actions directly from this page.
Customer View
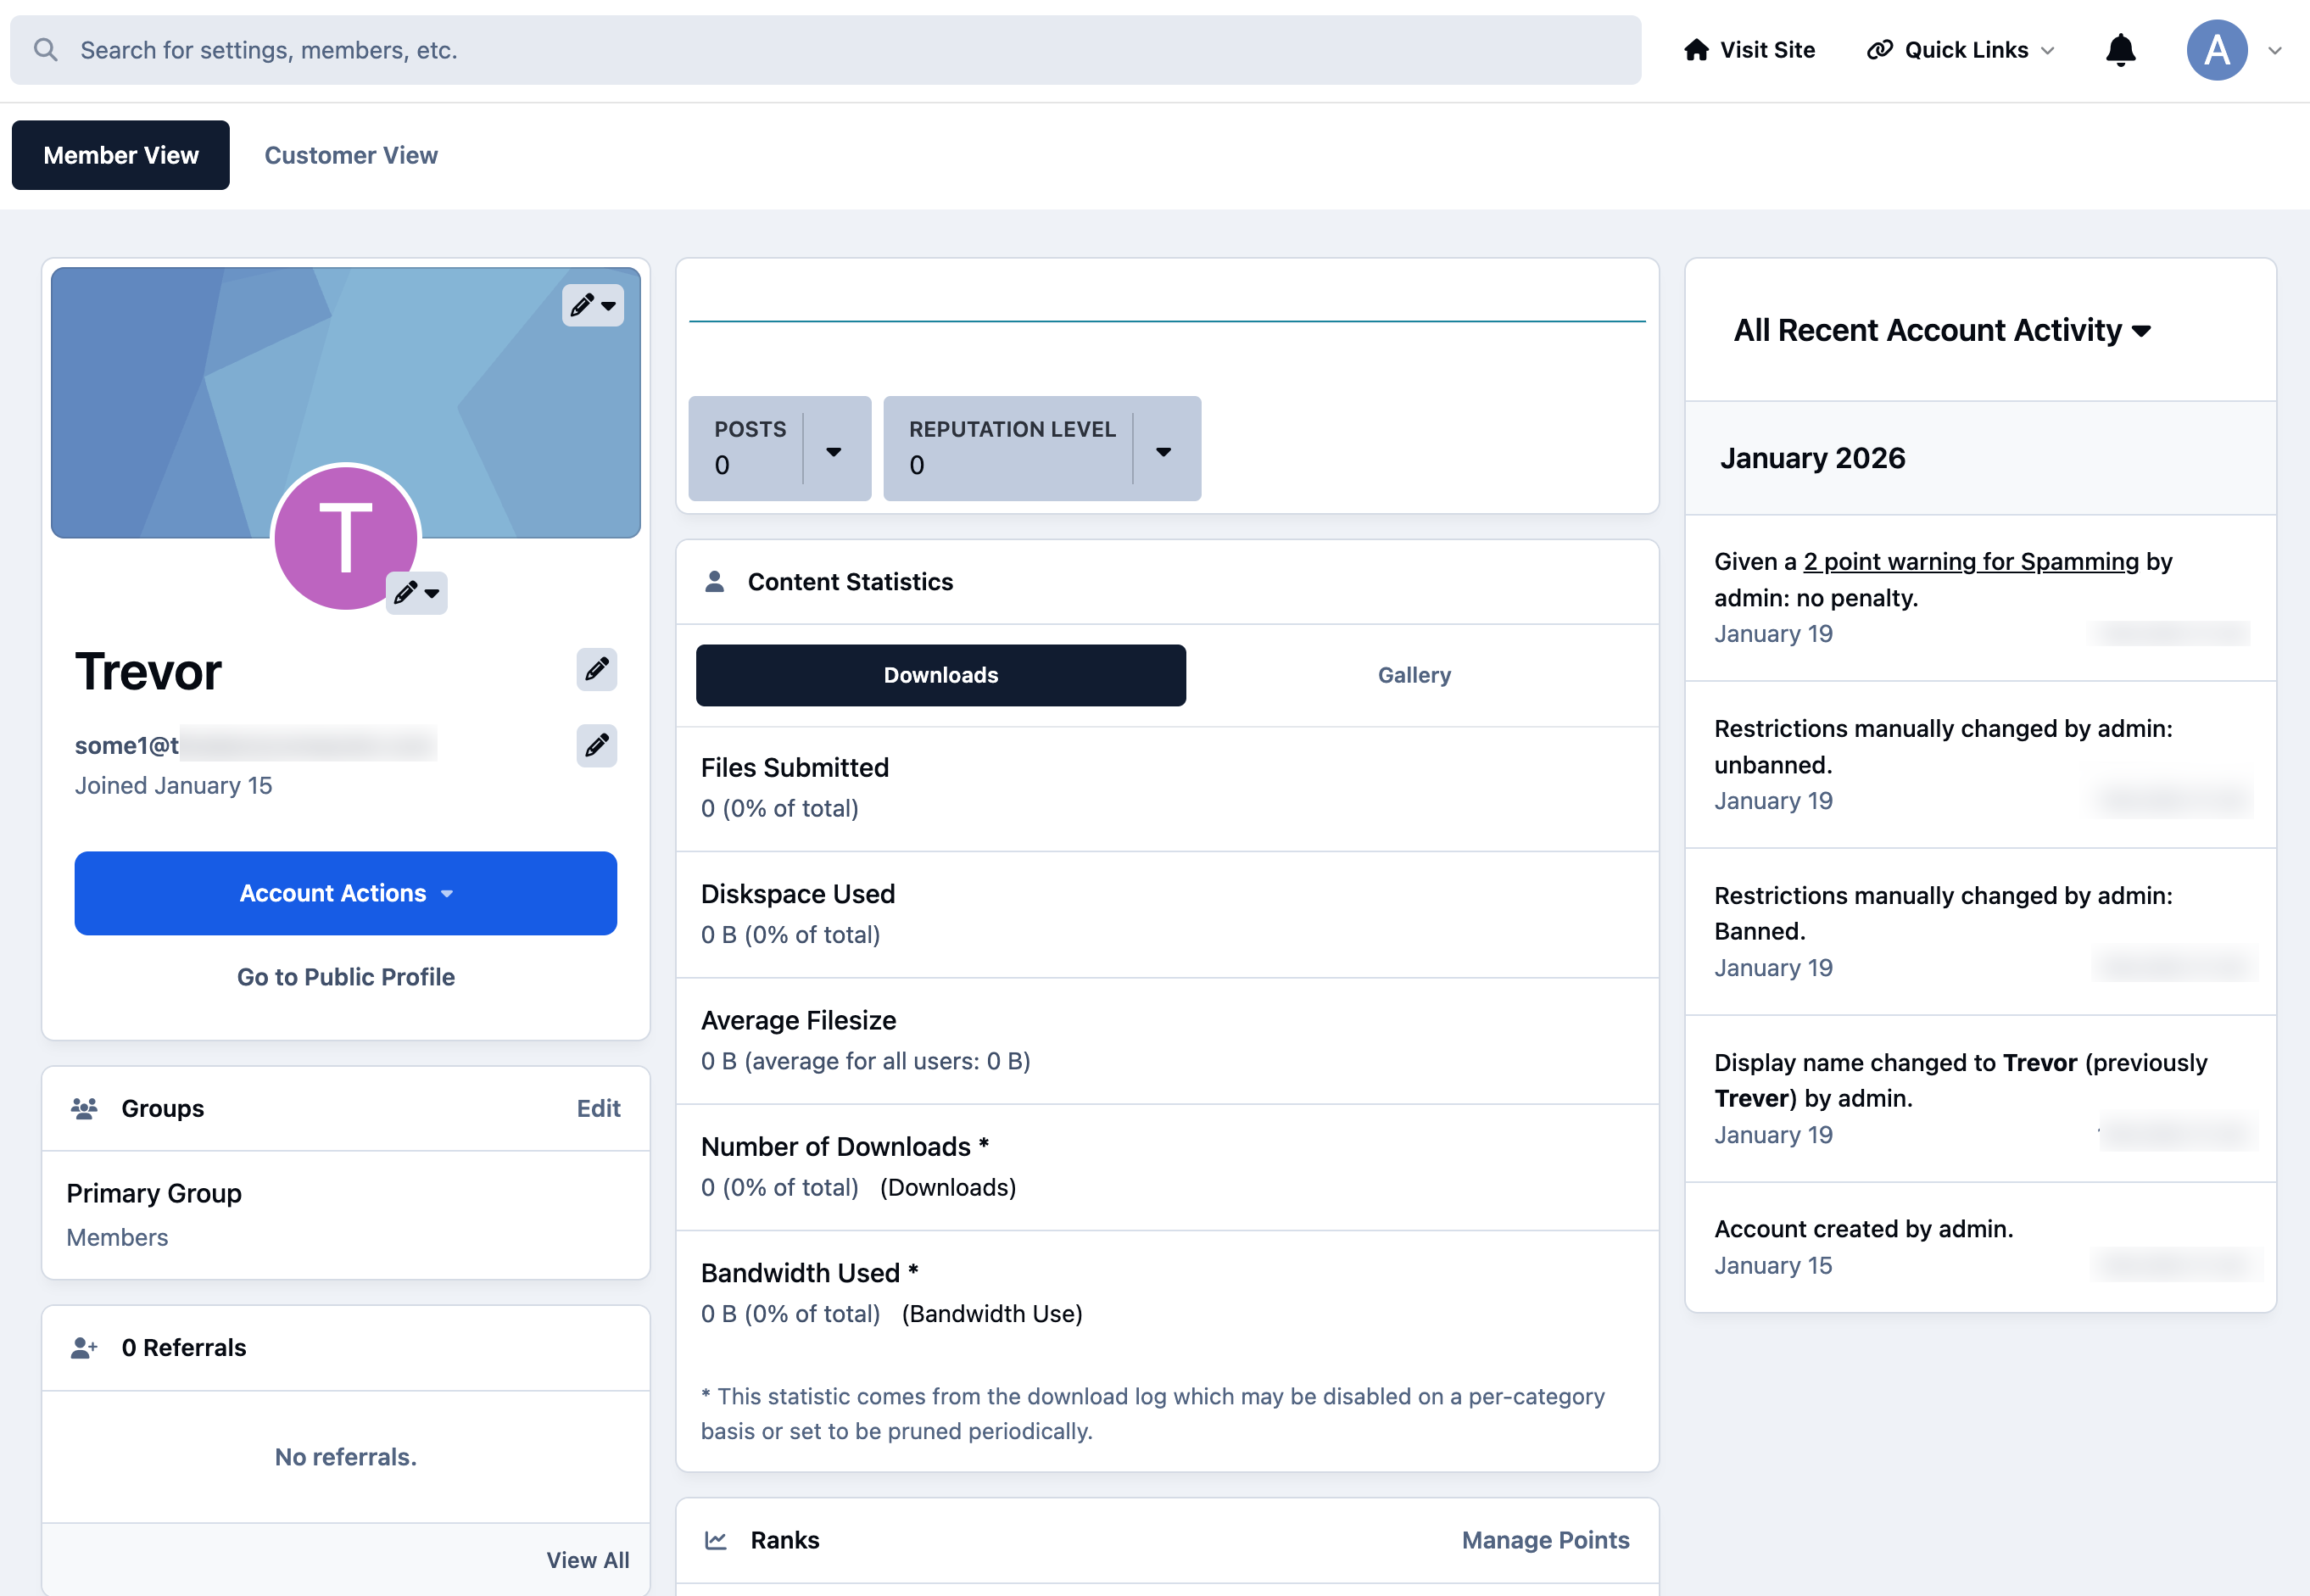
You’ll notice that the customer record appears as an additional tab within the member’s profile page. This means you can access a member’s Commerce information directly from their profile, without needing to navigate through the customer list in the Commerce section.
Alternative Contacts
On important area of this section is the management of alternative contacts.
Alternative Contact Location
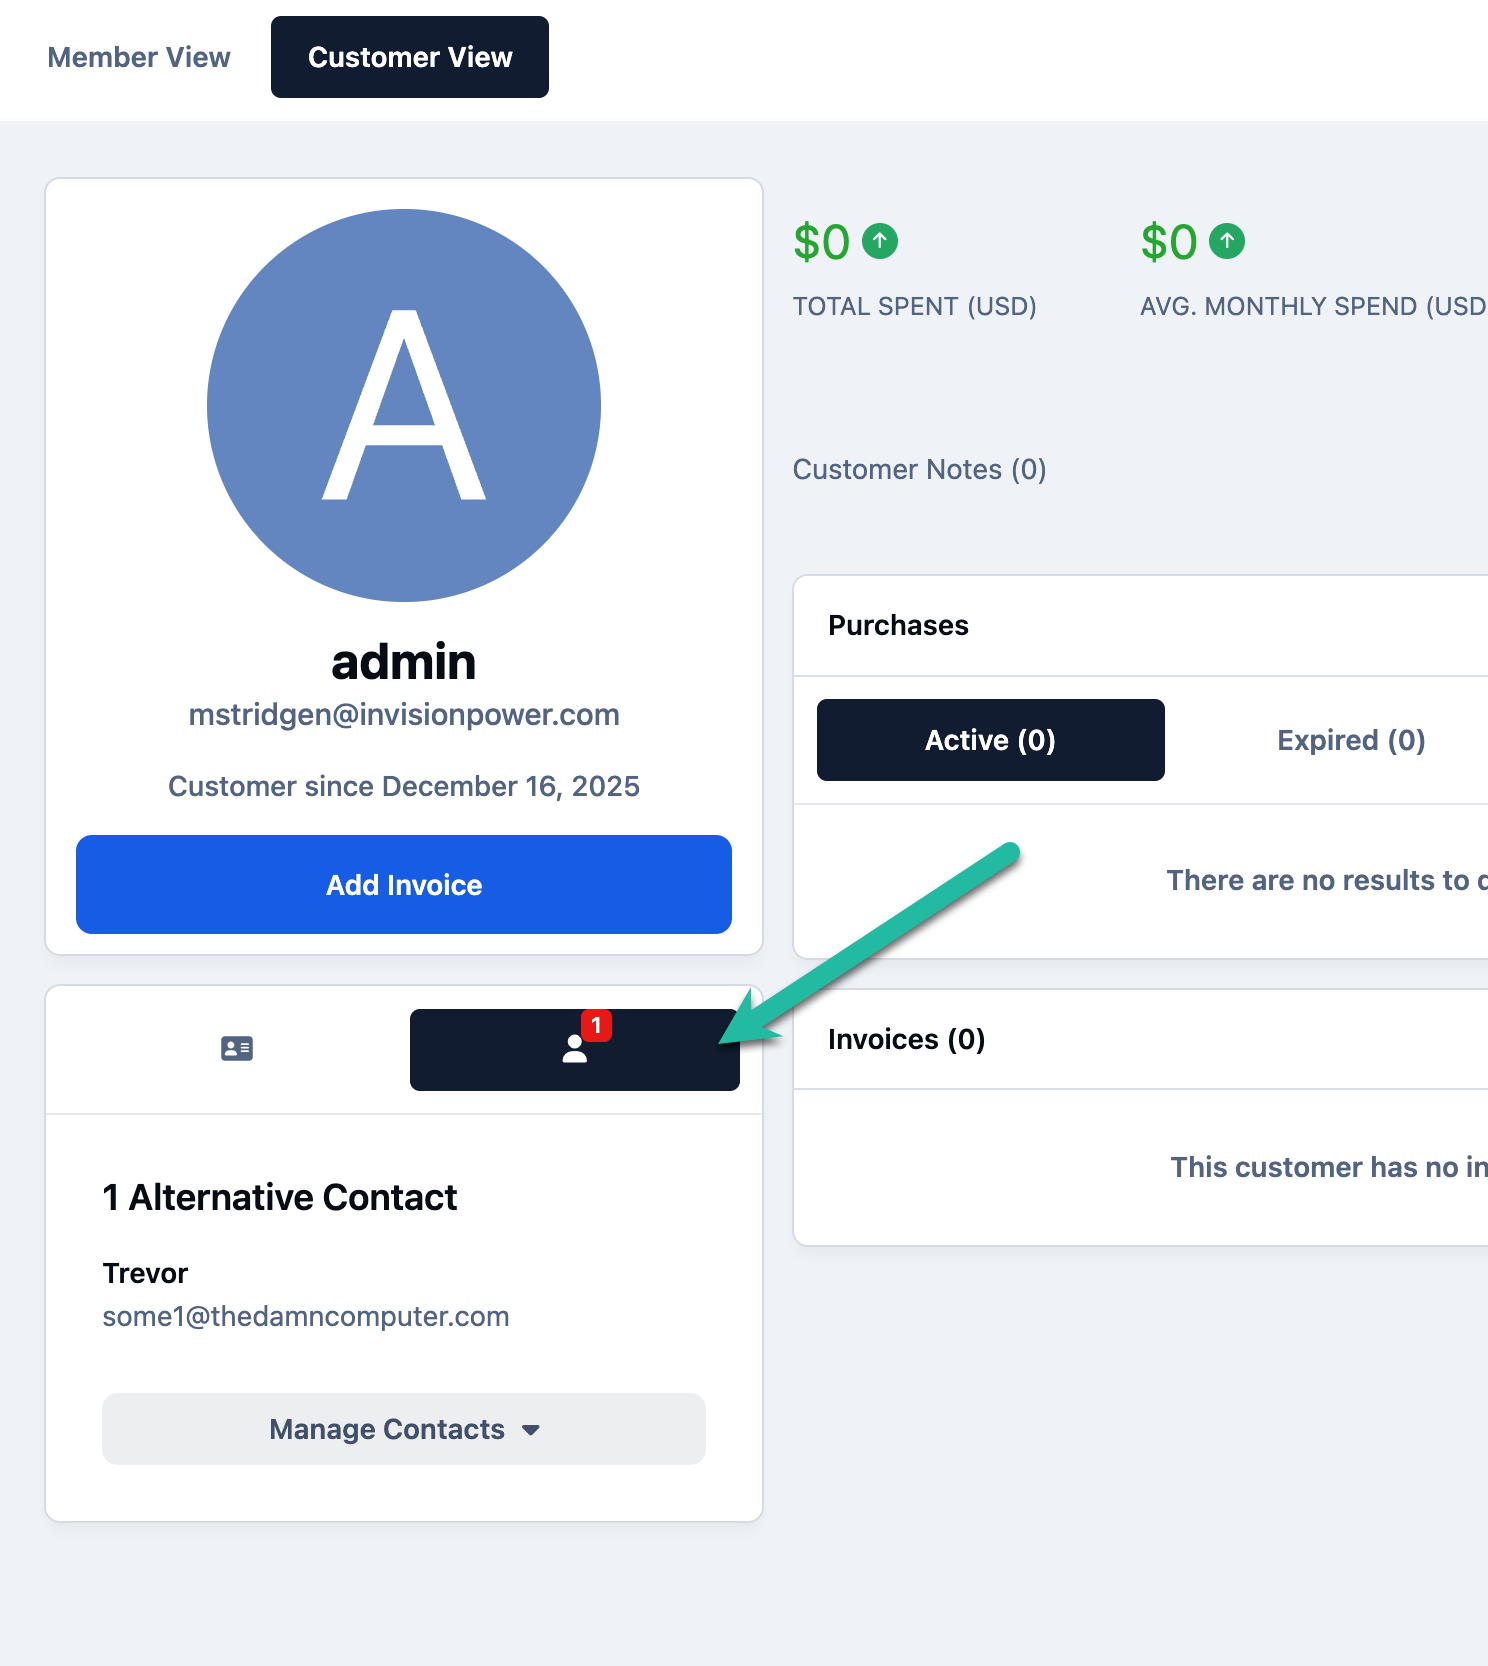
When you select Manage Contacts, you’ll see a list of members who have been granted access to manage this customer account.
Alternative Contact List
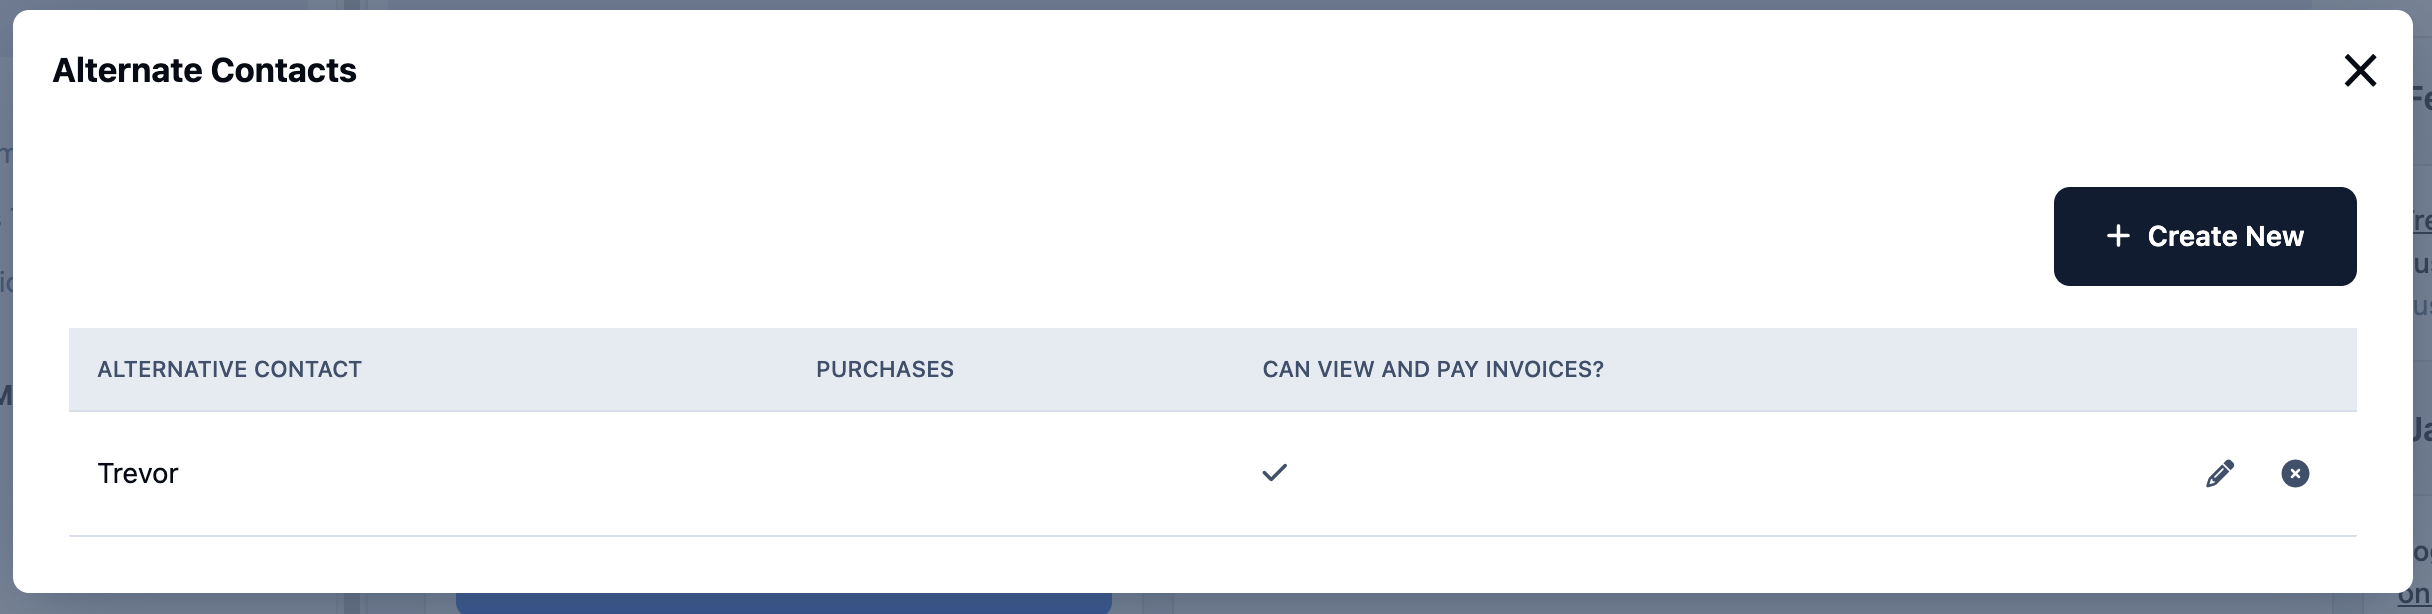
Alternative contacts can be added not only from within the Admin CP, but also by the customer themselves through their client area (covered in another guide).
To create a new alternative contact, click the 'Create New' button in the top-right corner. Existing contacts can be edited or removed using the action buttons shown next to each entry.
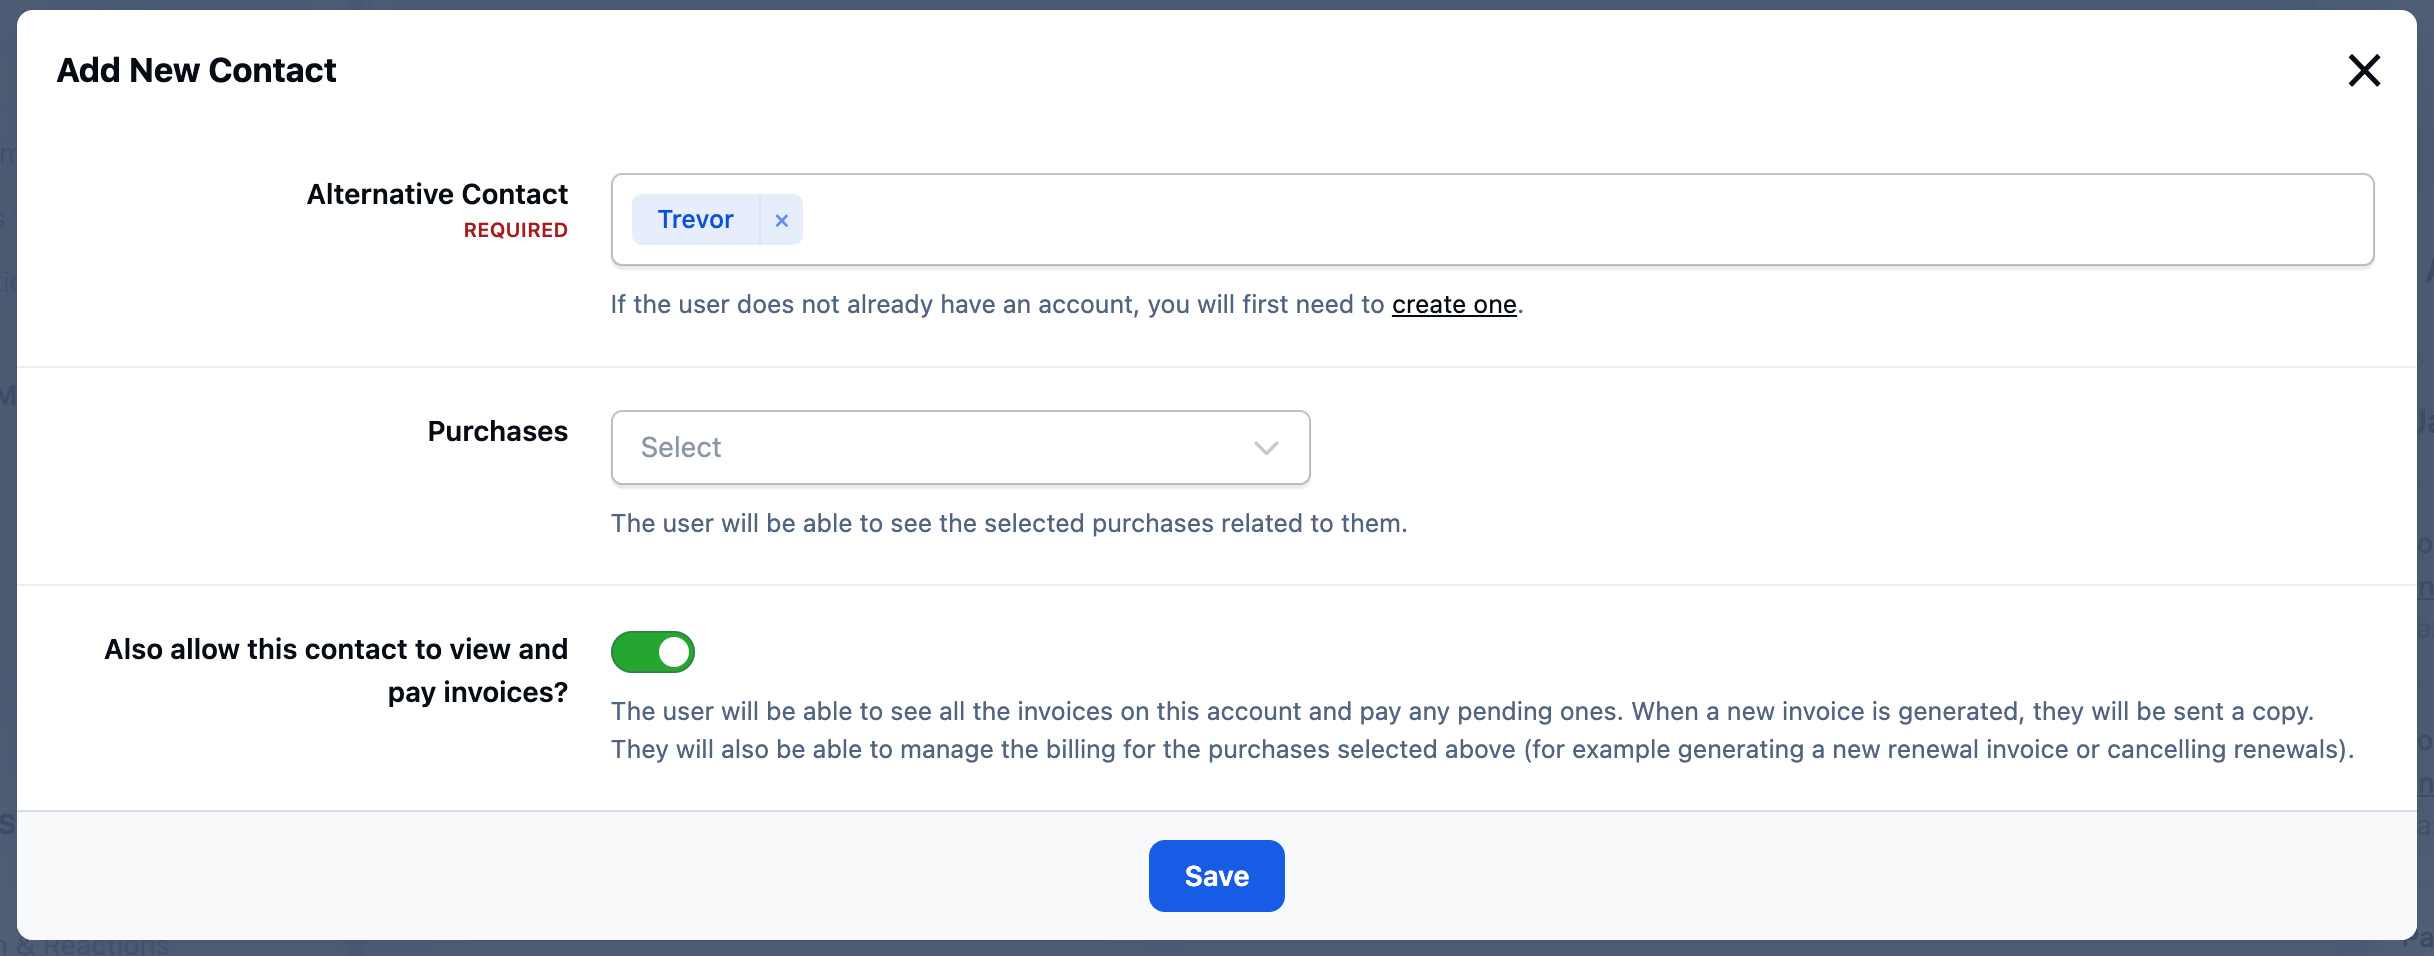
When adding a new contact, begin typing the member’s name, which will auto-complete from your member list. You can optionally associate the contact with a specific product, and then select the permissions you would like that contact to have — such as access to invoices, or other account-related areas.
Add New Alternative Contact
Recommended Comments