


Languages and Localization
Languages allow you to translate the interface of your community, change terminology to better suit your needs, and provide different languages for members to use.
A language also has an associated locale, which controls how information such as dates and numbers is formatted. You can have multiple languages installed at the same time, allowing members to use the language that is most appropriate for them.
Language packs translate the interface and other translatable areas of your community. They do not automatically translate content written by your members, such as topics, posts or comments.
Managing your languages
Languages are managed from the AdminCP at:
Customization → Languages
From here, you can view the languages currently installed on your community, add additional languages and access the tools available for translating and managing each language.
Language Packs
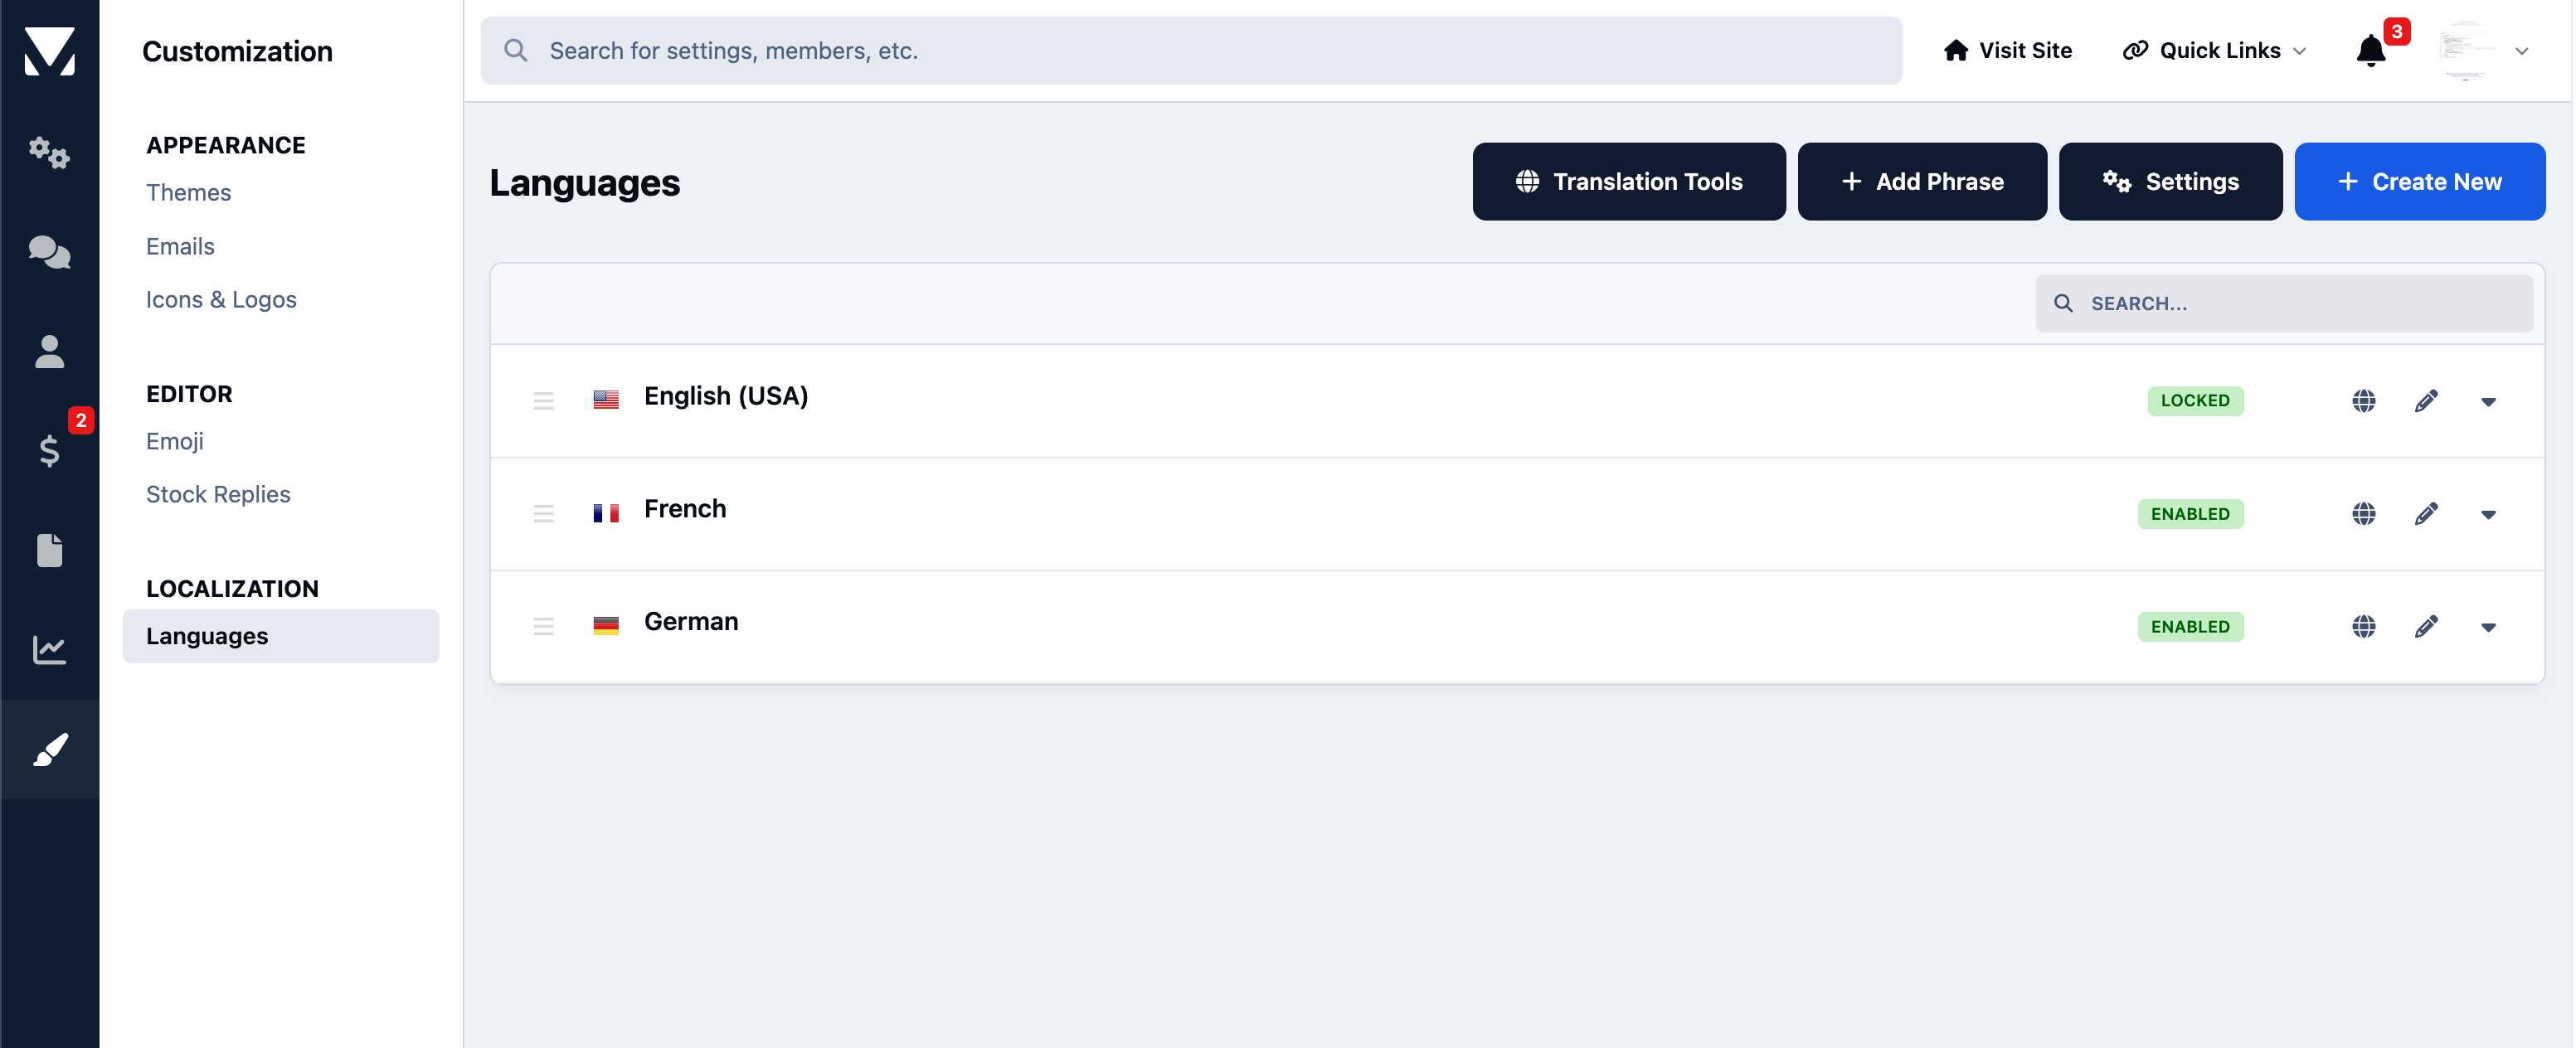
Each installed language can be configured independently. This allows you to provide different translations, locales and other language-specific settings depending on the needs of your community.
Adding a language
Additional languages can be added by installing an existing language pack or creating a language that you can translate yourself. Both are done from the same location
Adding a New Language Pack
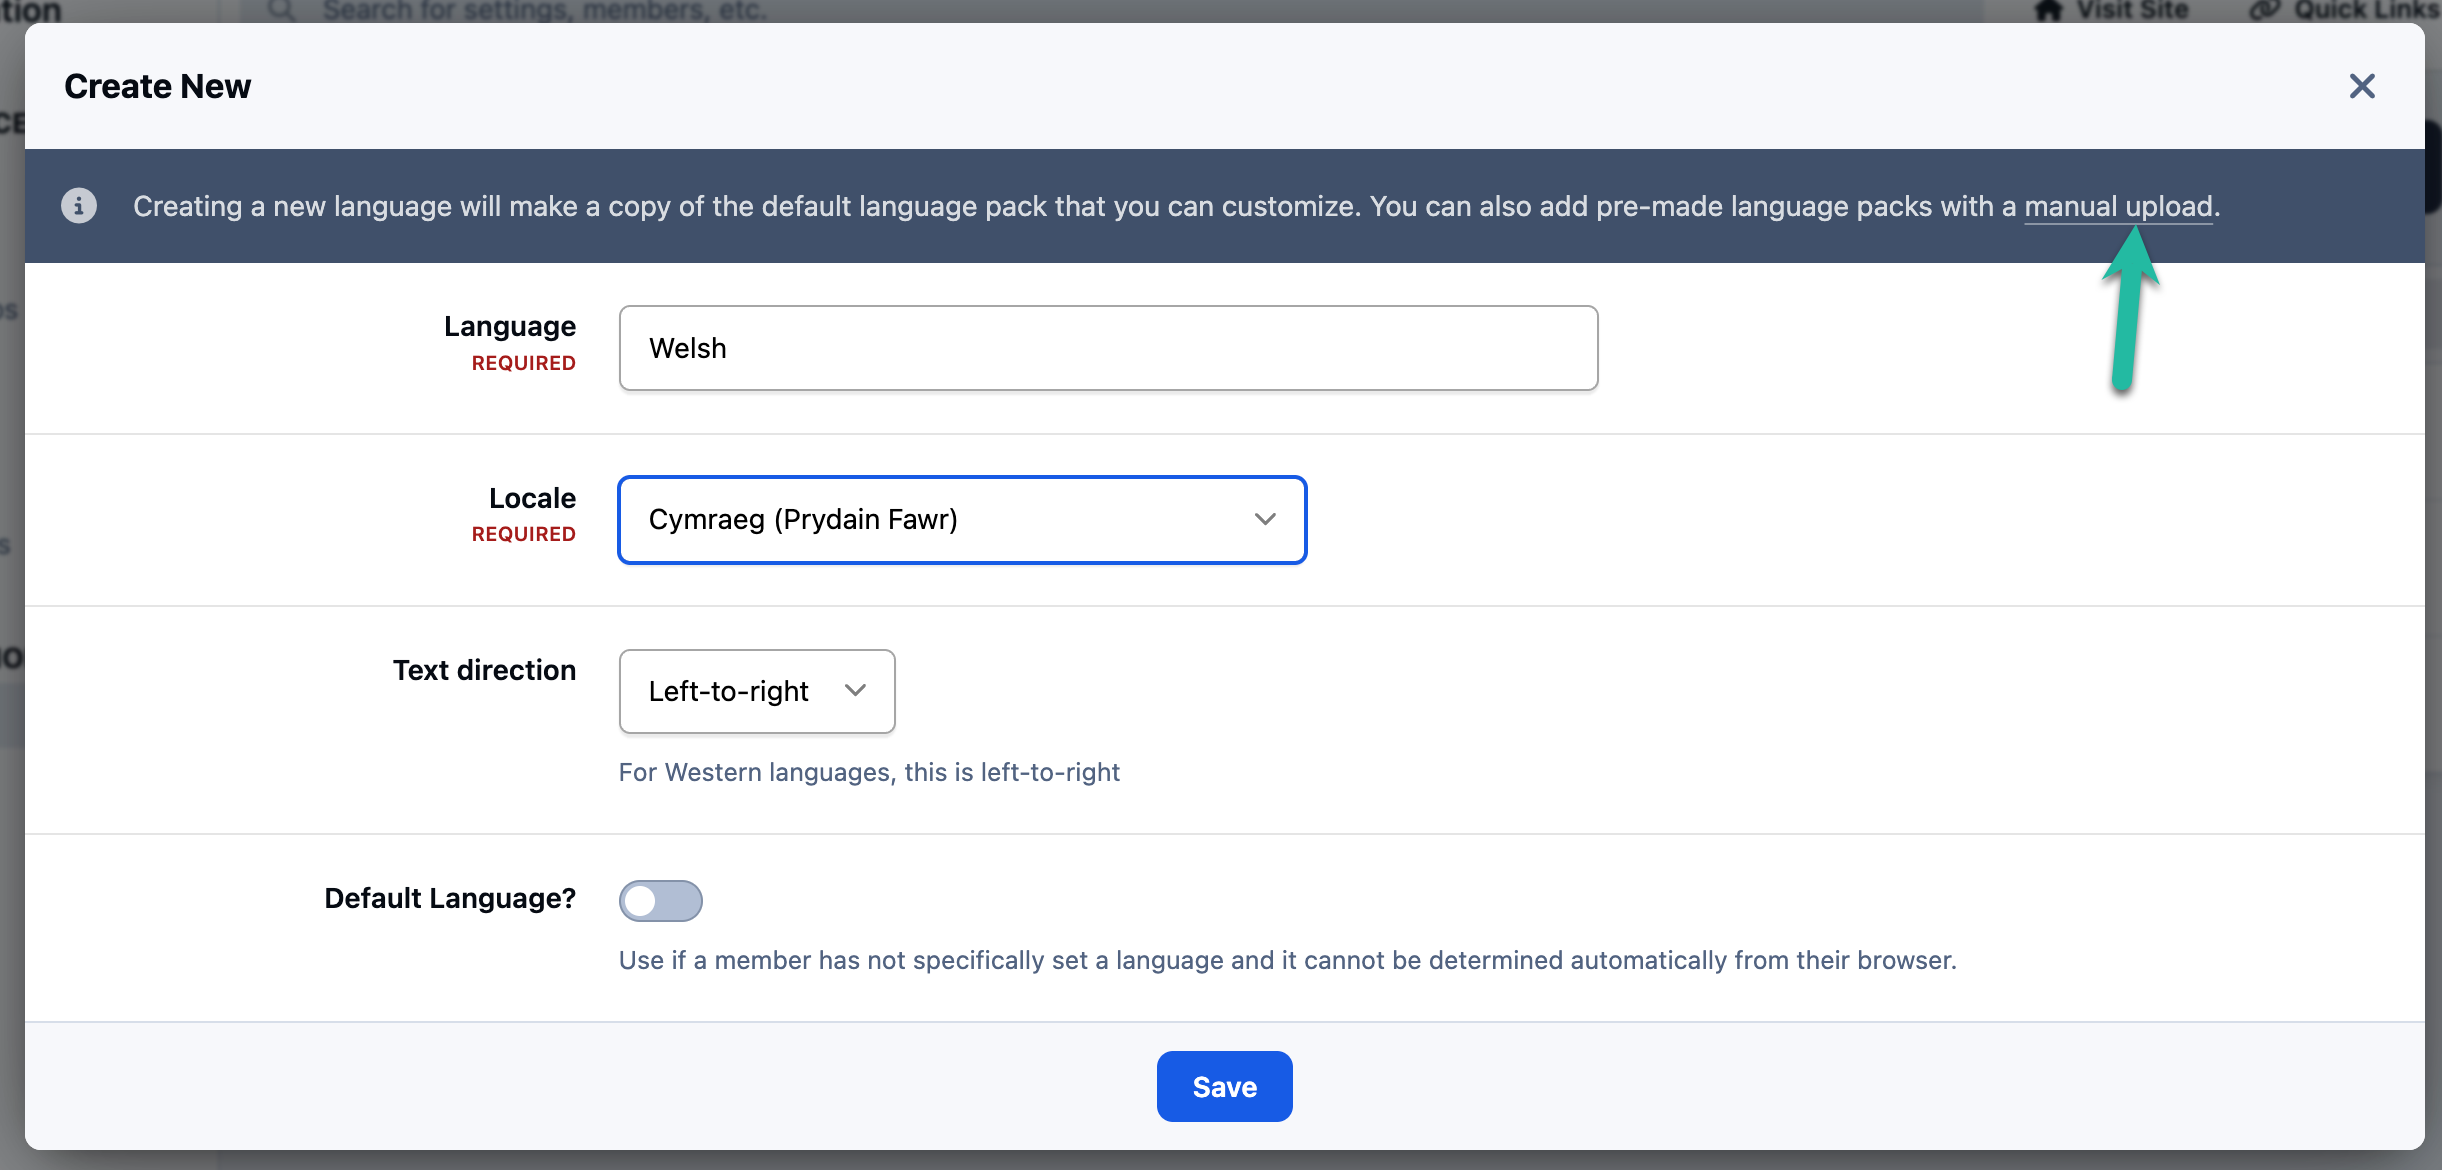
When adding a language, select the appropriate Locale. The locale determines how regional information such as dates and numbers is displayed.
For example, English can be used with different locales depending on whether your community primarily serves members in the United Kingdom, United States or another region.
Once added, the language will appear within your language list where it can be further configured or translated.
You can have more than one language available on your community at the same time, with a default being set when you set up the pack. This is useful for communities with members from different countries or regions, allowing each member to view the community interface using their preferred language.
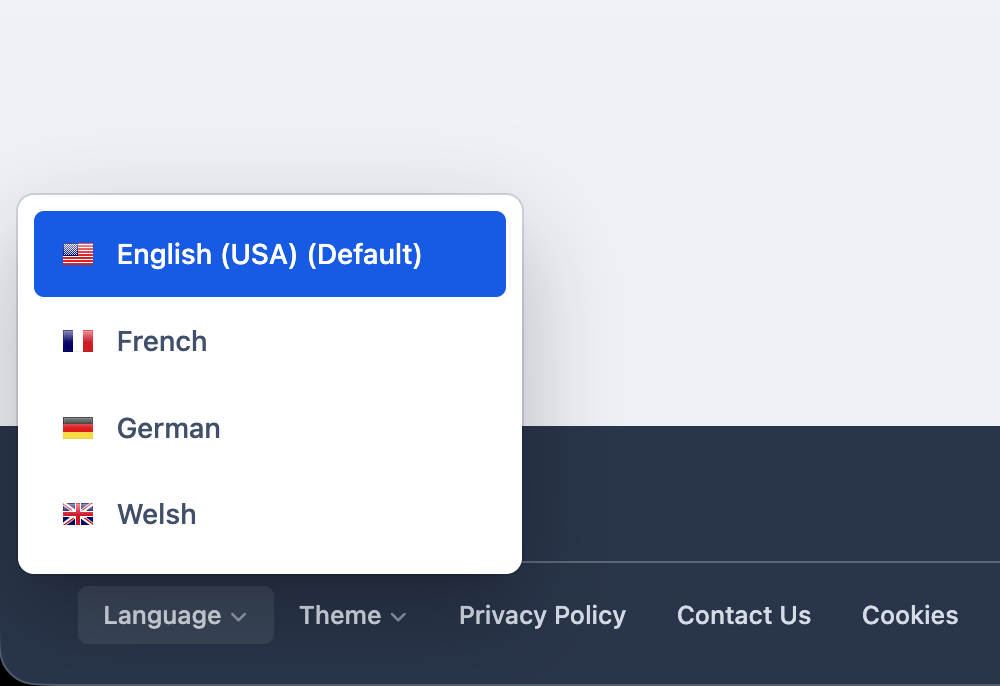
Where multiple languages are available, members can select the language they wish to use from the language selector on the community, where permissions allow.
Language Selection
Translating a language
There are two main ways in which you can translate or customise phrases:
Quick translating allows you to change phrases while viewing them directly on your community.
The language editor gives you access to the complete collection of language phrases in one place.
Quick translating is useful when you know where a phrase appears but not necessarily what its language key is. The language editor is more useful when translating an entire language or locating phrases that may not regularly appear within the interface.
Quick Translation
Quick translating allows you to edit language phrases directly from the page on which they appear. This can be useful even if you are not translating your community into another language. For example, you may simply want to change a word or phrase used by Invision Community to terminology that better suits your community.
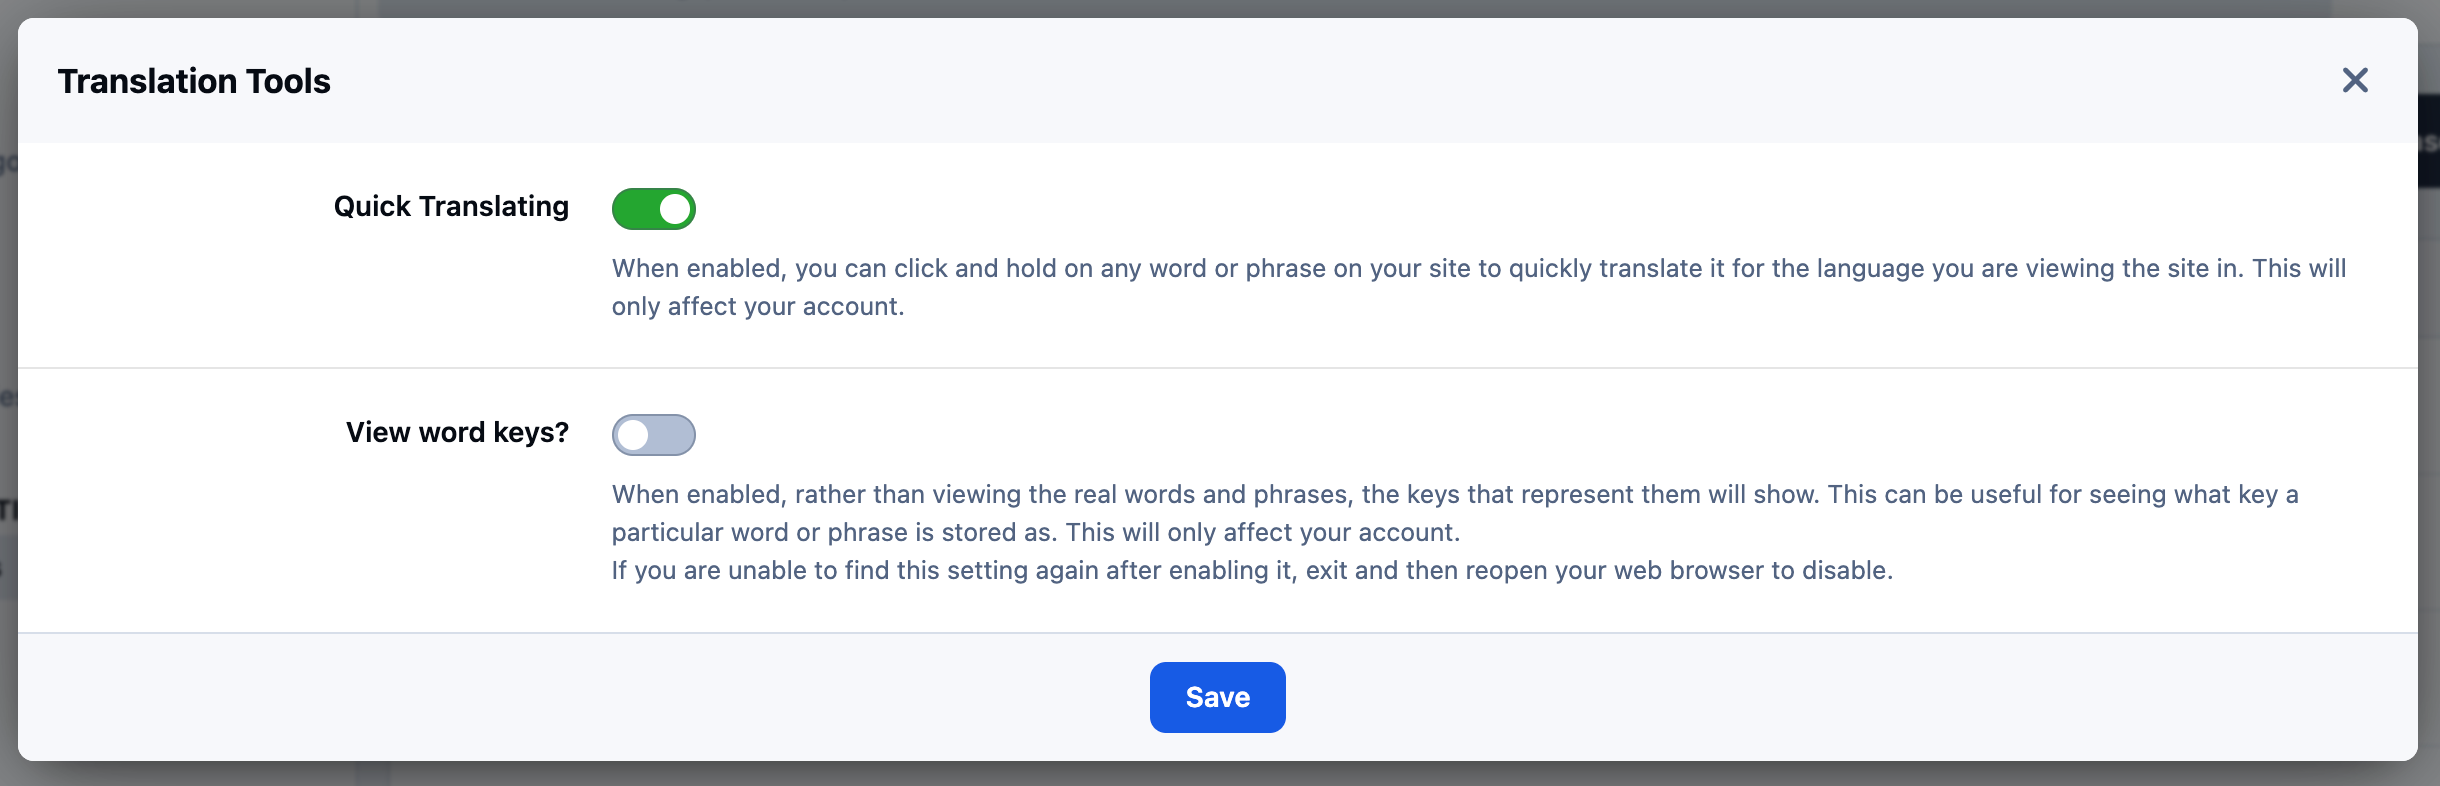
To enable quick translating, click on Translation Tools in the top right of the Languages area of your admin CP, and enable quick translating
Enabling Quick Translate
Once enabled, browse your community as normal. Phrases that can be translated can be edited directly from the page. Select the phrase you wish to change and enter your replacement text, as shown below
Translating on the Front End
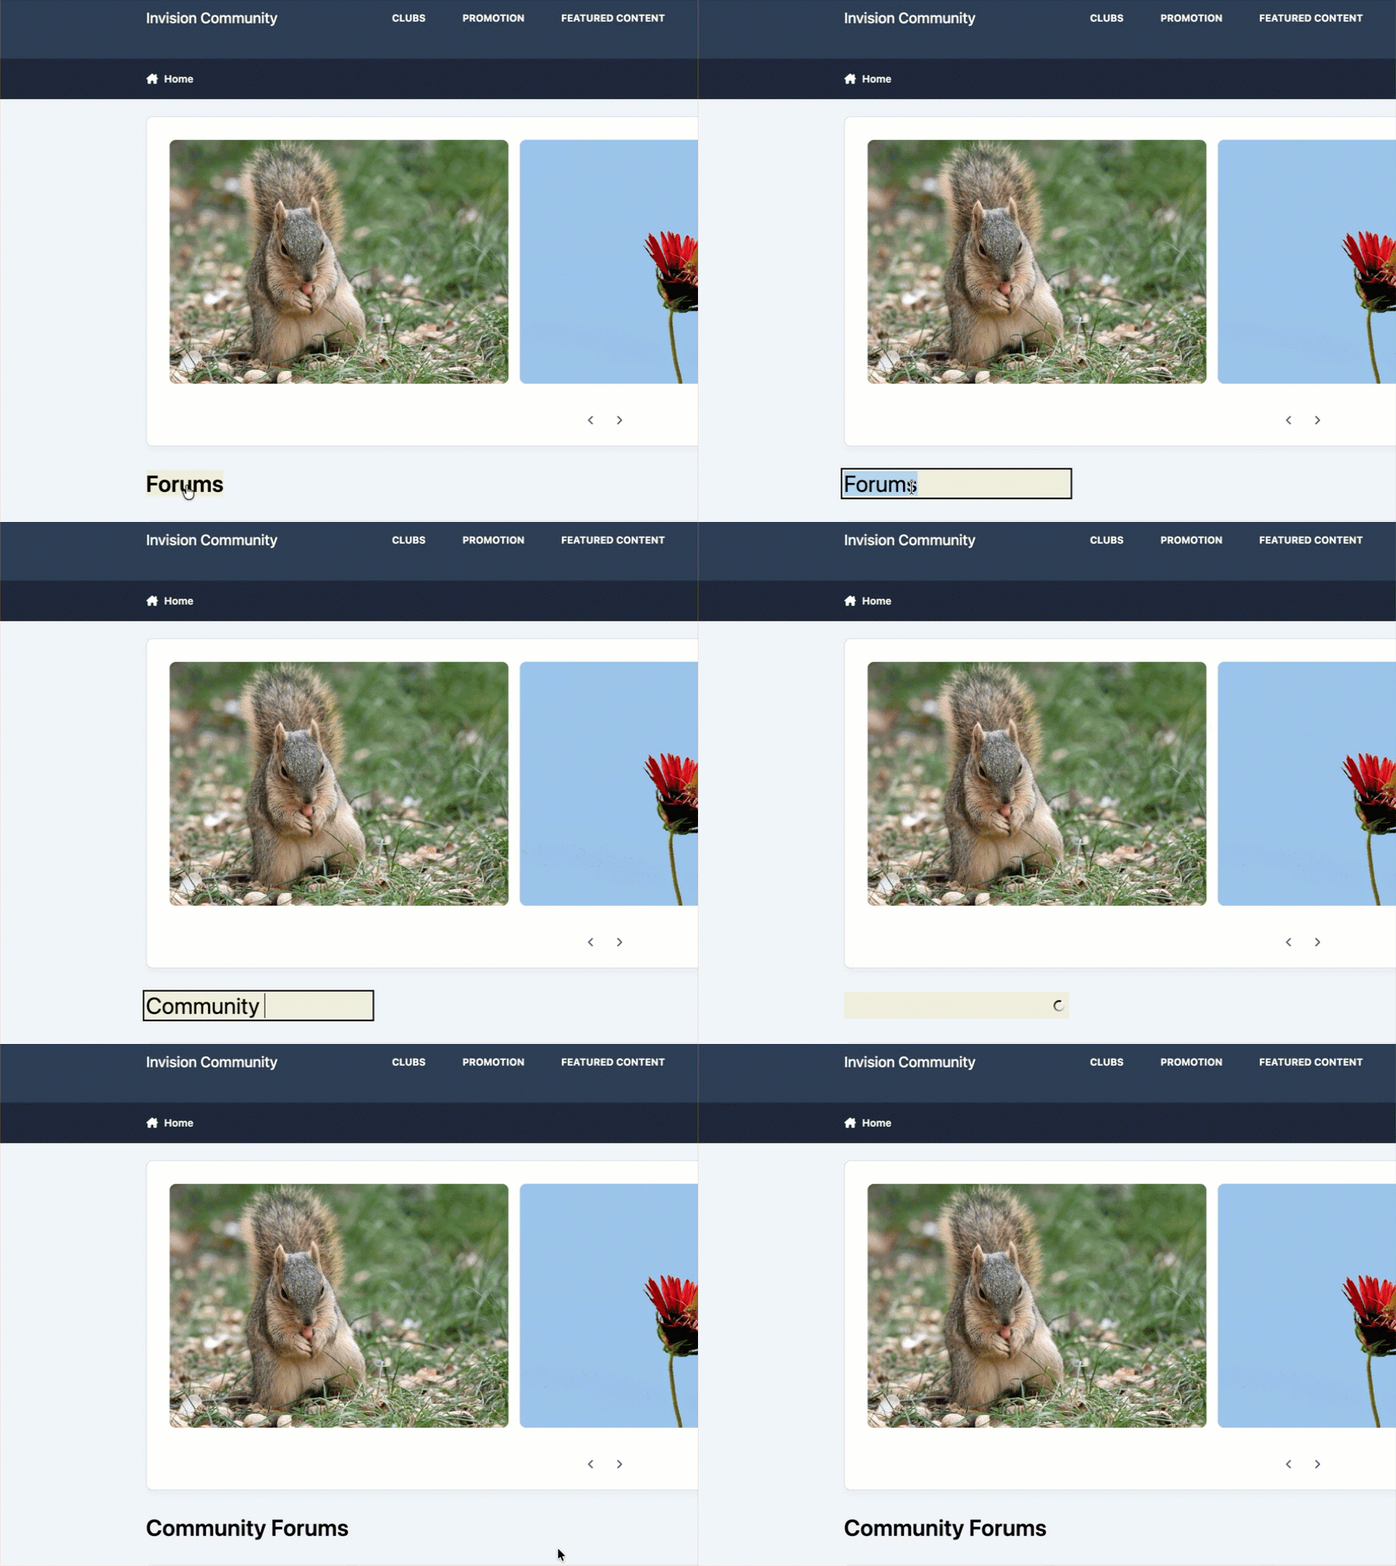
When you have finished making changes, return to the translation tools and disable Quick Translating.
Standard Language Editor
The language editor provides access to the language phrases used throughout Invision Community.
To open the editor, locate the language you wish to change from in the following location:
Customization → Languages
Click on the global icon at the side of the language you wish to translate, to translate it.
The language editor allows you to search, filter and work through phrases without needing to locate them on the community first.
List of Language Keys
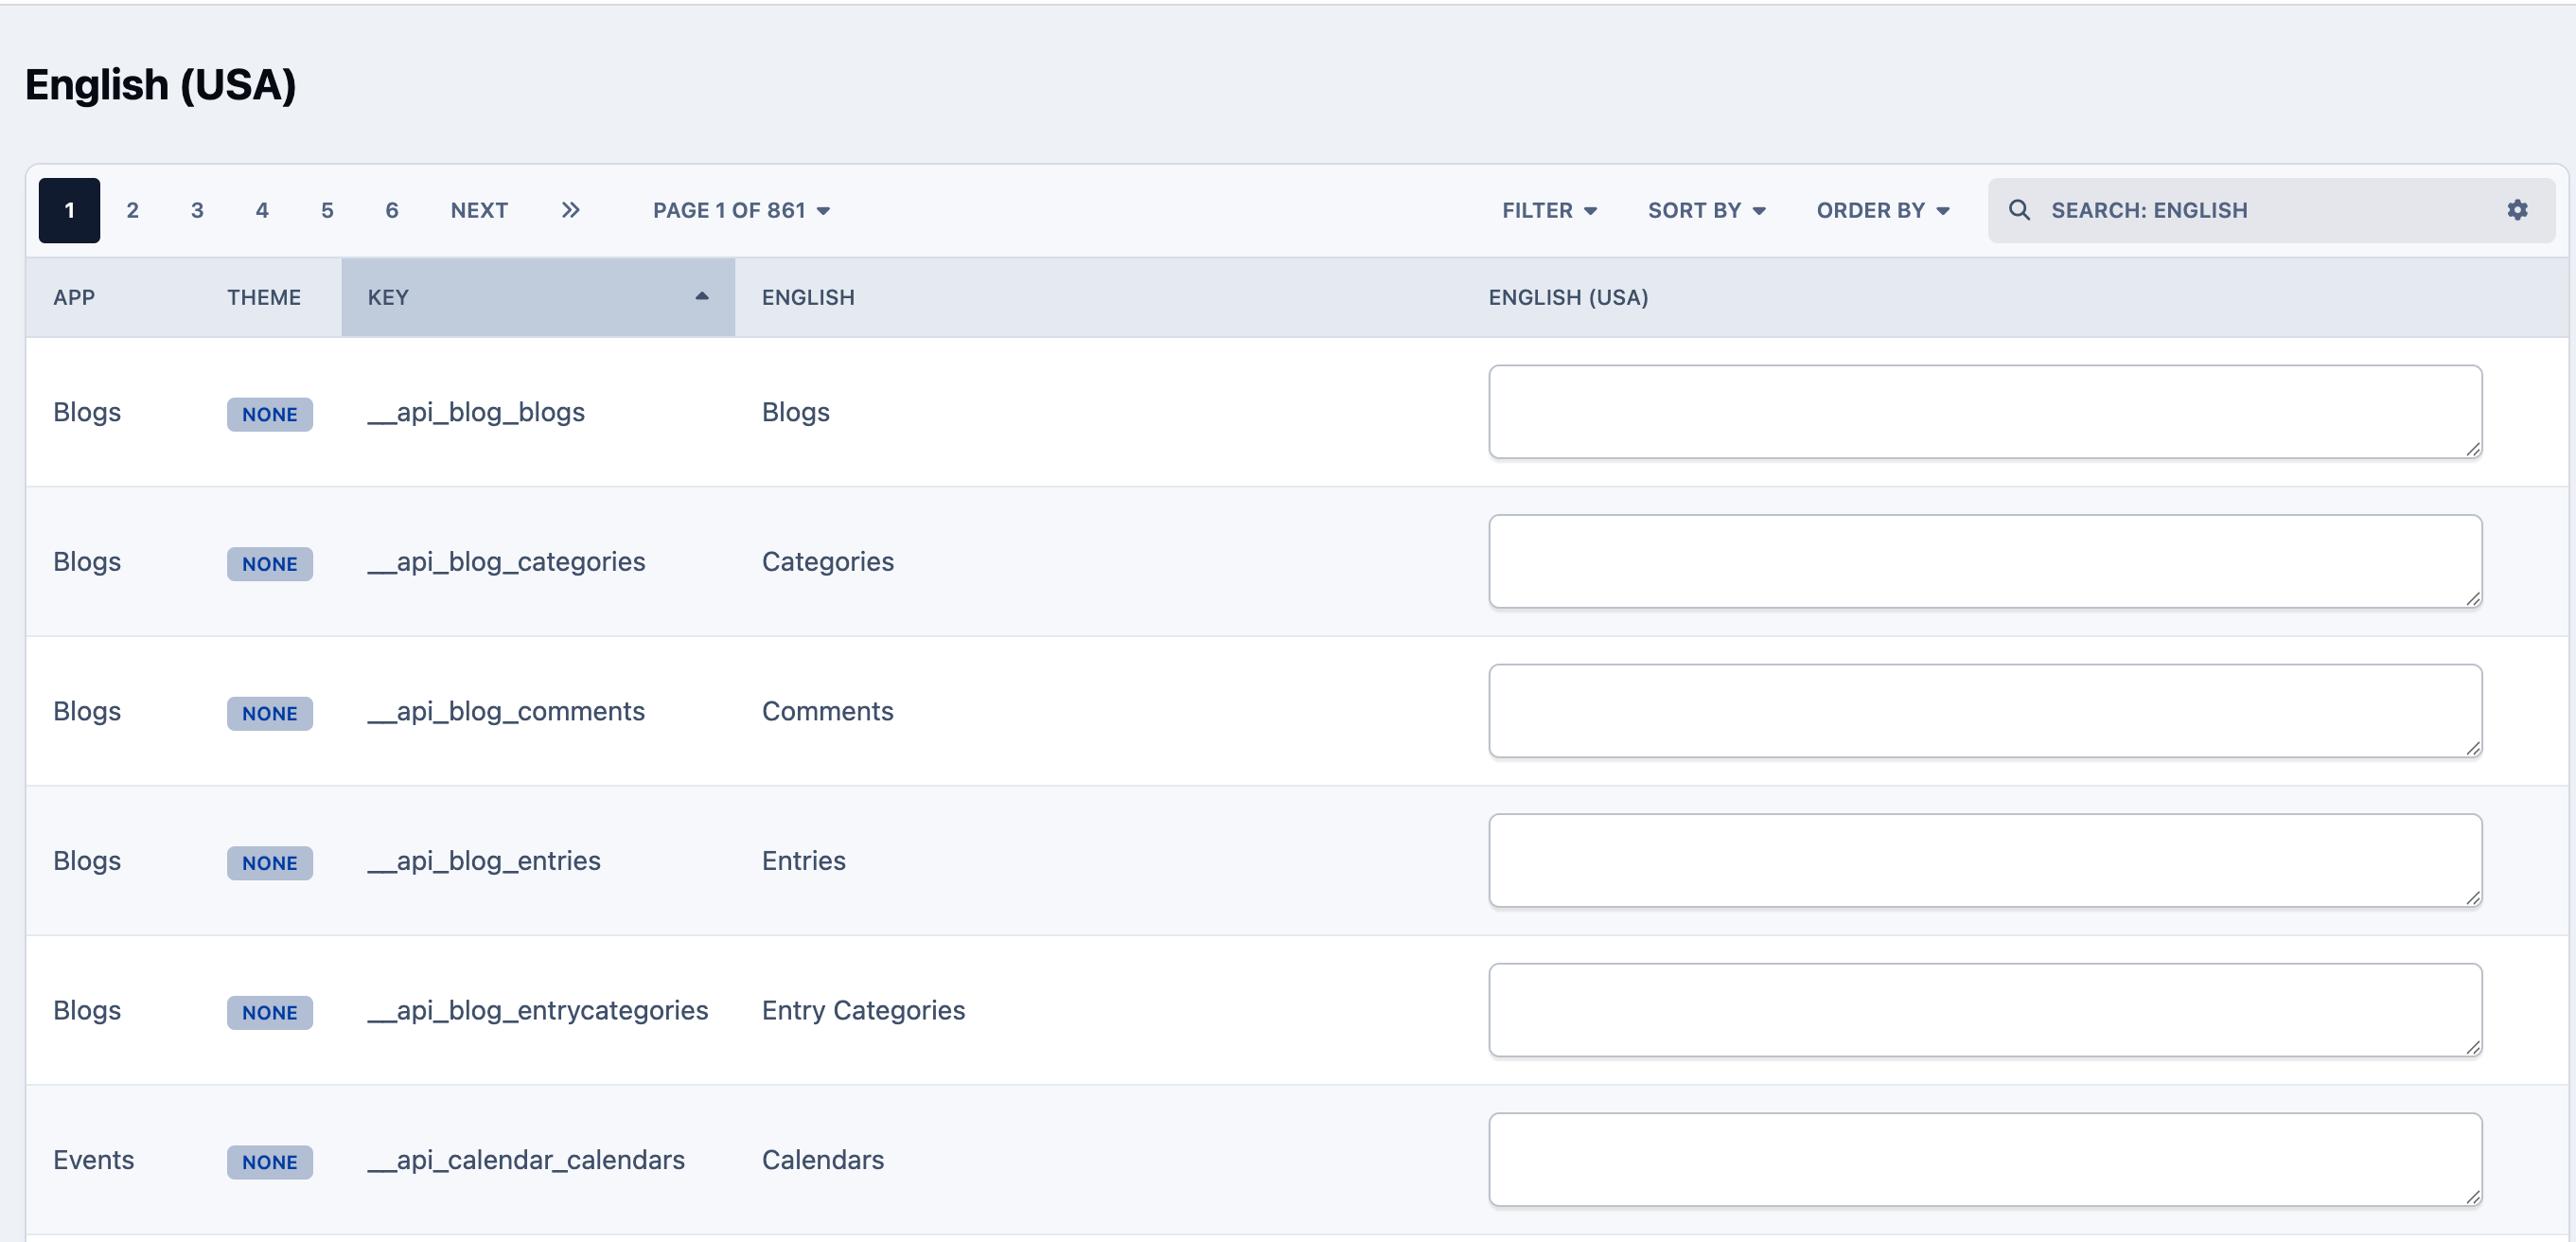
Filters can be used to narrow down the phrases displayed within the editor.
For example, you can use these to locate:
Untranslated phrases that still need to be completed.
Translated phrases that have already been changed.
Out of date translations where the original phrase has changed following an update.
Tip
This can be especially useful after upgrading your community, as you can quickly identify translations that may need reviewing.
The original language phrase is shown alongside your translated or customised version.
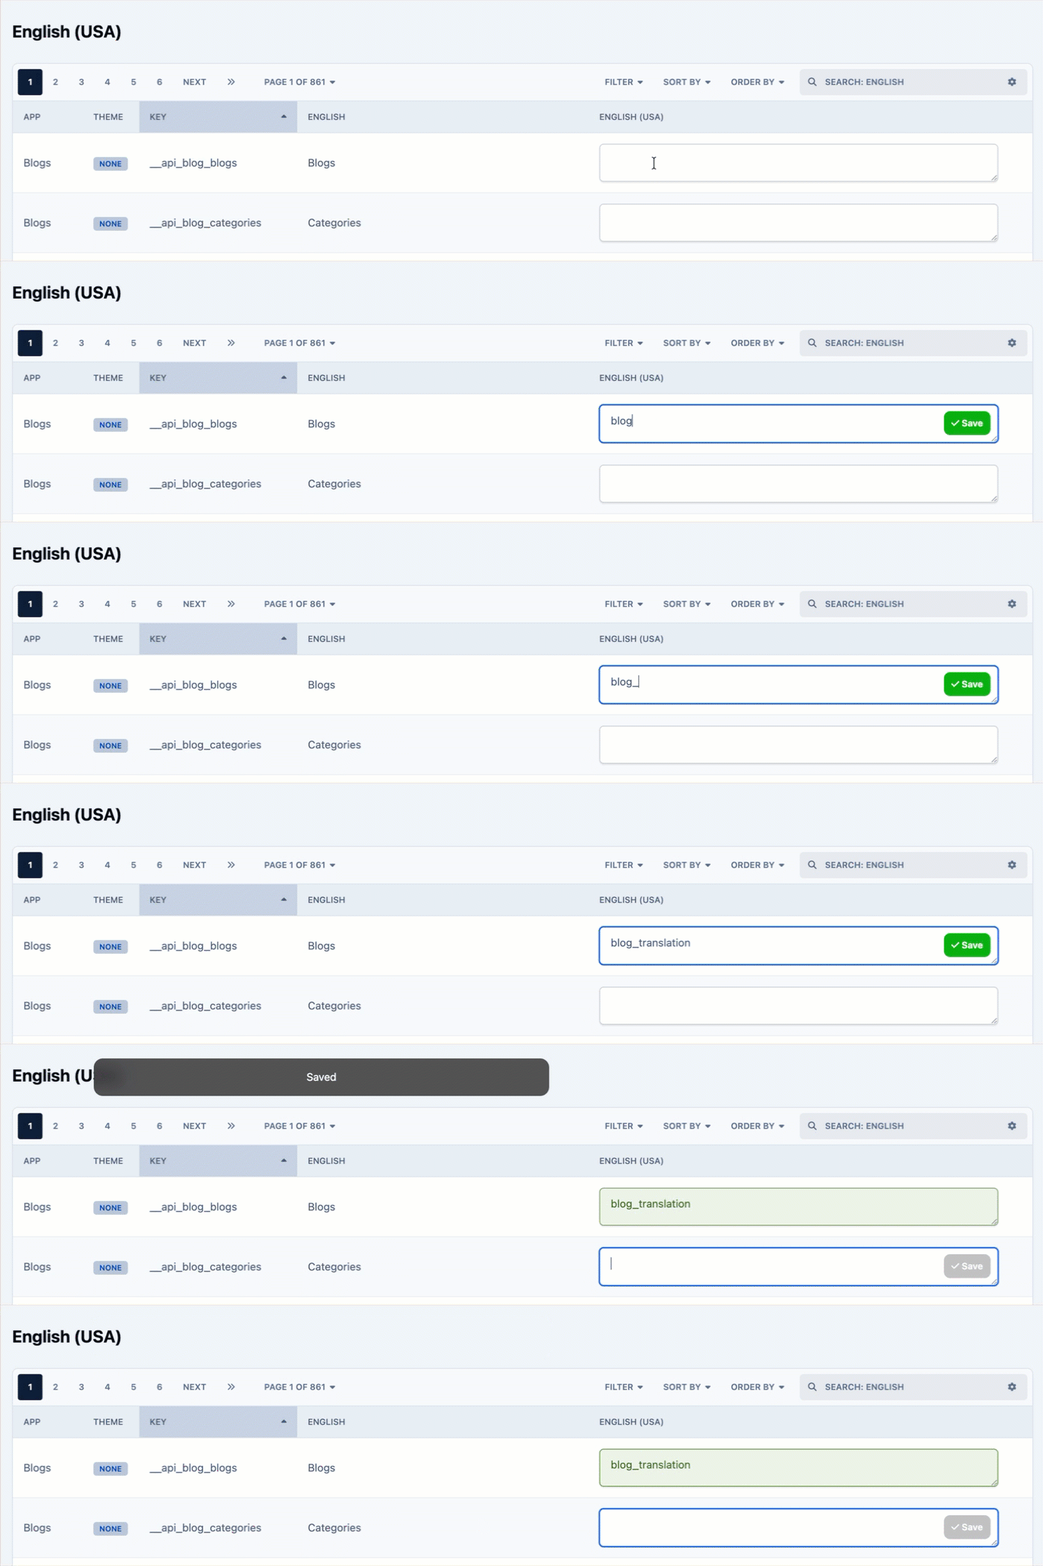
Enter the wording you wish to use within the translation field. Changes are saved automatically as you work through the language phrases.
Translation in the Admin CP
Viewing Word keys
Every language phrase has a unique key used internally by Invision Community.
If you are trying to identify which language phrase is being used in a particular location, you can enable the option to display these keys from the language translation tools.
Switching on Word Keys
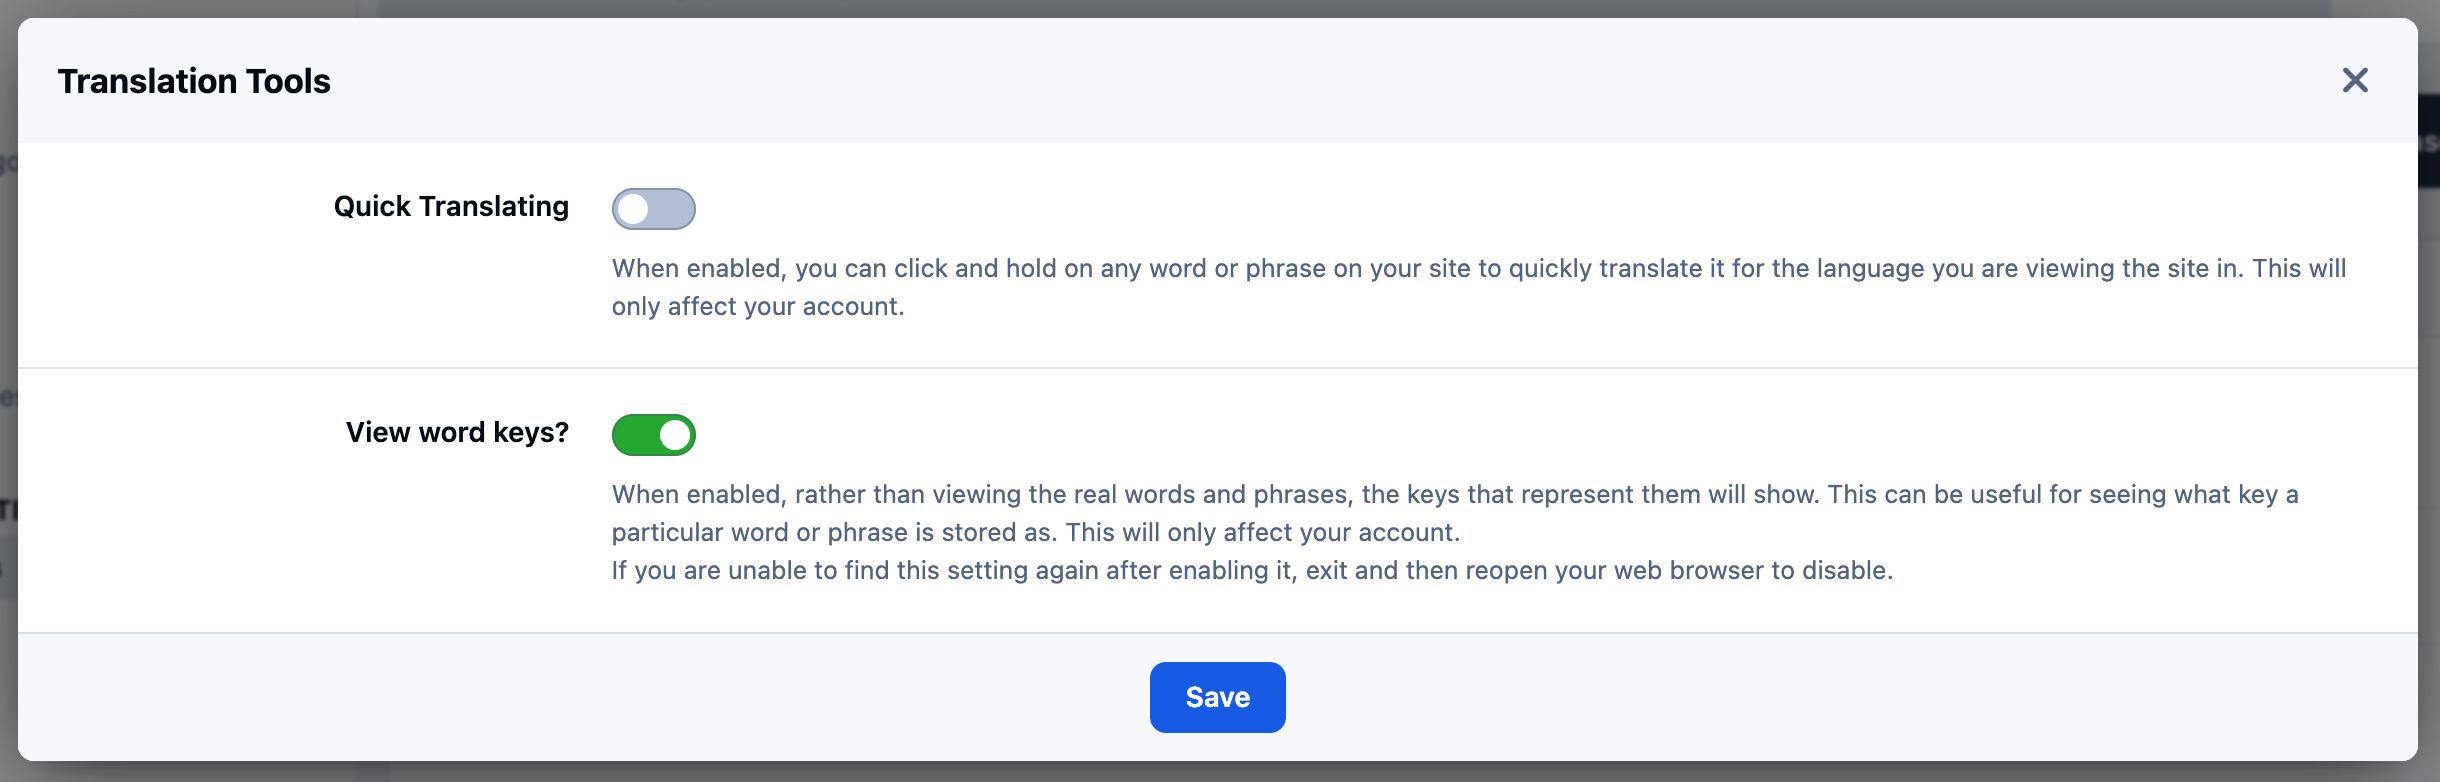
With this enabled, Word keys are displayed in place of their normal phrases, making it easier to locate the corresponding entry within the language editor.
Example Word Key
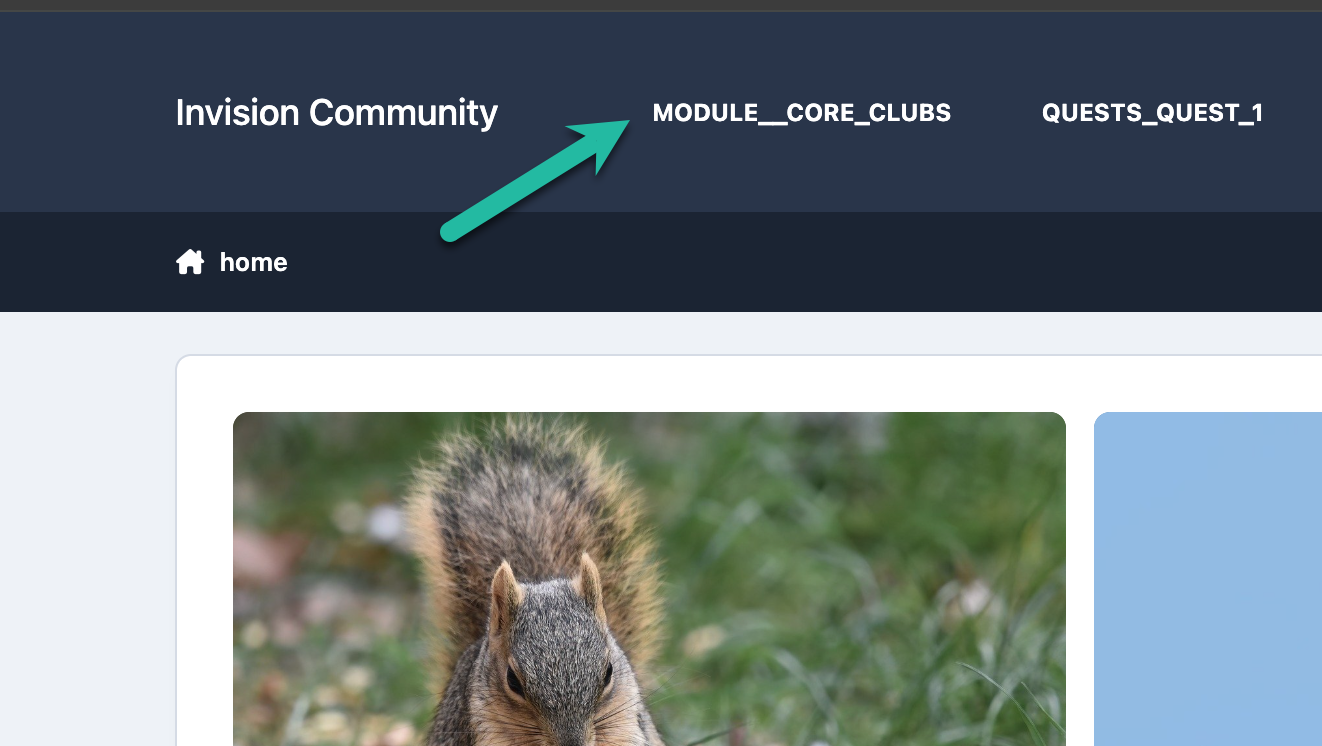
Once you have located the key you require, return to the language editor and search for that key.
Important
Remember to turn the option off once you have finished.
Exporting a language
If you have translated or customised a language, you can export it for use on another community or simply keep a copy as a backup.
Open the menu for the language you wish to export and select the download option.
Exporting Languages
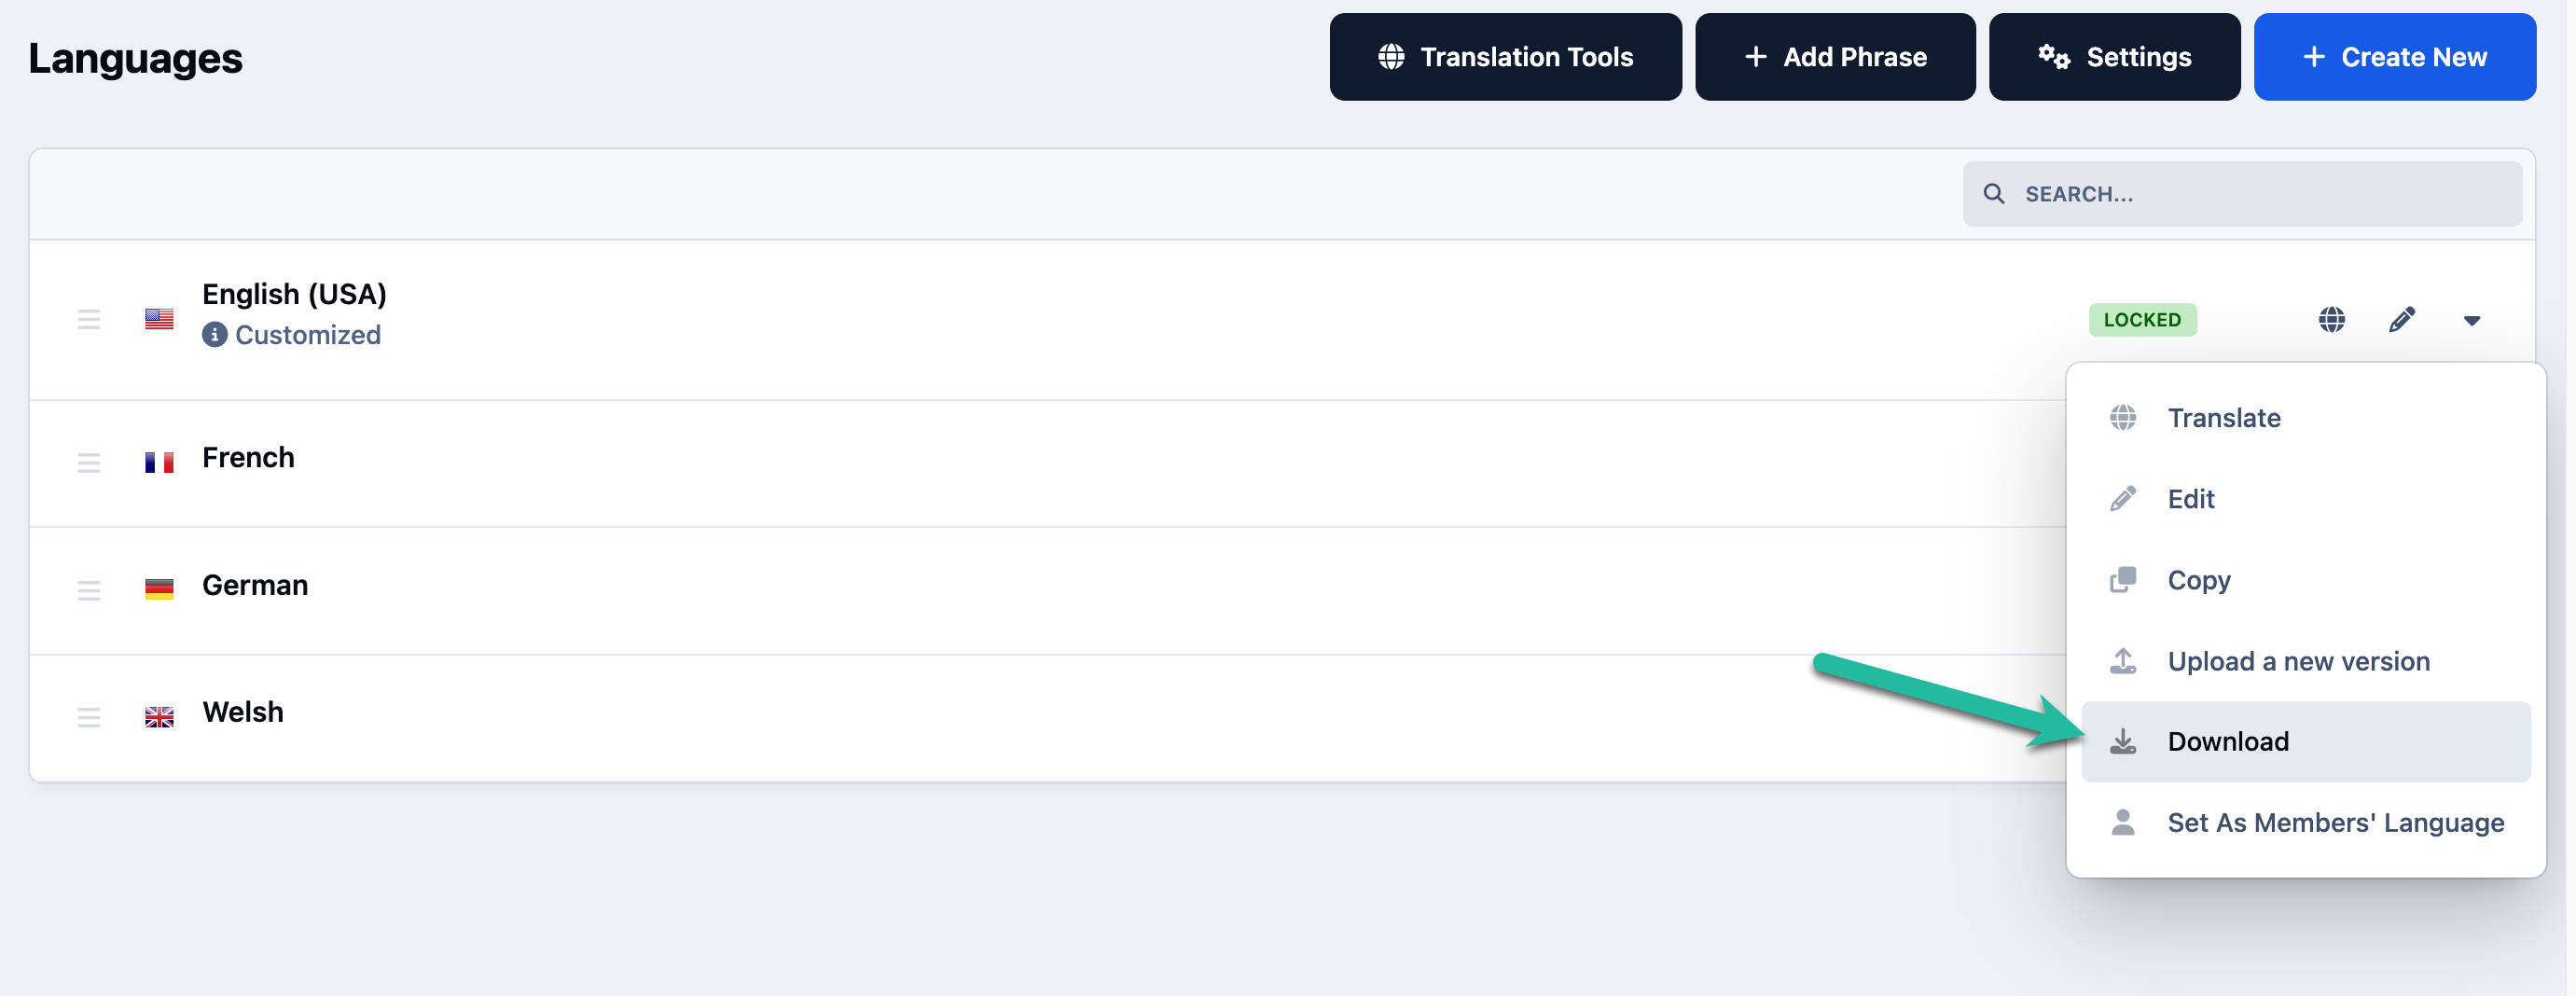
The language will be downloaded as an XML language pack. This file contains the language data required to install that language on another compatible community.
You may wish to export a language after completing a large number of custom translations so you have a separate backup of your work.
Quick Tip
Languages do not need to be used only for translating your community into another spoken language.
Because most interface text within Invision Community is stored as language phrases, you can also use the language tools to change terminology throughout your community.
For example, you may wish to change a phrase such as Forums to something more appropriate for the type of community you run.




Recommended Comments