


Creating a staff directory for your community can be useful for a variety of reasons. It may simply allow members to quickly see who the staff are, or, in the case of gaming communities, represent staff members who also hold in-game roles.
Whatever the purpose, Invision Community makes it easy to create and manage a staff directory directly from the Admin CP
Creating a Directory
A staff directory can be created from the following location in the Admin CP
Members → Staff → Staff Directory
By default, you will see the Administrators and Moderators groups already added. Expanding these groups will show the members currently included in each section of the directory.
Staff Directory Listing
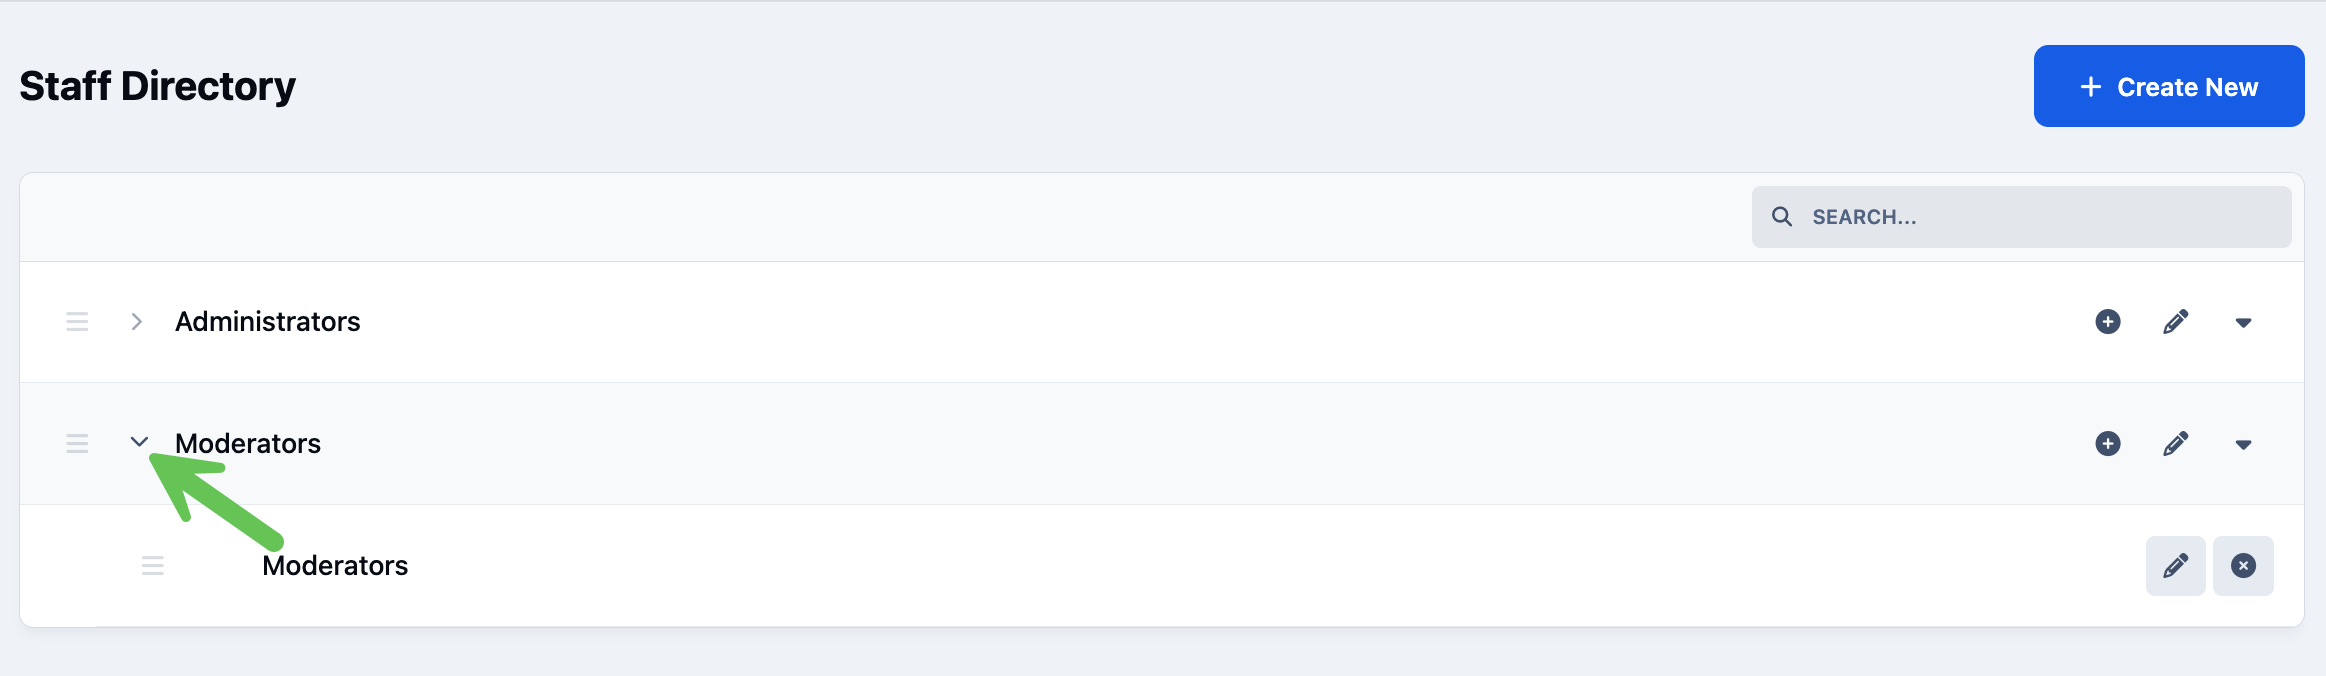
You can add either entire groups or individual members to a category by selecting the plus (+) icon next to the relevant category. To create a brand new category, select 'Create Category'.
When adding an item to a category, you’ll be presented with one of two options depending on what you choose to add. If you’re adding a group, you simply select the group from the list. If you’re adding an individual member, additional options will be available, allowing you to configure how that member is displayed within the staff directory.
Creating a New Directory Entry
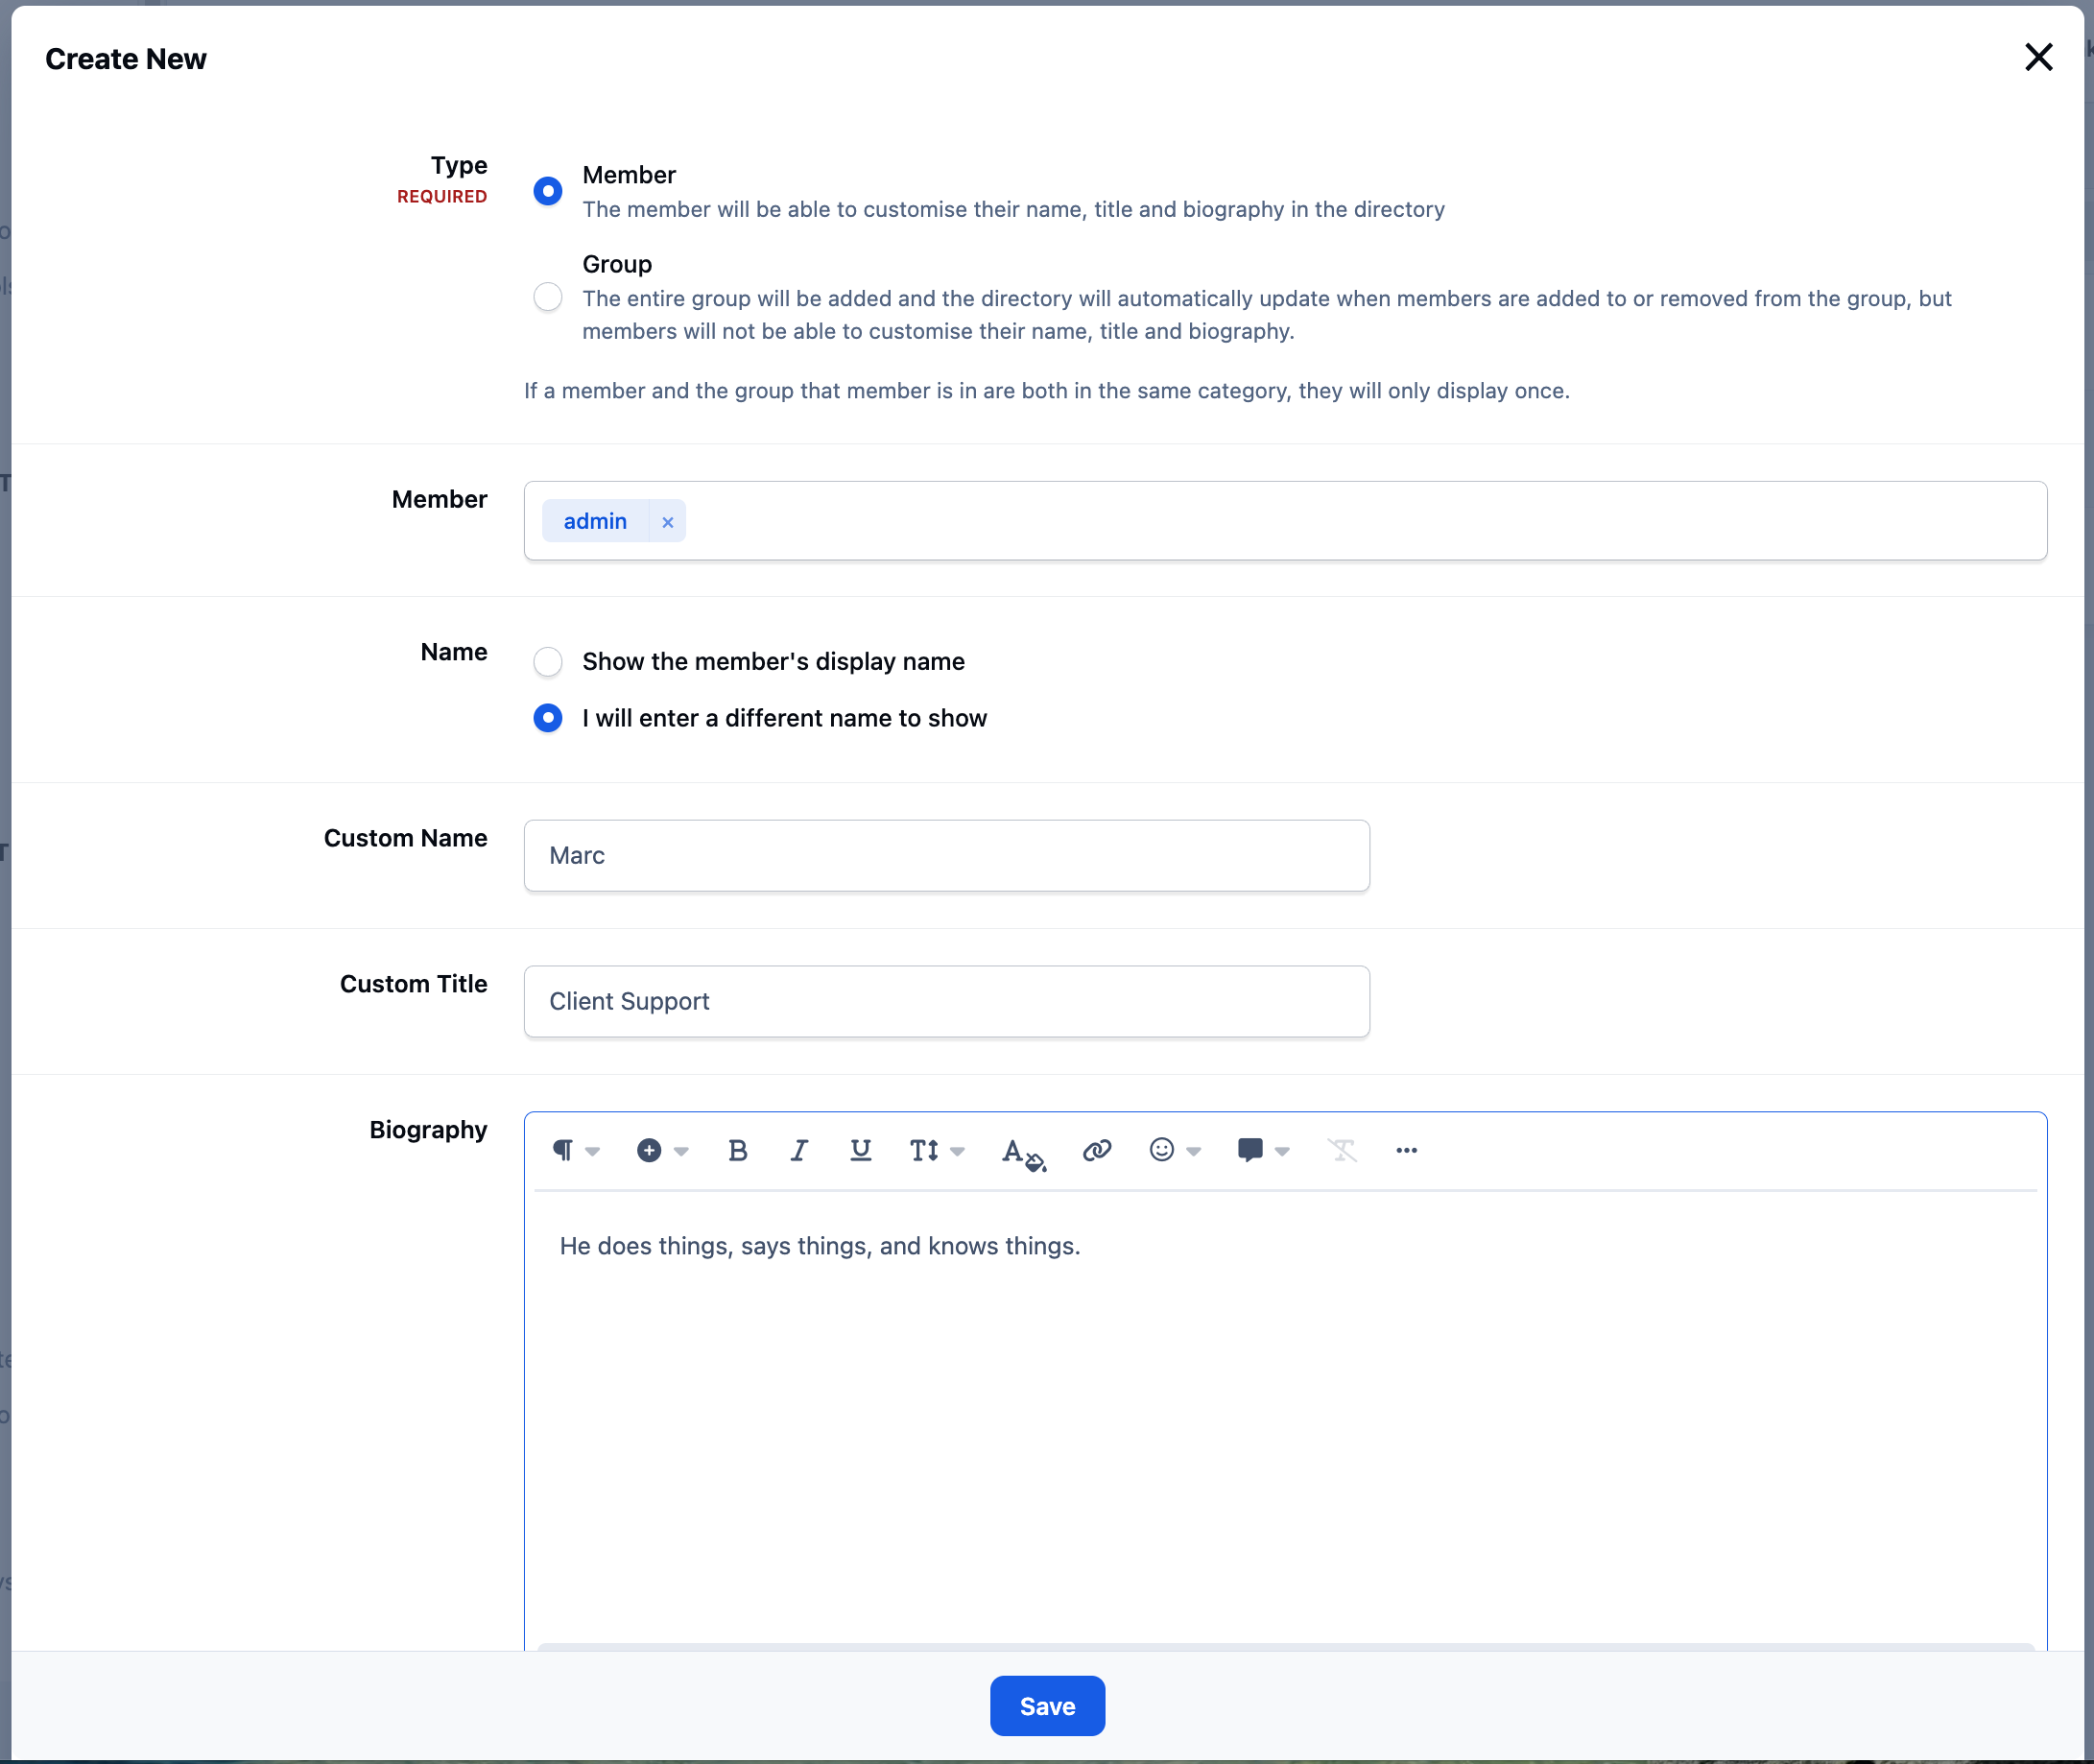
When adding an individual member to the staff directory, you’ll notice that you can customize how their details are displayed. This is particularly useful if you want to show a real name or an alternative display name for clarity.
For example, you might have a member whose username is X2201, but choose to display them as Dave (X2201) so it’s clear who they are. The same applies to the user title—while a member’s default title might be something like Happy Guy, you could instead display a role-specific title such as Clan Leader.
Directory Display
You can change how the staff directory is displayed by editing the settings for each category. To do this, select the pencil icon on the right-hand side of any category in the list.
Once selected, you’ll be presented with a screen similar to the one shown below, where you can adjust how that category appears in the staff directory.
Switching the Category Layout
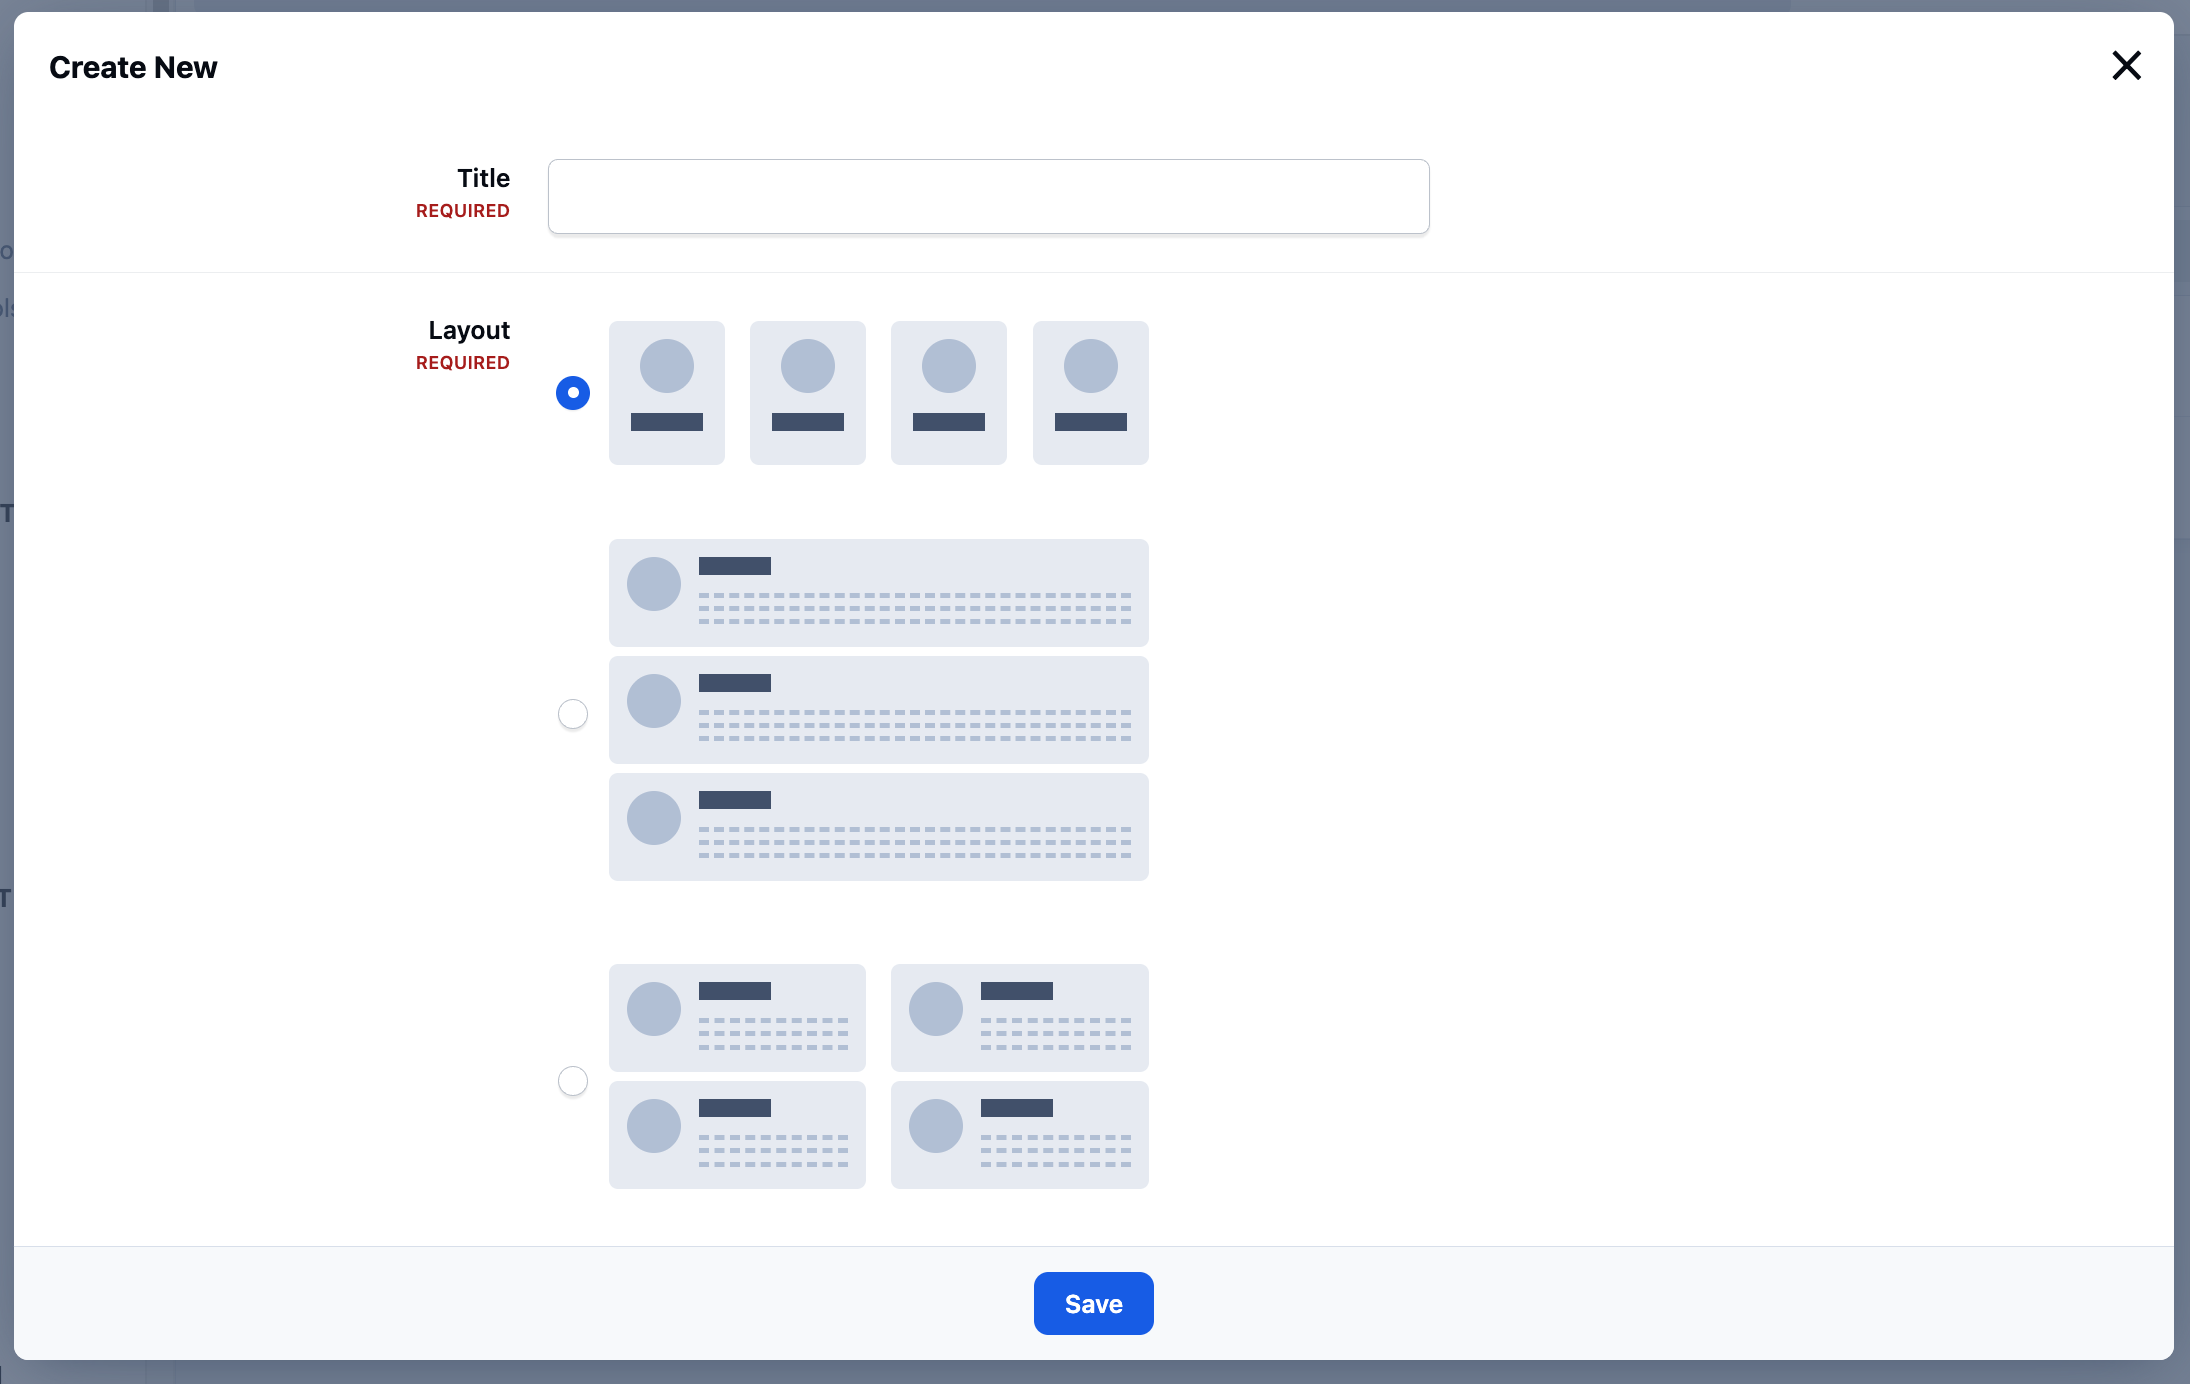
You can choose from a range of built-in layouts, making it quick and easy to select a design that best suits the style and needs of your site. Switching between layouts allows you to refresh the look of your staff directory with minimal effort, helping it fit seamlessly into your community’s overall design.
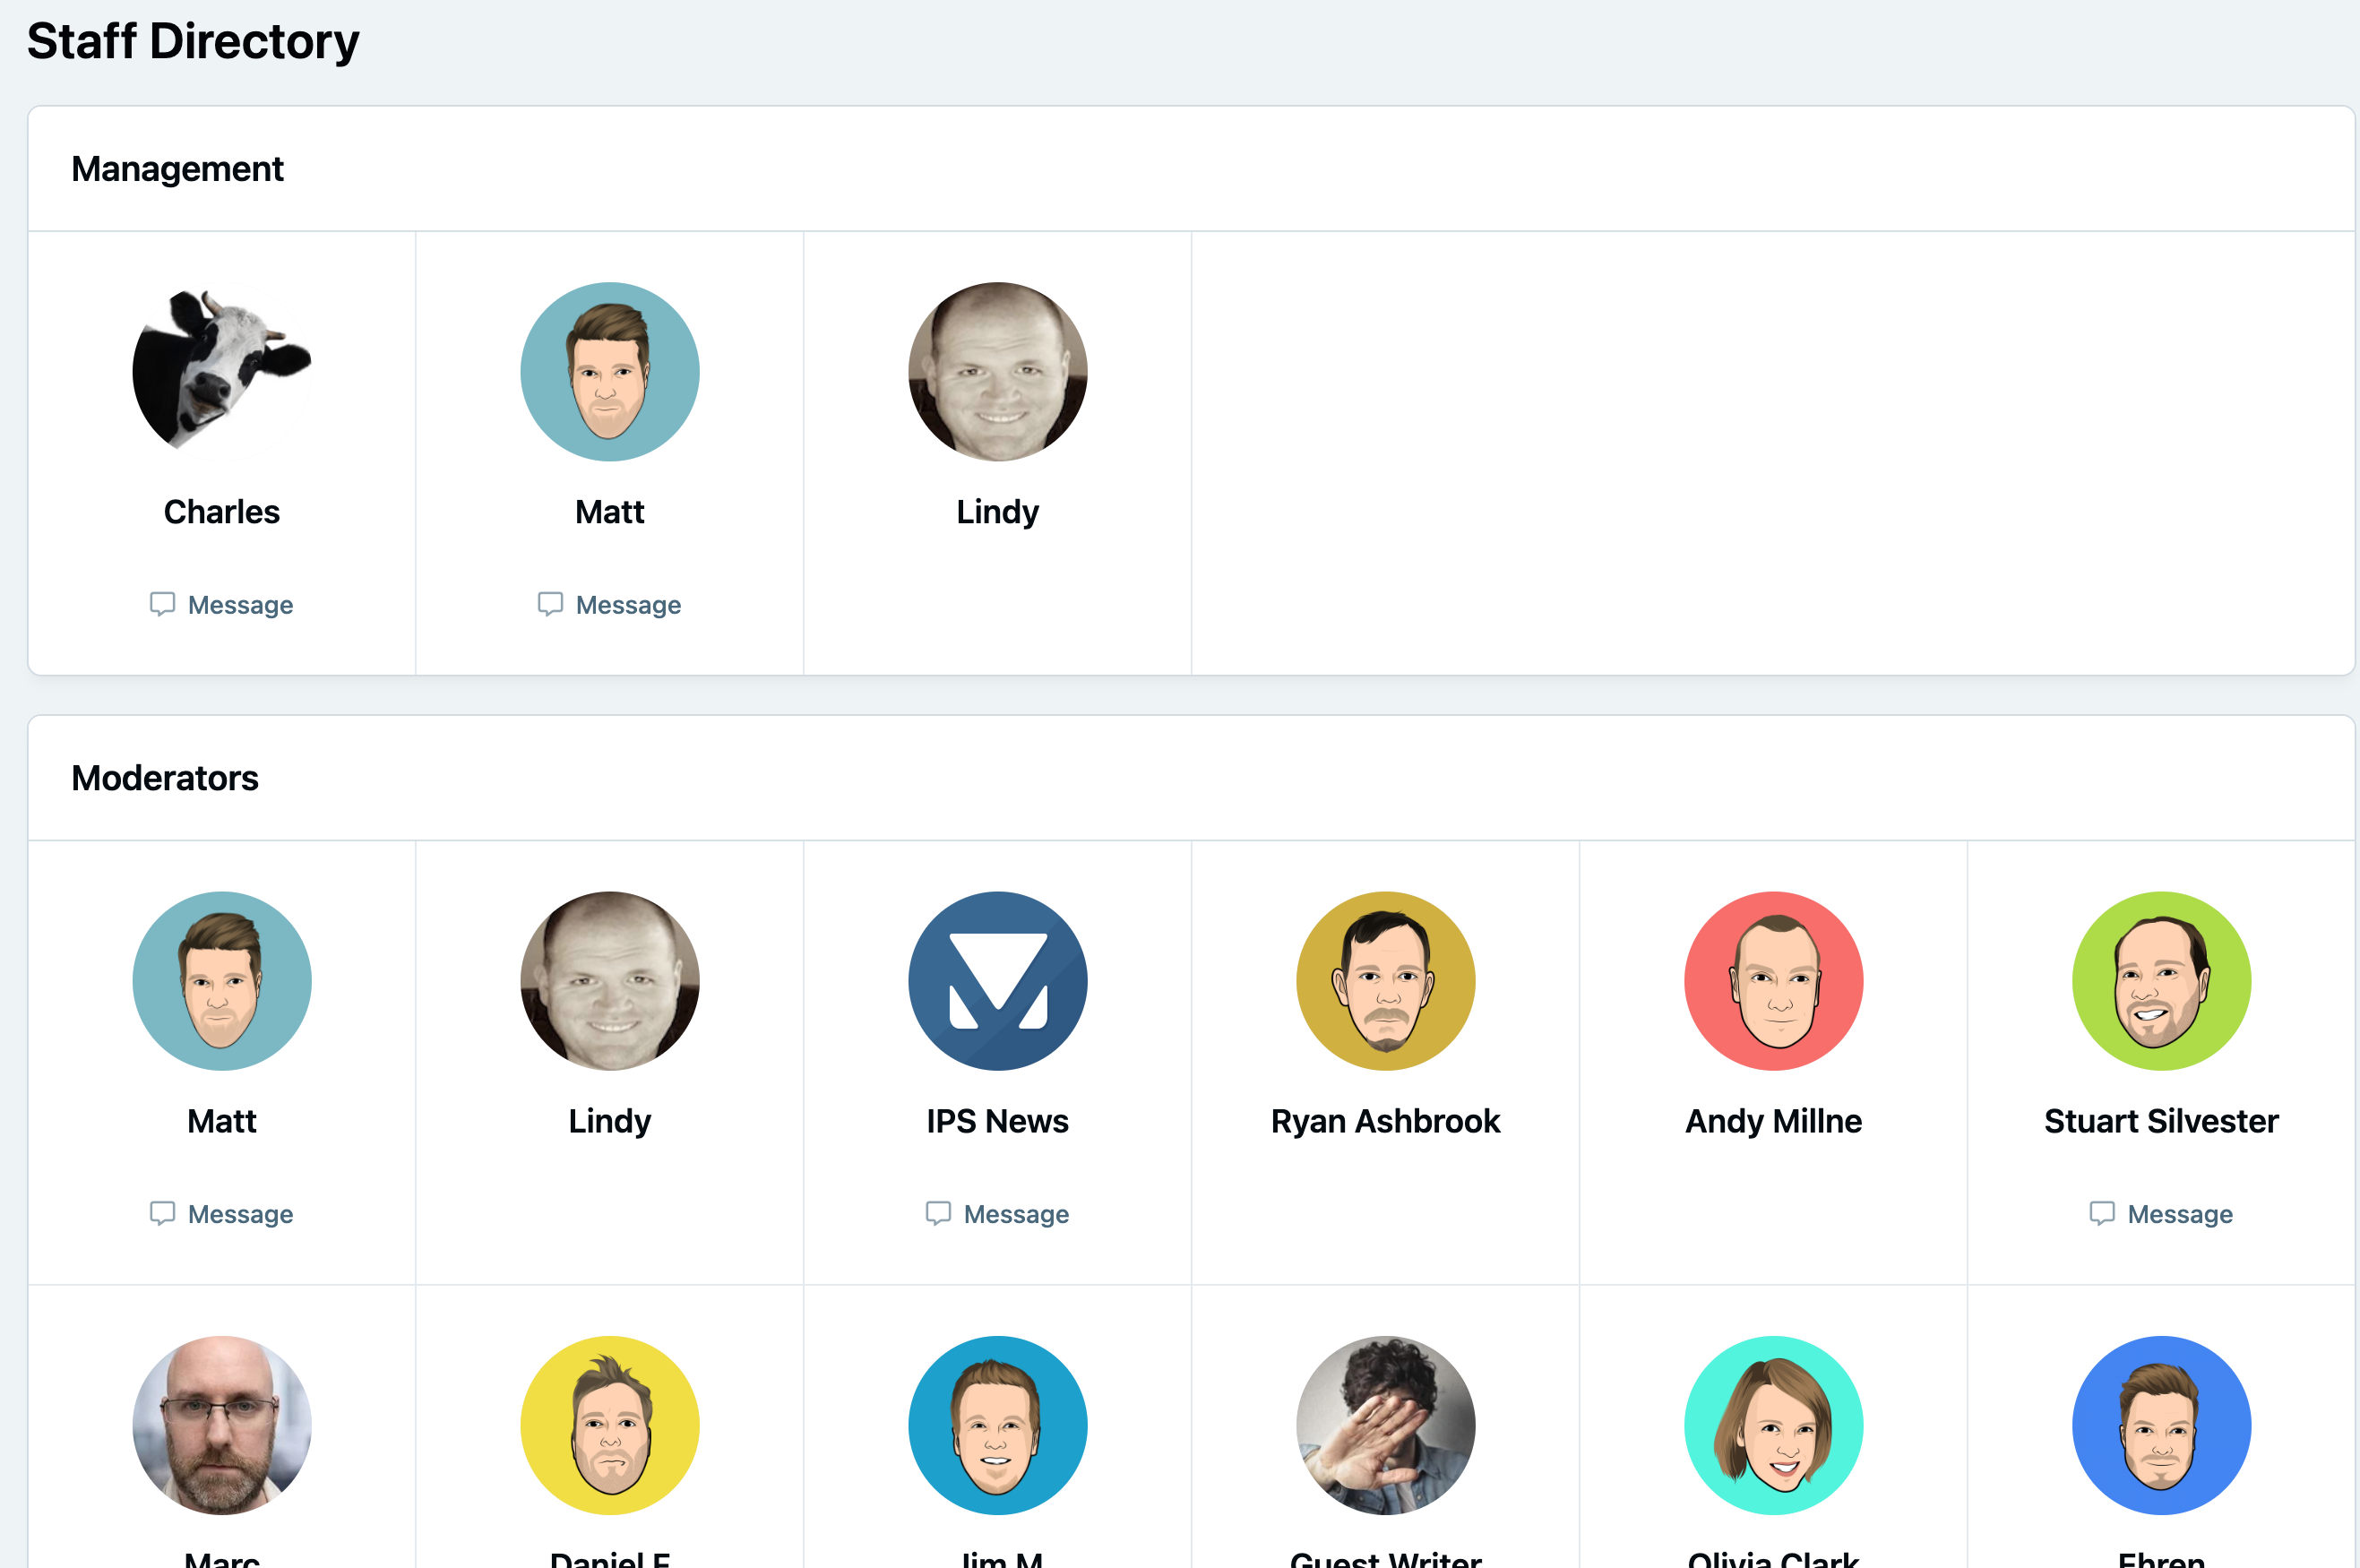
Staff Directory Front End
Recommended Comments