


In any community, there will always be information you want to collect about your members that isn’t included by default in the core product. This might be data needed for administrative purposes, or details you’d like to display on member profiles or alongside content.
In Invision Community, you can create and organize custom fields to capture this information, grouping them in a way that best suits the needs of your site.
Creating Profile Fields
Custom Profile fields can be configured from the following location within the ACP:
Members → Member Settings → Profiles → Profile Fields
Custom Profile Field List
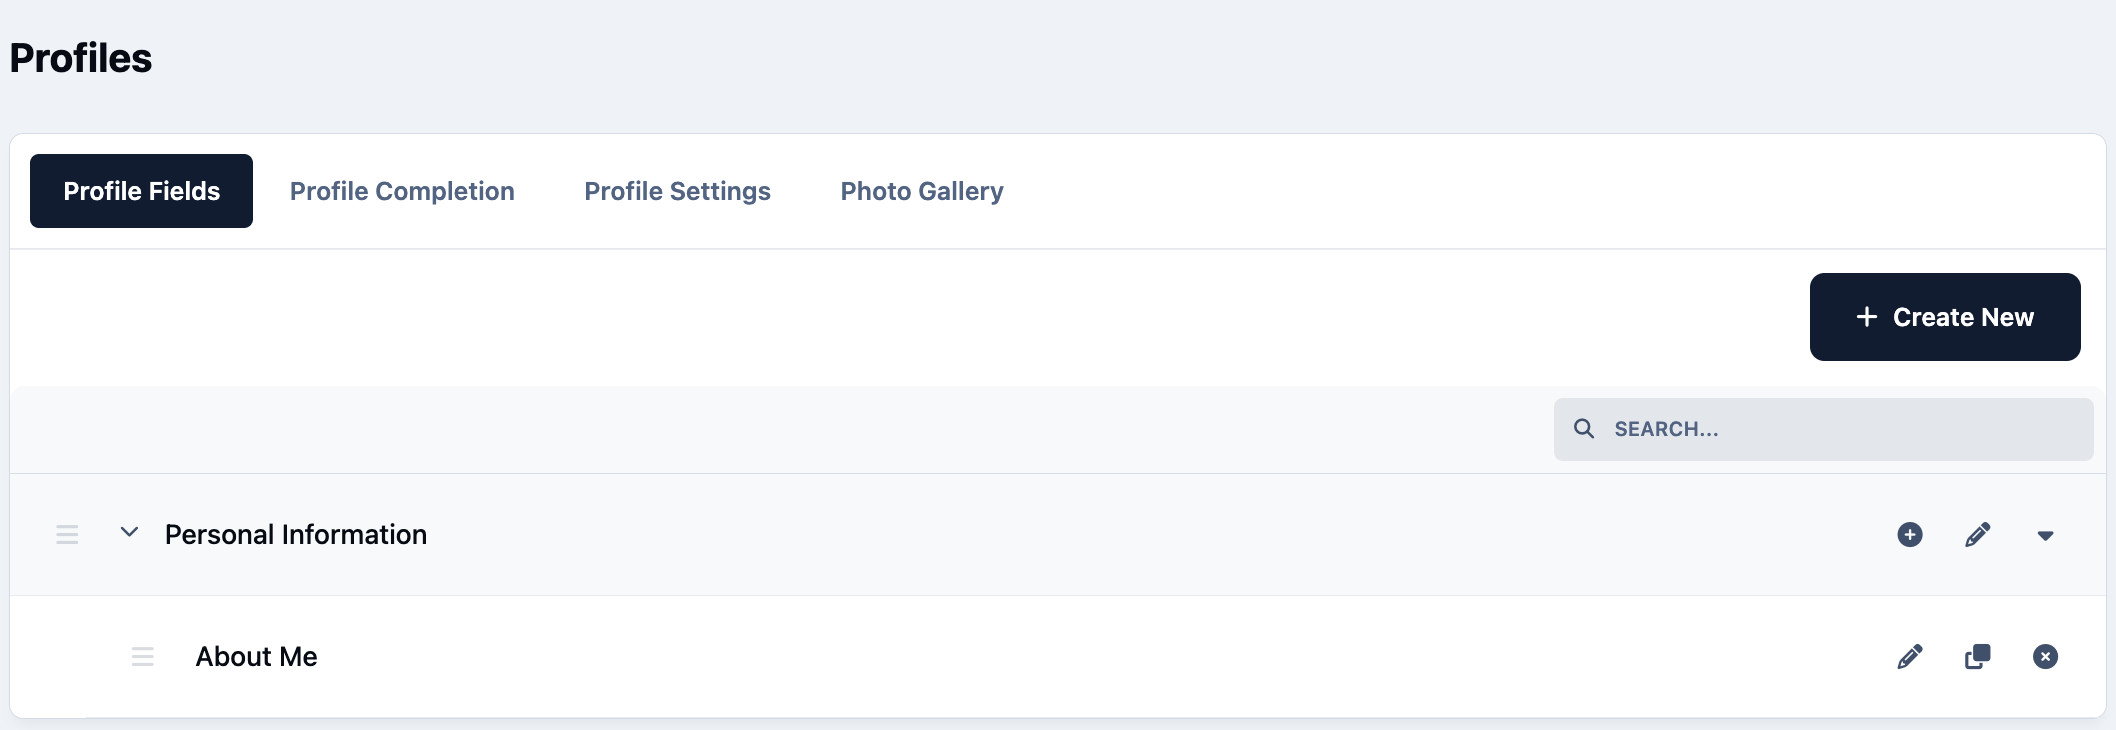
Selecting the 'Create New' button in the top-right corner allows you to create a new group for profile fields, similar to the Personal Information section shown above. To add a new field to an existing group, click the + icon next to the relevant group.
When adding a new field, you’ll be taken to the field creation screen. In the example shown, 'Text' has been selected as the field type, which allows members to enter information using a text input box.
Creating a New Field
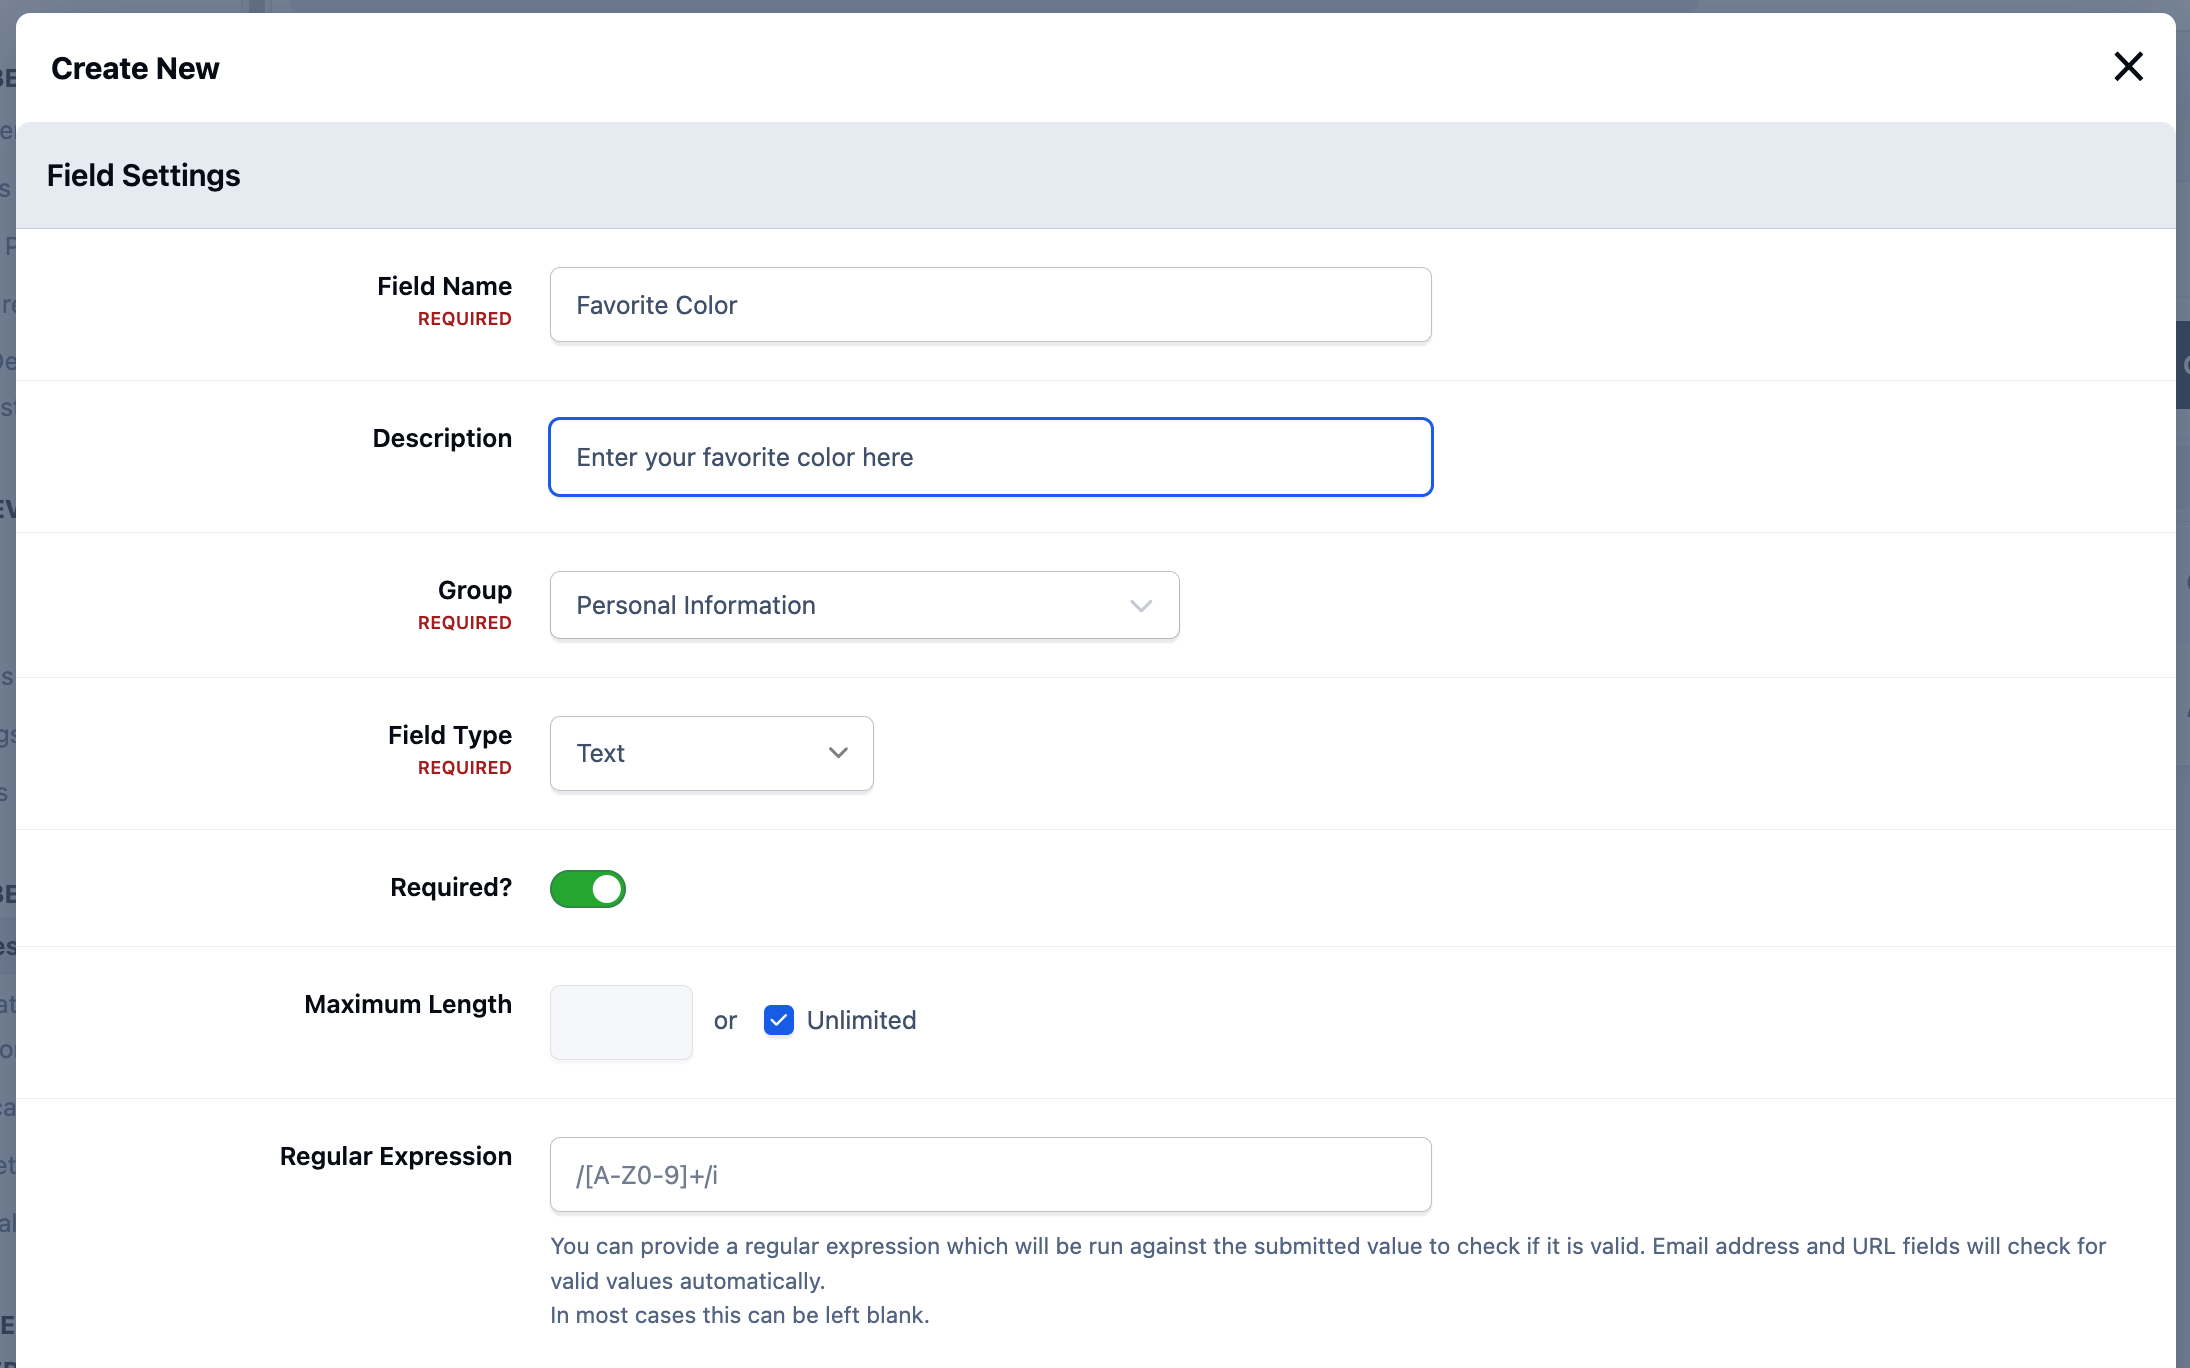
Here you’ll find settings that allow you to define things like a maximum length for the field, as well as use 'regular expressions' to validate the data entered.
You may notice that there isn’t a 'Required' option shown in this example. This is because profile completion is enabled, which is discussed in another guide. If you are not using profile completion as part of quick registration, you will also see a 'Required' checkbox, which can be selected if needed.
You can also control where this information is displayed, how it appears, and how it behaves once filled in. For example, if you only want the field to be completed once and never edited again, simply disable 'Member can edit value' to prevent further changes after the initial entry.
Additional Profile Field Information
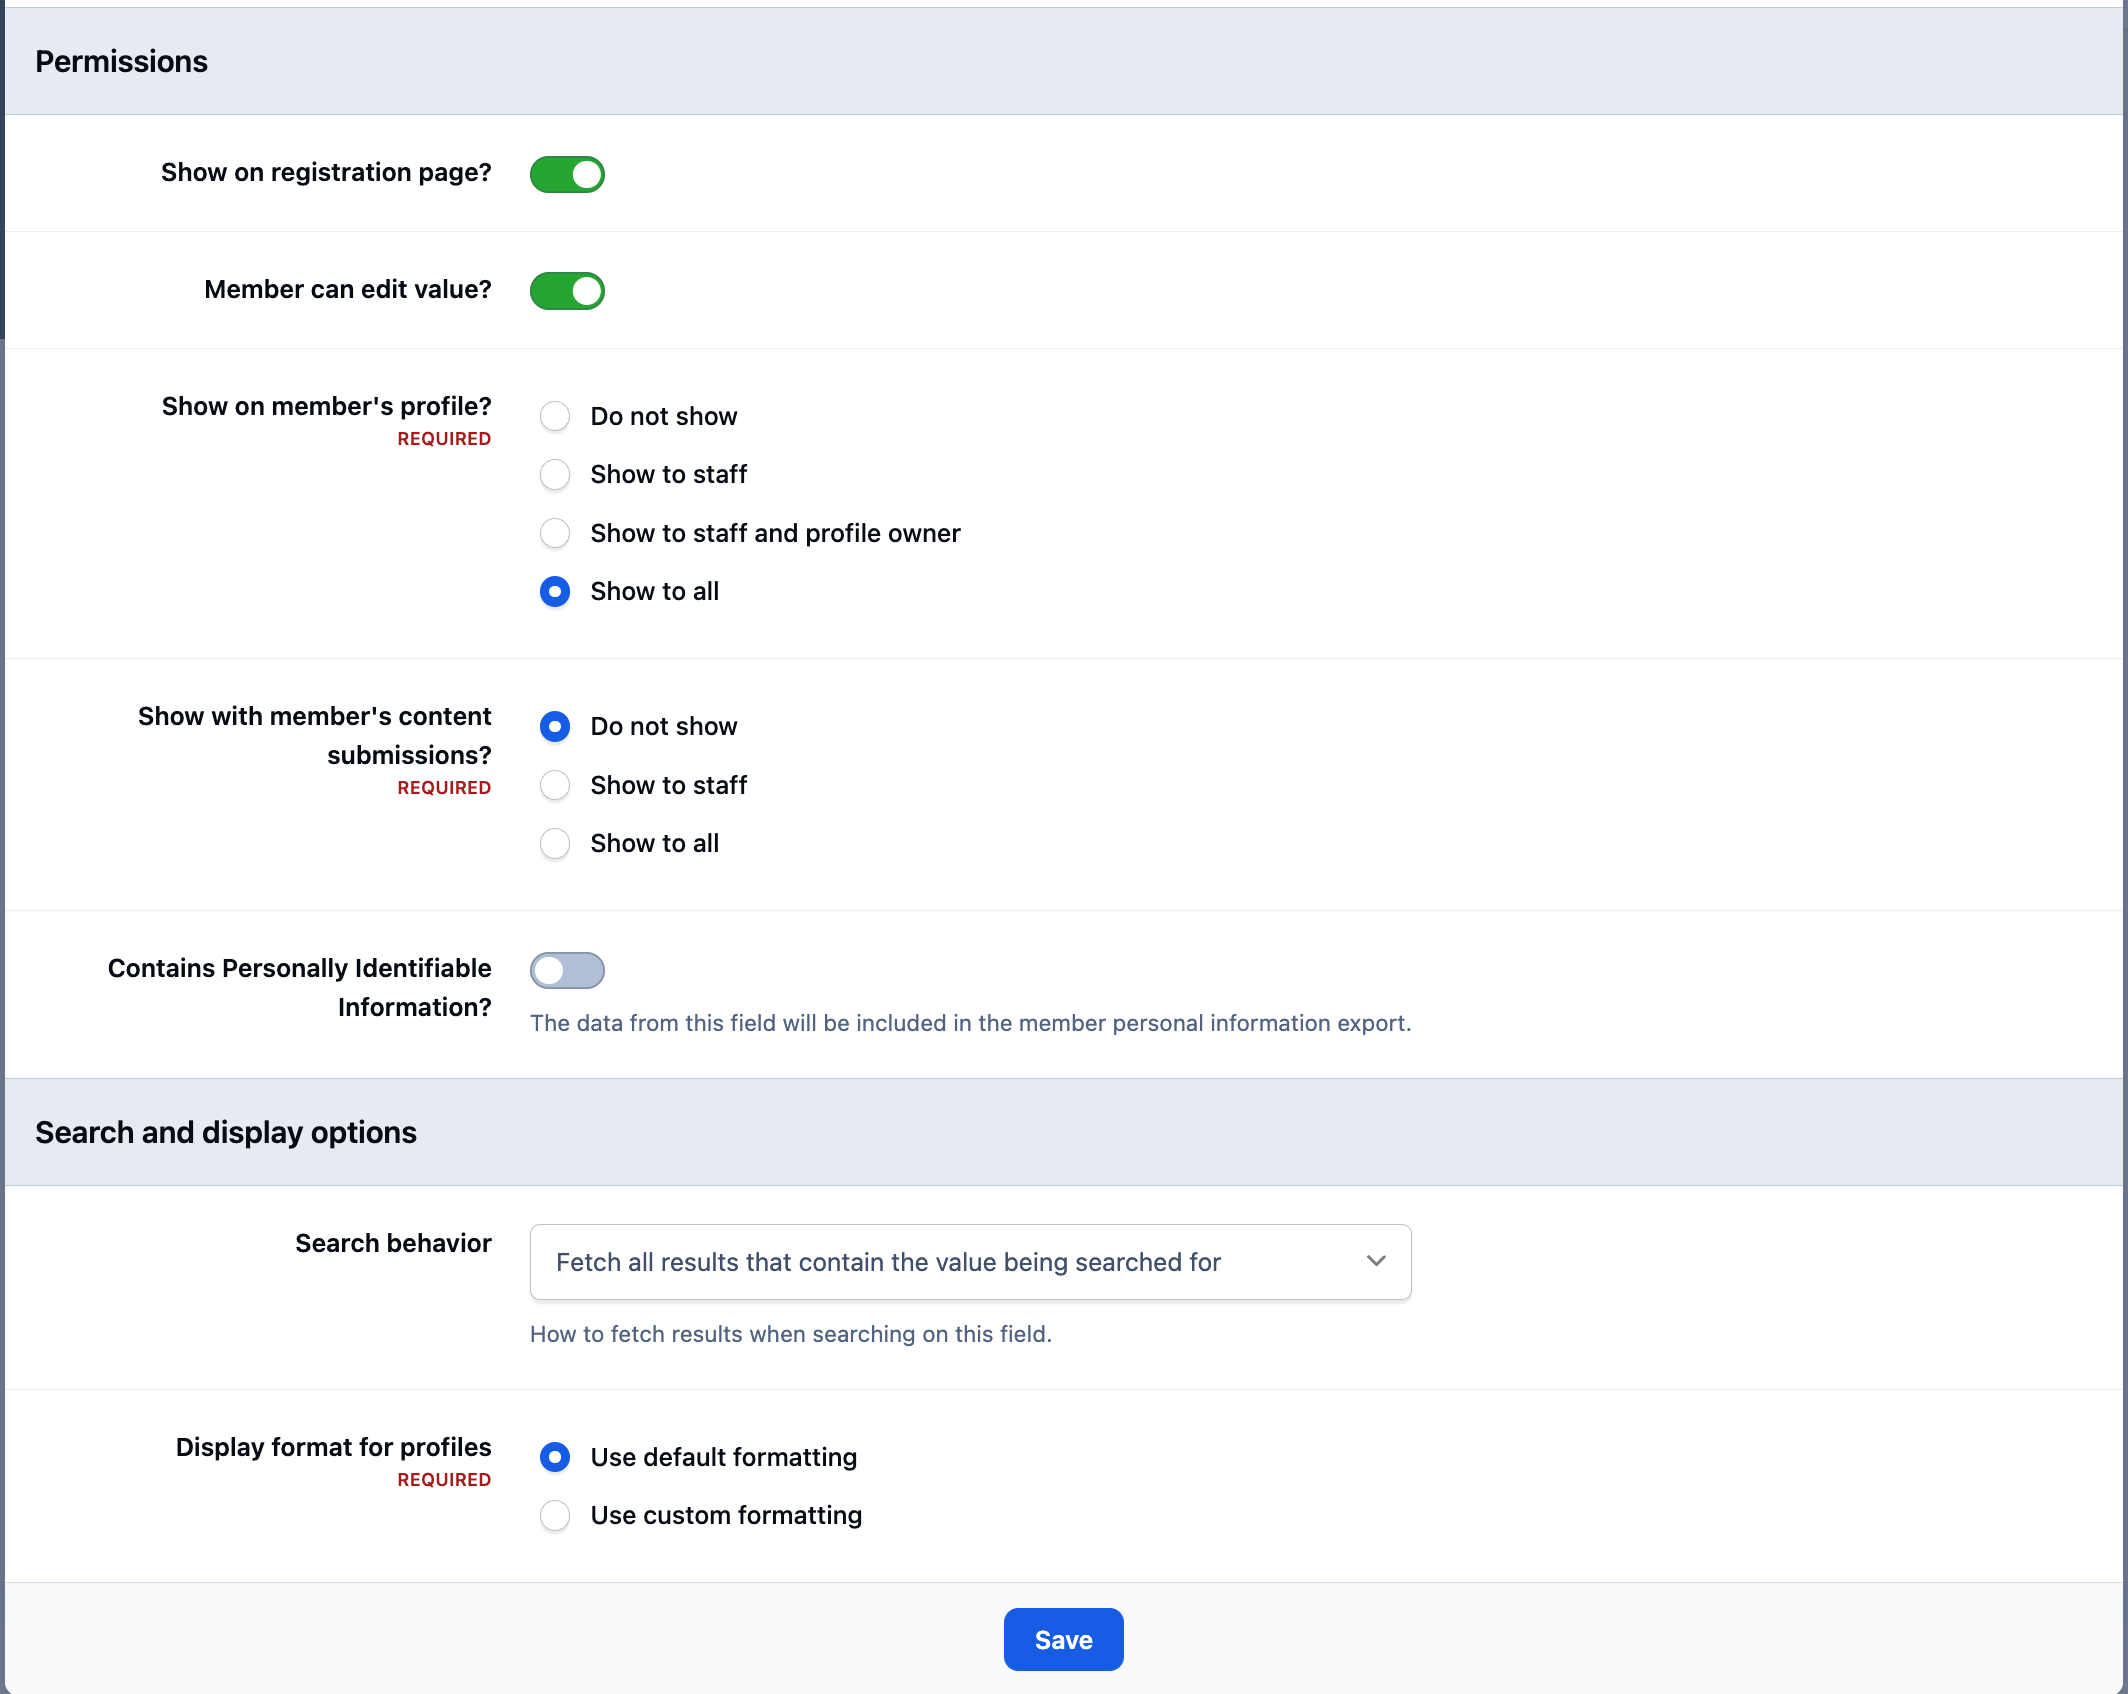
T 'Display format for...' sections. These options only appear if the corresponding display settings are enabled.
For example, in the screenshot, 'Show to Staff 'is enabled for 'Show with member's content submissions'. If this option were disabled, the 'Display format for topics ' setting would no longer be shown.
Info
You will note you can select whether or not the item contains personally identifiable information. If you select this, any data contained in this field will be included in requests from the user to download their PII data.
Display Formatting
By default, the display formatting sections will show only the raw contents of the field. However, you can control exactly how this information is displayed by selecting 'Use Custom Formatting'.
Once enabled, an additional field will appear, allowing you to add your own custom formatting code.
Custom Formatting Options

This is where you can add your own HTML, using the provided placeholders, to control exactly how the information is displayed. The formatting you define here will determine how the field appears in that location, such as on a member’s profile or within topics.
For example, if you add code to the field we set up earlier, the placeholders {$title} and {$content} will automatically be replaced with the custom field’s title and the value entered by the member.
Example:
<strong>{$title}:</strong> {$content}End User Display
You will see once you have set up your profile fields the members can then add the information from within their profiles.
End User Editing Profile Information
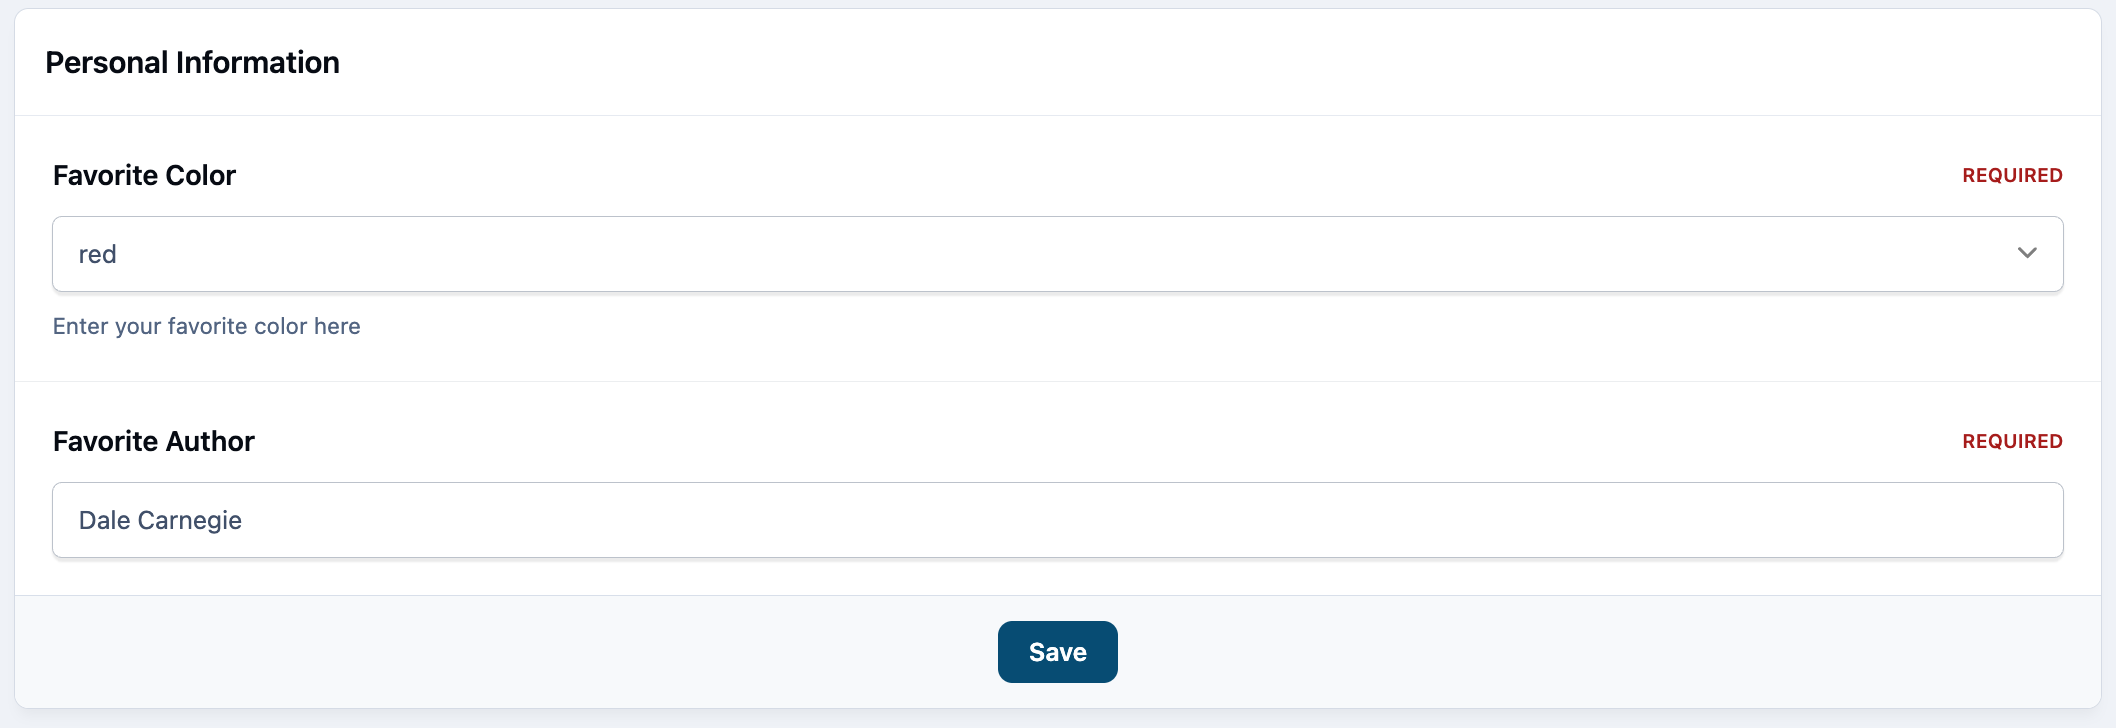
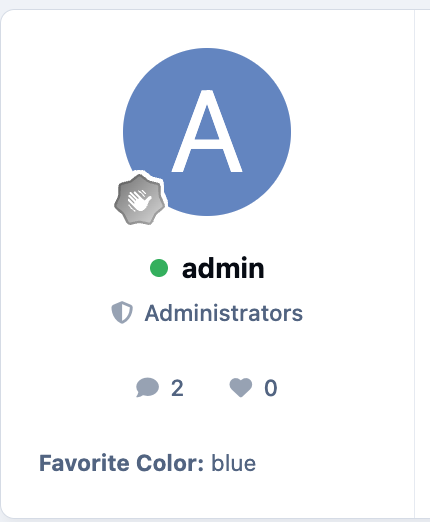
Once configured, these fields will appear in the relevant areas of your site, displayed using the formatting you’ve chosen.
Post Formatting Example
Recommended Comments