


Member groups give you broad control over what members can see, do, and interact with across your community. Every member must belong to a primary group (by default, this is Members), and they can also be assigned one or more secondary groups.
The primary group is the one displayed under a member’s name, but members will inherit permissions from all secondary groups they are assigned to as well.
Since much of your community’s core permission structure is managed here, it’s worth taking some time to explore the available member group options and understand how they work together.
Group Listing
You can add a new group by selecting the 'Create New Group' button, above the group listing. Once selected, you would fill in the relevant details, such as name, group icon etc, and save once done.
Group Listing
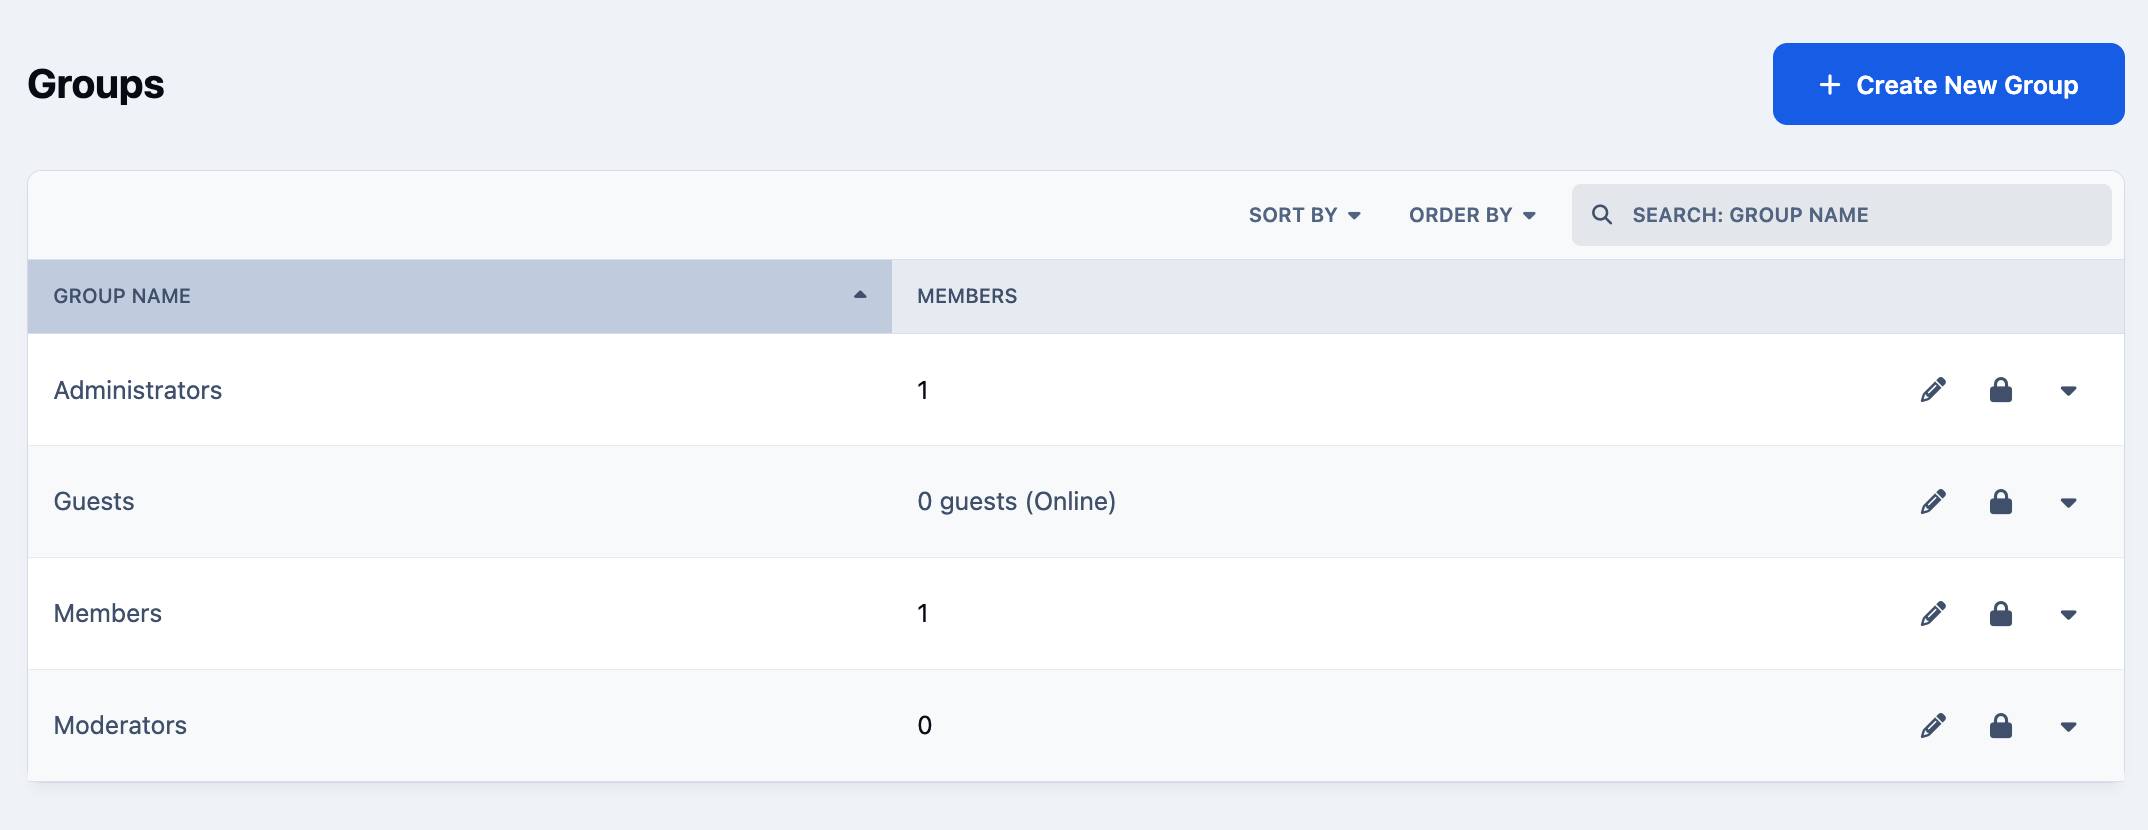
Selecting the edit icon to the right of an existing group in the listing will take you to that group’s editing screen. From here, you’ll have access to all the tools needed to quickly and effectively manage the group’s settings.
You can also duplicate an existing group using the copy icon, which can be a convenient way to set up new groups with similar permissions.
Setting Up Groups
The group screen is divided into several functions, each organized into its own tab. While most functions are self-explanatory, you’ll find brief descriptions of the main areas below.
Please note that you may see more or fewer tabs than shown in the image, depending on which applications you have installed.
Tabs on Group Creation/Edit

Group Settings
This tab contains a range of options that apply to the group as a whole and is divided into three main sections.
Group Details - This is where you configure the core aspects of the group, such as the group name and group icon (which appears beneath a member’s name in various areas of the site). You can also apply group formatting, allowing you to use HTML to style the group name, and set up group promotions to automatically move members into another group based on criteria you define.
Permissions - These are general group-level settings, such as whether members can access the site while it is offline or how many times they are allowed to change their display name. These are not content access permissions, which are covered later.
Privacy Settings - Items such as whether or not a member in this group can log in anonymously, can be ignored, or post anonymously.
Content
This tab contains settings relating to the posting of content over all. Items such as
Uploads - Can members of the group upload to the site at all? If so, how much?
Polls - Can polls be created and how a member interacts with them
Viewing - When people see this group, will they be highlighted in any way? For example, you may wish to highlight content added by your moderators
Post Editing/Deleting & Limits
Moderation - Can the members in this group participate or bypass moderation, or is moderation enforced on them
Social
This tab contains setting which relate to the users social interaction on the community. Such as their profile, messages between users, reactions and more
Application Settings
If you have additional applications installed, you’ll see their common group-related settings appear as extra tabs within the group editing screen. This makes it easy to quickly configure features for a group, such as allowing members to create blogs or setting the maximum image size for uploads in the Gallery.
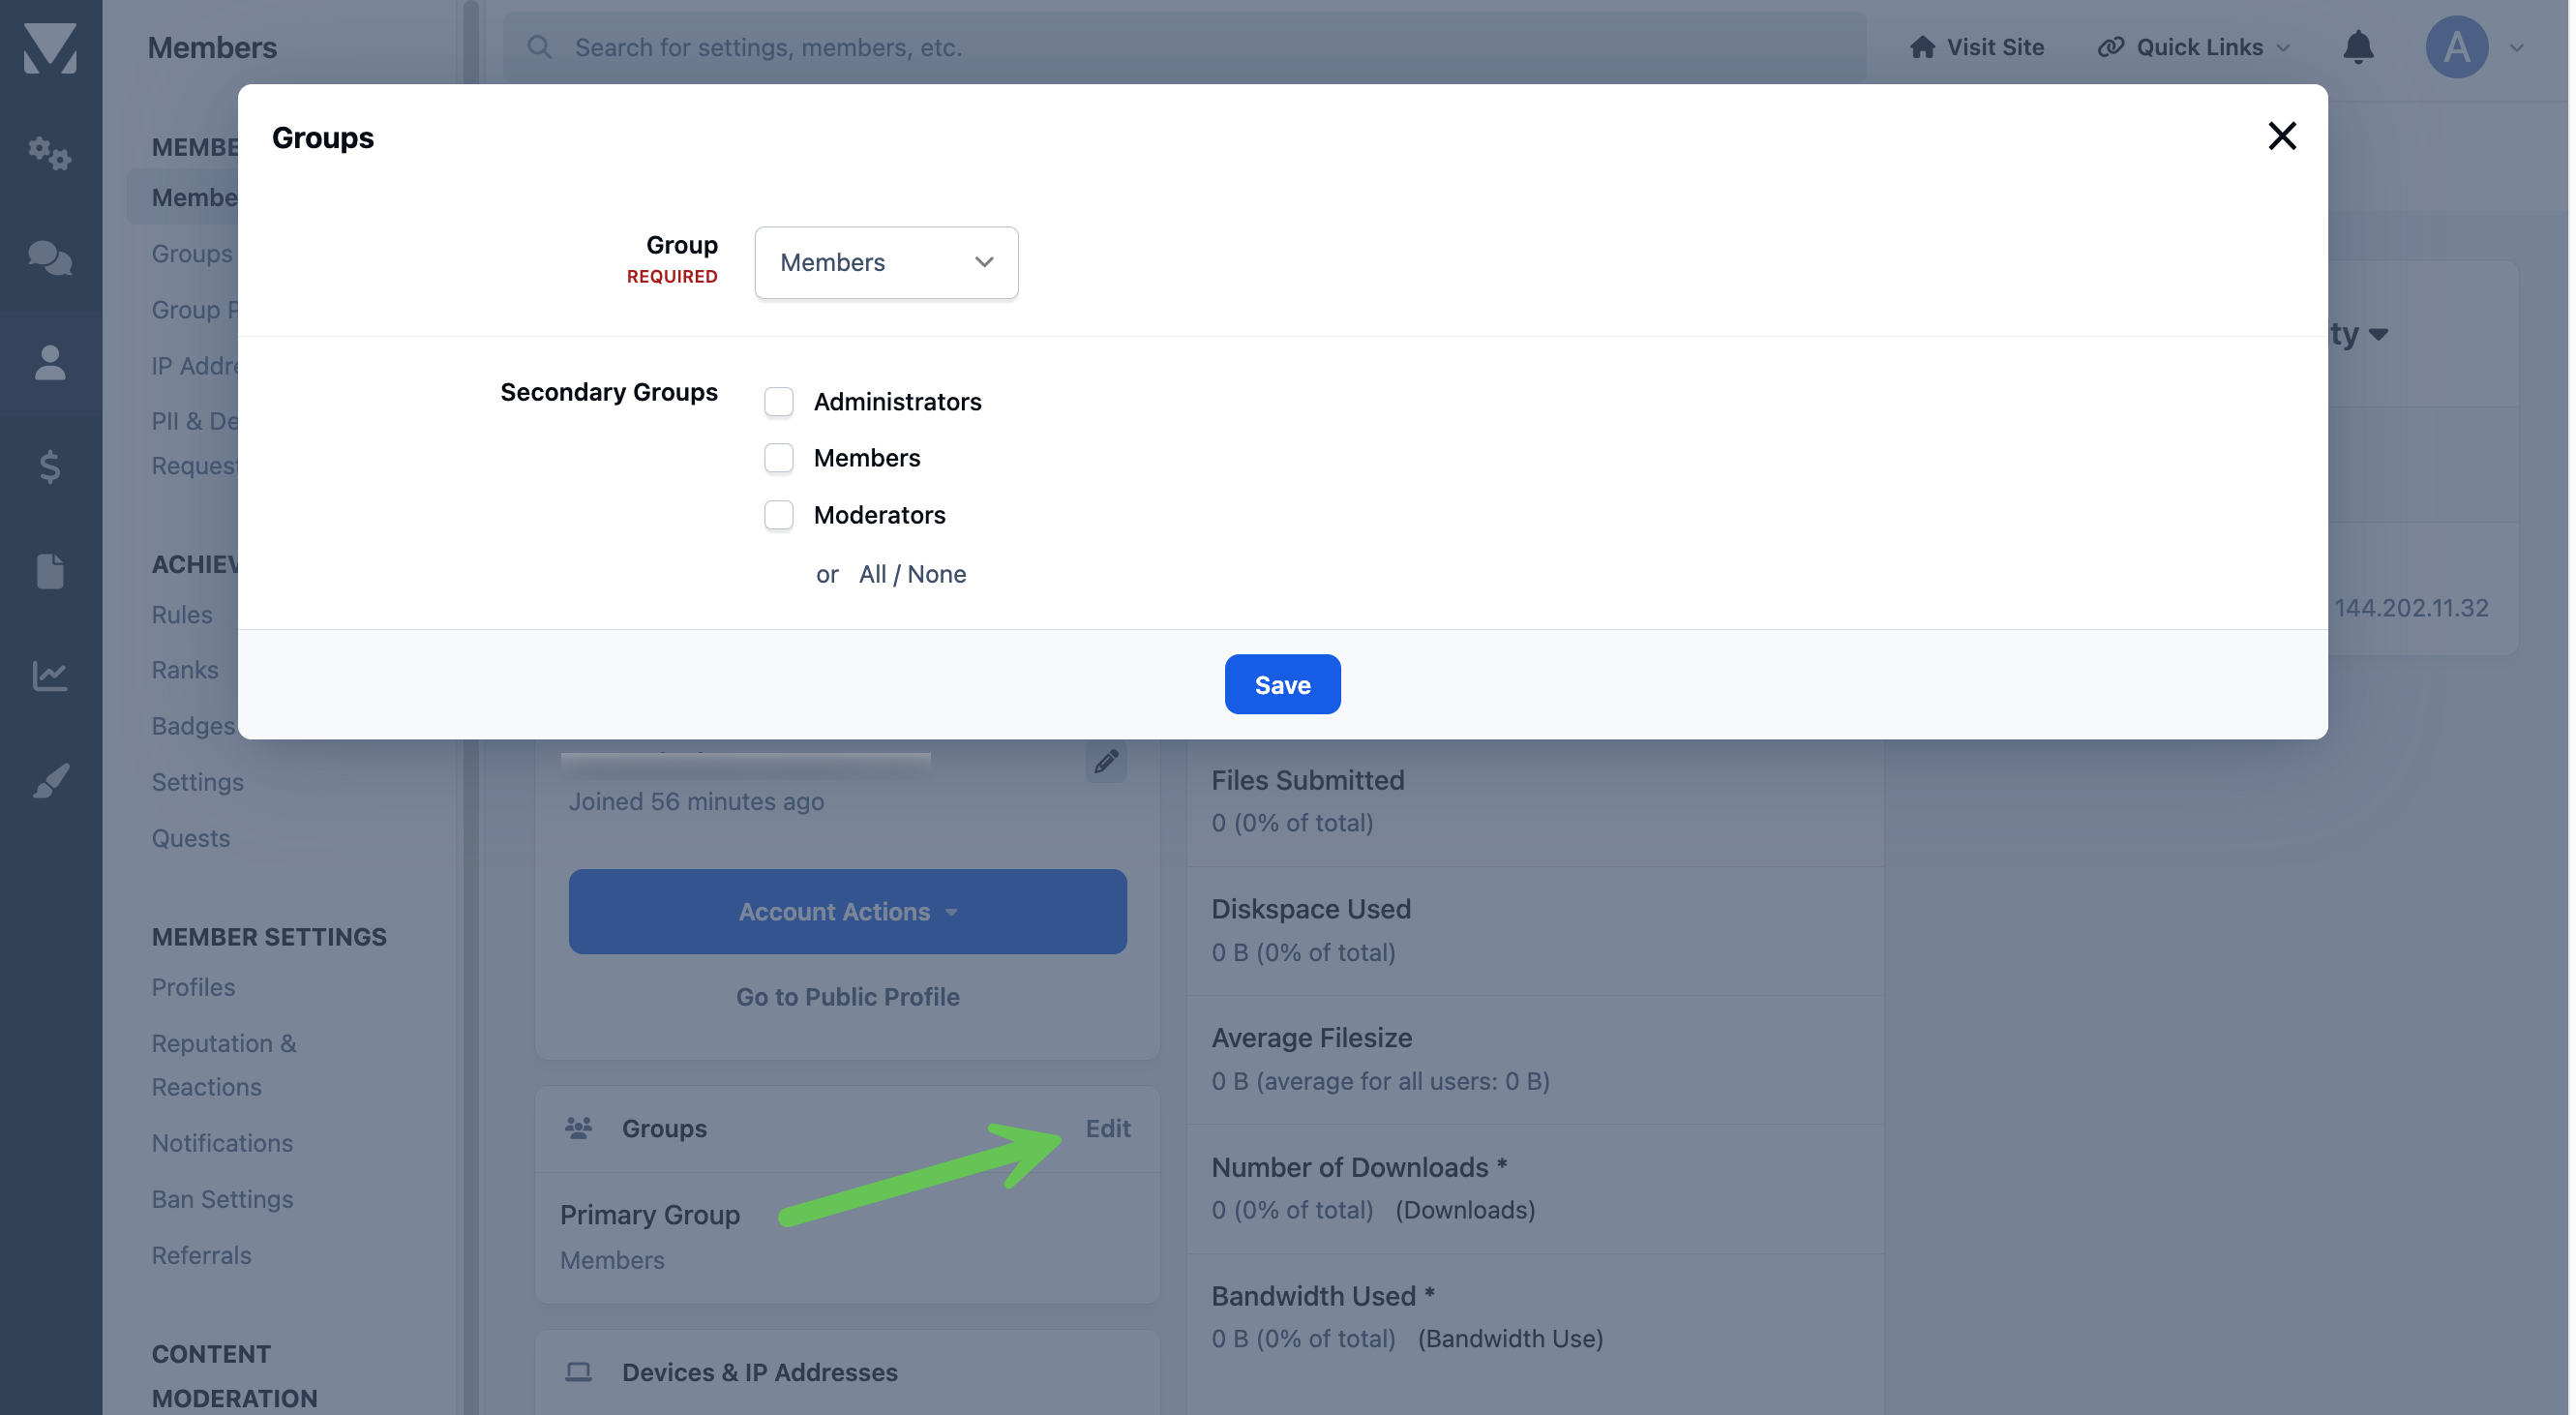
Members can be assigned to one primary group and any number of secondary groups from the Members section of the Admin CP.
Adding a Member To a Group
Recommended Comments