


Reputation and reactions play an important role in encouraging engagement and recognizing positive contributions within an online community. They provide members with an easy way to acknowledge helpful, insightful, or enjoyable content without needing to reply directly.
Invision Community gives you a high level of flexibility in how reputation and reactions are configured, allowing you to tailor them to match the tone, goals, and moderation style of your community. You can decide how reactions are used, how reputation is earned, and how these systems work together to promote meaningful interaction and reward valuable participation.
Basic Settings
Reputation settings can be managed from the following location in the Admin CP
Members → Member Settings → Reputation & Reactions
From the main settings screen, you can configure the overall behavior of reputation and reactions across your site. This includes enabling or disabling the system entirely, choosing which member groups are allowed to use it, and controlling how reputation and reaction indicators are displayed throughout the community.
Reputation Settings In Admin CP
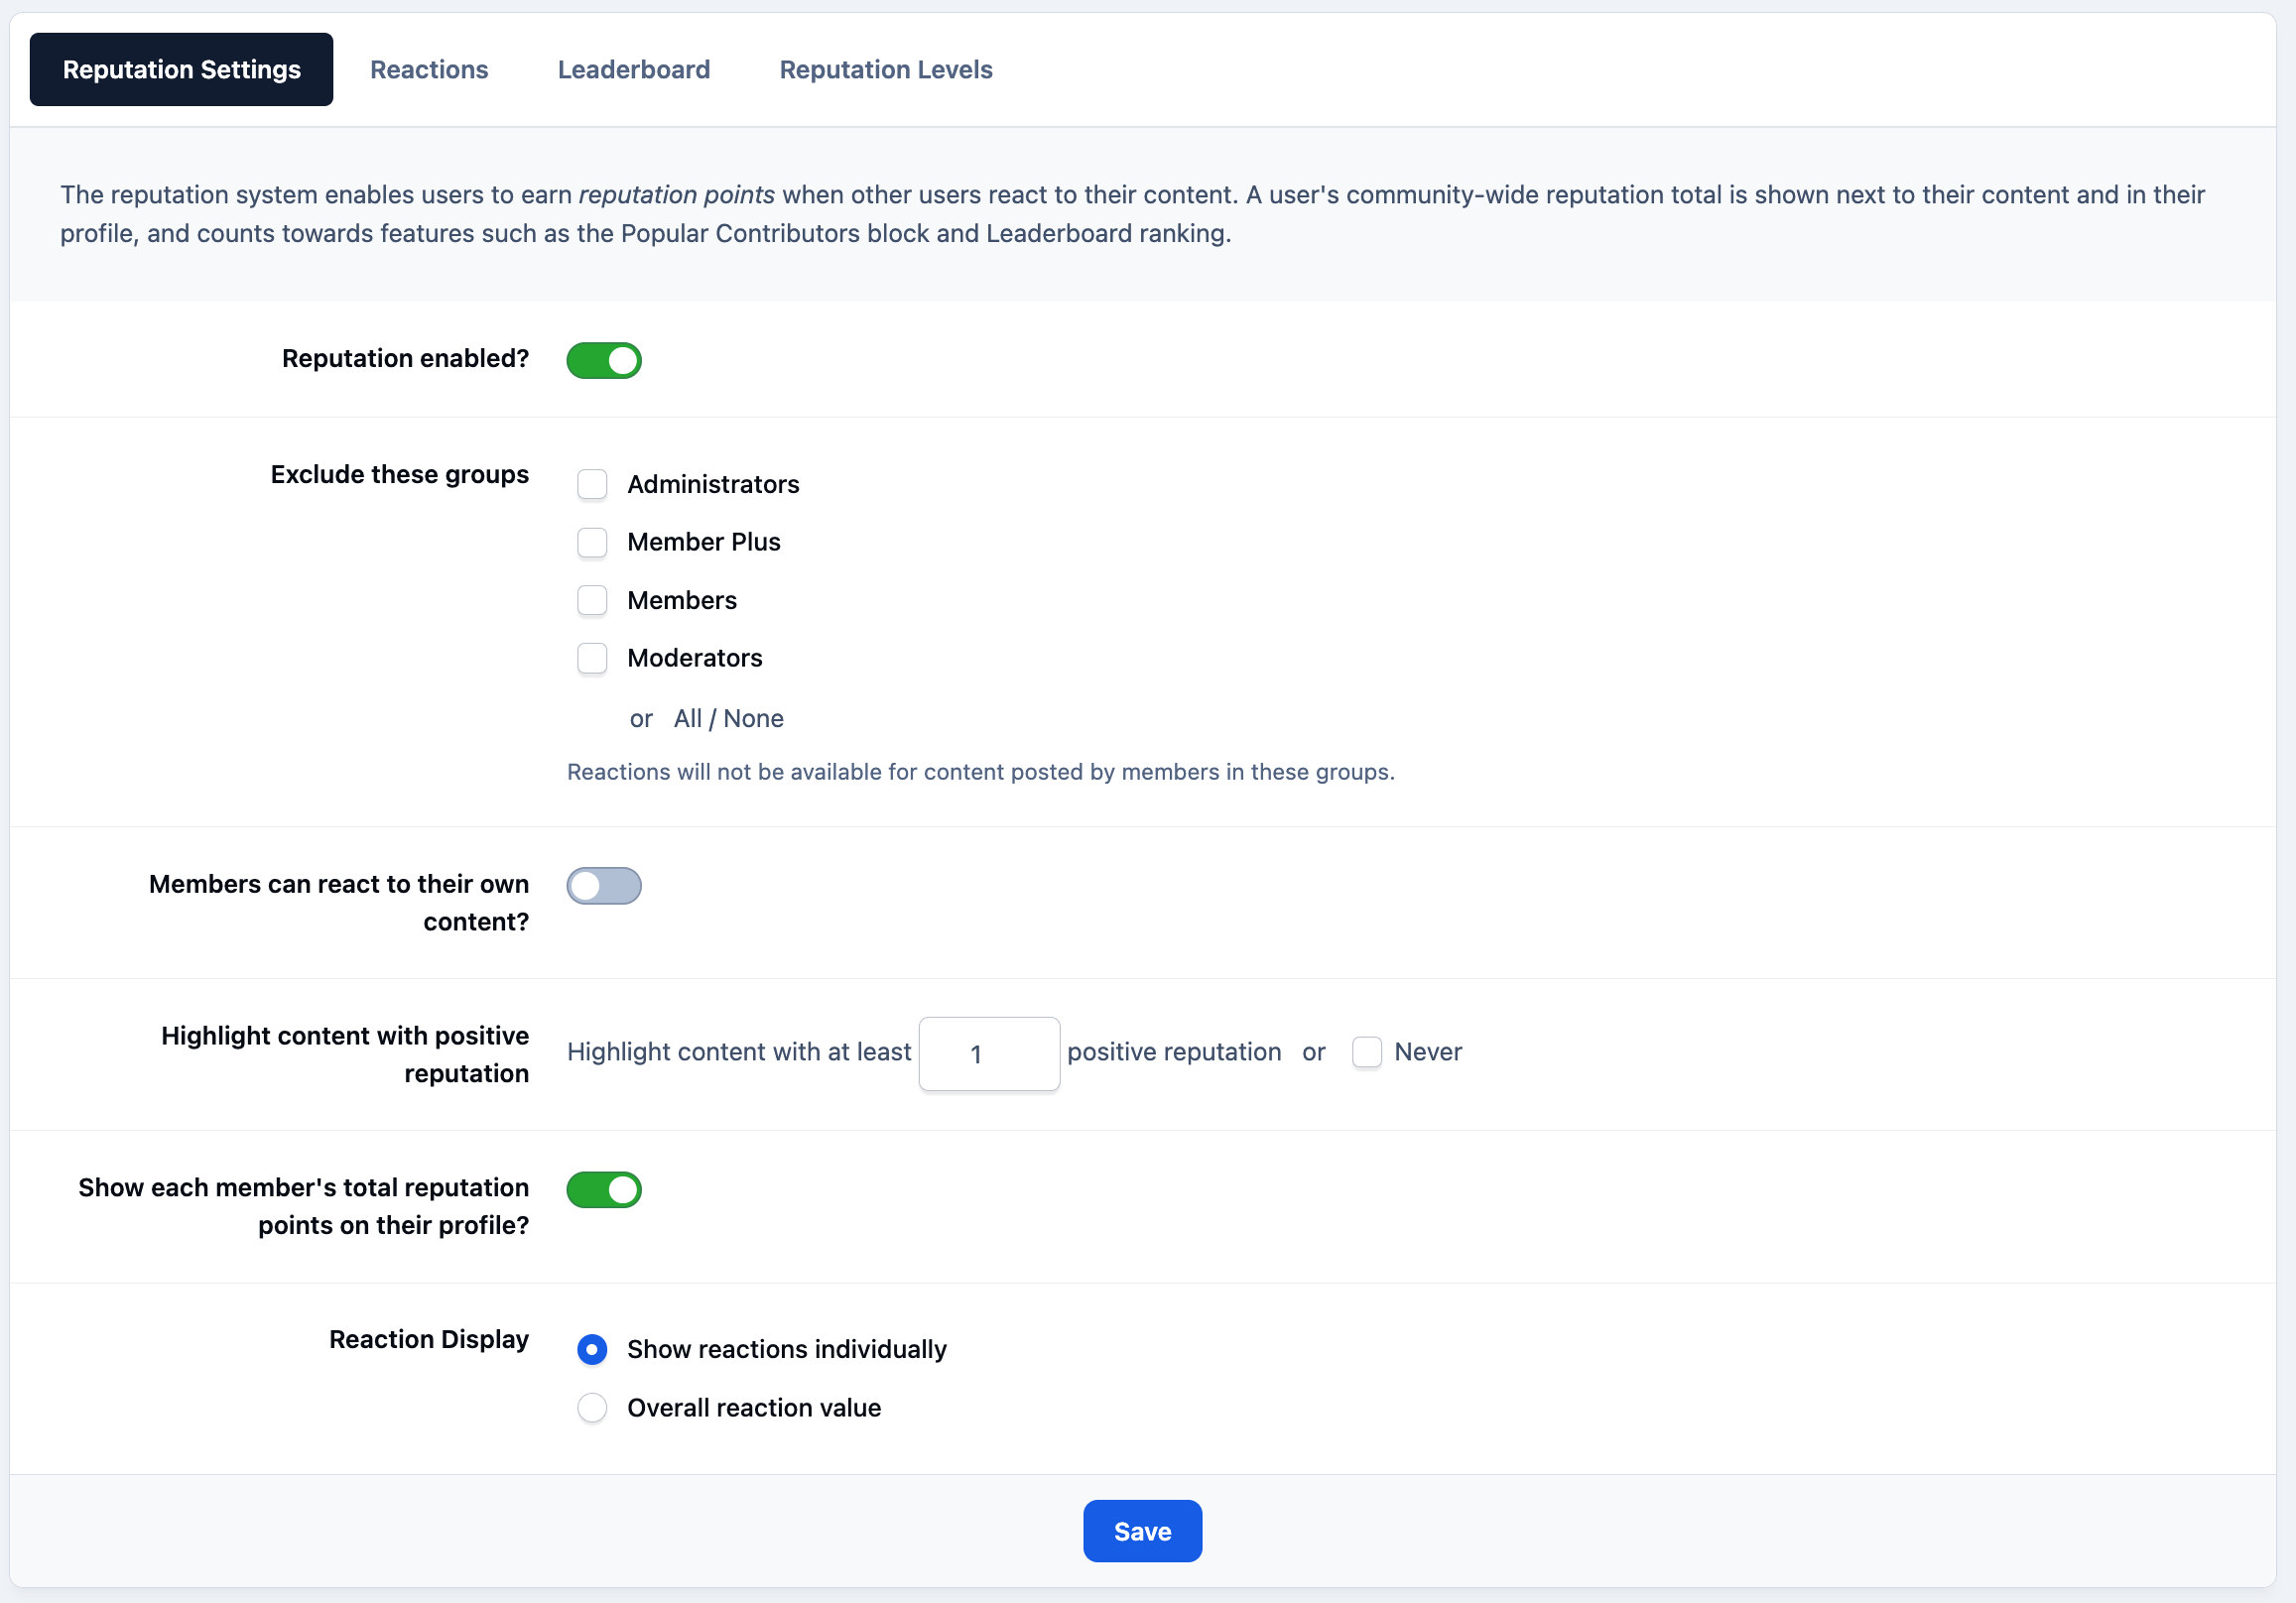
One important setting to note here is 'Highlight content with positive reputation'. When enabled, topics will be visually highlighted once they reach the specified reputation threshold.
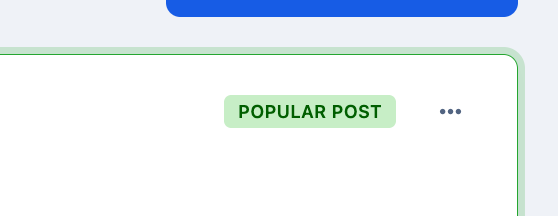
In addition to this highlighting, a reputation icon will appear in the top-right corner of the content, making it easy to identify posts that have received a high level of positive reputation.
Post Tagged as Popular Based On Reputation
Reactions
Reaction settings can be managed from the following location in the Admin CP
Members → Member Settings → Reputation & Reactions → Reactions
On the Reactions tab, you’ll see a list of all the reactions members can use across your site. Each reaction is assigned a value—positive, negative, or neutral—which determines how many reputation points a member receives when that reaction is used.
You can reorder reactions using the drag handles on the left of each item to control how they appear to members. New reactions can also be created at any time by selecting the 'Create New' button in the top-right corner of the screen.
Reaction List - Admin CP
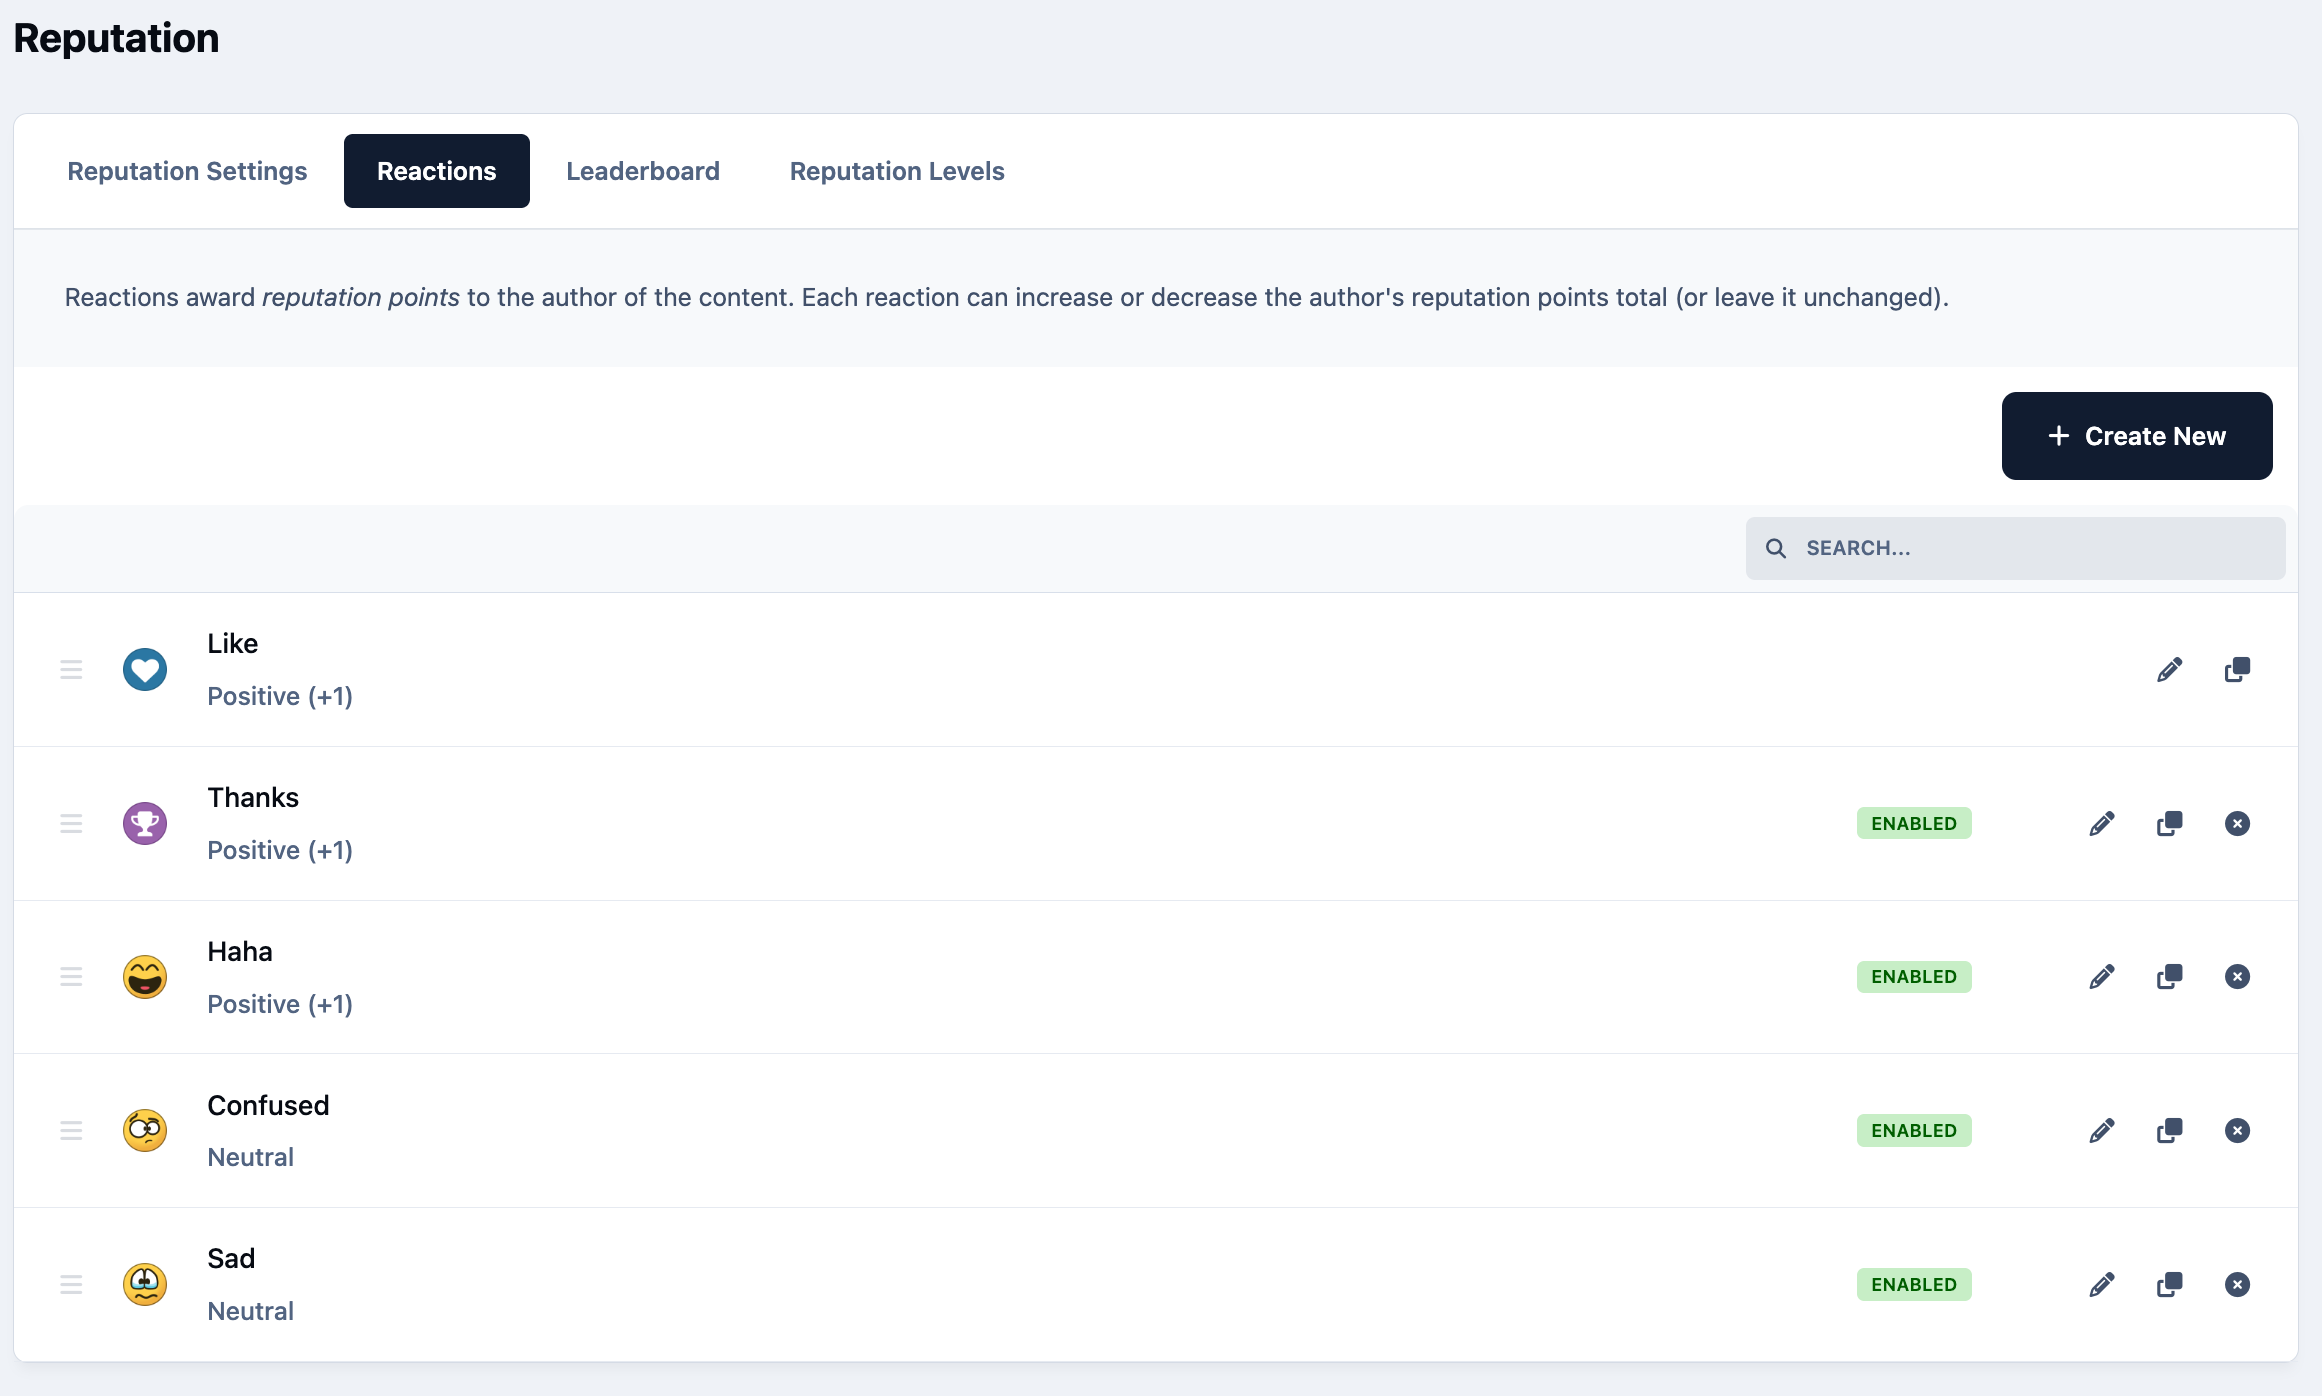
You’ll notice that the 'Like' reaction does not have an option to delete it. This is the default reaction and is the one shown directly in the reaction area on posts.
Members can click this icon to give a 'Like', or hover over it to reveal and select other available reactions. While it can’t be removed, you can customize this default reaction by selecting the pencil icon and editing it to better suit your community.
Selecting Reactions On Content
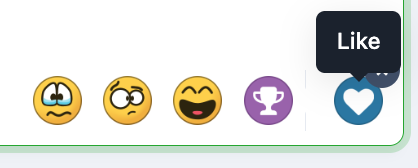
Pointing at the like icon shows other reactions
Leaderboard
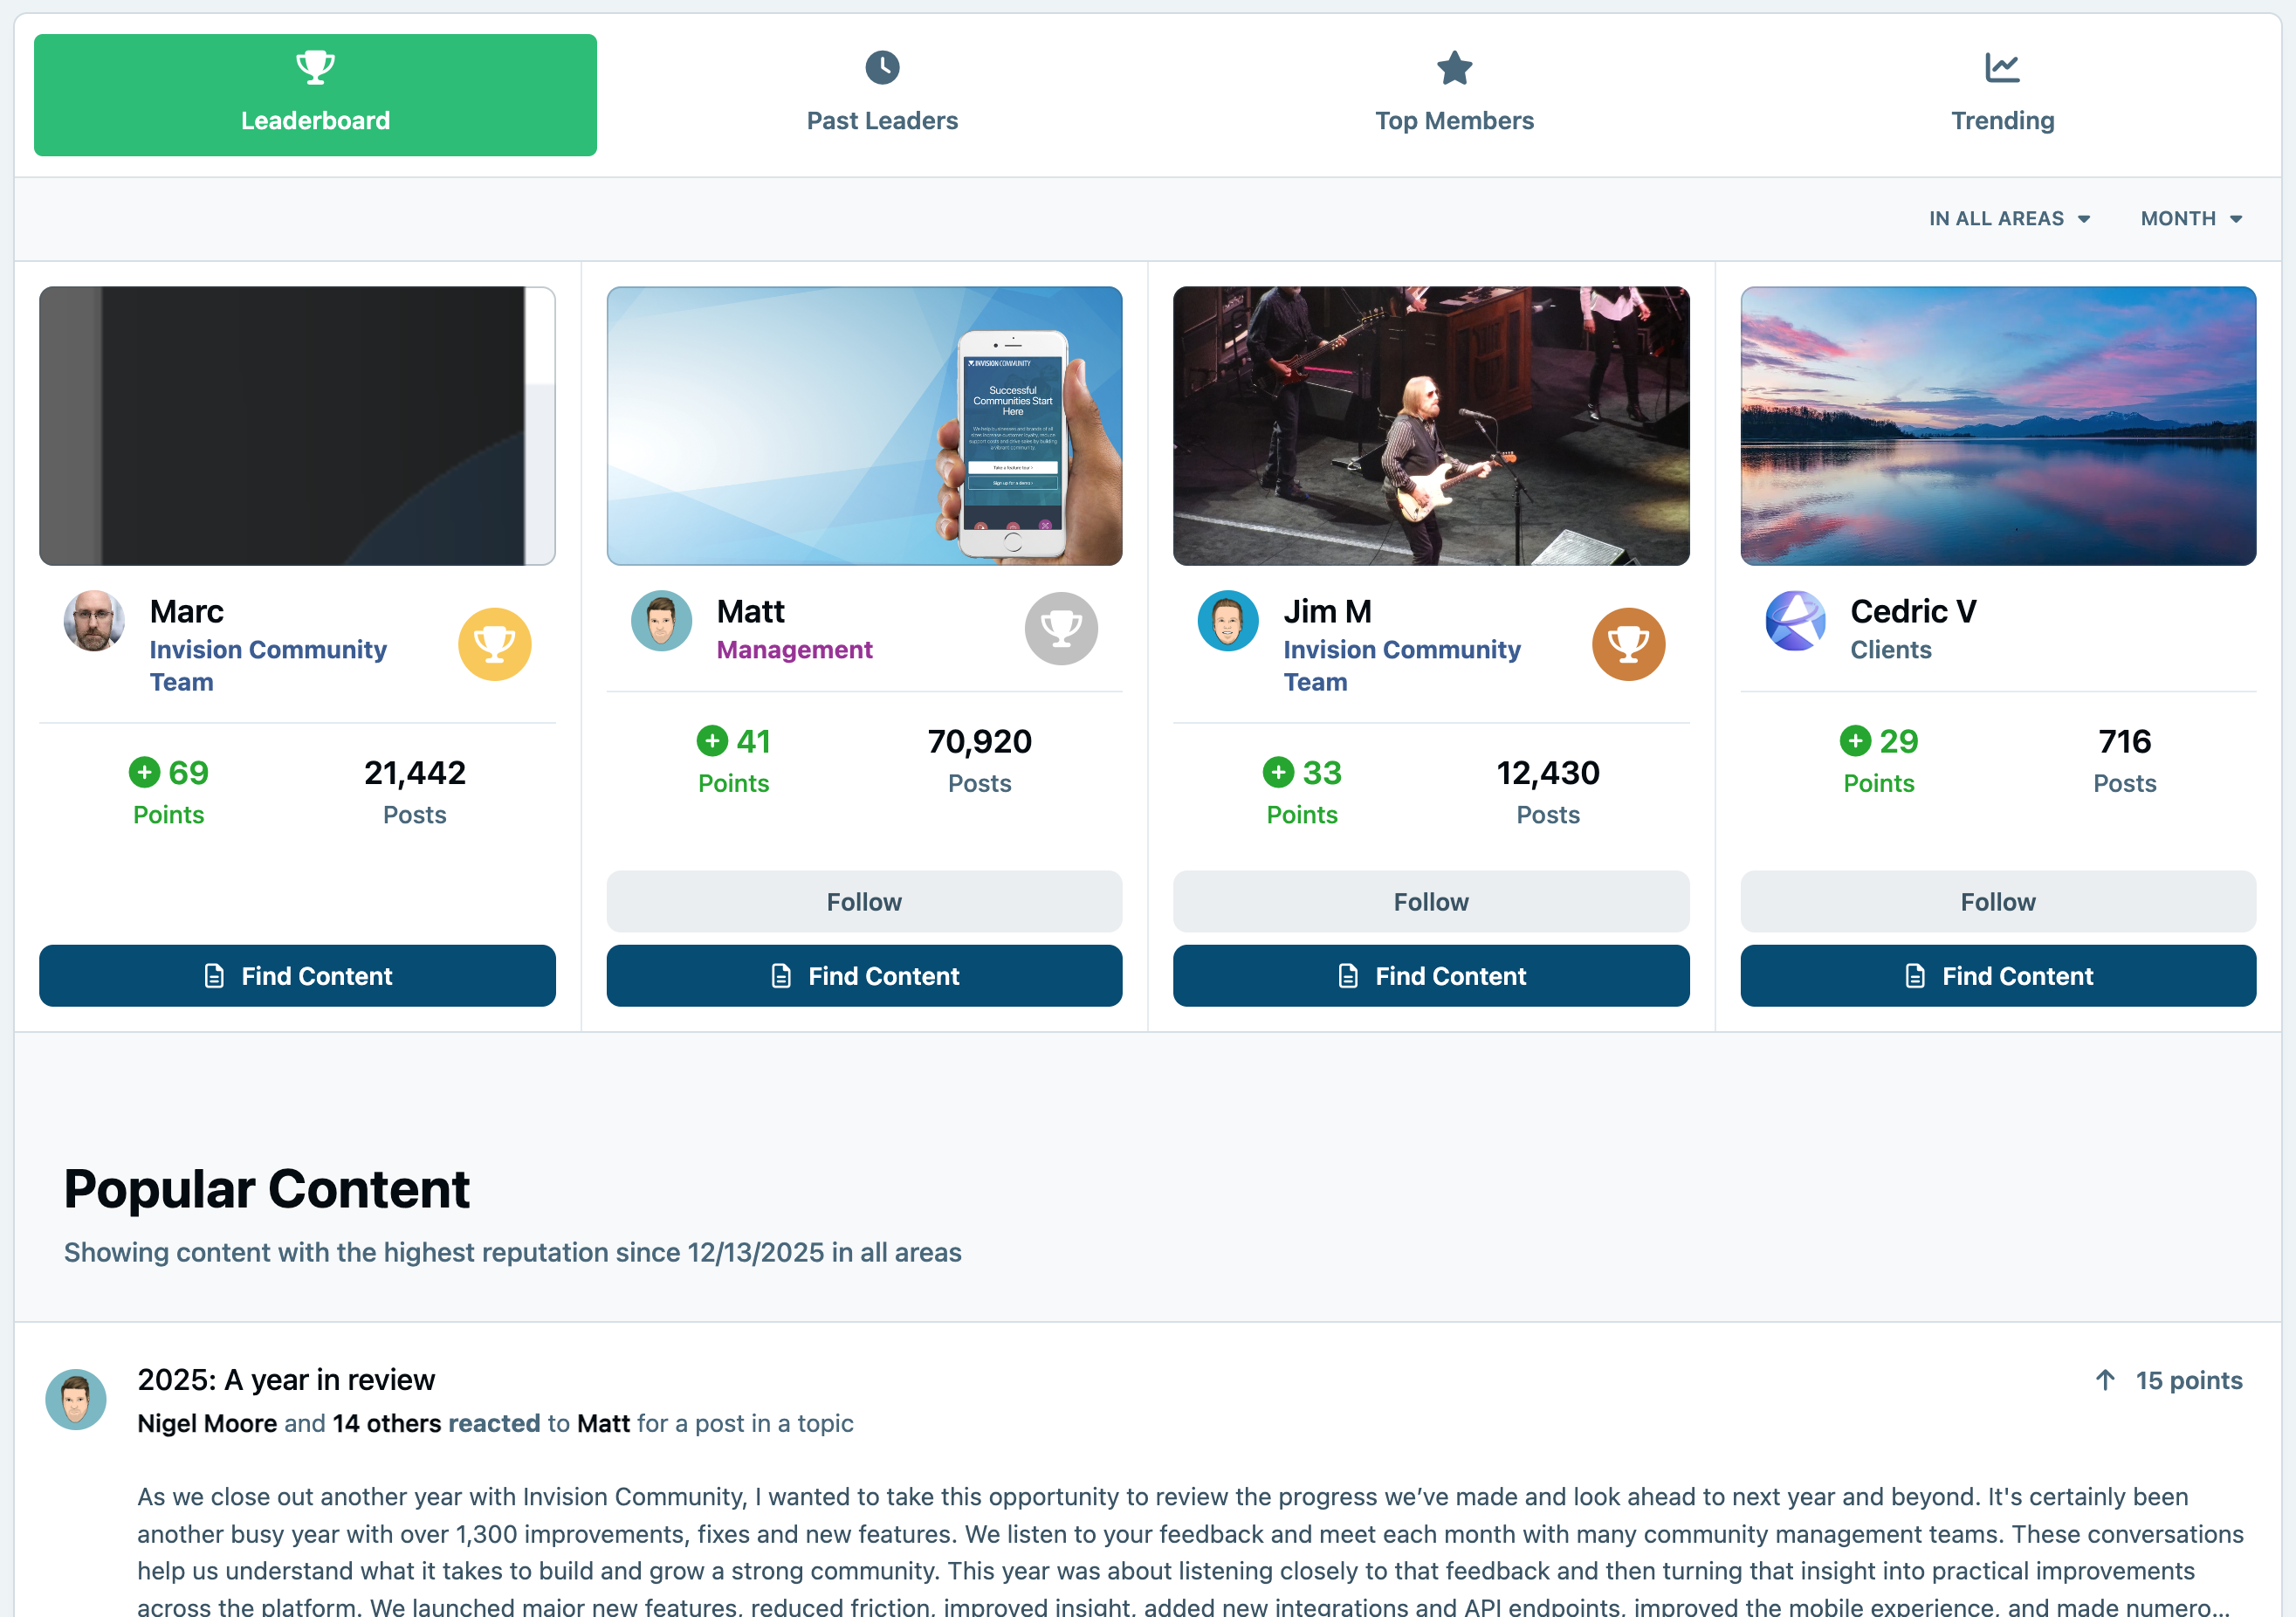
The Leaderboard is designed to highlight your most active members and top-performing content based on reputation. It plays a key role in improving both member and content discovery across your community.
Members who “win the day” are highlighted within their profile and added to the list of past winners, giving visible recognition for their contributions. This added visibility and recognition can help encourage continued participation and engagement throughout your site.
Leaderboard Front End
Leaderboard settings can be managed from the following location in the Admin CP
Members → Member Settings → Reputation & Reactions → Leaderboard
From here, you can adjust a variety of options that control whether the leaderboard is shown and how it behaves. This includes deciding what activity is counted, how results are displayed, and excluding specific members or groups, such as staff, from appearing on the leaderboard if desired.
Reputation Levels
Reputation levels can be managed from the following location in the Admin CP
Members → Member Settings → Reputation & Reactions → Reactions
In this section, you can define reputation levels that members reach once they earn a specified number of reputation or reaction points. Each level can be given a custom name and, if desired, an accompanying image to visually represent a member’s standing within the community.
Reputation Levels - Admin CP
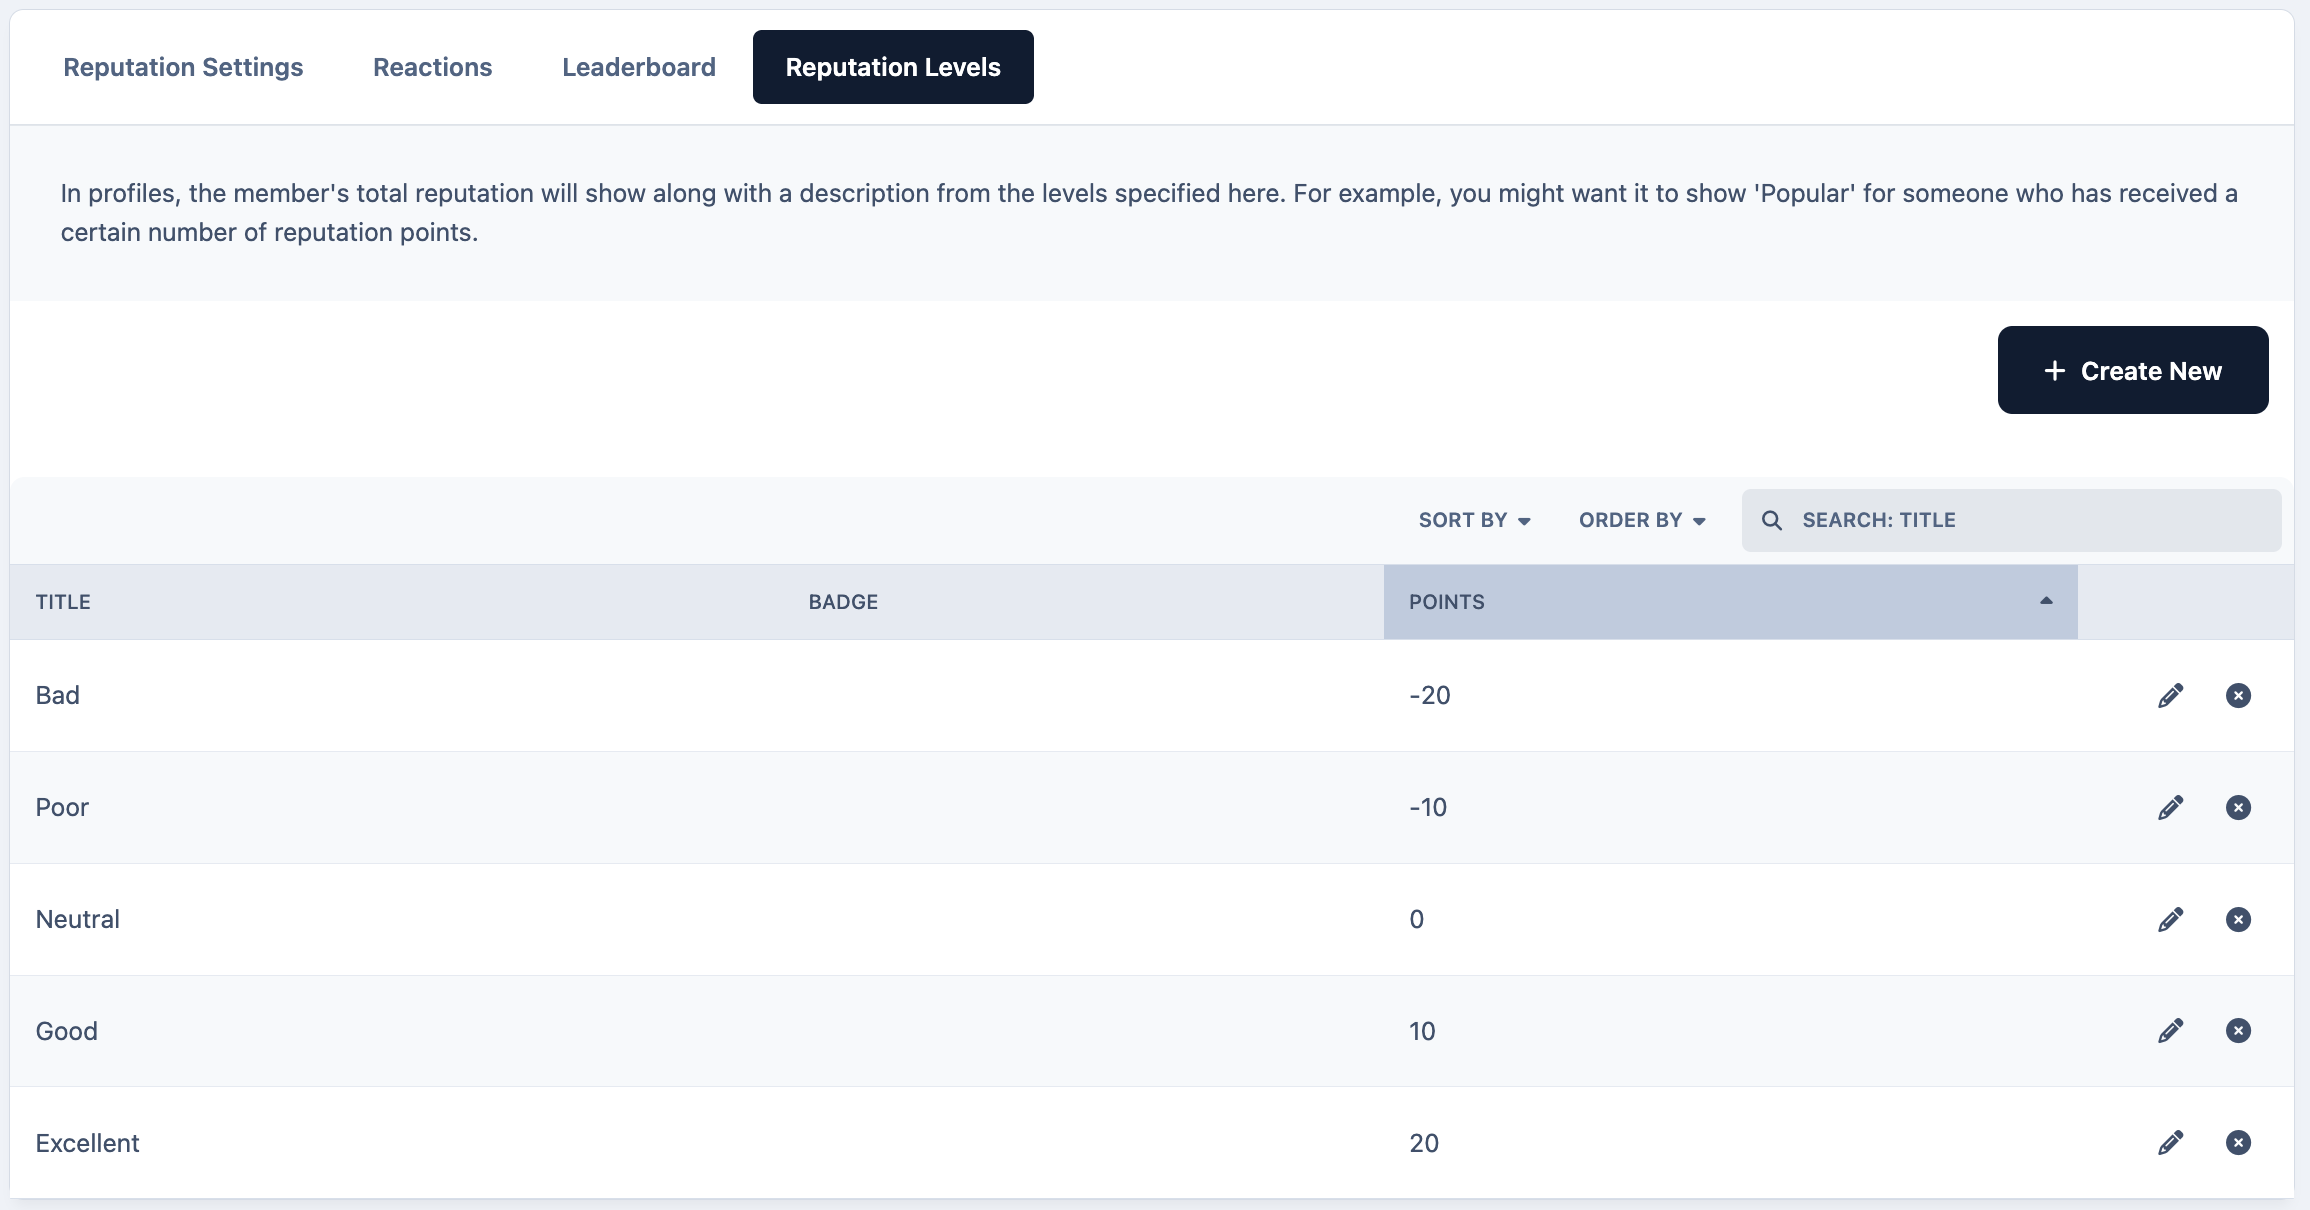
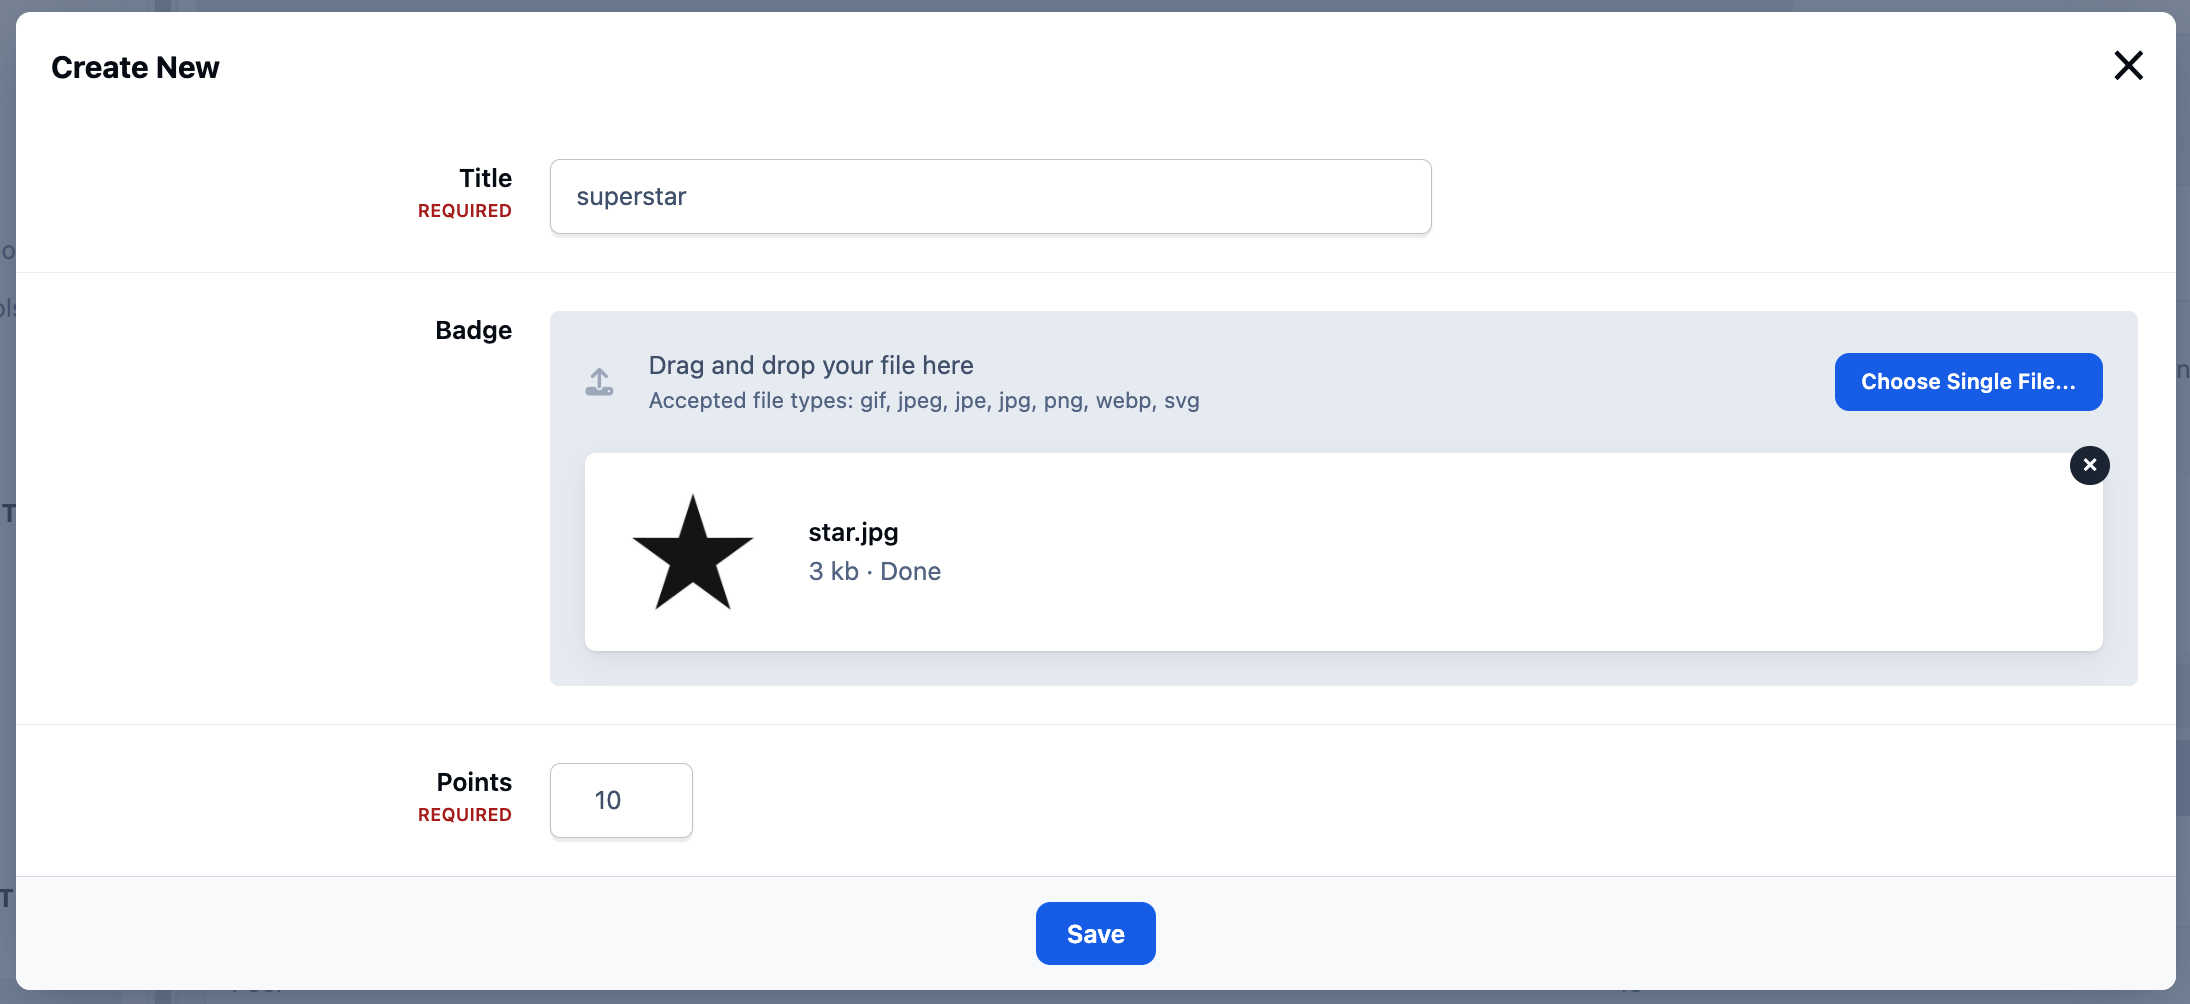
Selecting 'Create New' allows you to add a new reputation level. In the example shown below, a 'Superstar' reputation level has been created, which awards members this title along with a star image once they reach 1,000 reputation points.
Creating a New Reputation Level
Note
Within each member group, you can also control whether members are able to see who has given reputation, as well as set limits on how much reputation they are allowed to give within a single day.
Recommended Comments