


Completing forms can be tedious for anyone, yet collecting member information is often an important part of running a community. Asking new users to fill out a long registration form can be a turn-off and may discourage potential members from signing up.
The Invision Community Suite helps address this by allowing members to register quickly, while still giving you the flexibility to collect the information you need later through profile completion tasks.
What is Profile Completion?
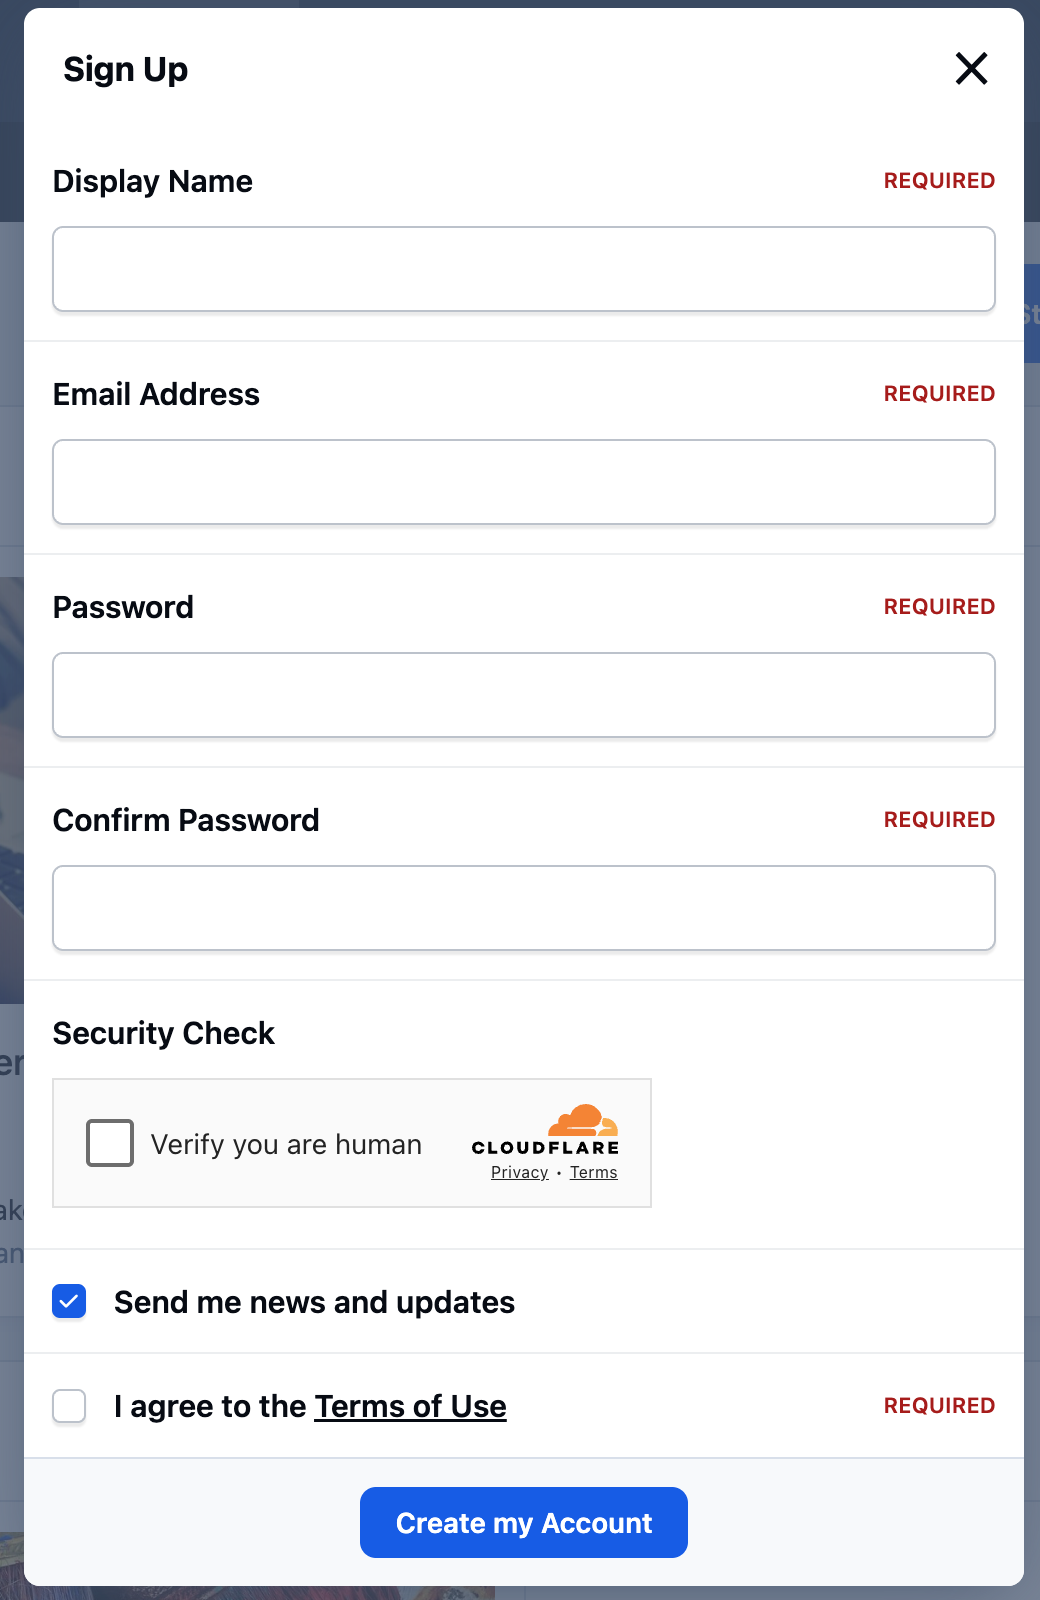
Profile completion allows new members to sign up using only the minimum information required to create an account, typically their display name, email address, and password. This keeps the registration process quick and easy, helping reduce barriers to joining your community.
Any additional information you wish to collect can then be requested after registration through profile completion prompts. These prompts can be set as either optional or mandatory. If required, you can restrict access to the site until the member has completed the necessary information, ensuring you capture essential details without slowing down initial sign-ups.
Quick Registration Form
How to Set Up
Before setting up any profile completion steps, you’ll need to make sure your community is using the Quick Registration form (this is used by default). You can switch to this option from the following location in the Admin CP
System → Settings → Login & Registration → Registration
Once Quick Registration is enabled, you can begin creating profile completion steps using your custom profile fields. If you haven’t yet created the profile fields you need, we recommend reviewing the custom profile fields guide before continuing.
Profile completion steps can be configured from the following location in the Admin CP:
Members → Member Settings → Profiles → Profile Completion
Selecting Create New will allow you to create a new profile completion step. Each step can include one or more profile fields for the member to complete and can be set as either required or optional.
In the example shown below, a simple profile completion step has been created asking members to share a little more information about themselves.
Adding a New Profile Completion Step
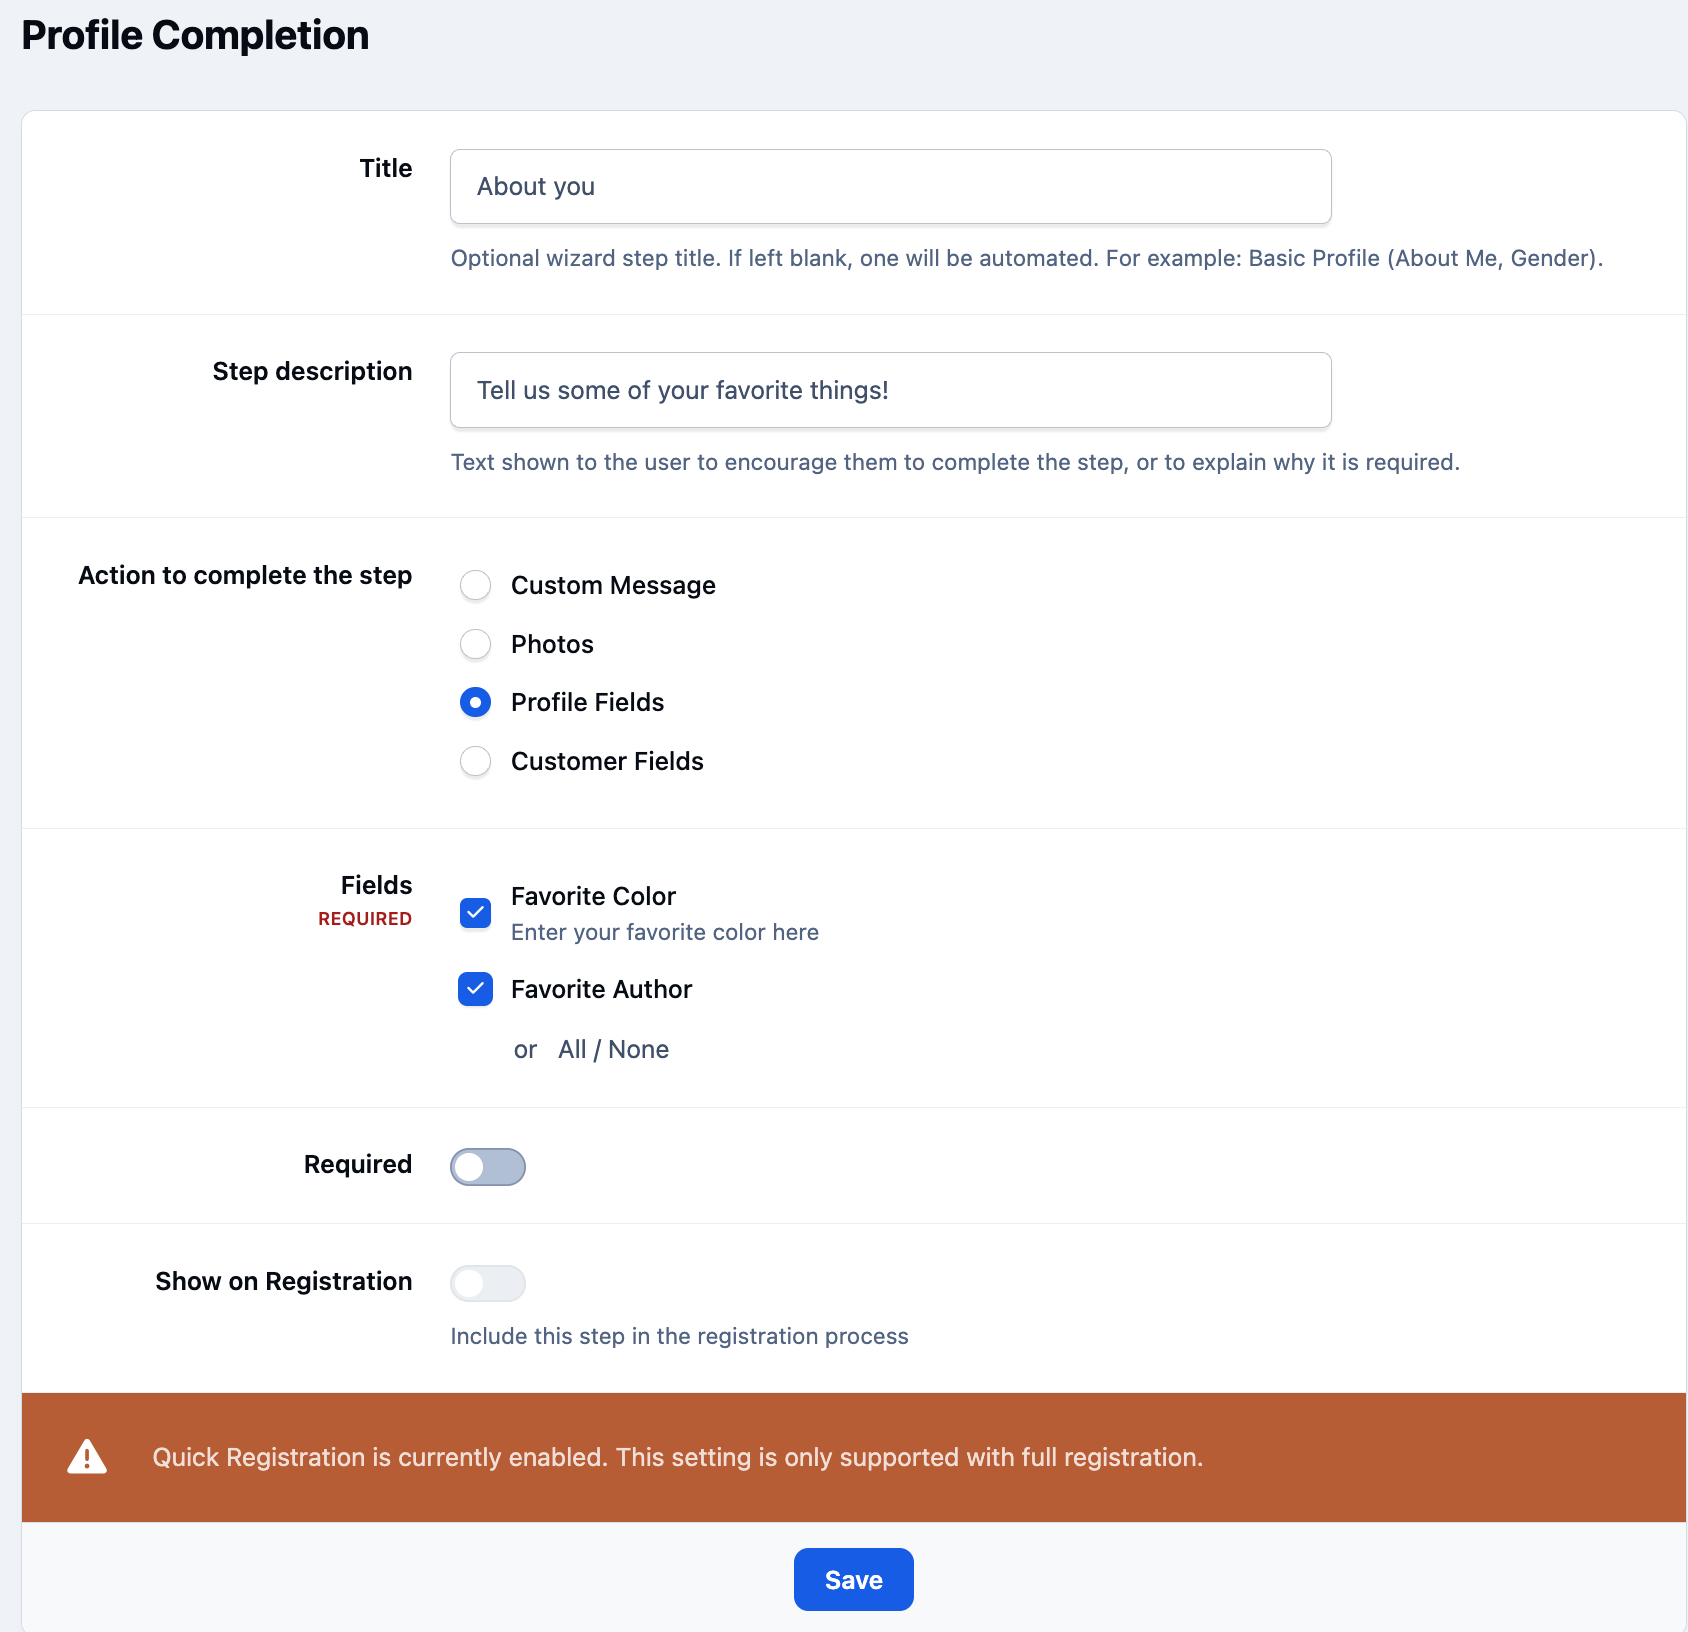
You can create as many profile completion steps as needed, and these will be presented to members one step per page on the front end during the profile completion process.
In addition, you can add WYSIWYG content to the profile completion flow using the Custom Message option. This is useful if you simply want to display information to members or ensure they’ve seen an important message, without requiring them to enter any data.
What the member sees
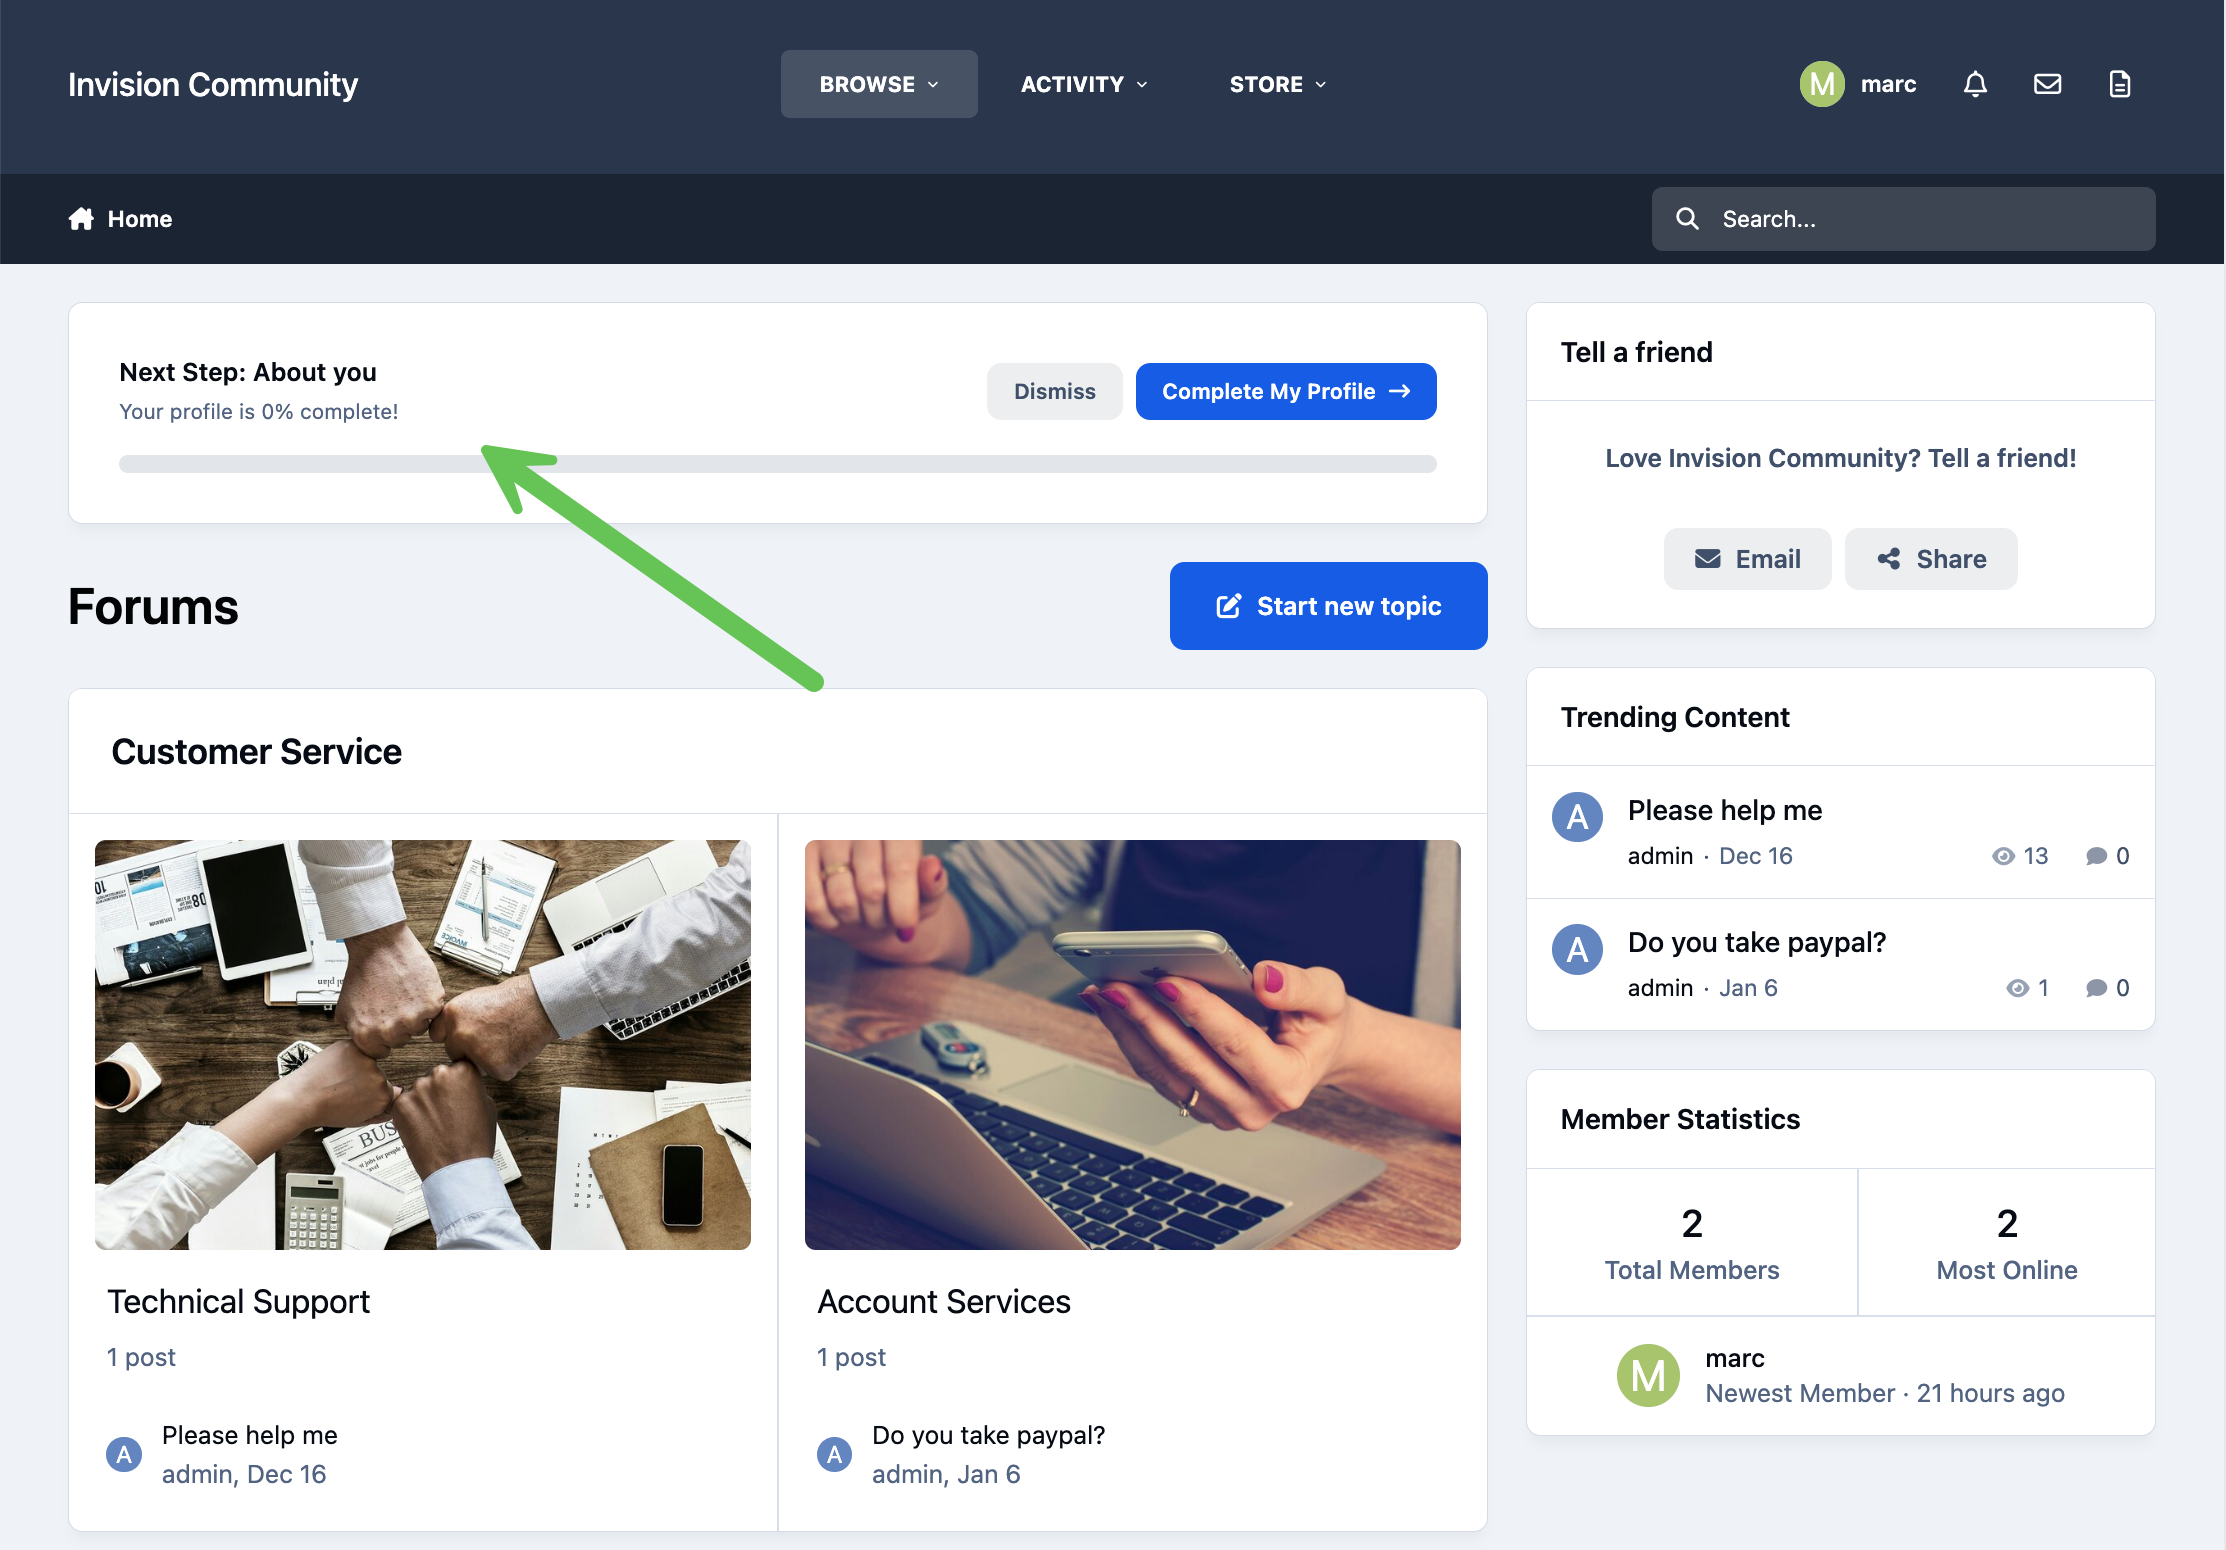
When a member still has profile information to complete, a profile completion bar will be displayed, showing the percentage of their profile that has been filled in so far.
This bar can be dismissed by the member if they prefer. If dismissed, any remaining profile items can be completed later directly from the member’s profile. Members can also select 'Complete my profile' to move through the remaining steps, completing each item in turn.
Profile Completion Front End
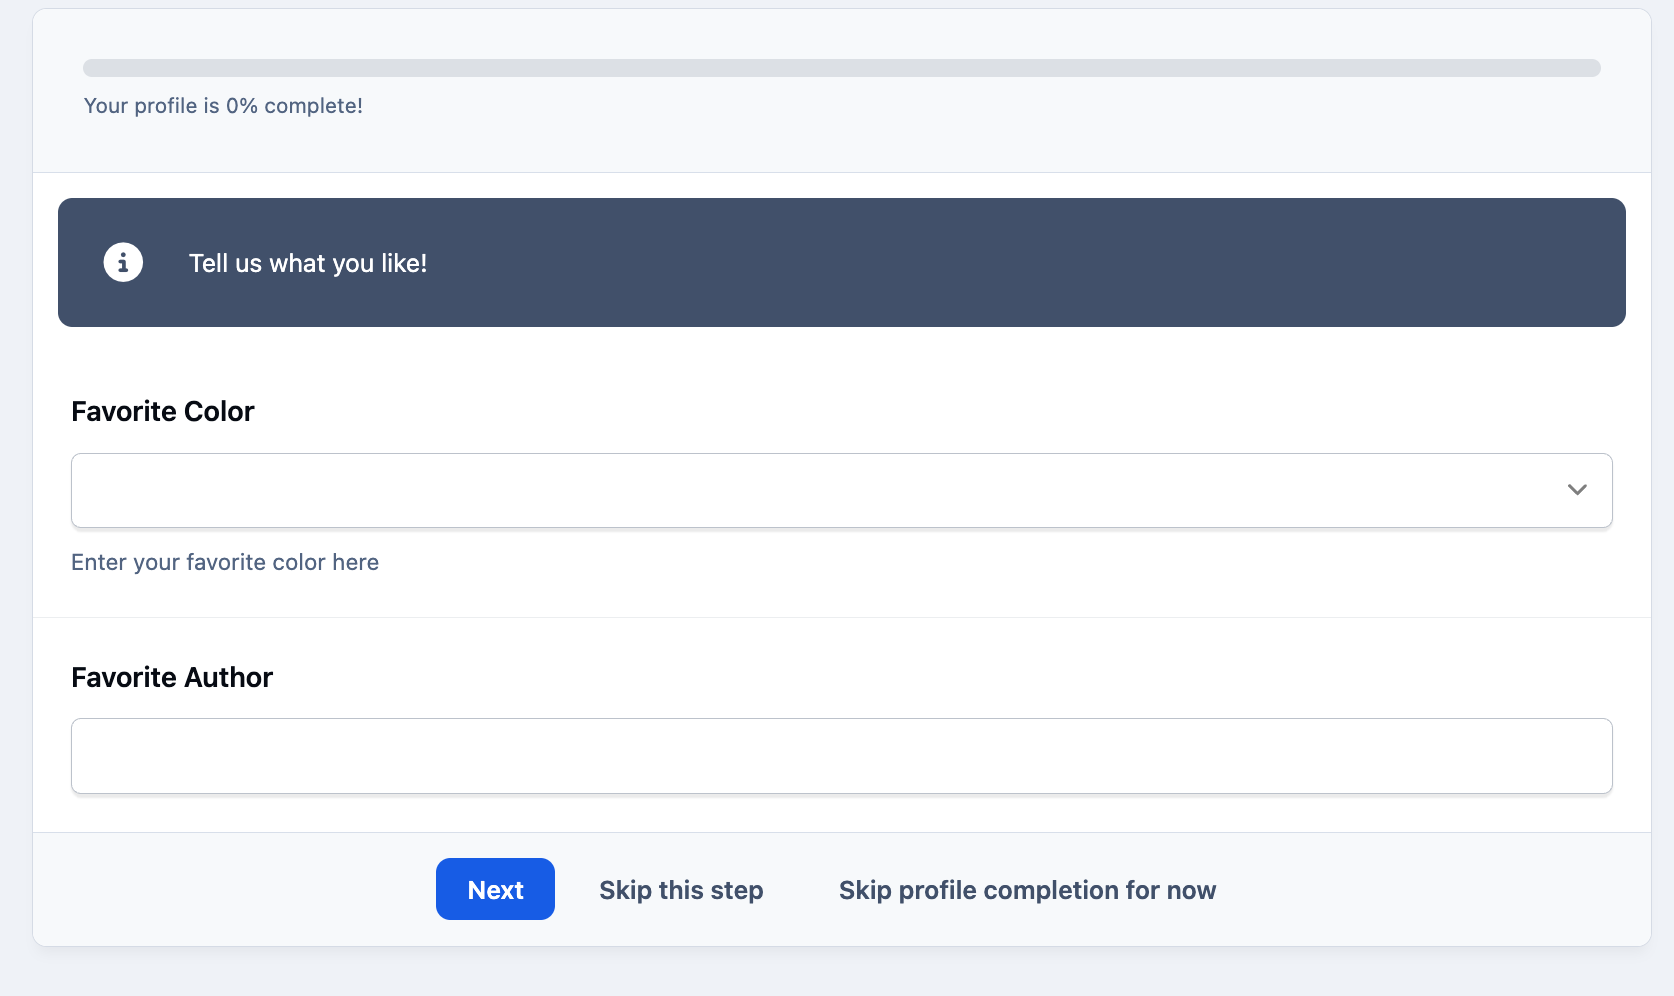
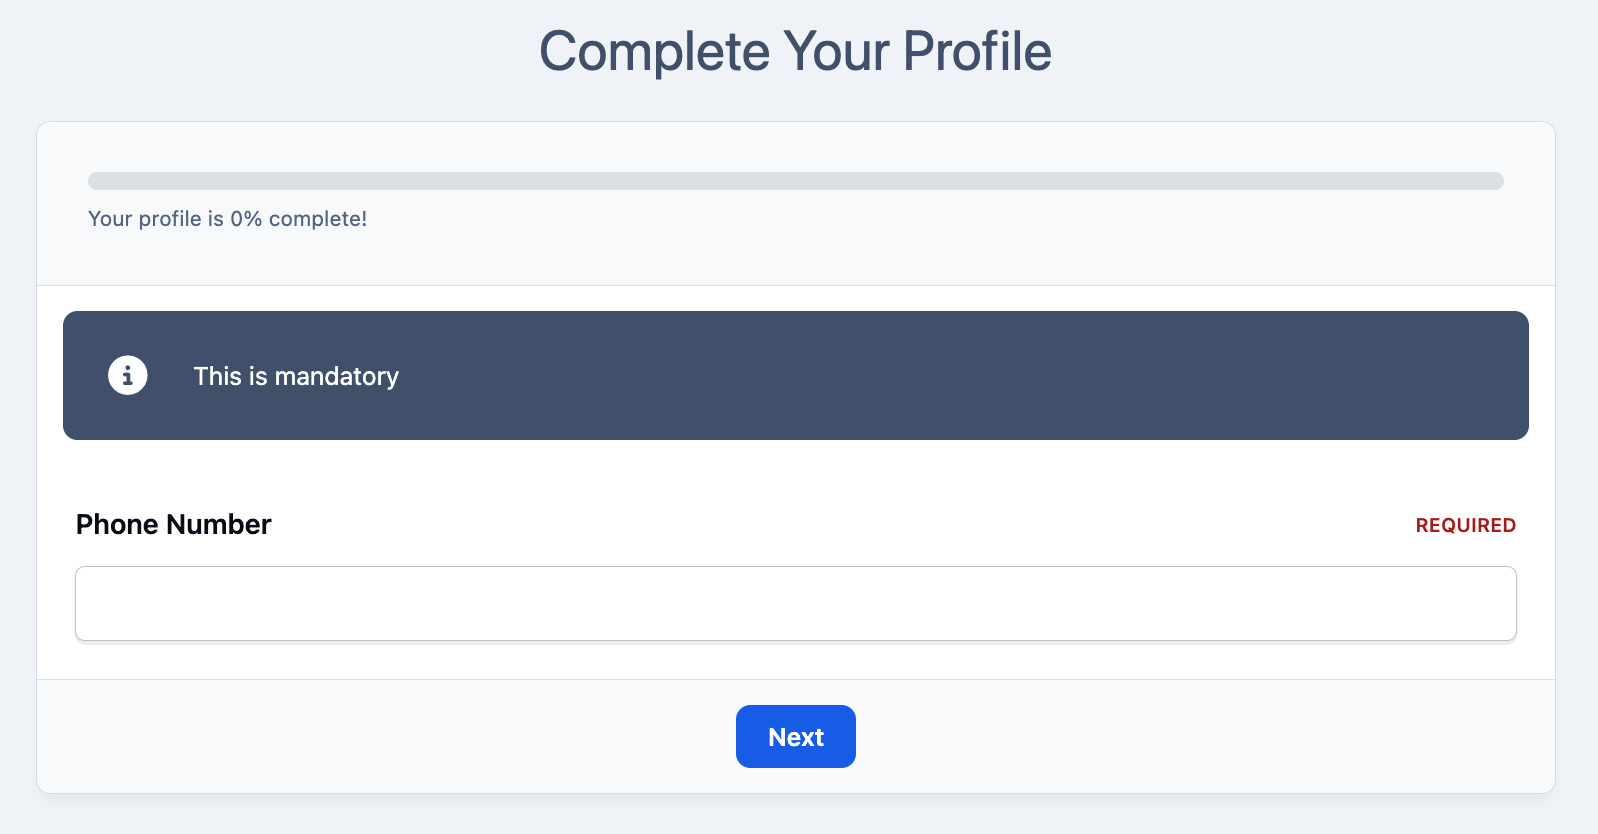
On the 'Complete my profile' screen, you’ll notice a 'Skip this step' button at the bottom. This option is only shown when the items on that step are not required. If a step contains required fields, the skip option will not be available.
When required steps are incomplete, the profile completion screen will remain visible and members will not be able to access other areas of the site until the necessary information has been provided. Ensuring you capture all required information.
In the example shown below, the current step is optional and can be skipped. However, step 2 is marked as required and has not yet been completed. As a result, there are no other menu options available to the member, and they will only see the profile completion screen until all required fields have been filled in.
Skippable VS Mandatory
Recommended Comments