


Welcome to Invision Community!
When you visit your site for the first time, the very first thing you’ll want to do is log in to your Admin CP, using the account details that were emailed to you when your site was created. This initial account is part of the Administrator group, which by default has full access to all areas of your community and the Admin CP.
Admin CP
The Admin Control Panel (referred to as the Admin CP) is the administration area of your community. This is where administrators manage all aspects of how the community itself is set up, and operated. Everything from basic settings, permissions, switching things on and off, and control how members interact with the site.
Think of it as setup area for everything that happens in your community.
First Login
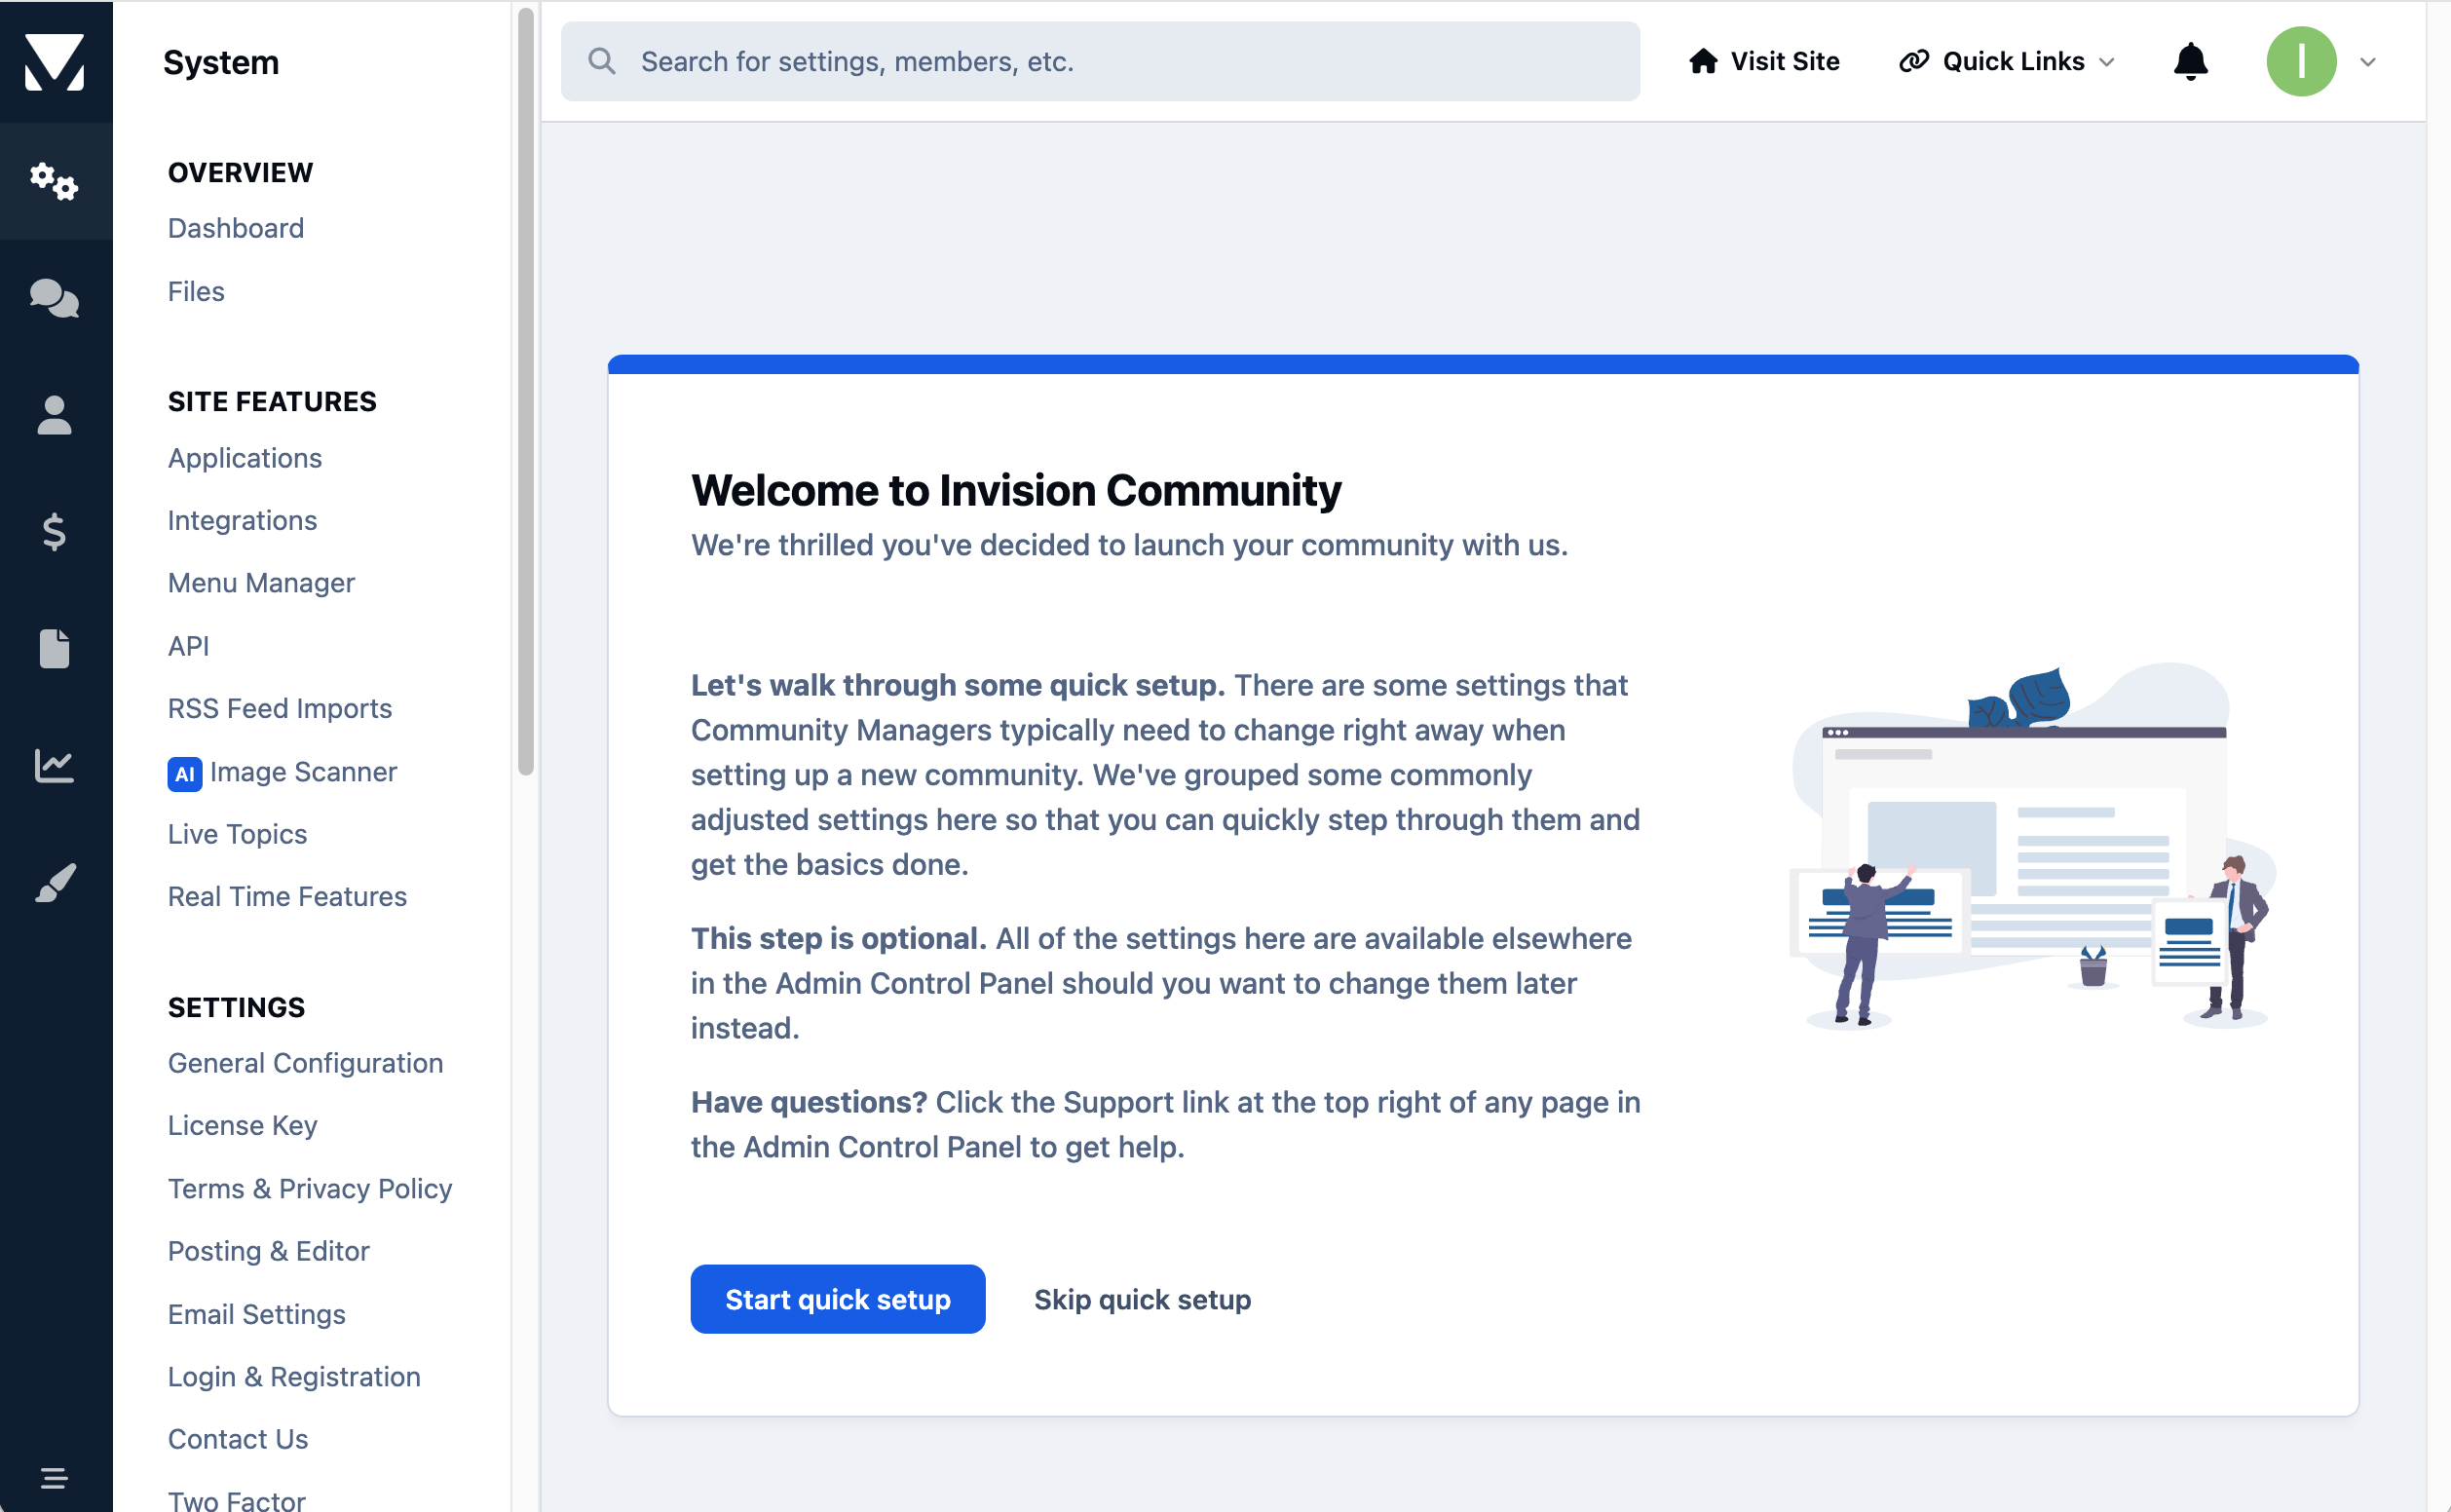
When you log into the Admin CP for the first time, you’ll be presented with the screen shown below.
Quick Setup
Skipping Quick Setup
If you’d prefer to explore the Admin CP on your own, or you’re already familiar with how things work, you can safely skip this step using the link provided. Using the quick search mentioned in the section below can help you get to areas such as general configuration, and other items you would have set up in this quick configuration section.
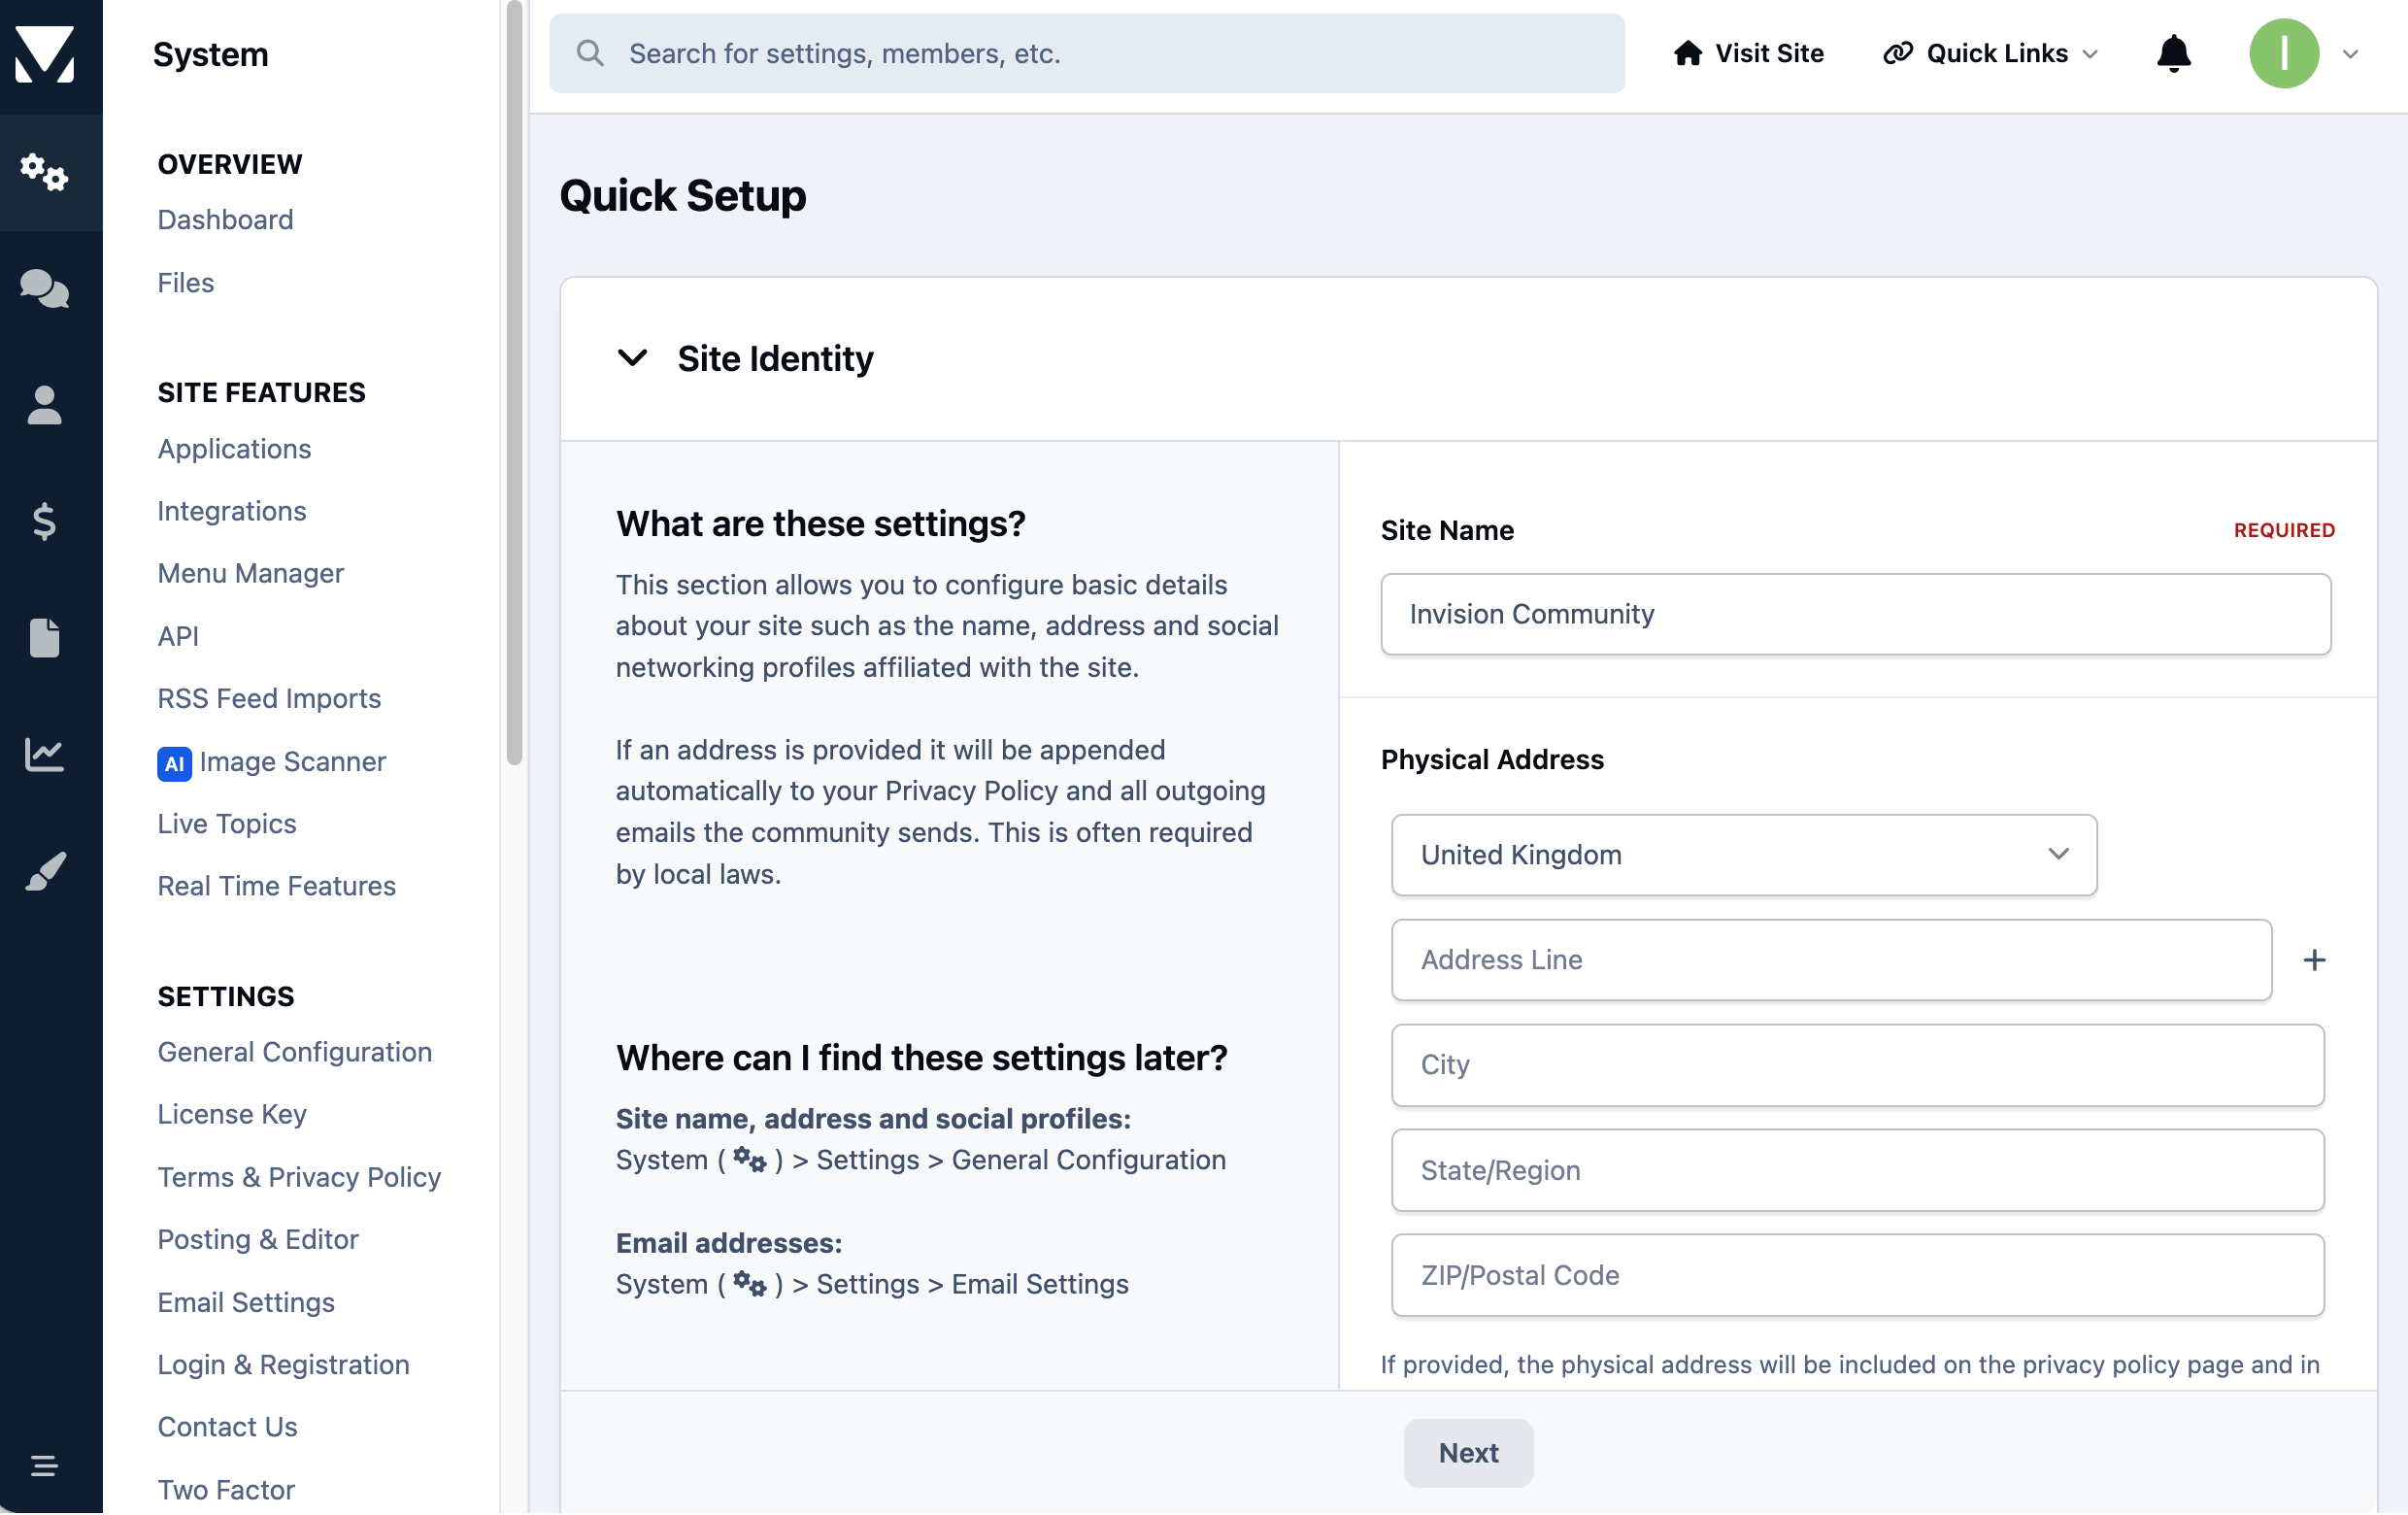
If you choose to continue, the quick setup will guide you through adding some key information about your site, such as your community name, logos, and other basic details.
Quick Setup - Adding detail
Quick Search Menu
The Quick Search menu is one of the easiest tools to use in your Admin CP, along with being the most useful. One you’ll quickly learn to love!
From here, you can search across the entire Admin CP, helping you do find things like :
Search for specific settings
Find Member accounts
Lookup customer details like invoices or transactions
Quickly navigate to specific areas such as the settings of a particular forum, gallery category, or club
Admin Quick Search In Action
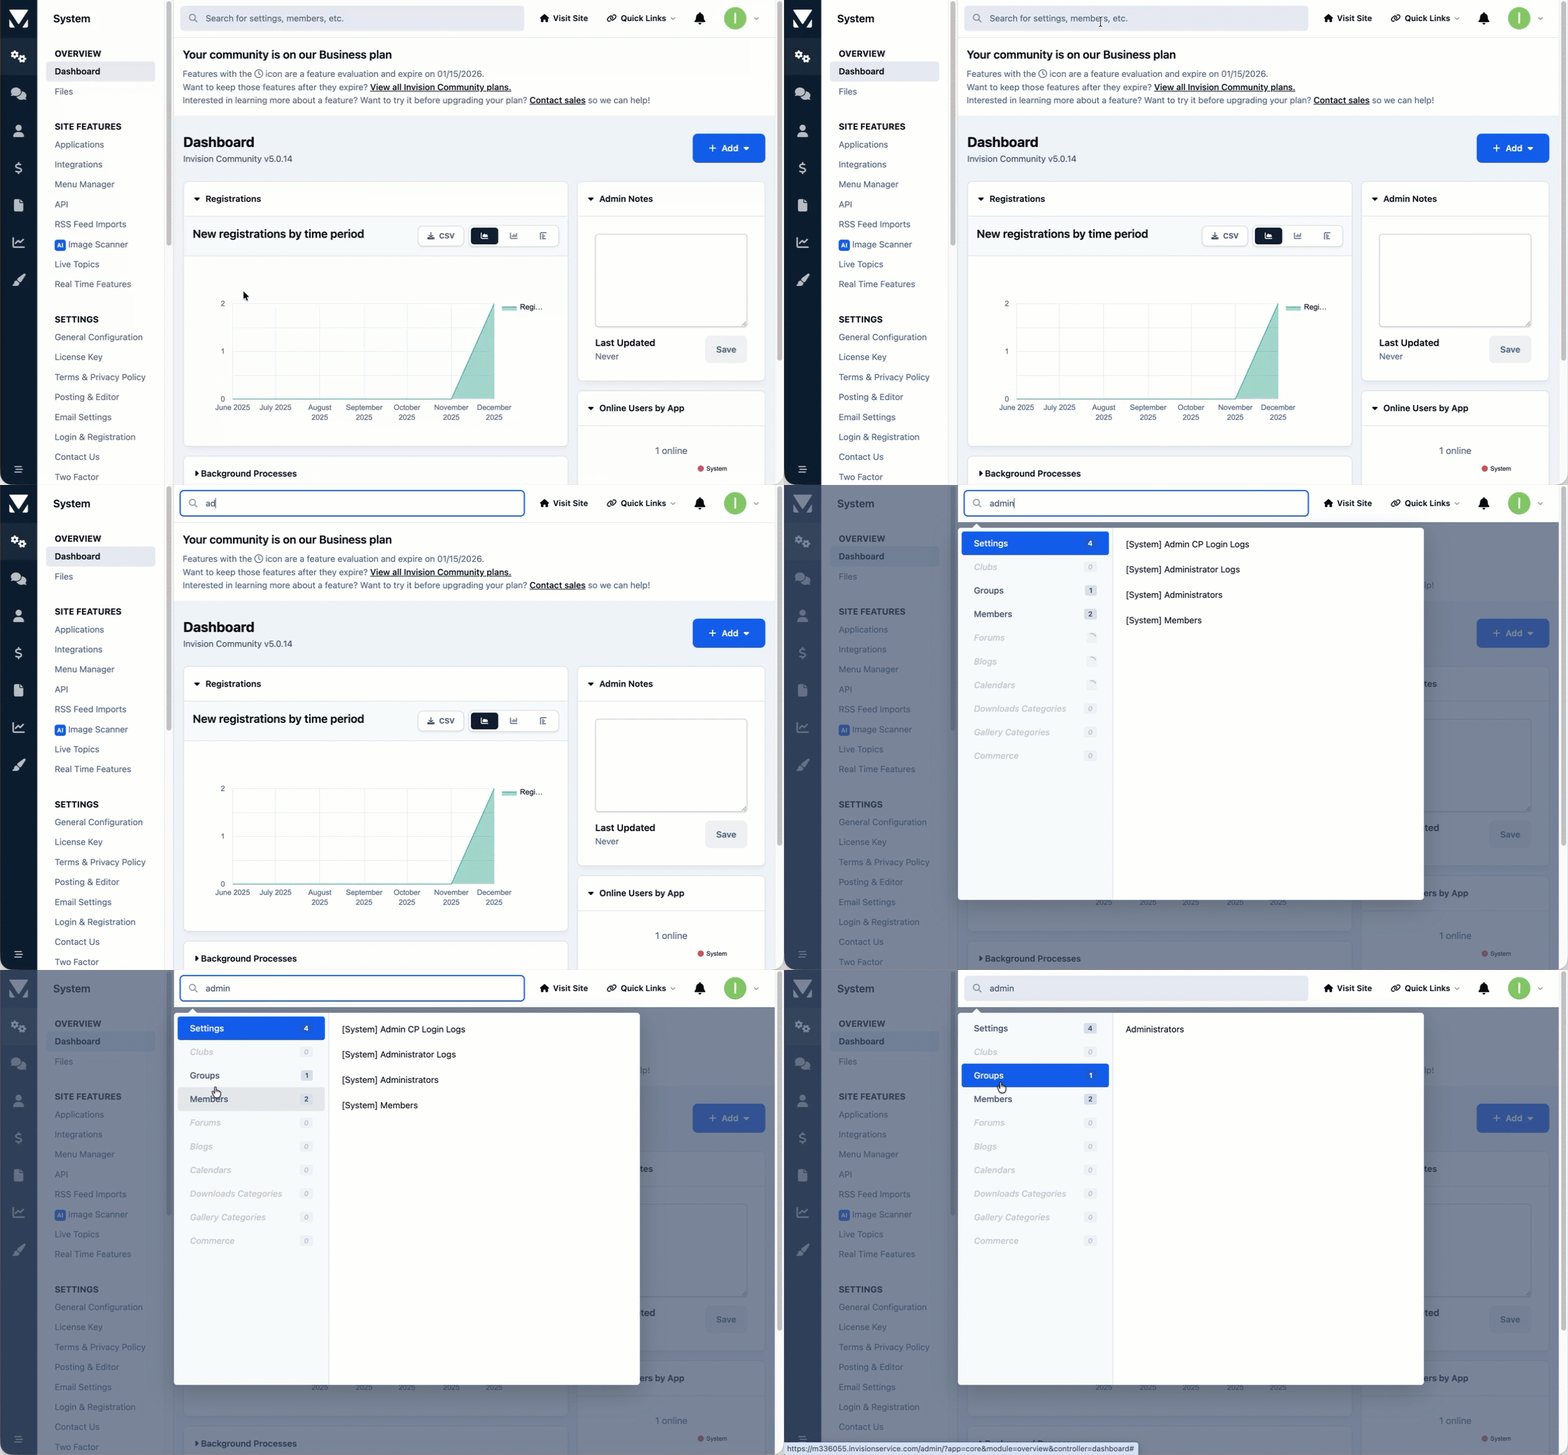
Need to edit a member but can’t remember where to find them? Just type their name here.
Looking for a specific setting but can’t recall which section it lives in? Search for it.
Someone has asked you about an order and has the invoice number? Enter it and jump straight to it.
Word From The Experts
Quick search is not only a faster way for you to get around. It can also help you to find settings and functionality, when you are unsure of their location.
Menu Reordering
You can also reorder the main Admin CP menu to suit how you work.
Menu items can be dragged into a different order, and if you move a section to the top level, it will become your default landing page when you log in.
Reordering AdminCP Menu Items
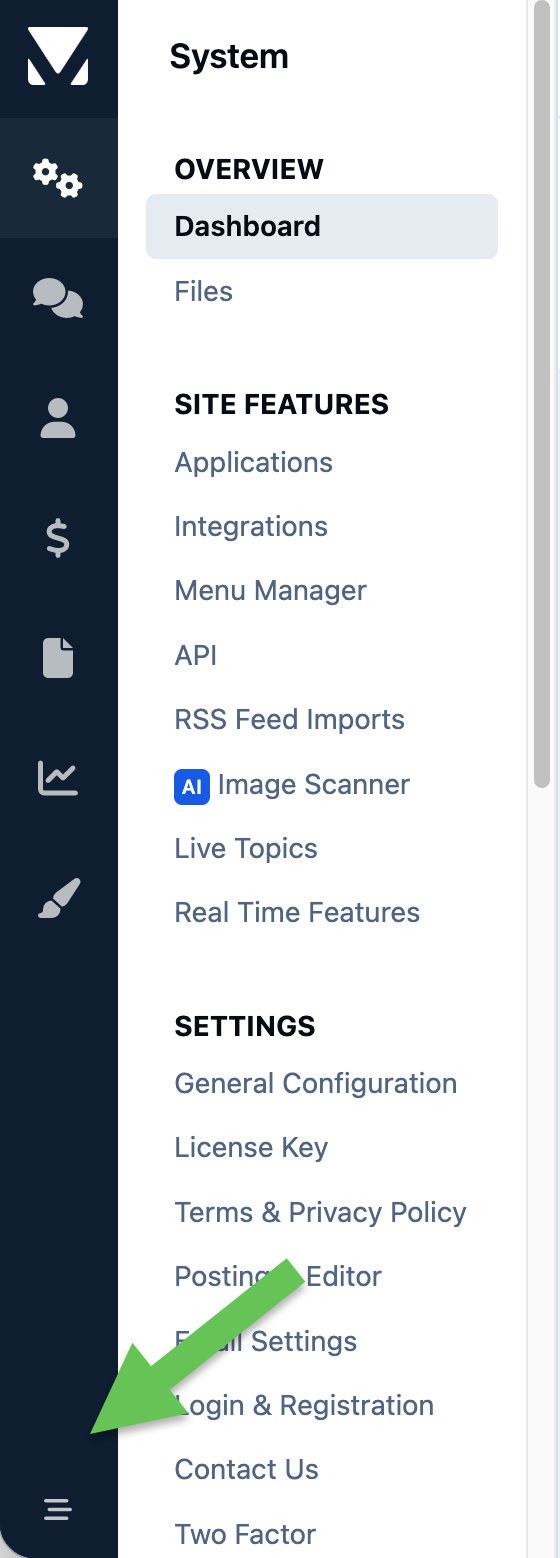
Small tweaks can make day-to-day admin work much quicker.
Dashboard
The Dashboard is usually the default page you’ll see when logging into the Admin CP (unless you’ve changed your menu order or access permissions).
It provides a customizable overview of what’s happening across your community. You can add or remove widgets, and rearrange them to suit your own needs a community administrator
Admin Dashboard
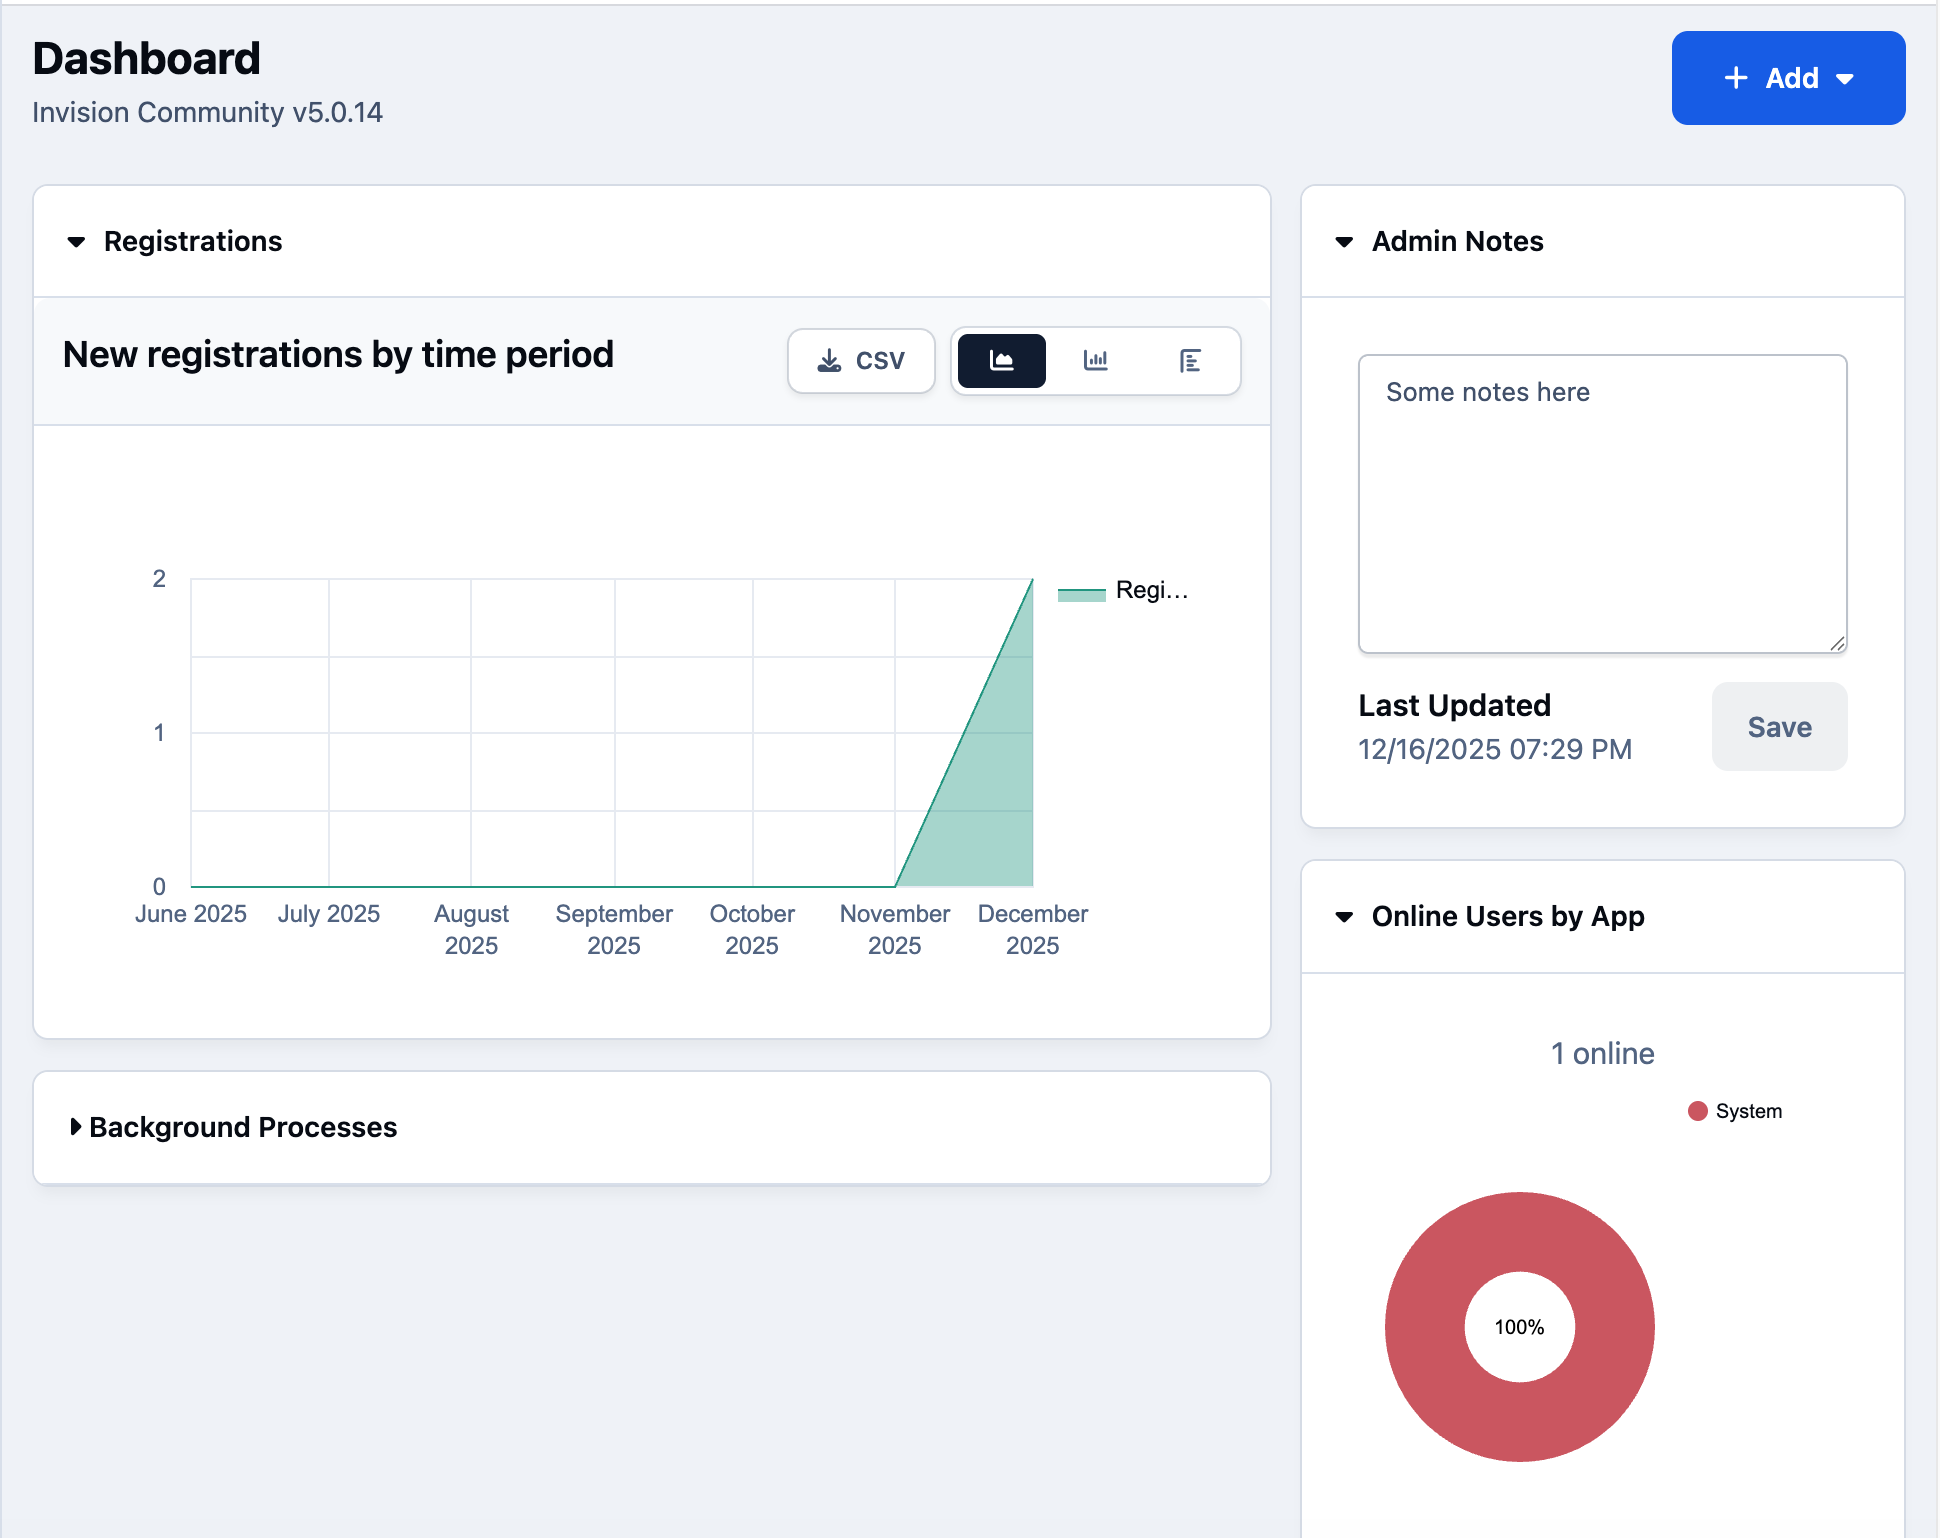
This allows you to tailor the Dashboard so the most important information is always visible at a glance.
There is one widget in particular that is important to note:
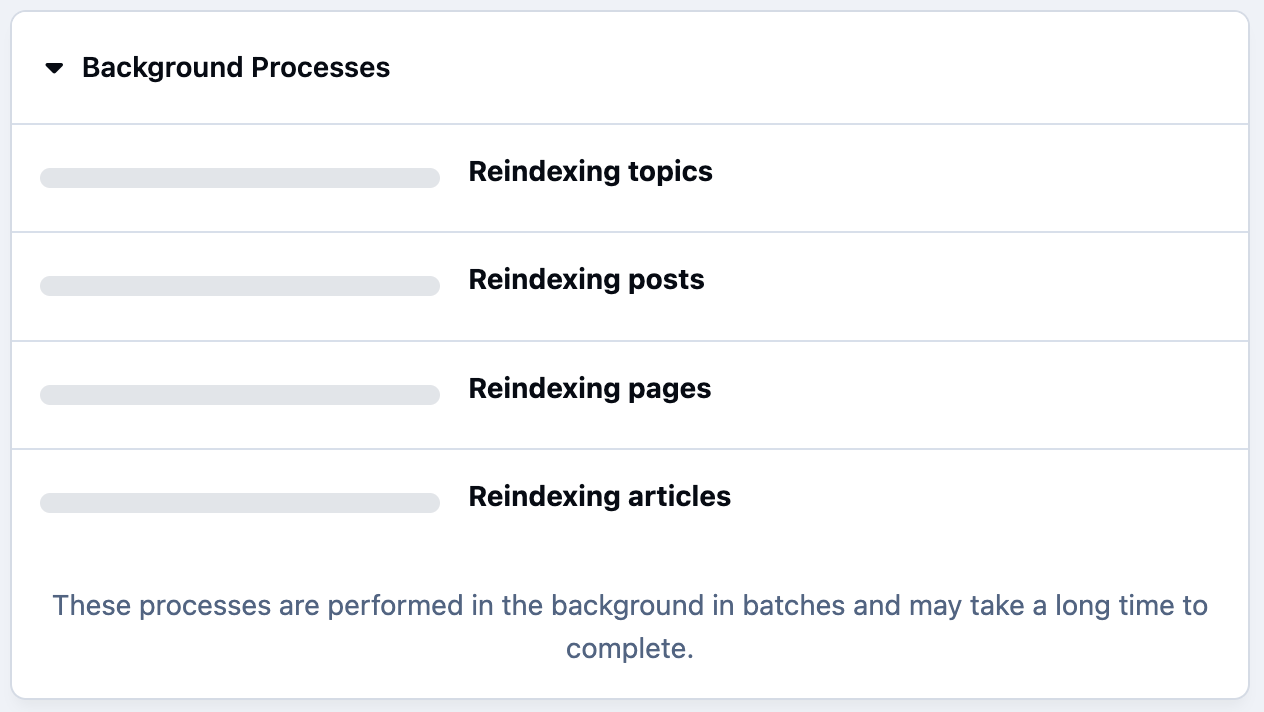
Background Processes
One particularly important widget to be aware of is Background Processes.
Certain actions within the community are handled in the background to keep everything running efficiently. These include things like:
Sending bulk emails
Notifying members of new activity, when there are quite a few to send
Rebuilding content or search indexes after upgrades or other admin tasks
Moving or deleting large amounts of content
These tasks are queued, and intentionally built so you can continue using your community, while these are in progress.
The Background Processes widget lets you monitor these tasks, see their progress, and check whether anything is still running.
Background Process Dashboard Widget
Admin CP Notifications
In the top-right corner of the Admin CP, you’ll notice a notification bell icon.
Notifications
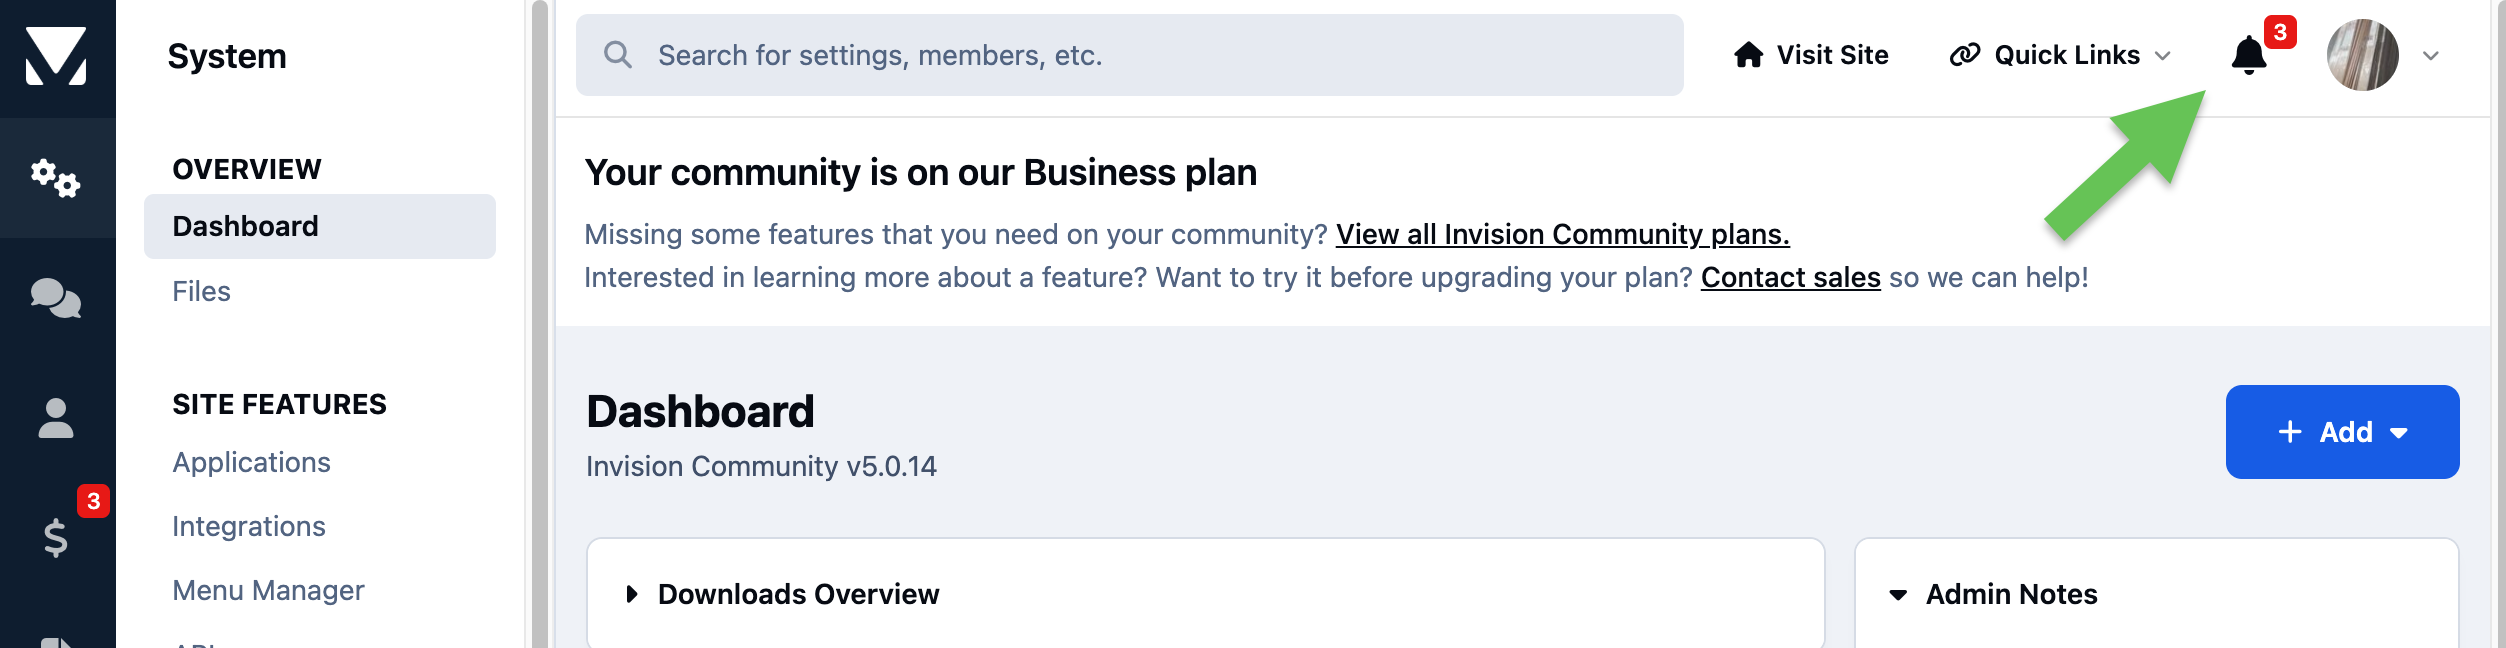
This highlights anything that may need your attention — such as system notices, errors, or events you’ve chosen to be notified about.
Clicking the bell shows your current notifications. From here, you can:
View the full list
Jump directly to the relevant area
Manage your notification preferences
Notifications Panel Expanded
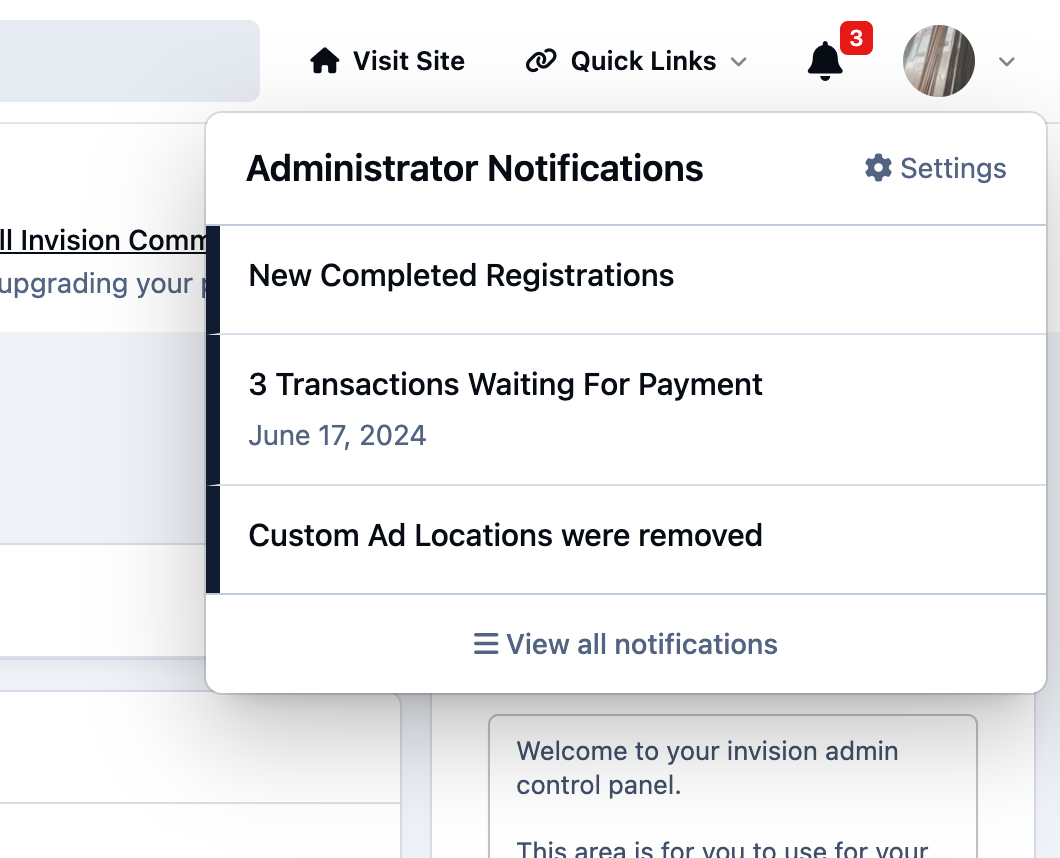
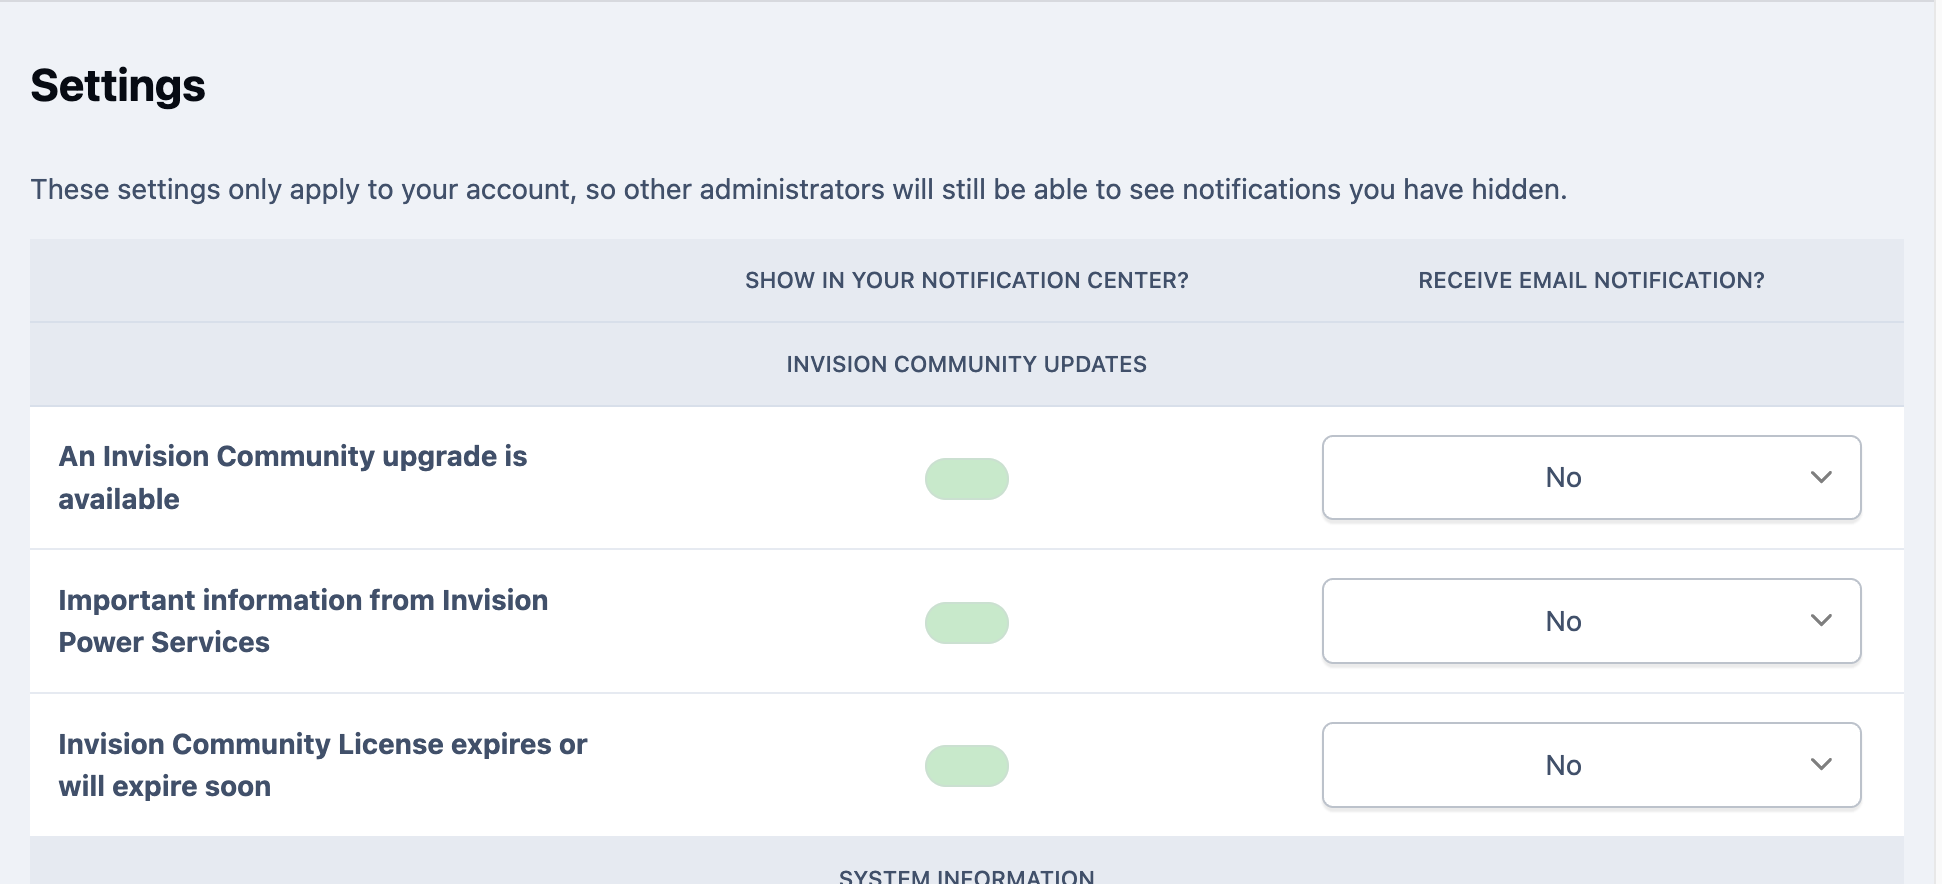
Notification preferences are set per administrator by selecting Settings, so each admin can get notified of what is important to them .
You can receive notifications for things like:
New user registrations
Members requiring validation
Logged errors
System or server issues
Word From The Experts
Some notifications are enabled by default in the admin CP, and cannot be deselected. This is intentional with notifications it is important that you see, and need to action at some point, such as important community updates
You can choose what notifications you wish to recieve via the Admin CP notification area, or via email.
Notification Settings
Recommended Comments