


In this guide, we’ll walk you through the basics of getting started with the Gallery application. Unlike some of our more in-depth documentation, this guide is intentionally introductory and is designed to give you enough information to begin exploring how Gallery can work for your own site.
First Look
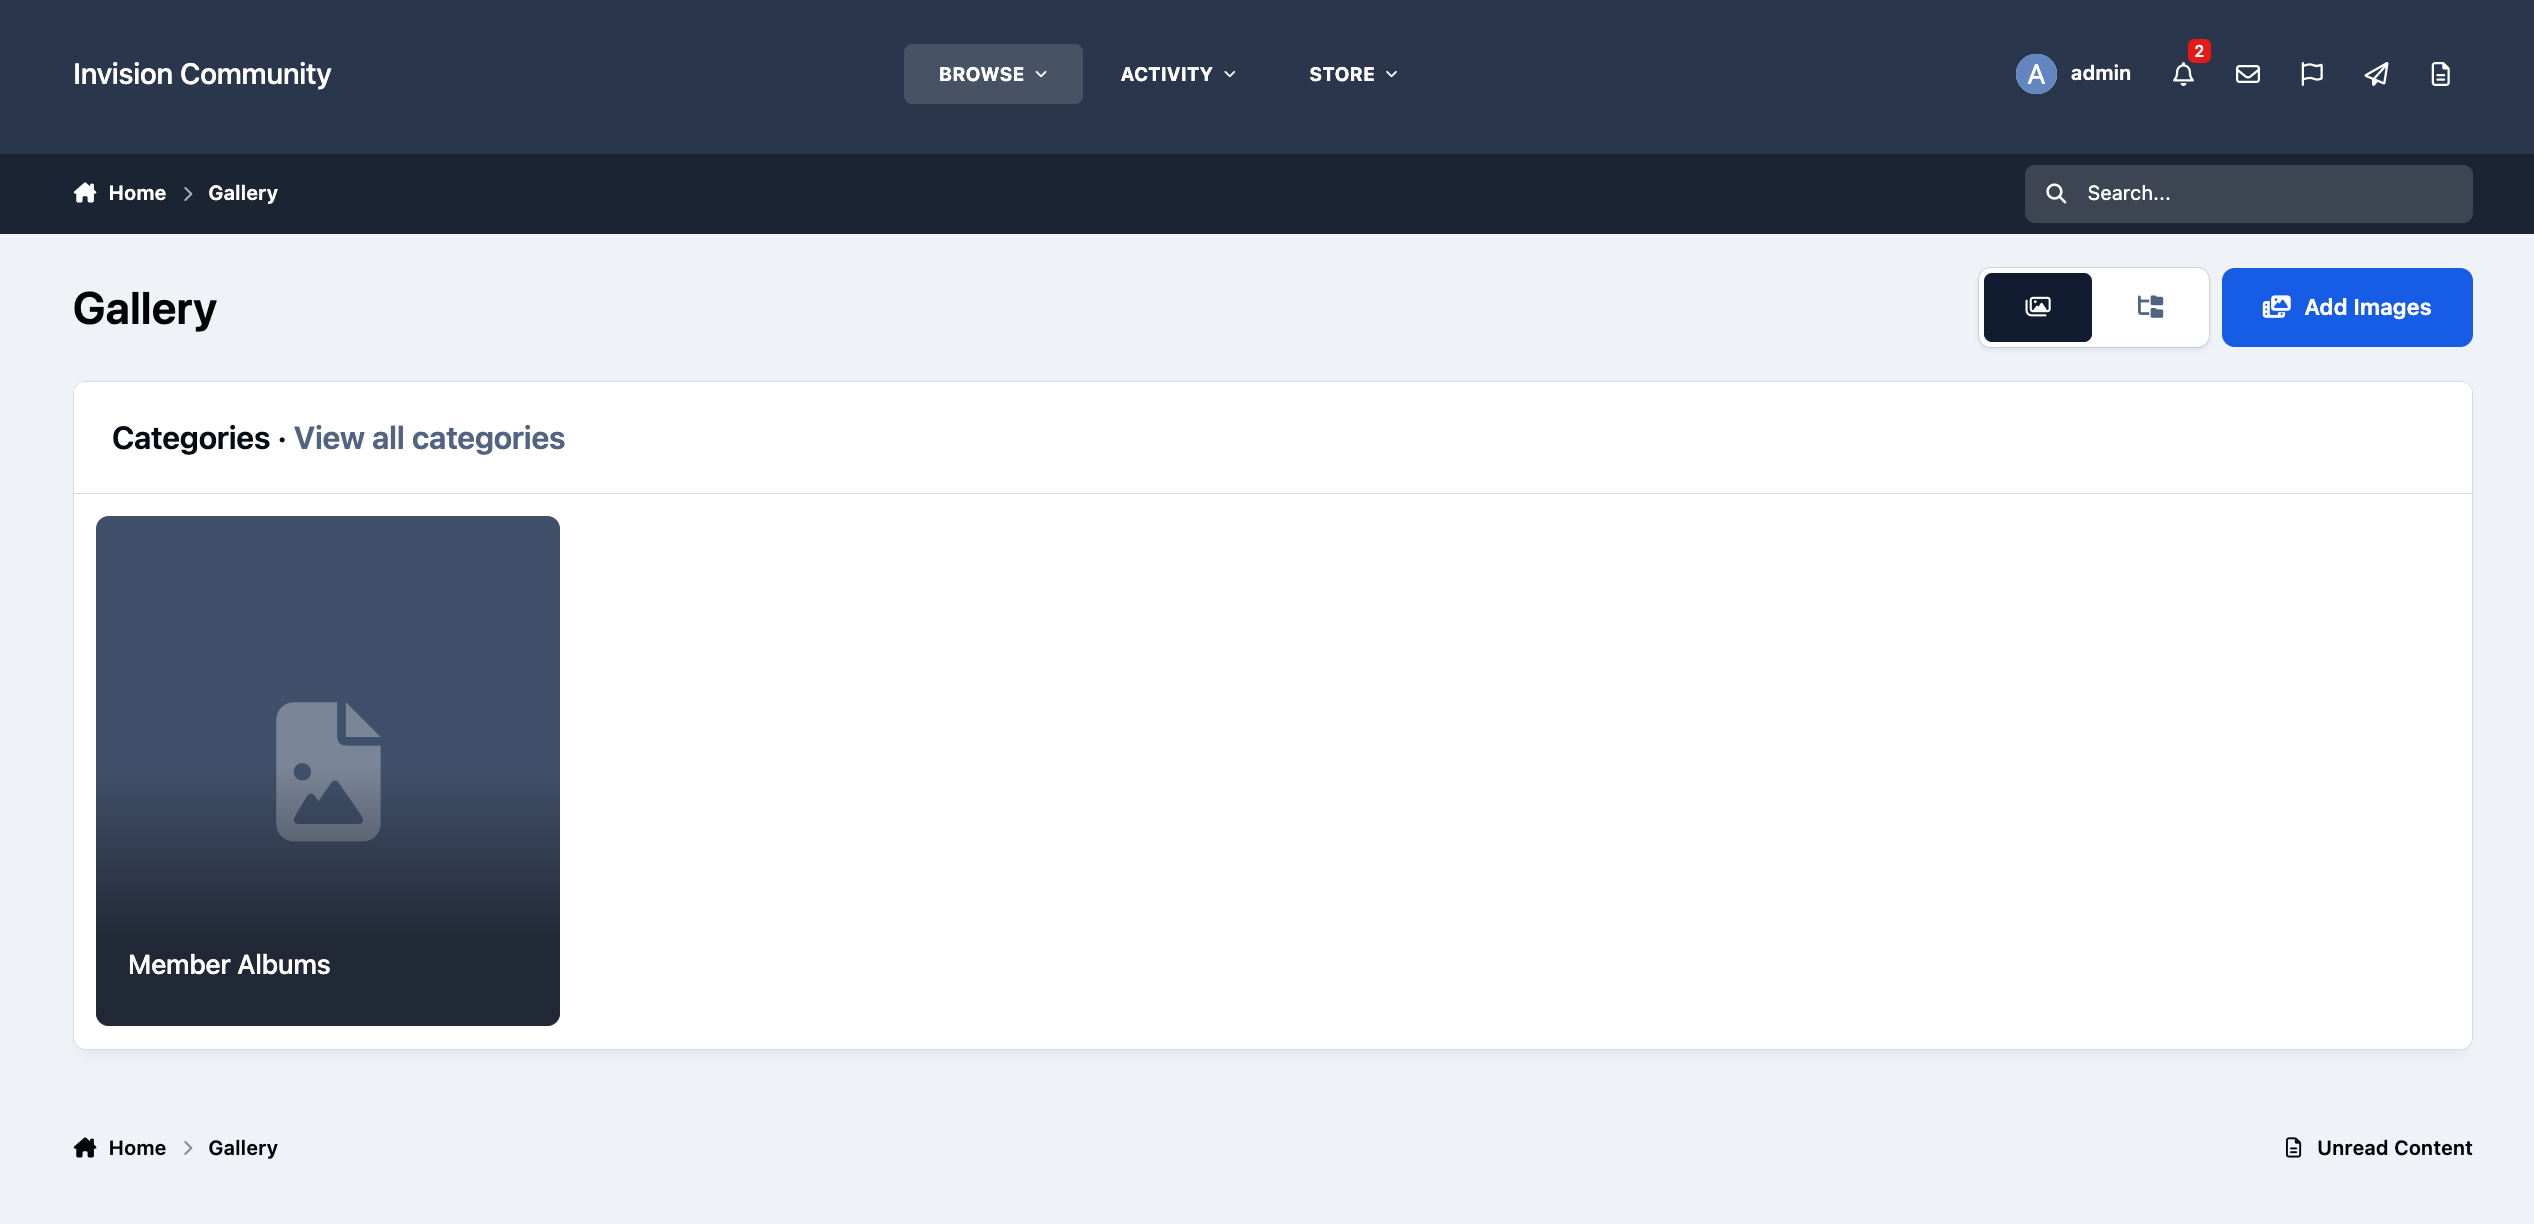
After first installing the software, the Gallery area will look similar to the image below, containing a single category named Member Albums.
This default category is provided for demonstration purposes only. You’re not required to keep it. You can rename it, replace it, or remove it entirely to suit the needs of your own community.
Default on Installation
Deleting Content/Categories
Before we begin, let’s remove any existing content and categories so we can start fresh. To do this, we’ll need to access the Admin CP, where site management takes place.
First, sign in on the front end of your site. In the top-right corner, click on your name and select the link to the Admin CP, then log in.
Once inside the Admin CP, navigate to the Gallery categories area. On the left-hand side, hover over the Community section (the chat bubble icon), then select Gallery → Categories, as shown.
Admin CP Menu
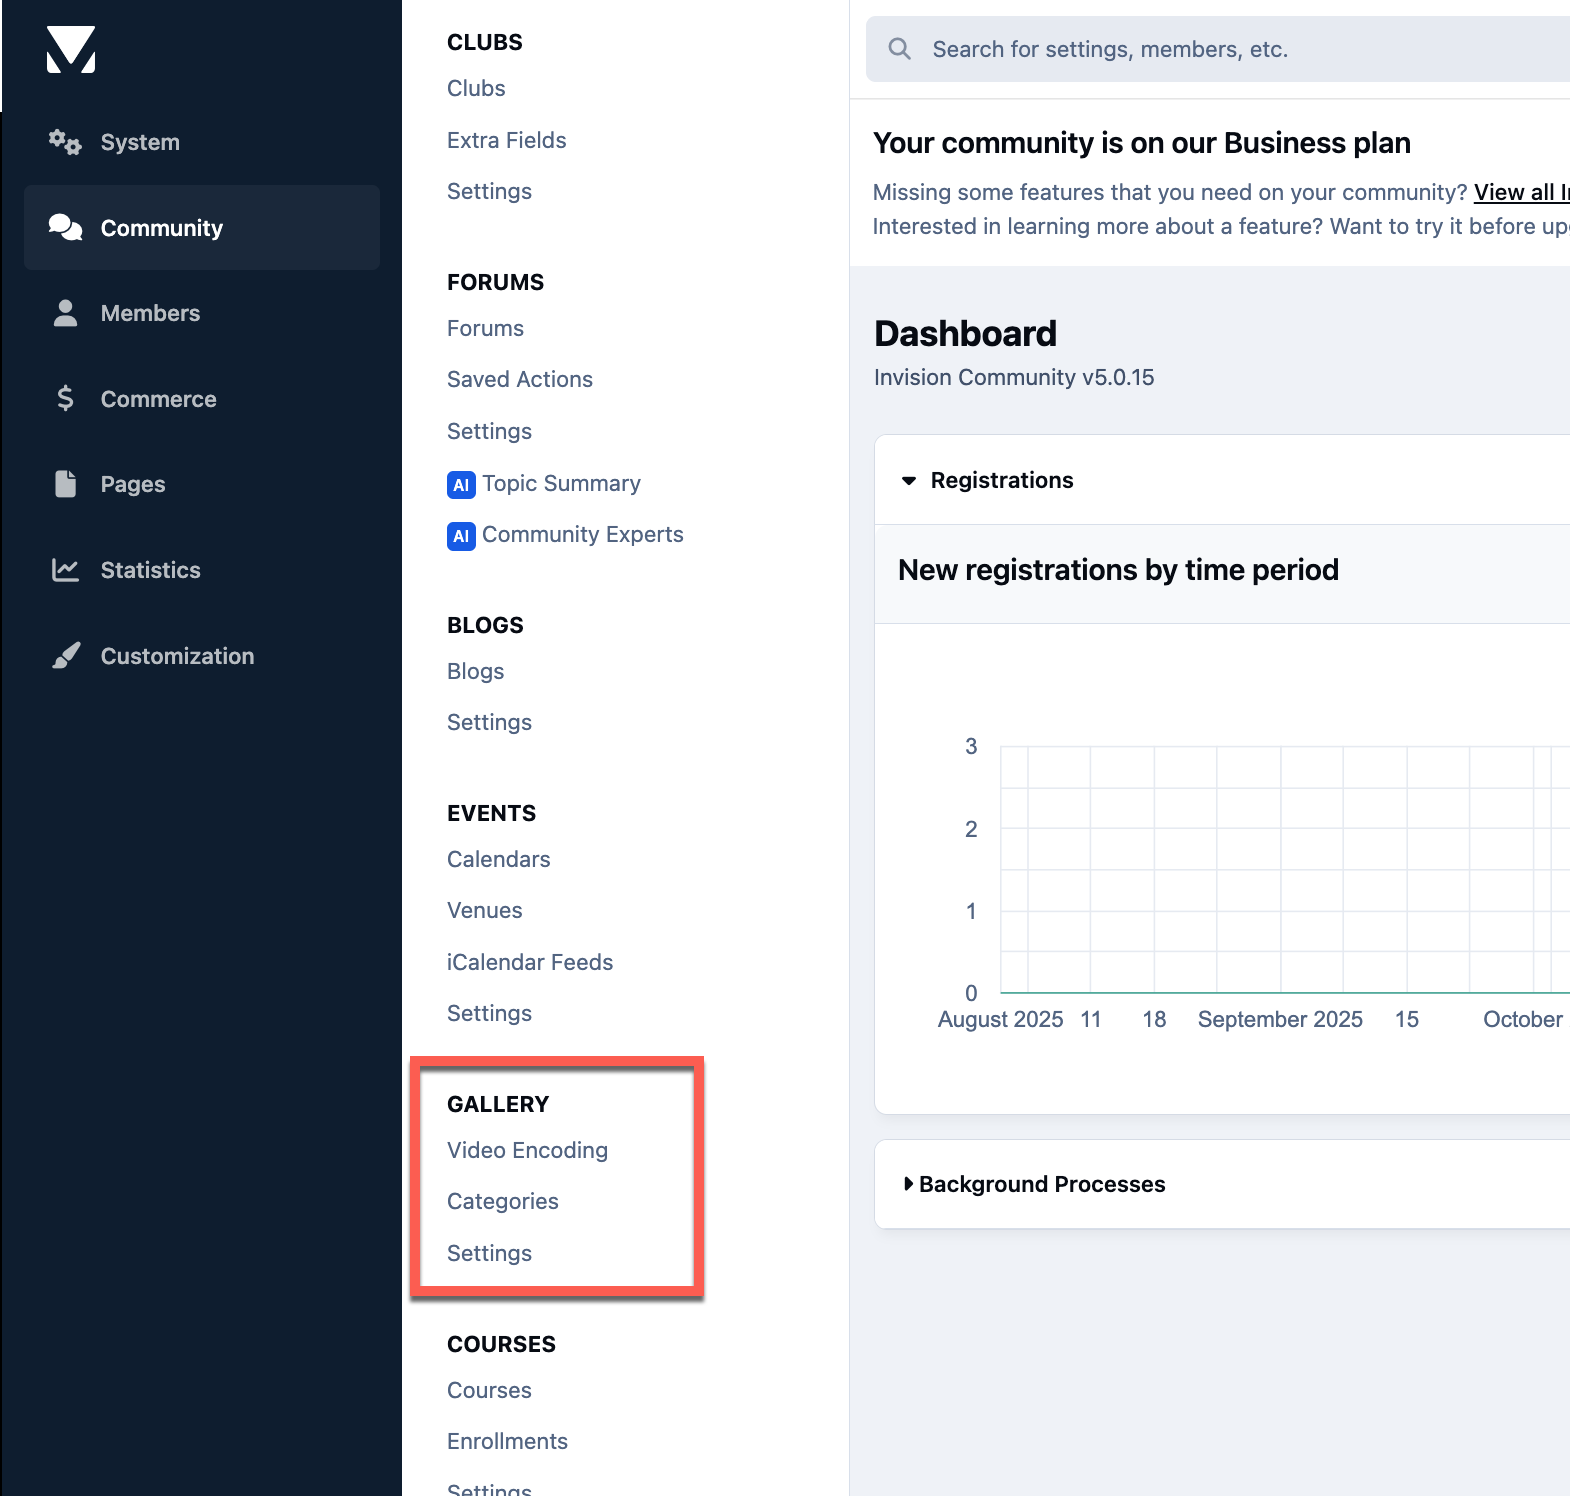
Here you’ll see a list of your Gallery categories. At the moment, there is only one — the Member Albums category that we saw earlier.
Let’s go ahead and remove it. To do this, click the dropdown menu next to the category and select Delete.
Deleting Default Categories
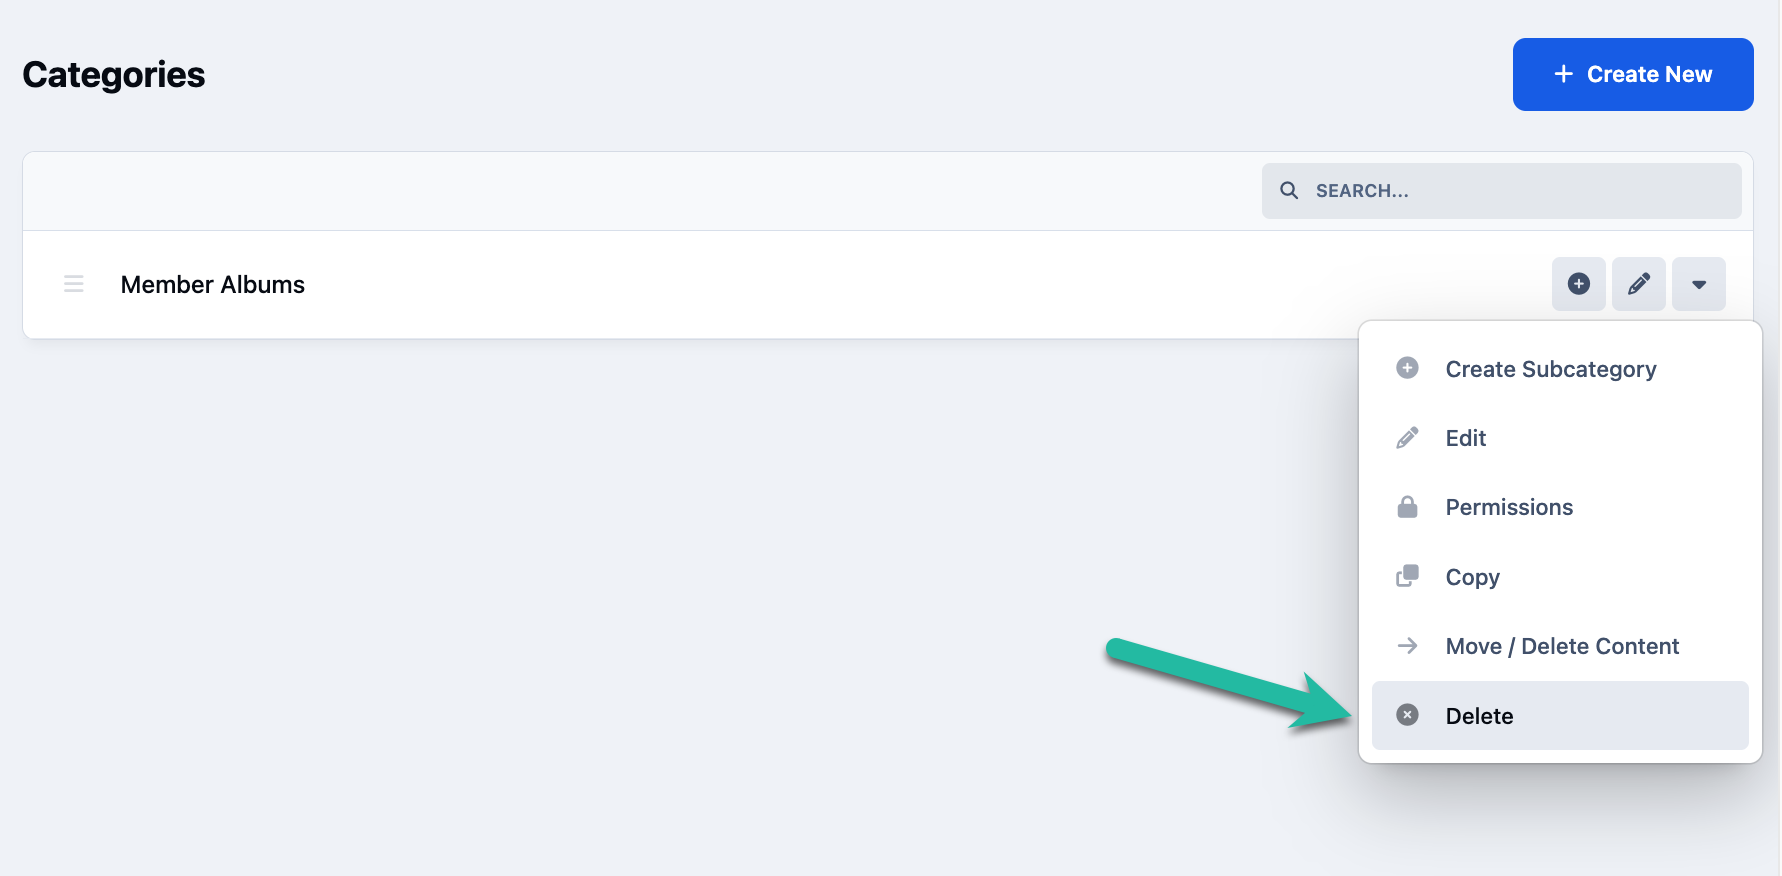
You’ll also notice a Move / Delete Content option in the dropdown menu. This can be useful if you want to bulk move images from one category to another, or remove all content within a category without deleting the category itself.
This option is particularly helpful when reorganizing your Gallery structure or cleaning up large amounts of content at once.
Our Test Gallery
Our Aims
We advise first of all, you get together what categories you want to see on within your new gallery. For our first gallery, we are going to set up a gallery for various random items. We will create a few new categories as follows
Cars
Dogs
Other
Creating Categories
Now that we’ve decided on the structure we want, we can begin creating our new categories.
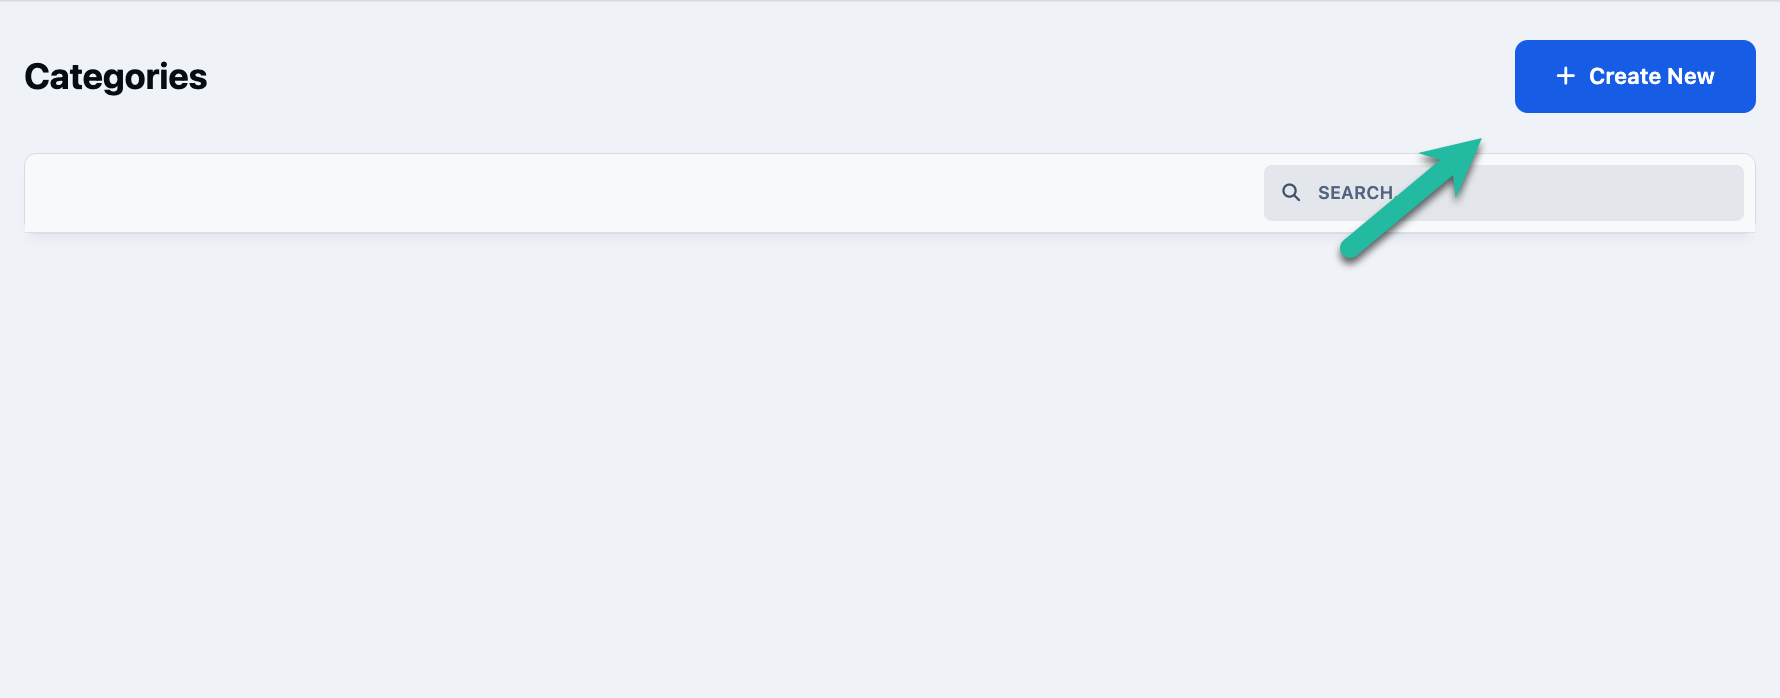
Click the Create New button in the top-right corner to add your first category.
Creating a New Category
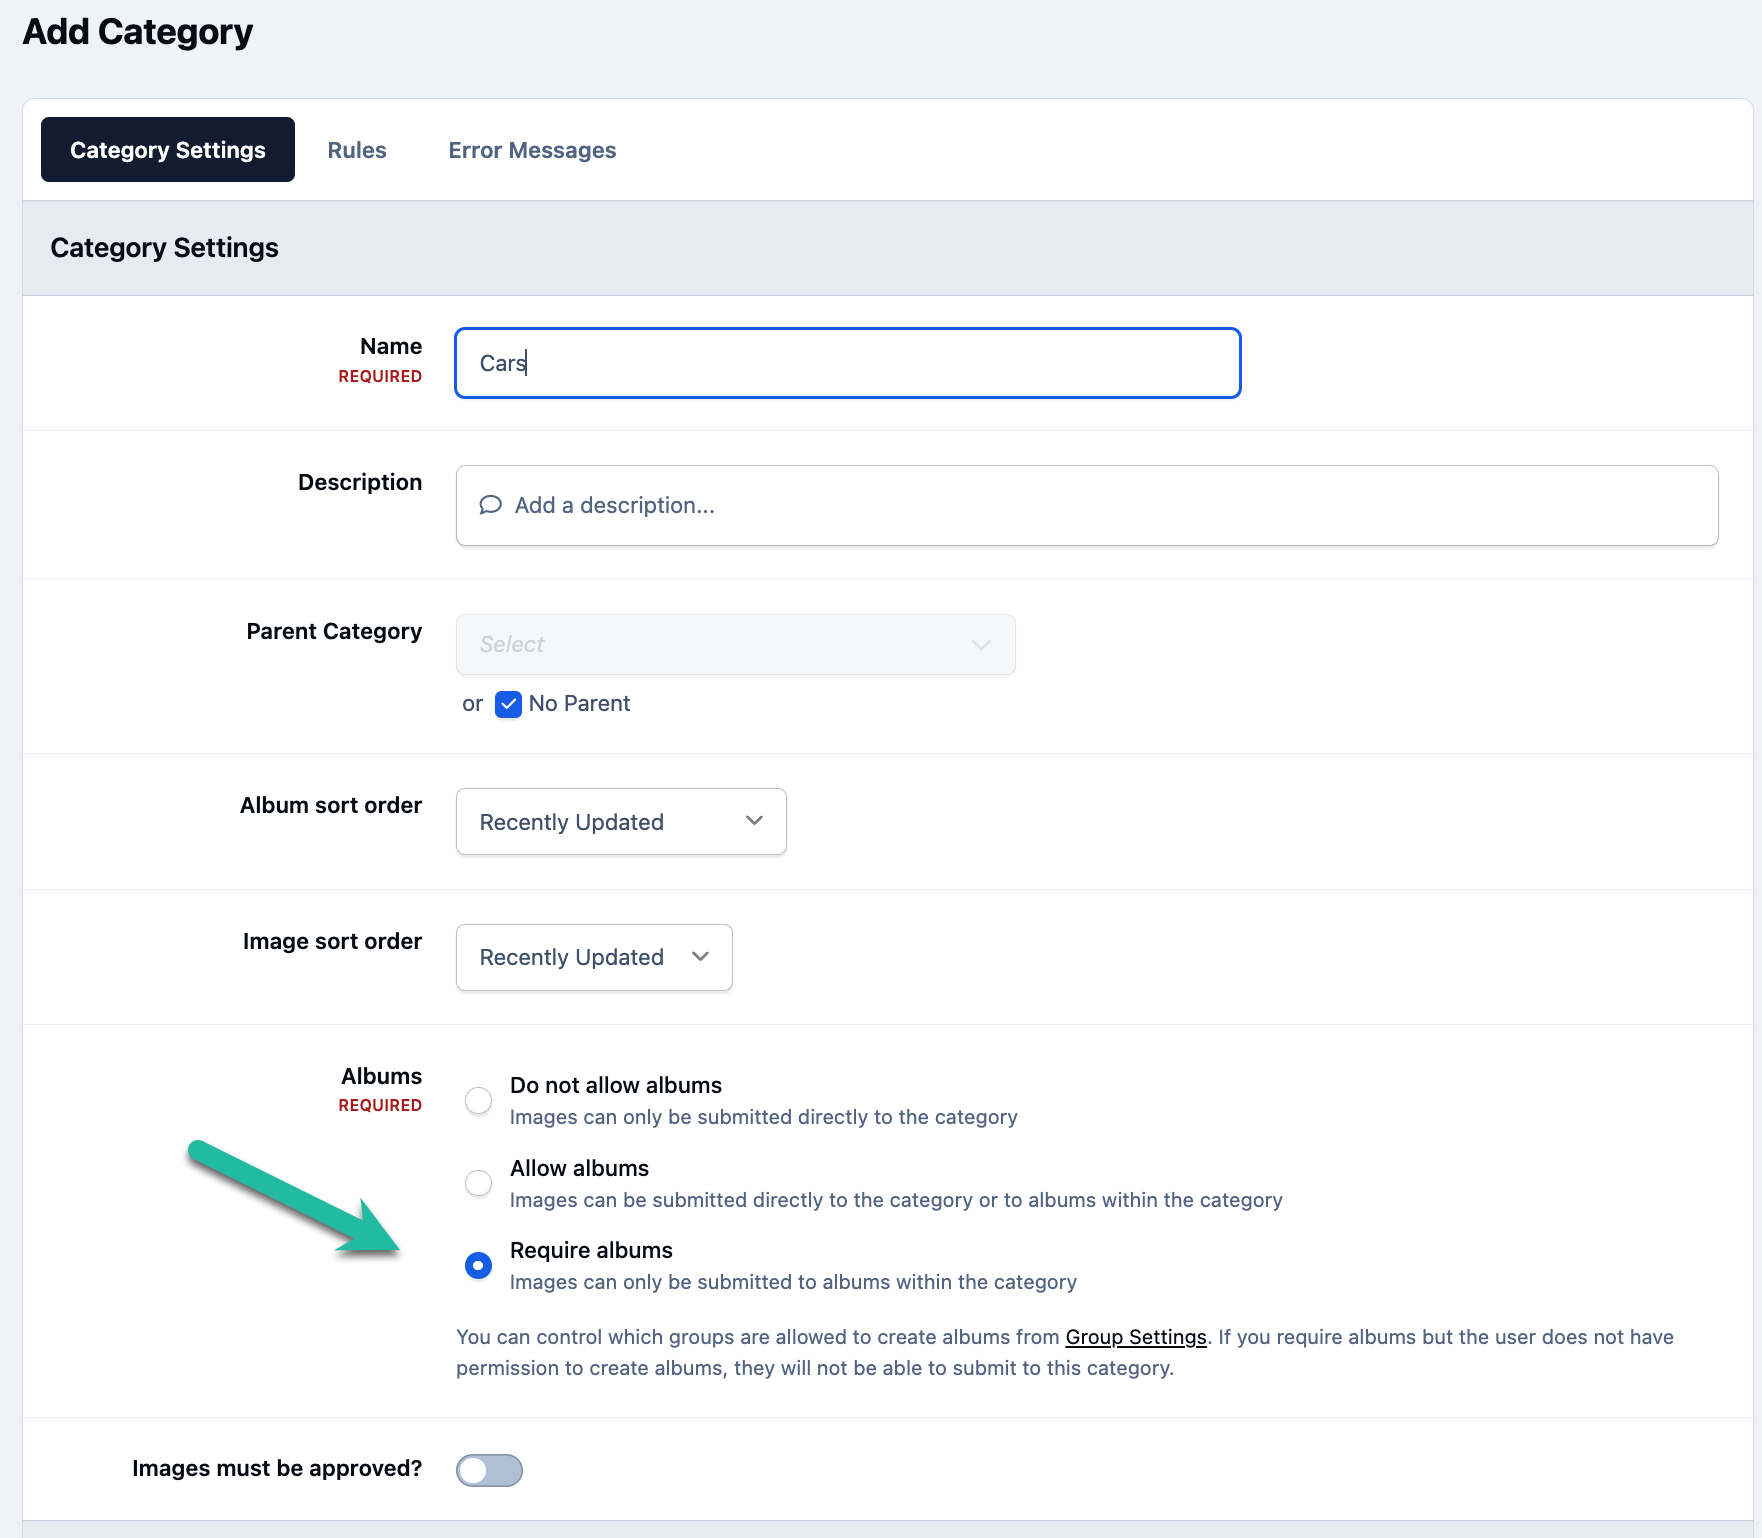
The first category we’re creating is called 'Cars' In this category, we want members to upload their images into albums rather than posting directly to the category.
Enter the category name, then change the Albums setting to Require albums. This ensures that members must either create a new album or choose one they’ve already created before uploading images. Direct uploads to the category itself will not be allowed.
Creation of Categories
Definition Understanding
t’s worth briefly explaining the difference between categories and albums. Categories are created and managed by administrators to organize the main sections of the Gallery. Albums, on the other hand, exist within categories and are created by members themselves to organize their own images.
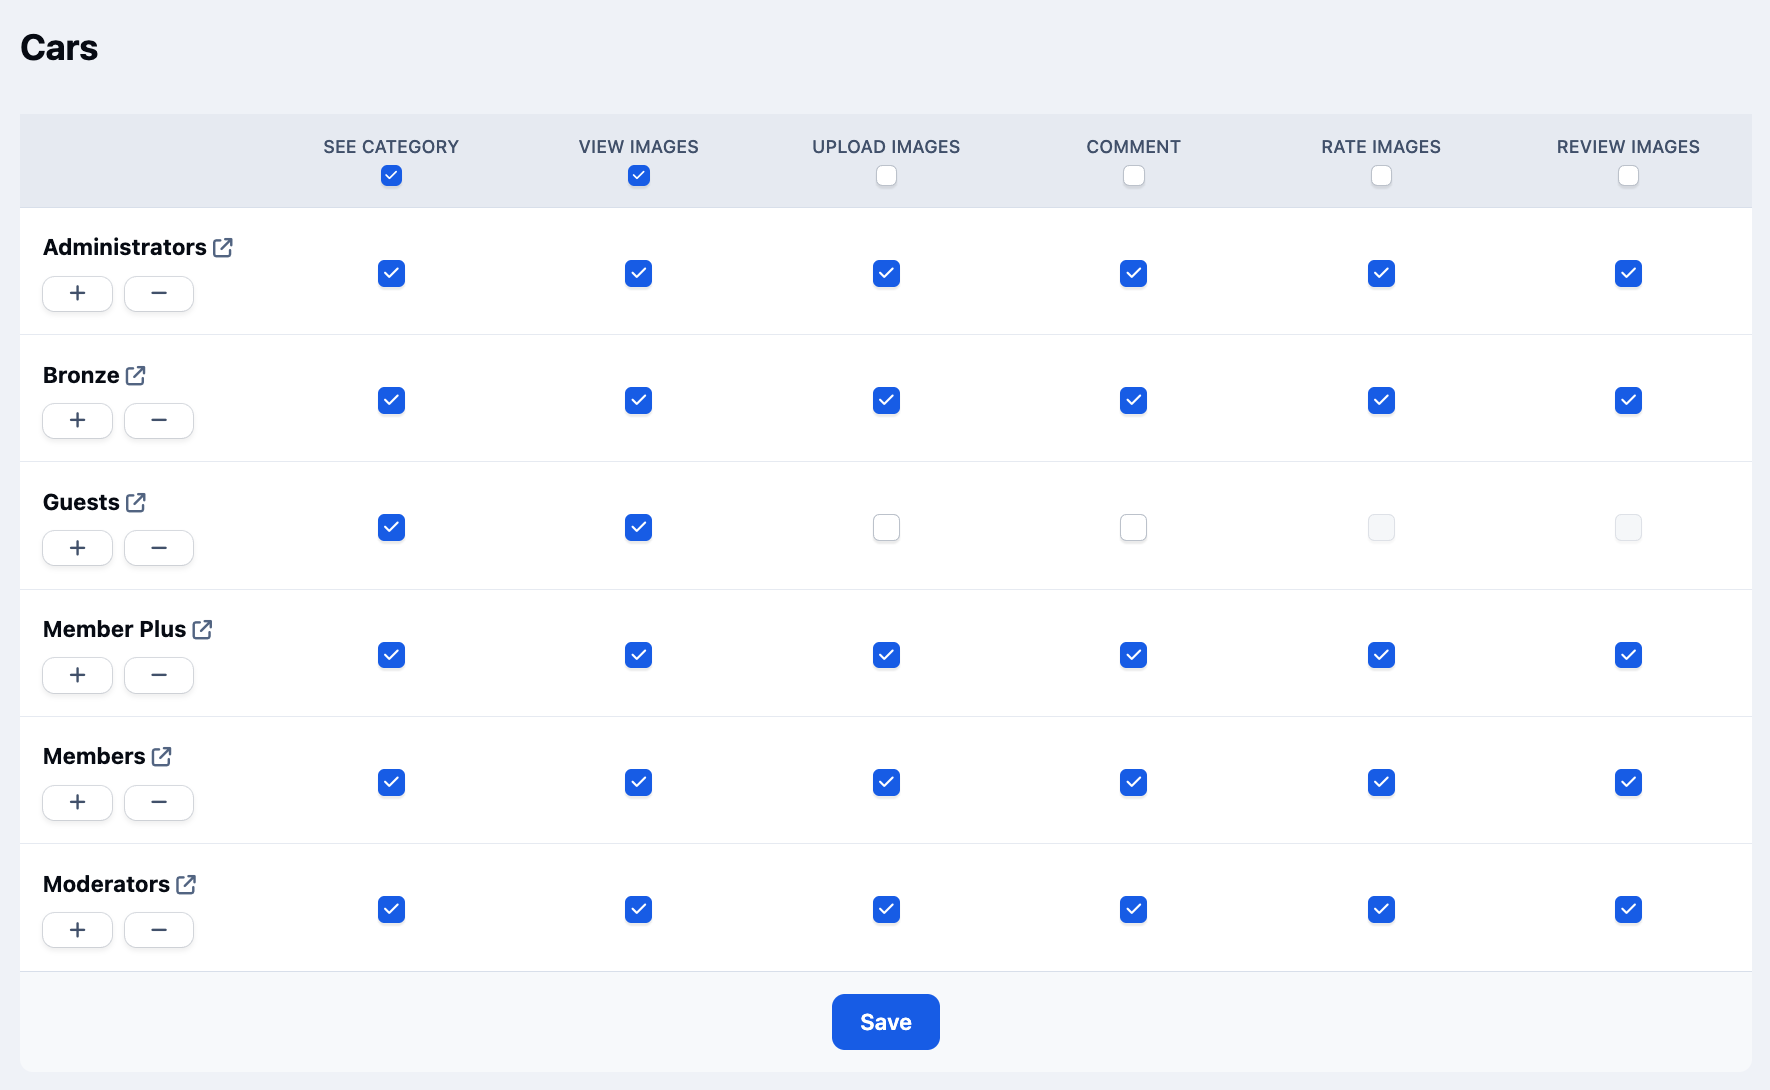
Once you’ve configured the settings, click Save. You’ll then be prompted to set permissions for the category. In this example, we’re happy to keep the default permissions. However, you can restrict access if needed. For example, by creating categories that are only visible to specific member groups.
Setting up Permissions
Now that your first category has been created, go ahead and add the remaining categories outlined earlier. Unlike the previous example, you may decide that albums should be optional in some categories, or even disabled entirely, depending on how you want members to use those sections.
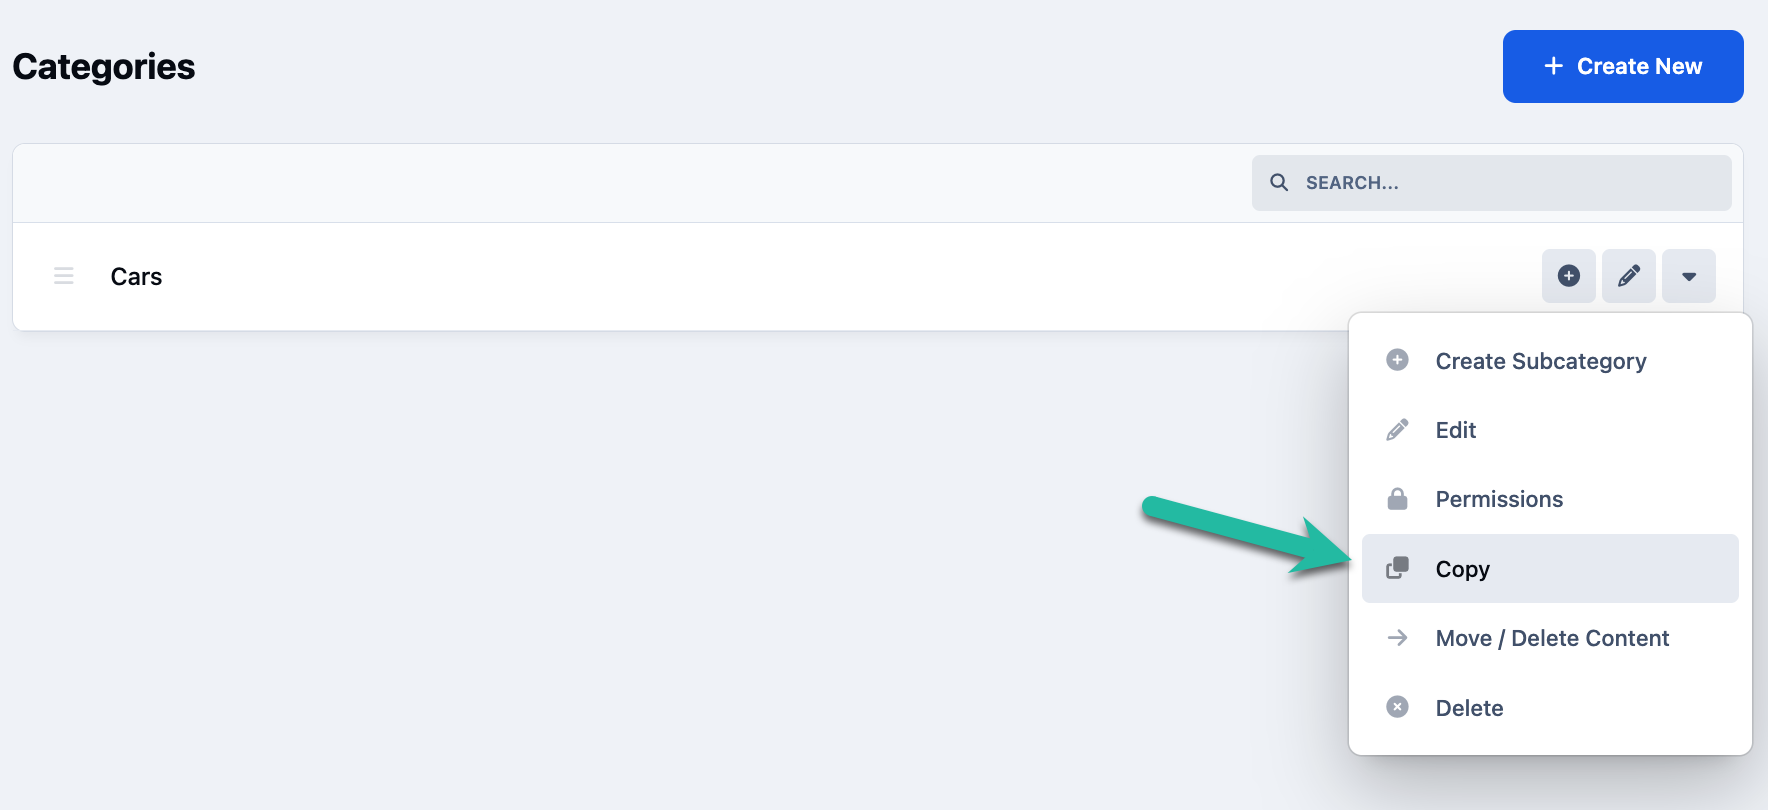
If you’re creating categories with similar settings, you can save time by using the Copy option from the dropdown menu next to an existing category. This allows you to duplicate the configuration and simply adjust the name or any small details, rather than setting everything up again from scratch.
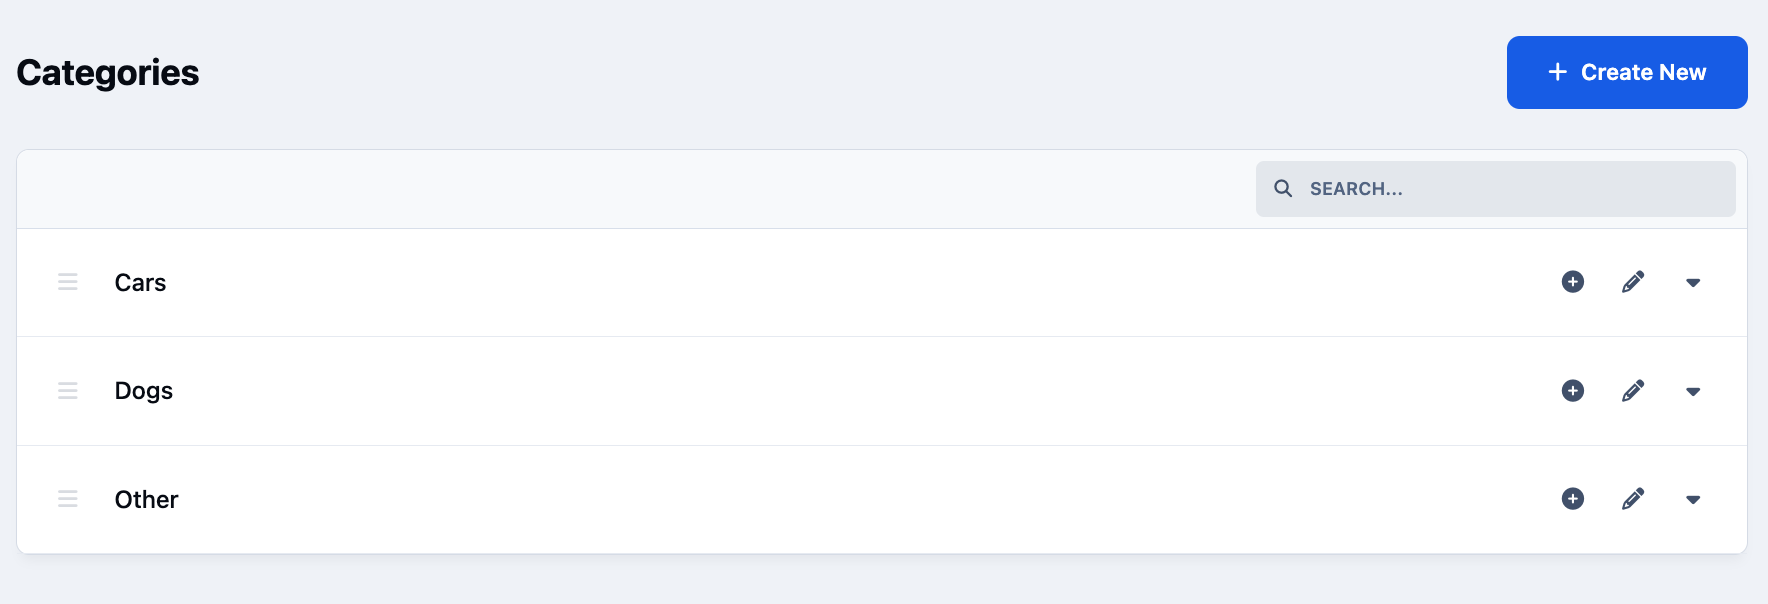
Once you’ve completed these steps, you should see a list of your newly created categories, similar to the image shown below.
Example Category Listing
Allow Groups to Add Albums
To ensure members can create albums, we need to enable this permission within the relevant member group.
To do this, navigate to the following location in the Admin CP:
Members → Members → Groups
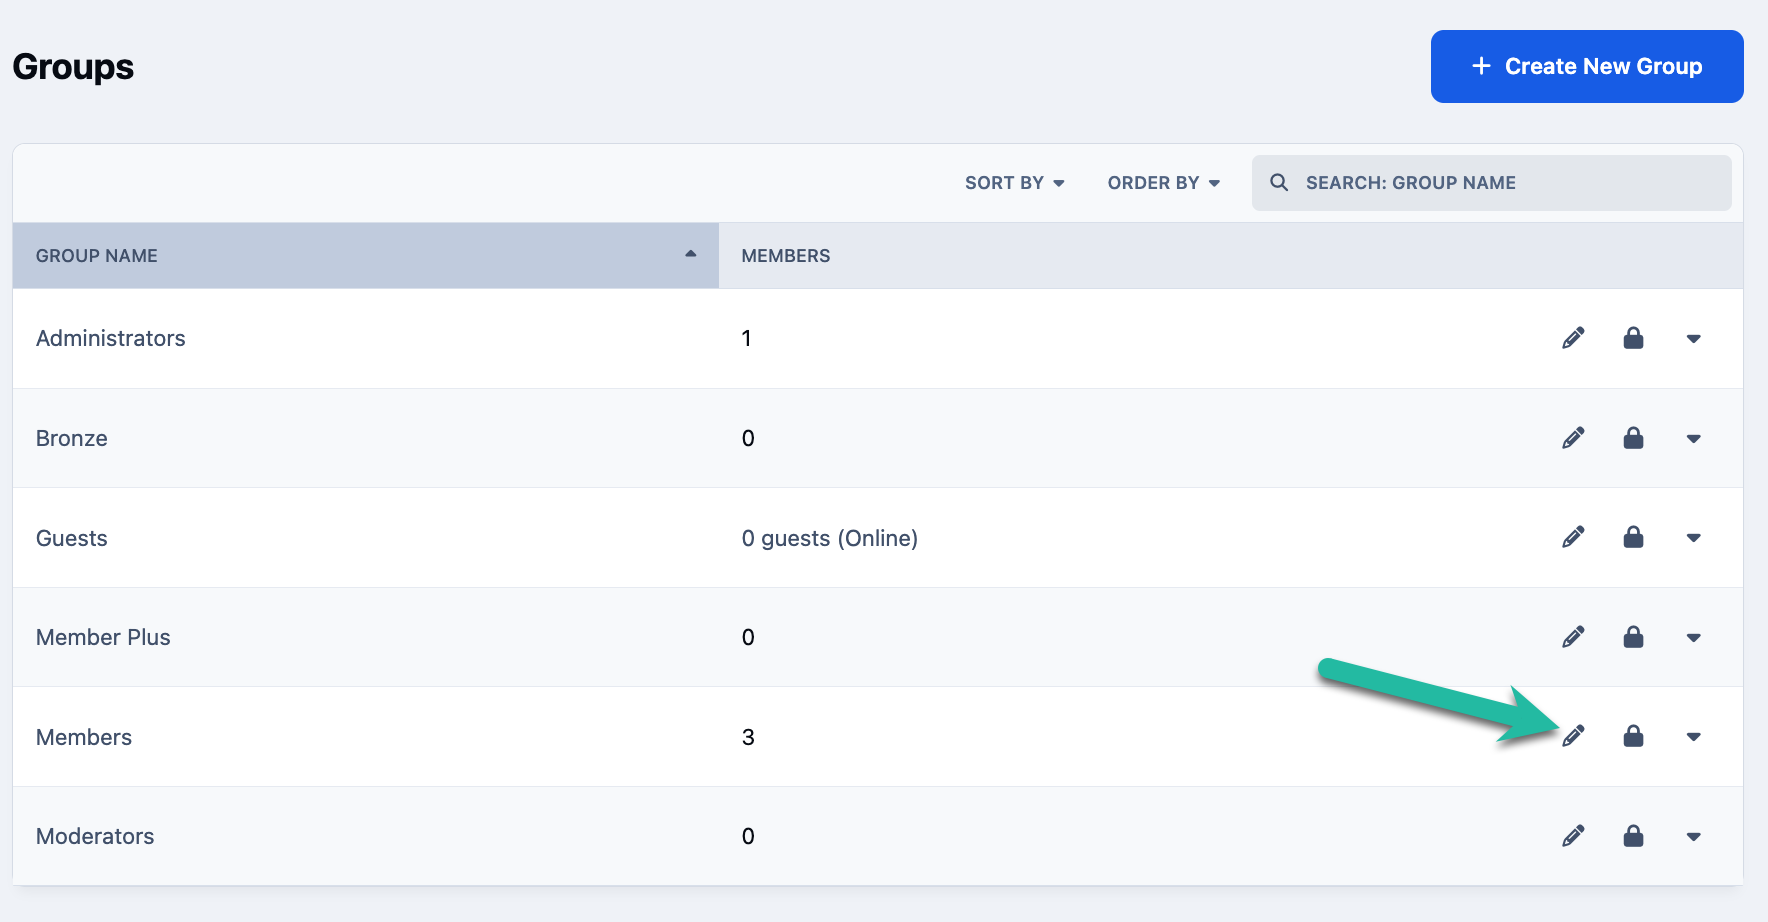
Once there, select the pencil icon next to the Members group (or the group you wish to edit) to open its settings.
Editing Member Groups
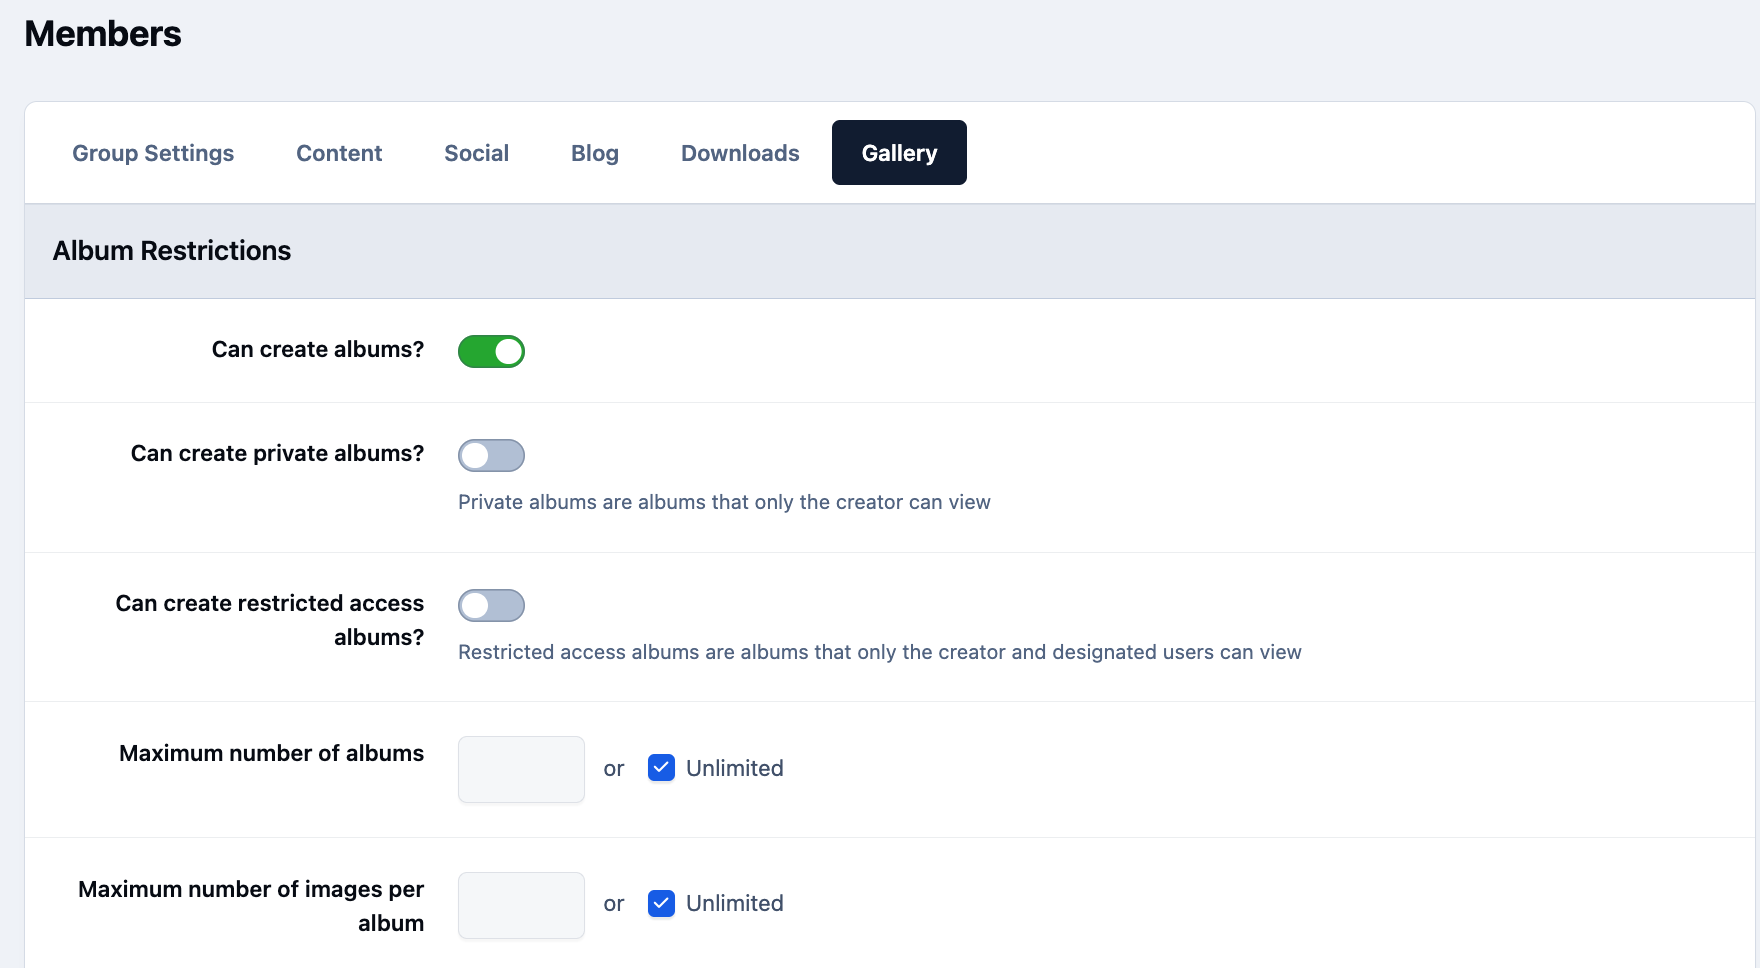
Once you’re on the group edit screen, select the Gallery tab. From here, enable the permission that allows members to create albums.
You’ll notice there are several other Gallery-related options available, but for now, we only need to enable album creation. Once you’ve done that, click Save to apply the changes.
Member Group Gallery Restrictions
Rearranging Items
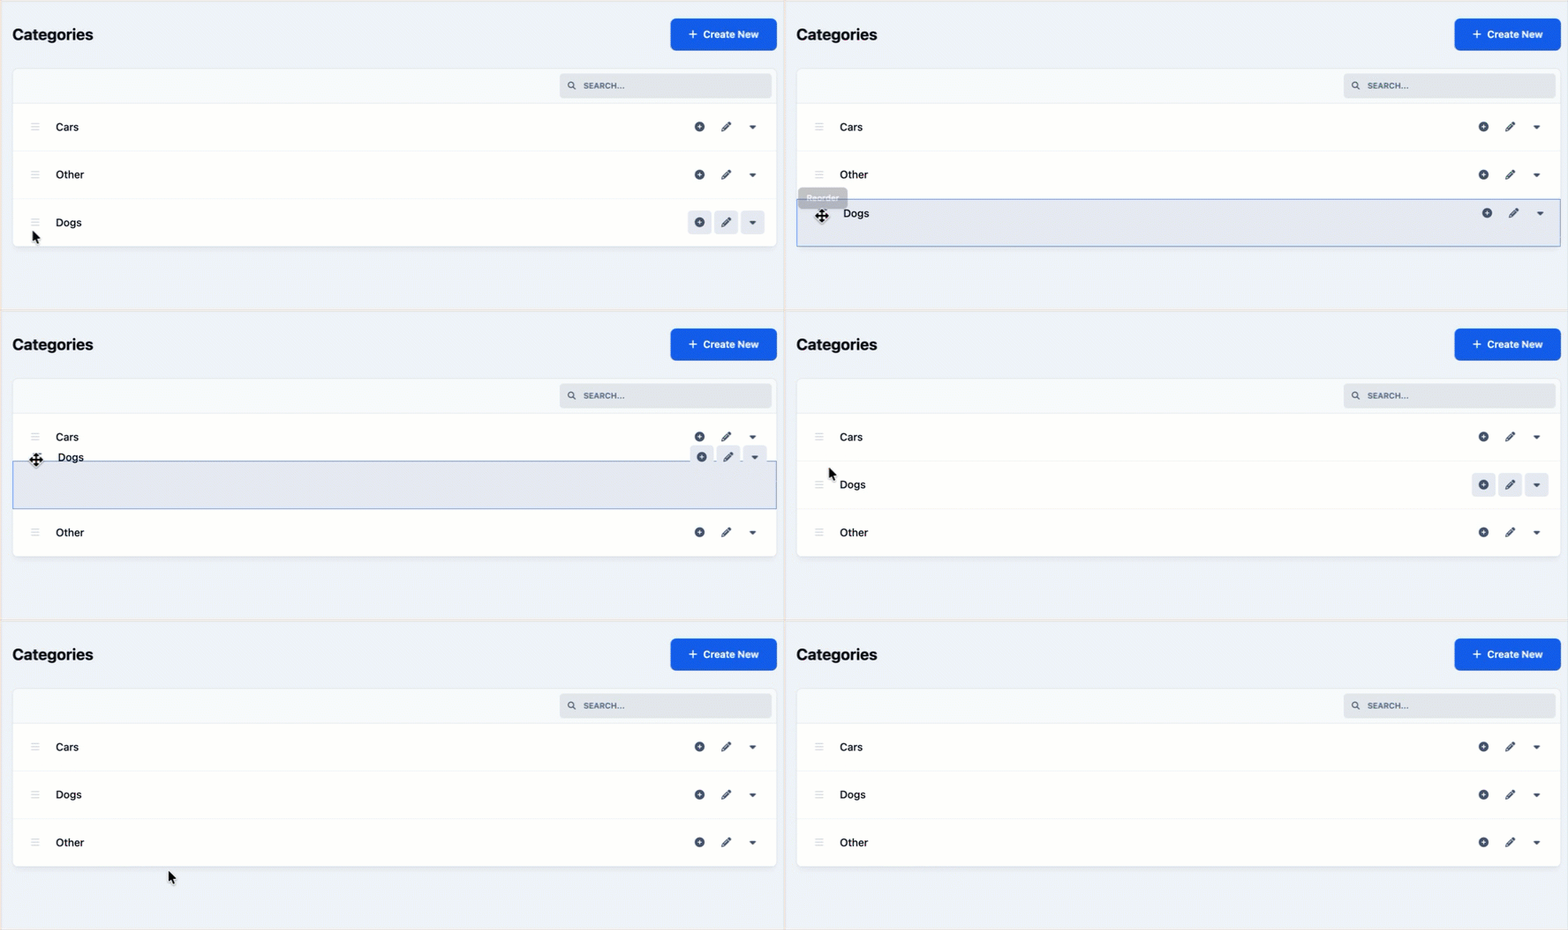
You may, at this point, want to rearrange categories or items to better suit your preferred layout. This can be done easily by clicking and holding the drag handles on the left-hand side of each item, then dragging them into the desired position.
An Example of Rearranging Categories
Summary
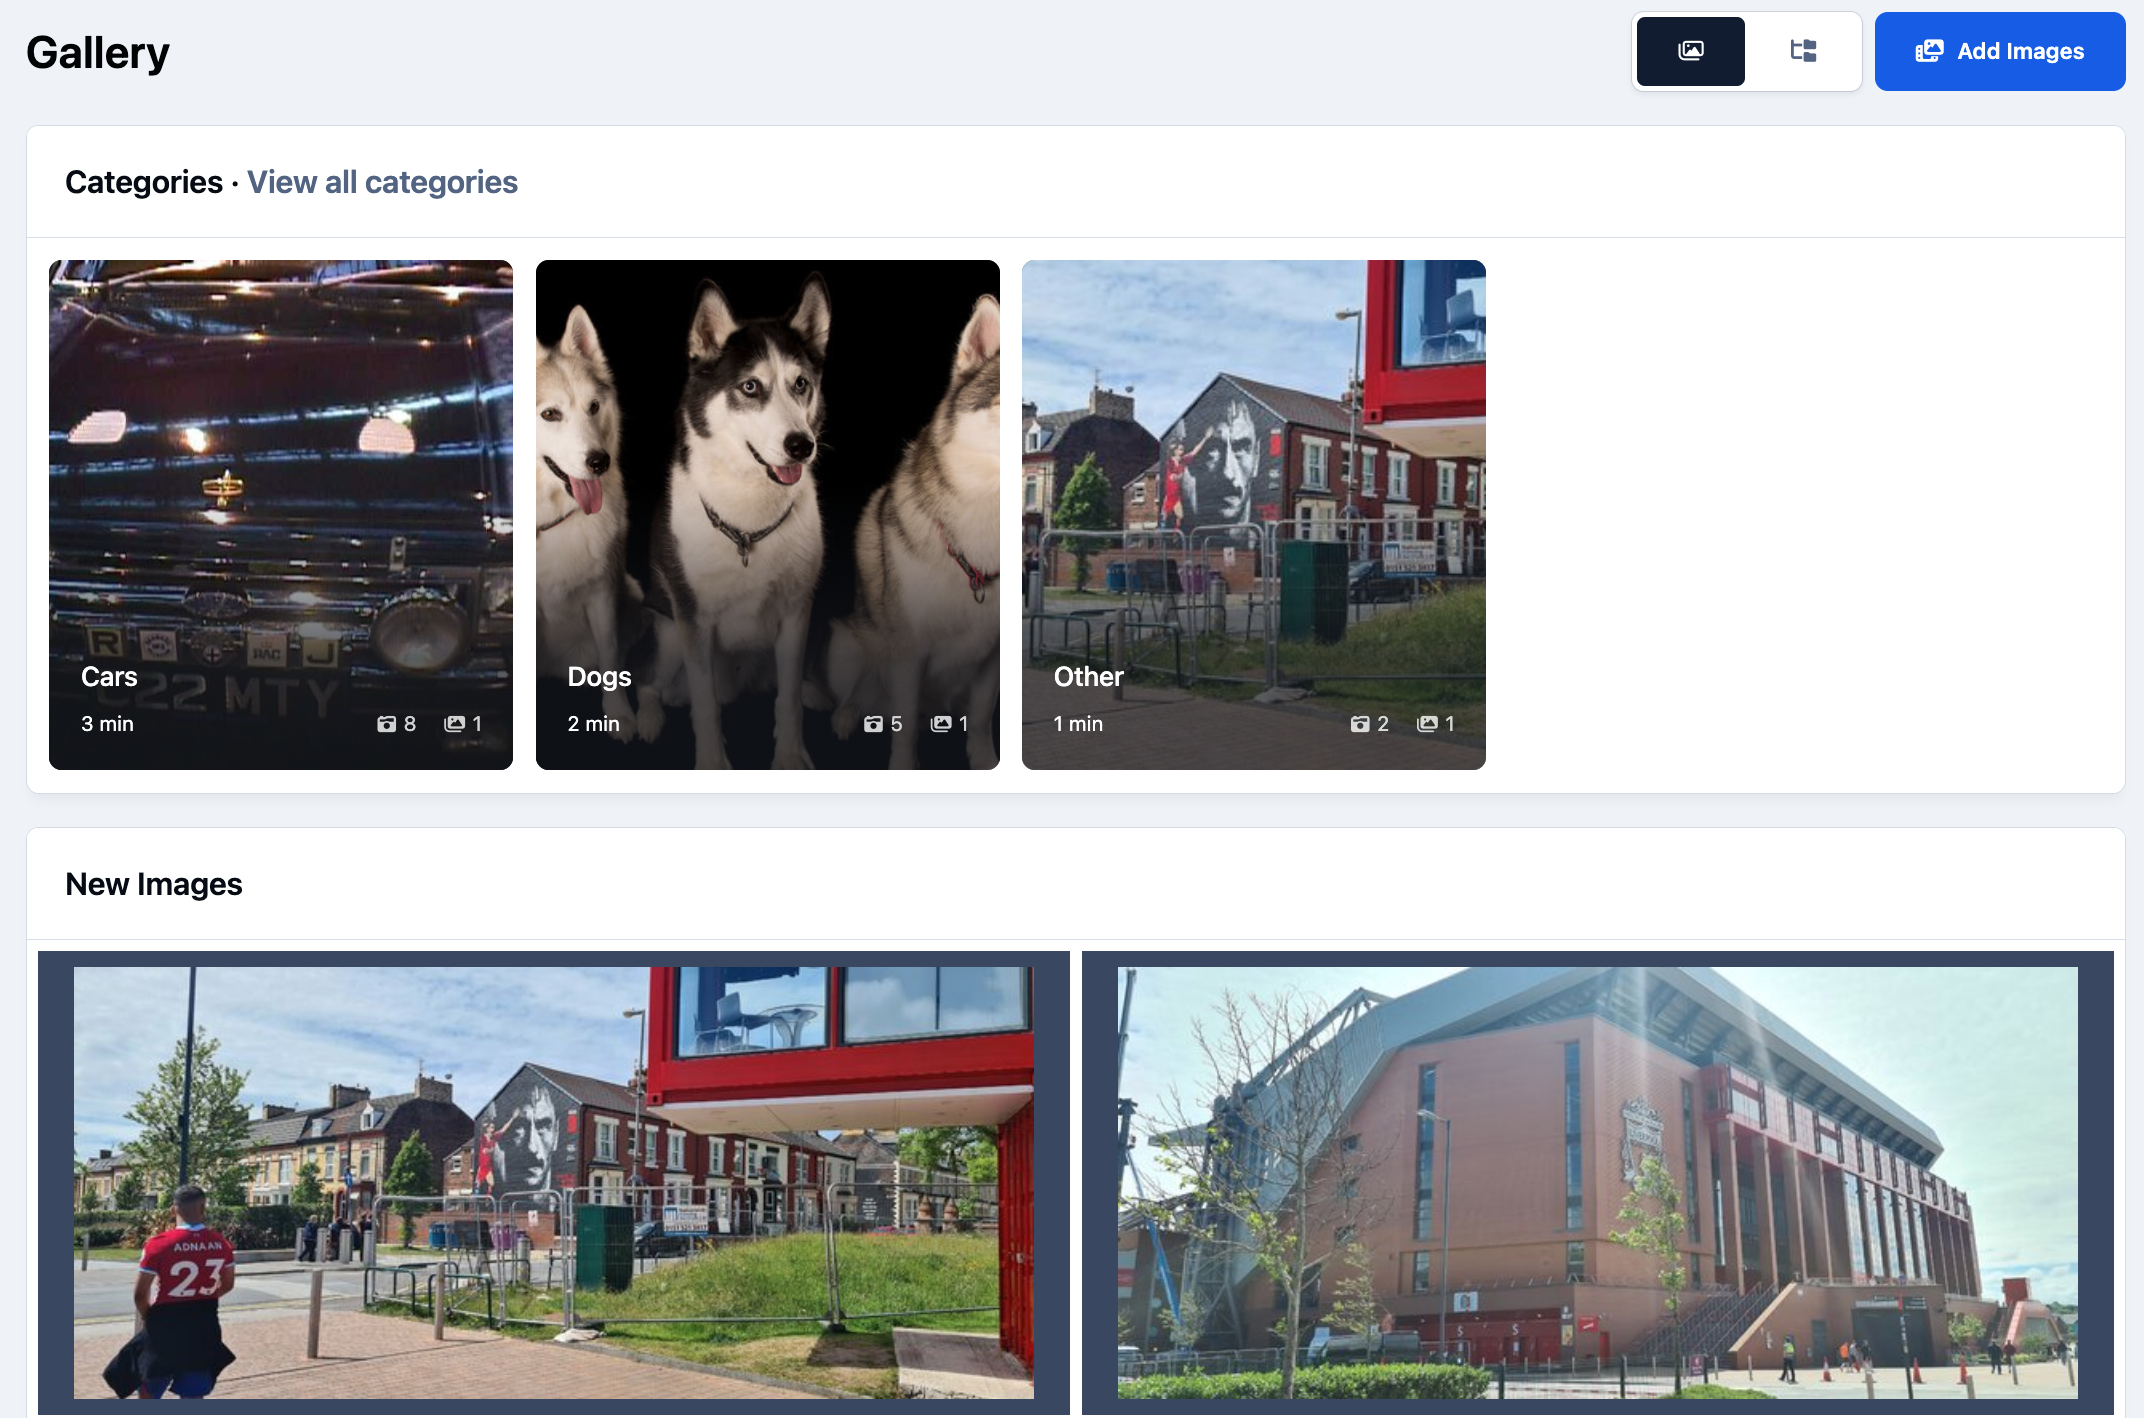
As you can see, setting up a simple Gallery is straightforward. Your members can now begin submitting images to the categories you’ve created, ready for others in the community to view and engage with.
Example Gallery
Recommended Comments