


Basic Settings
Within the Invision Community Gallery, you can adjust a variety of settings that control how the gallery functions.
You can access these Gallery settings in the AdminCP by navigating to:
Community → Gallery → Settings
Overview
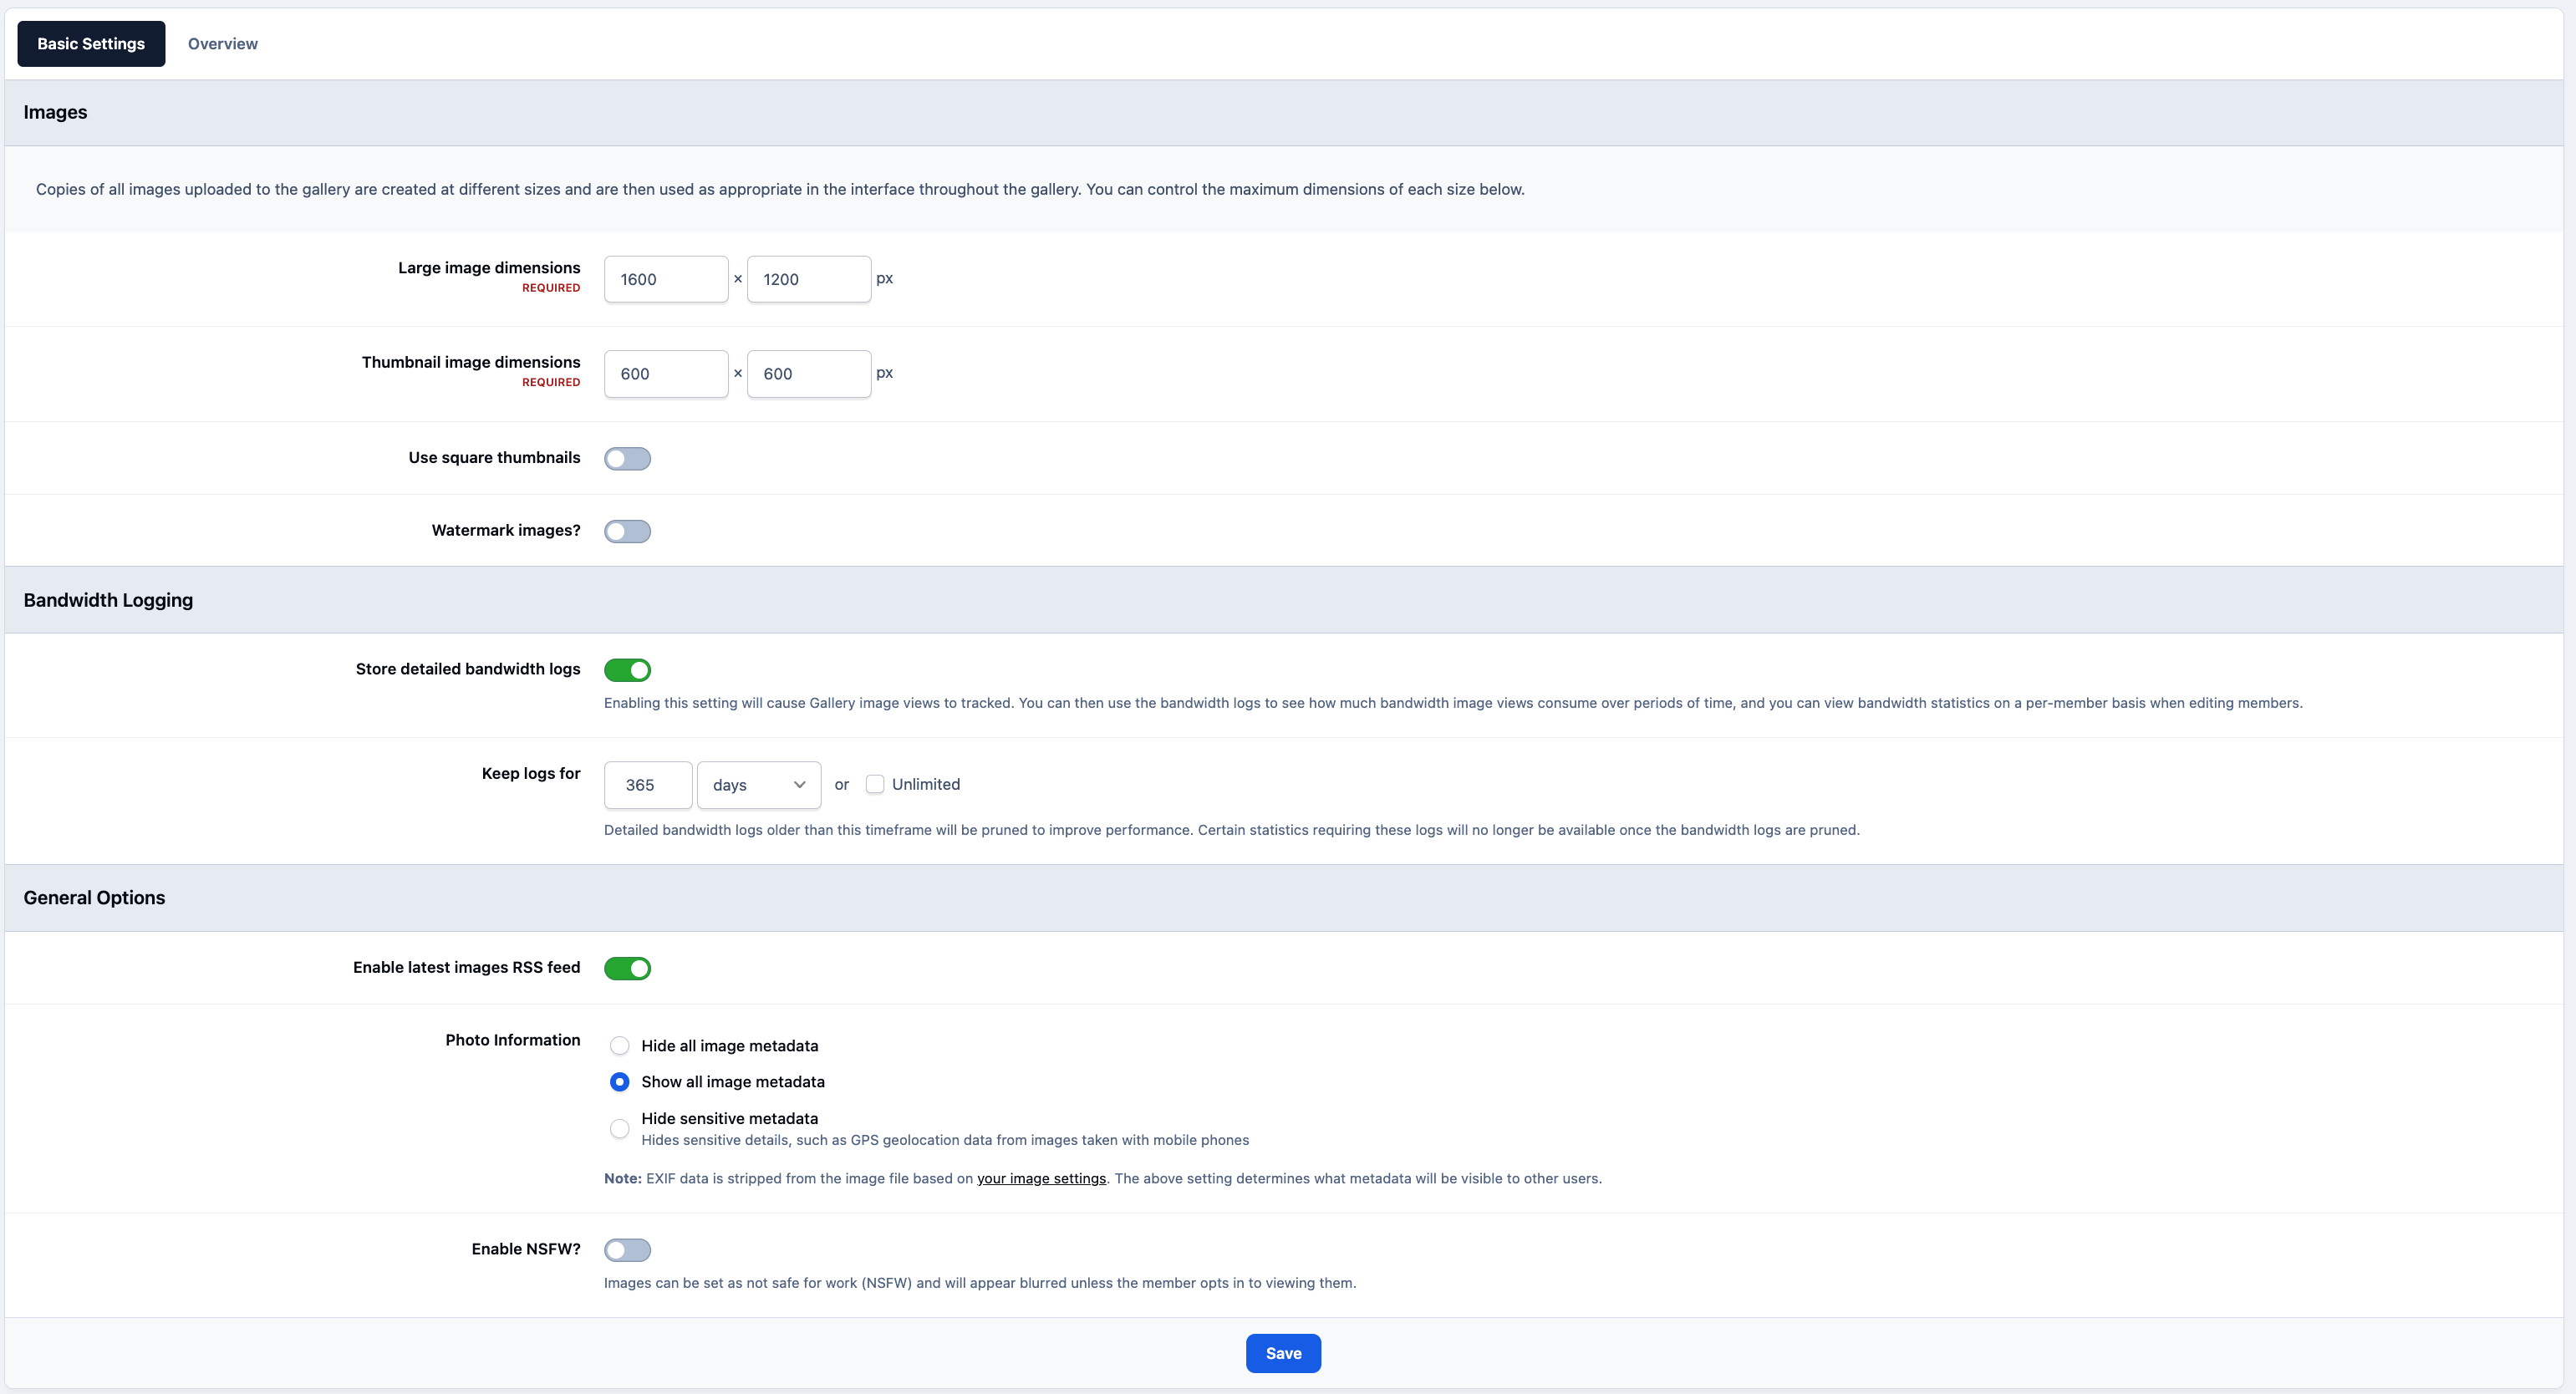
From here, you can configure image size settings, adjust logging and RSS options, and enable image protection by applying a custom watermark to uploaded images. A few of these options will be discussed in a little more detail below
Basic Gallery Settings
Watermarking
If you would like all images uploaded to your Gallery to include a watermark, you can enable the 'Watermark Images' setting.
Once enabled, the system will automatically apply your configured watermark to images as they are uploaded.
Watermarking Settings
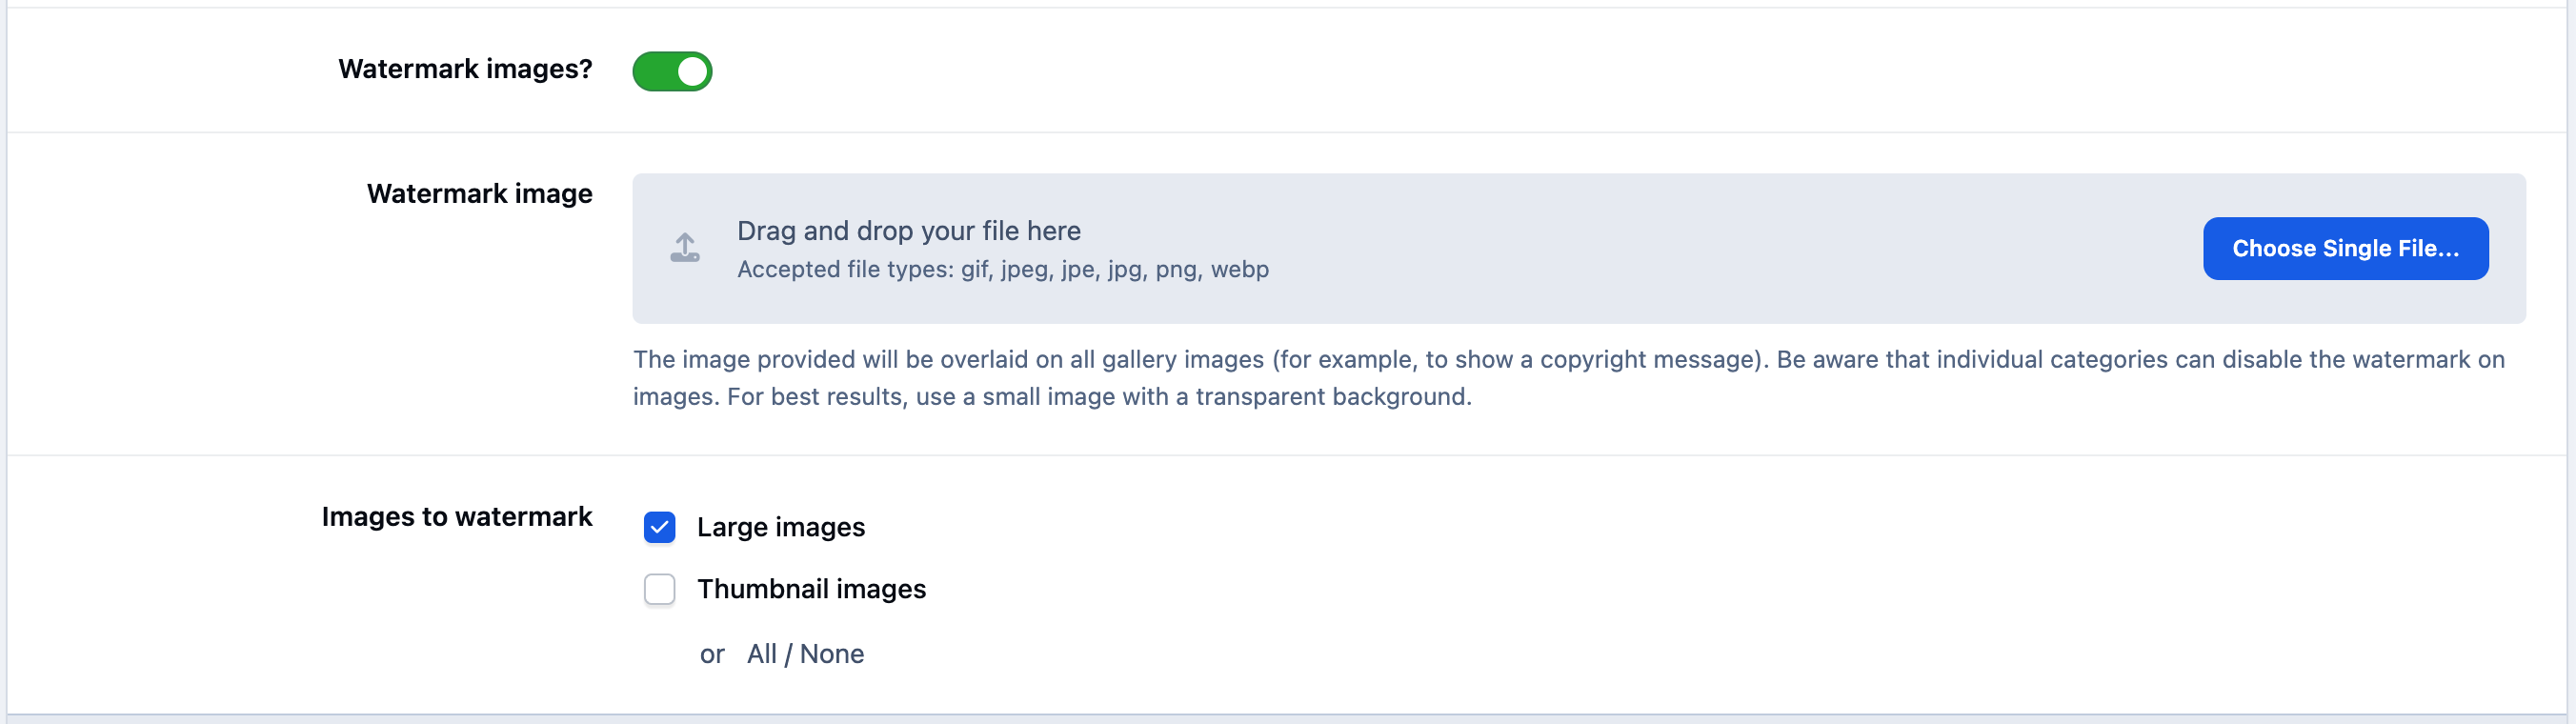
From this section, you can upload the image that will be used as your watermark. This image should have a transparent background to ensure it overlays correctly on gallery images.
You can also choose whether the watermark should appear on both full-size images and thumbnails. Keep in mind that enabling or modifying this setting will trigger a rebuild of your existing gallery images so the watermark can be applied.
NSFW Images
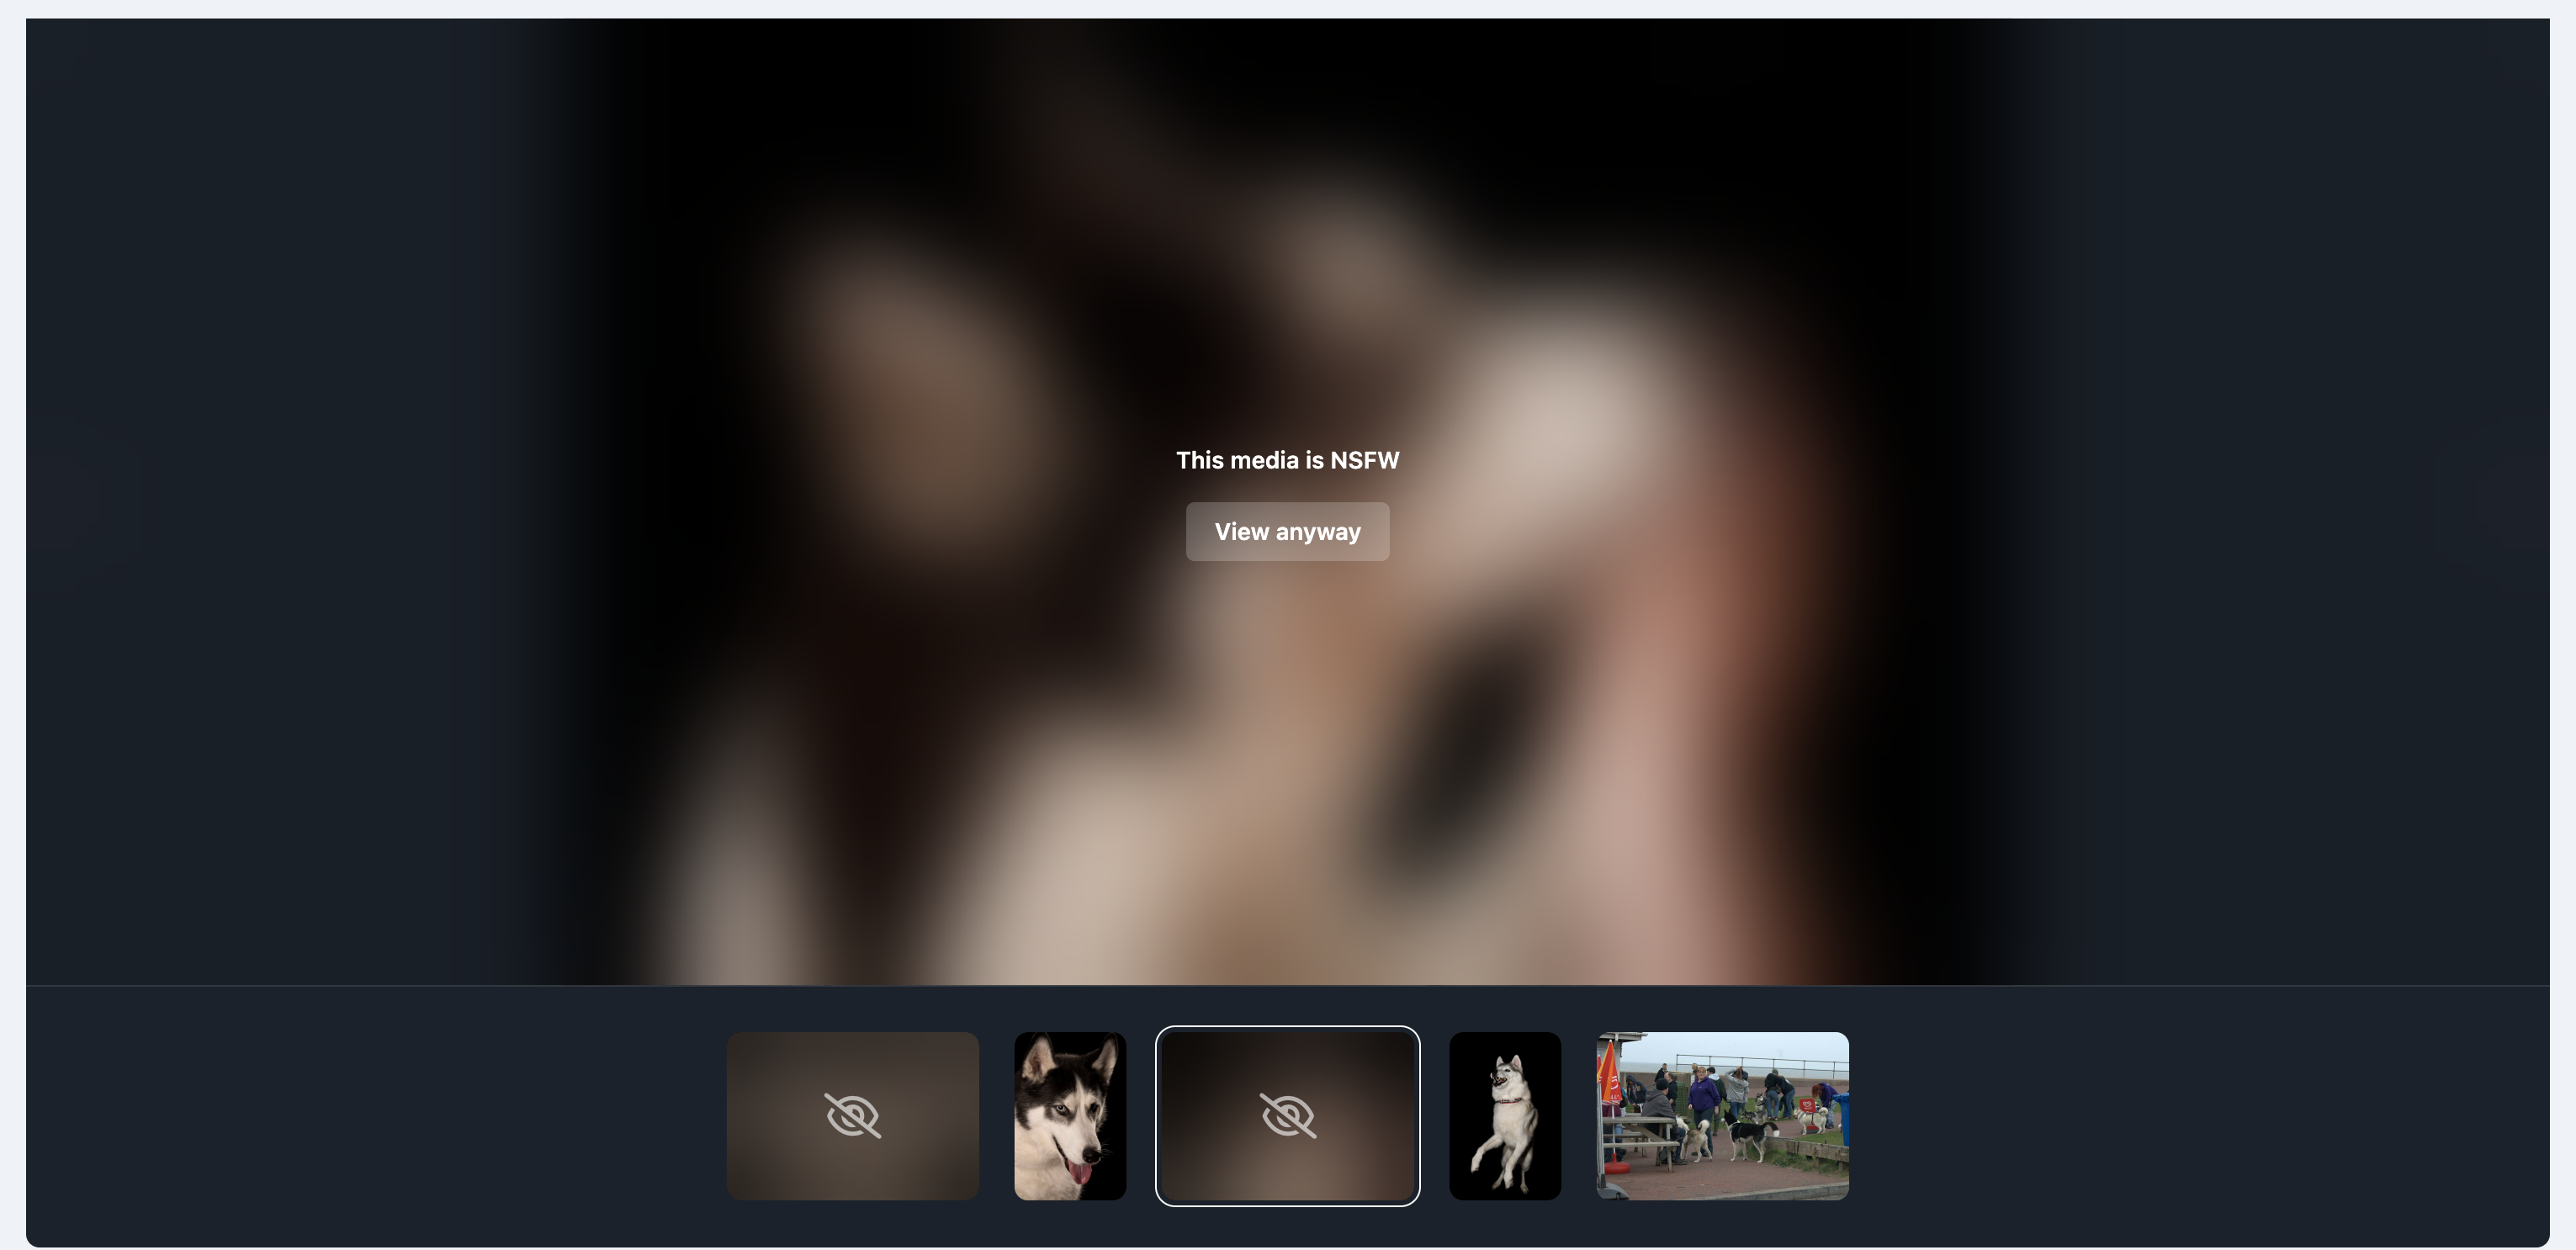
Within the Gallery settings, you can optionally allow members to mark images as NSFW (Not Safe For Work).
When this option is enabled, images marked as NSFW will appear blurred by default. Members can then choose to reveal these images by opting in to view NSFW content within the community.
Example Watermarked Image
Overview
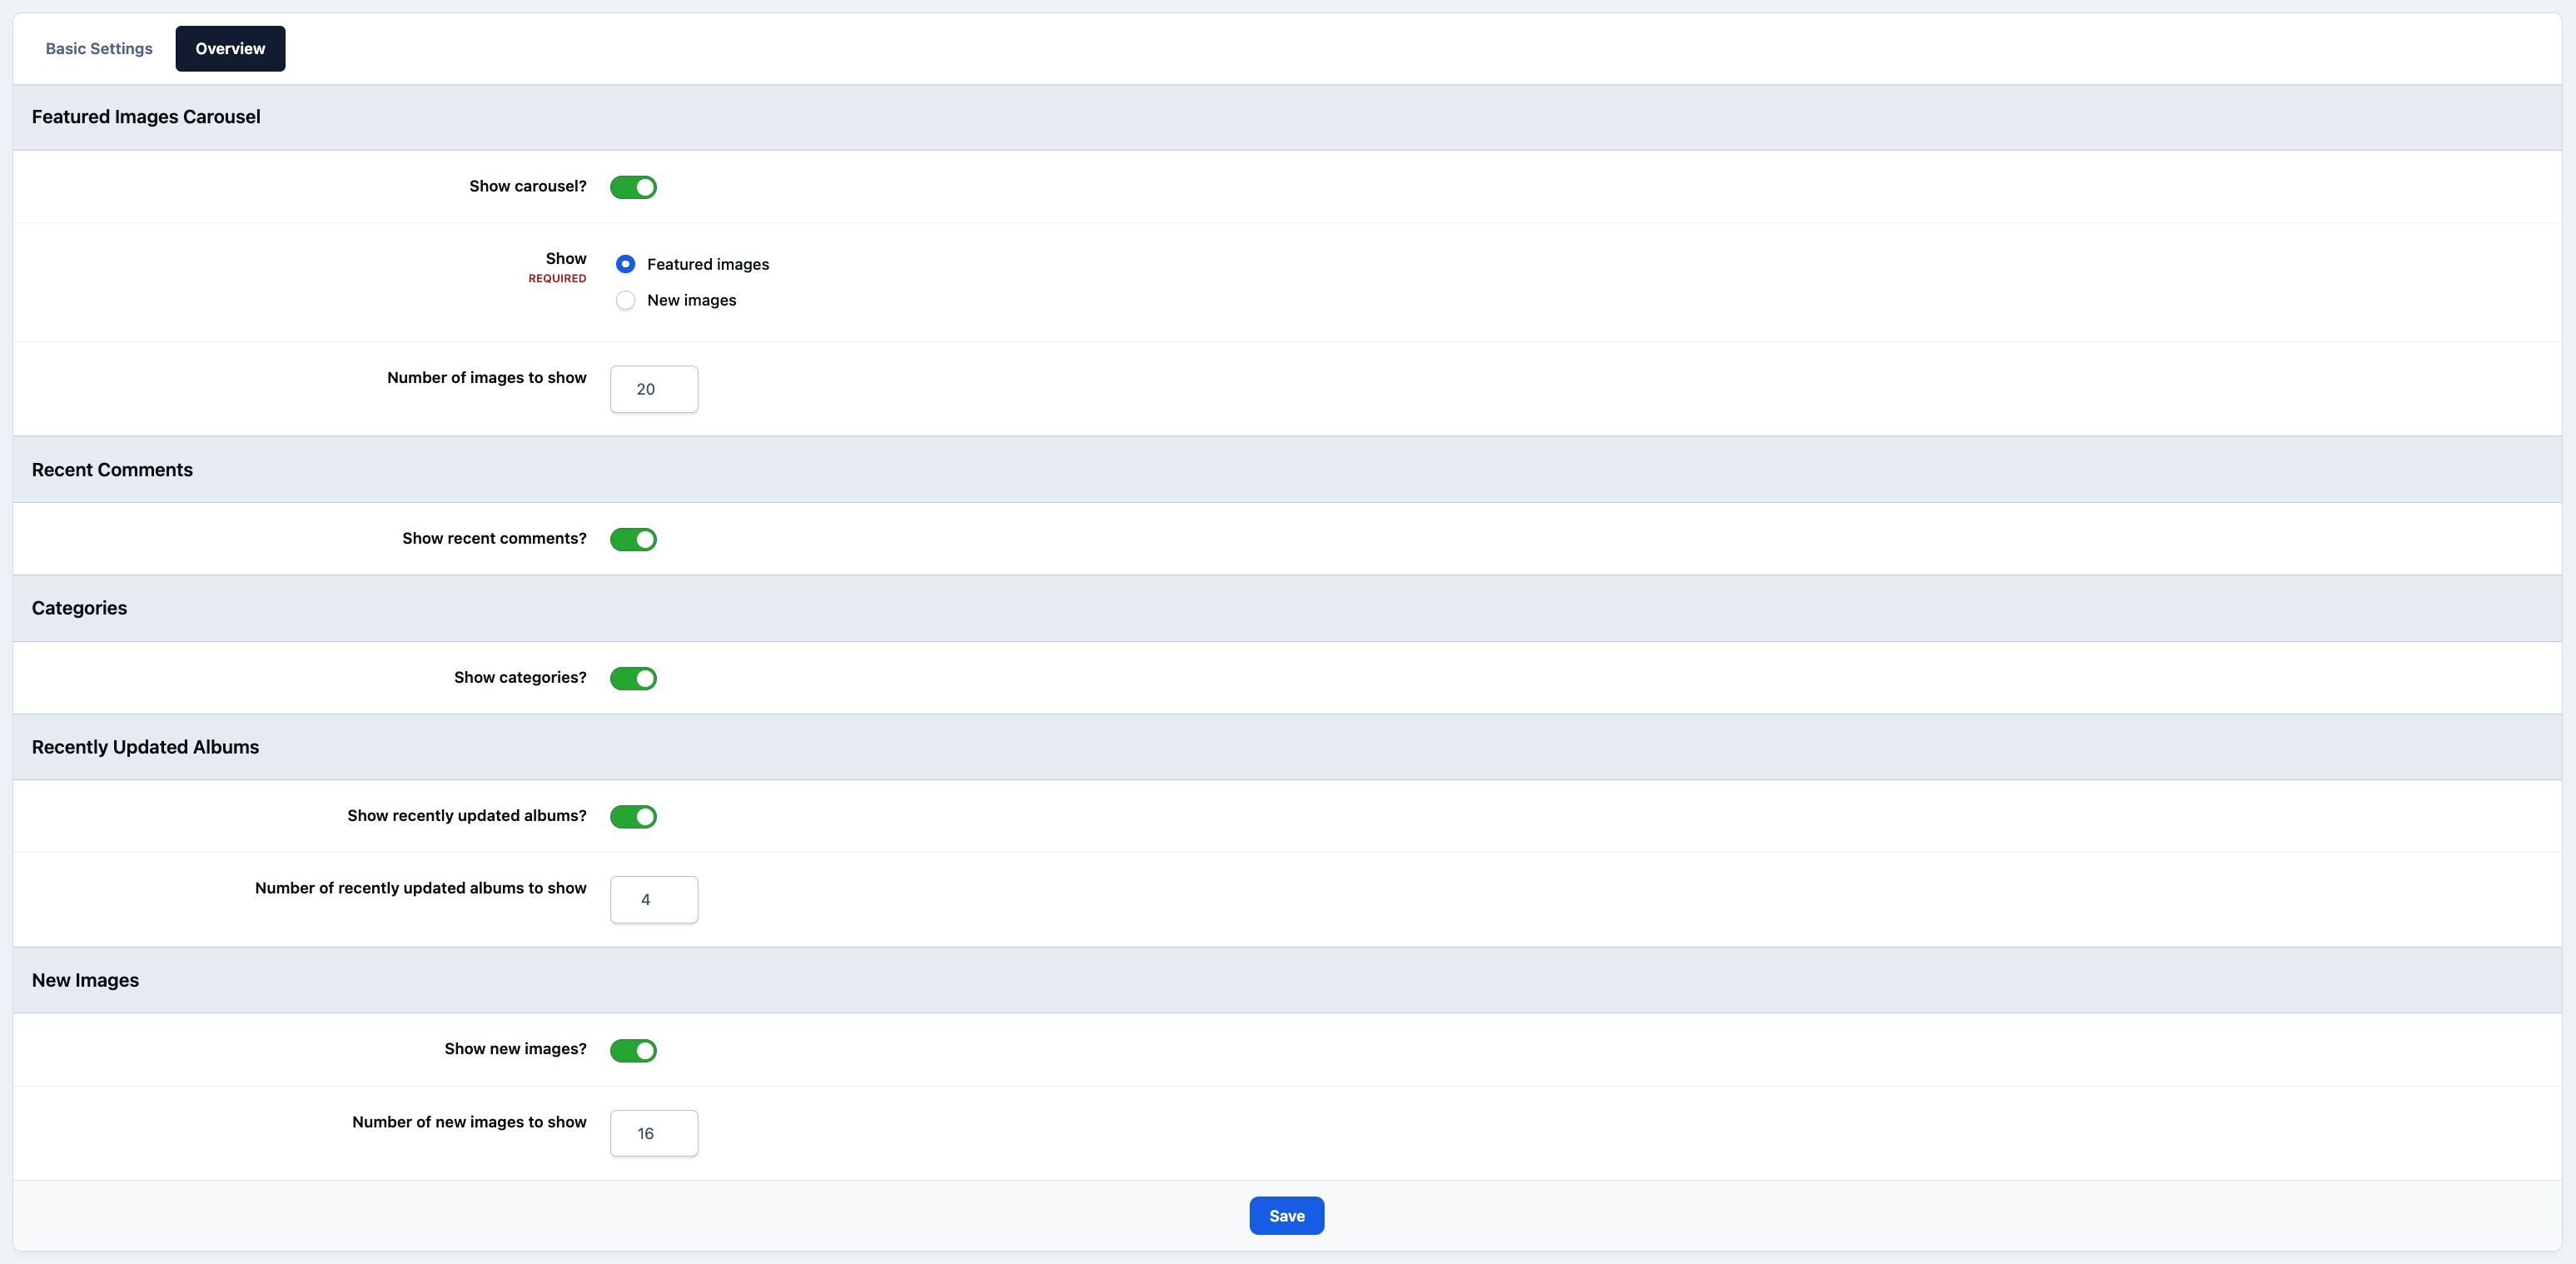
The Overview tab controls how the main Gallery page is displayed.
From here, you can decide which elements appear on the overview page — such as recent uploads or the latest comments — and configure how many of these items should be shown to visitors.
Ovwerview Settings
Group Settings
t’s important to have control over Gallery usage at the member group level, allowing you to limit what different users are able to do within the Gallery.
In Invision Community, these permissions can be configured within each member group by navigating to:
Members → Members → Groups
From there, you can adjust the Gallery-related permissions for each group as needed.
Group Gallery Settings
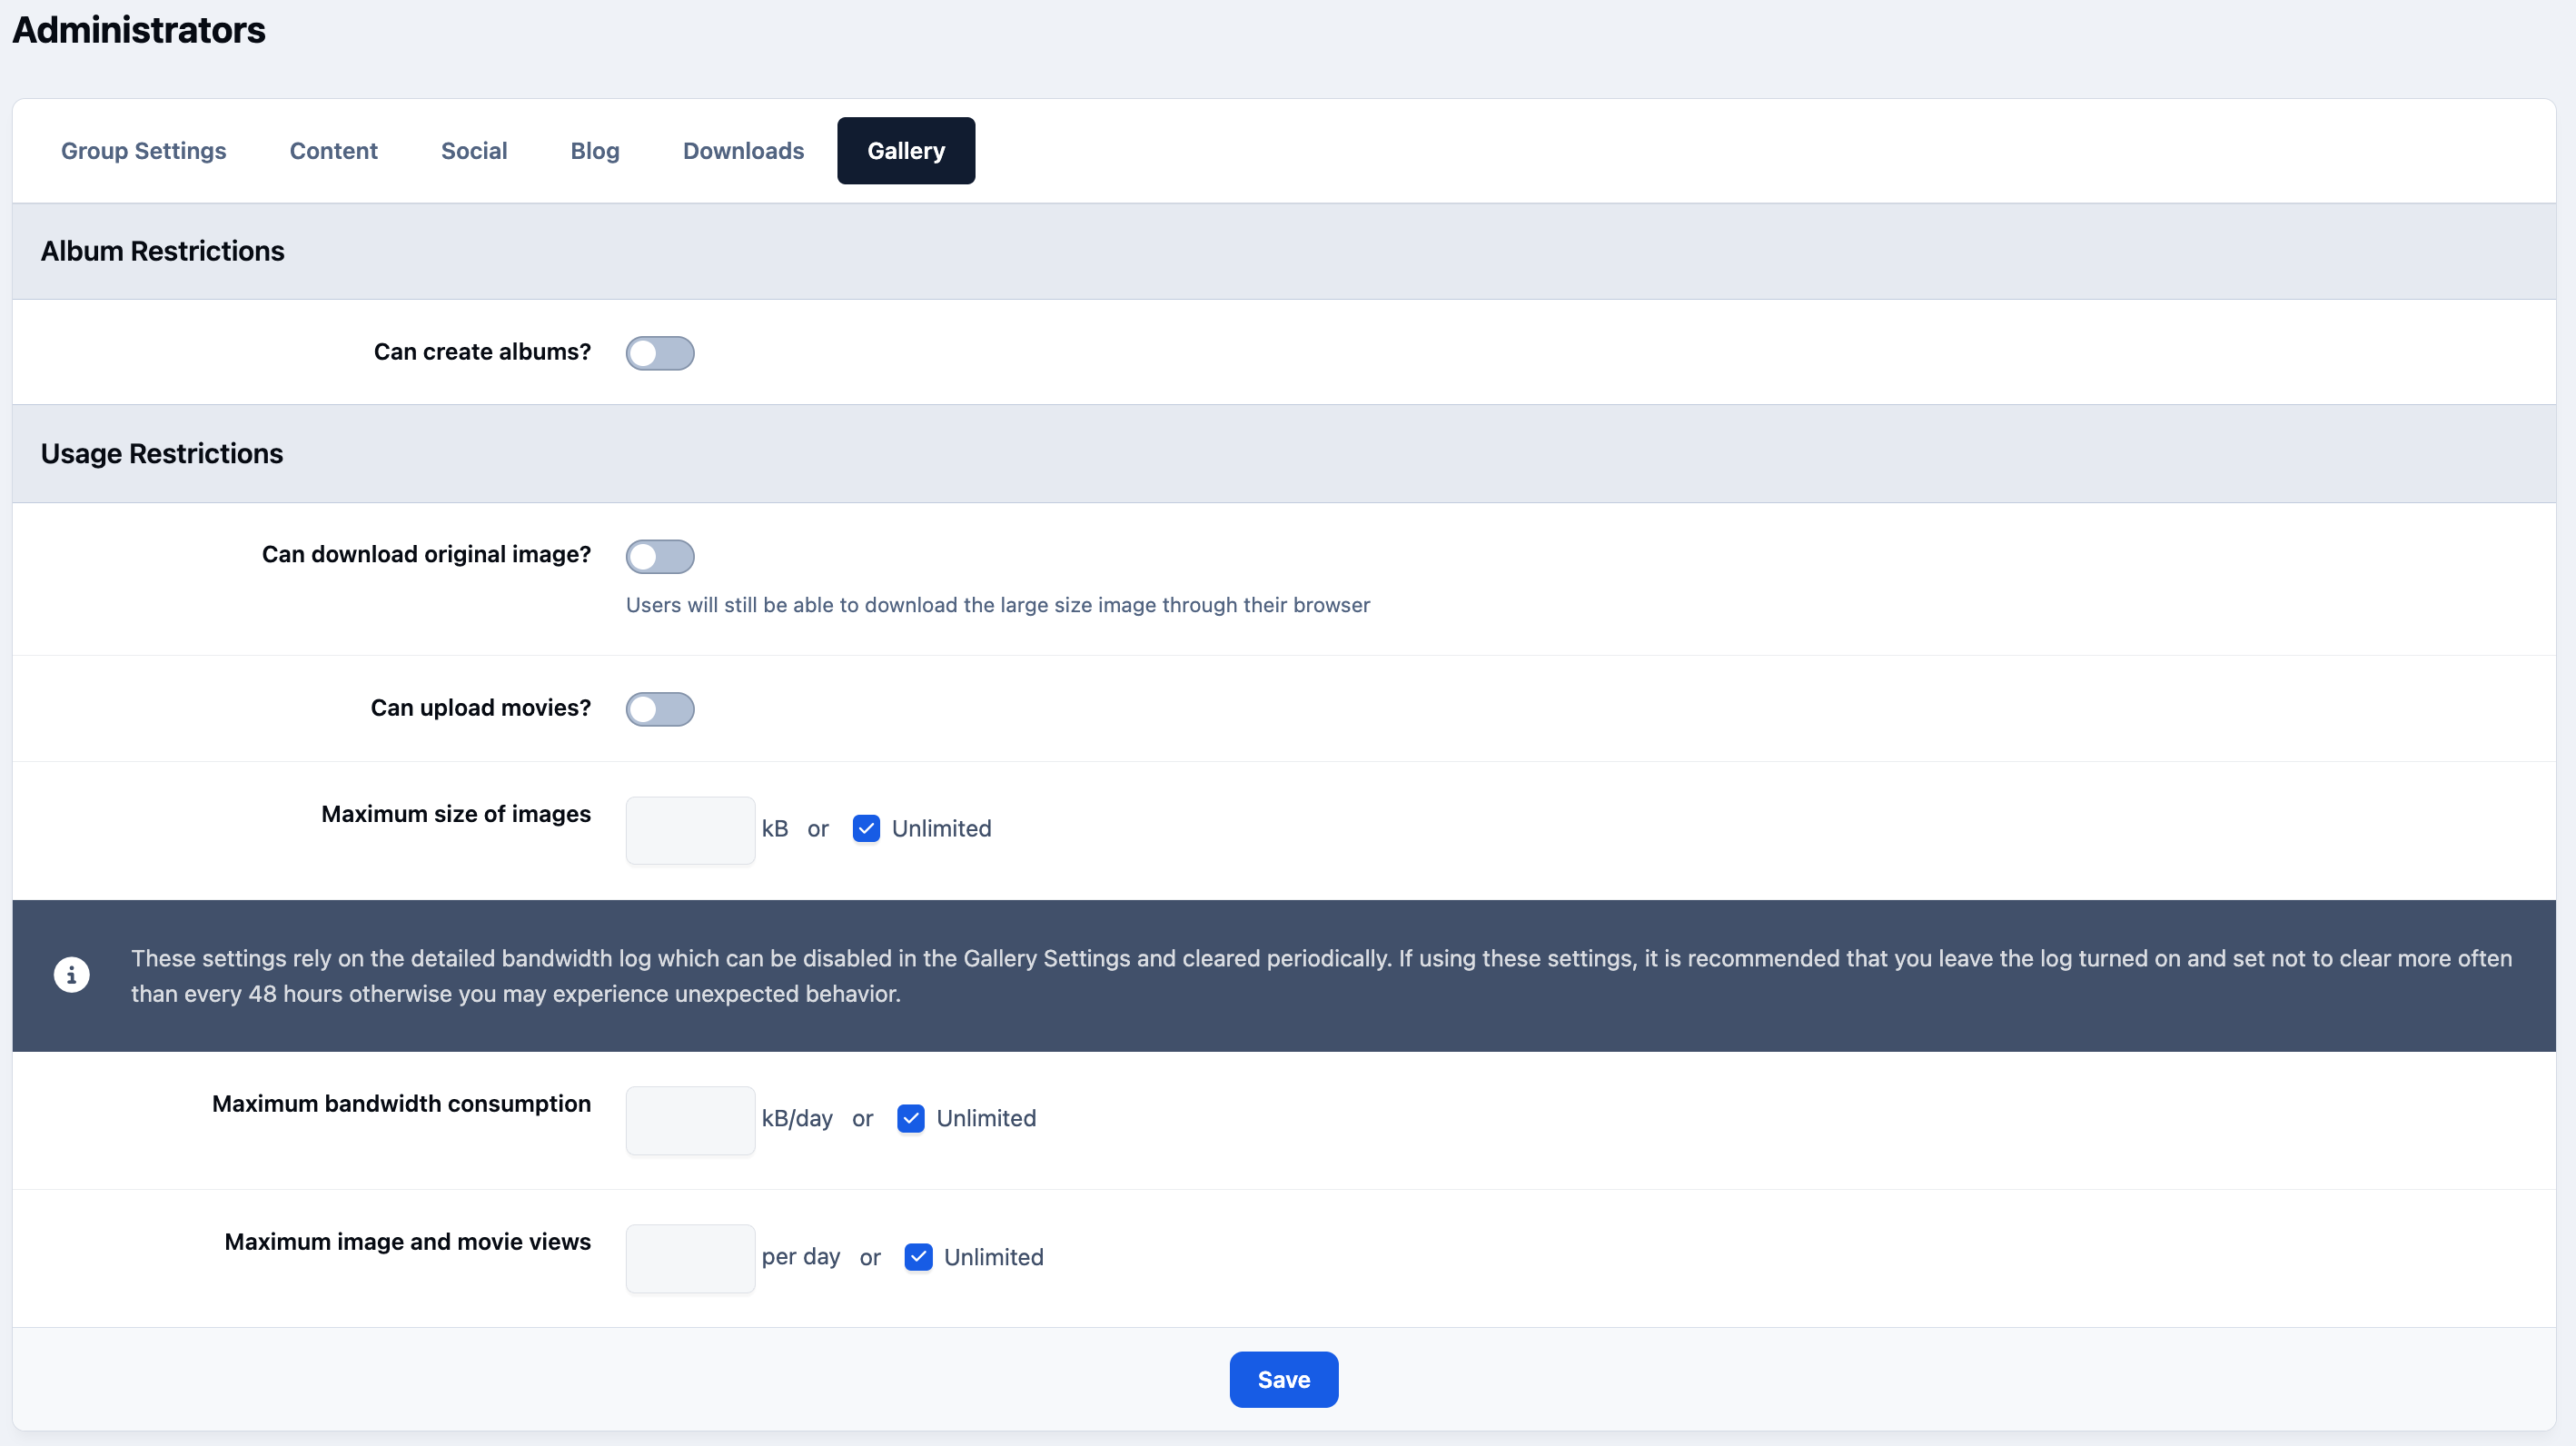
From this area, you can configure or remove limitations for each member group, such as allowing them to create albums, upload videos, or restricting how much content they are permitted to upload.
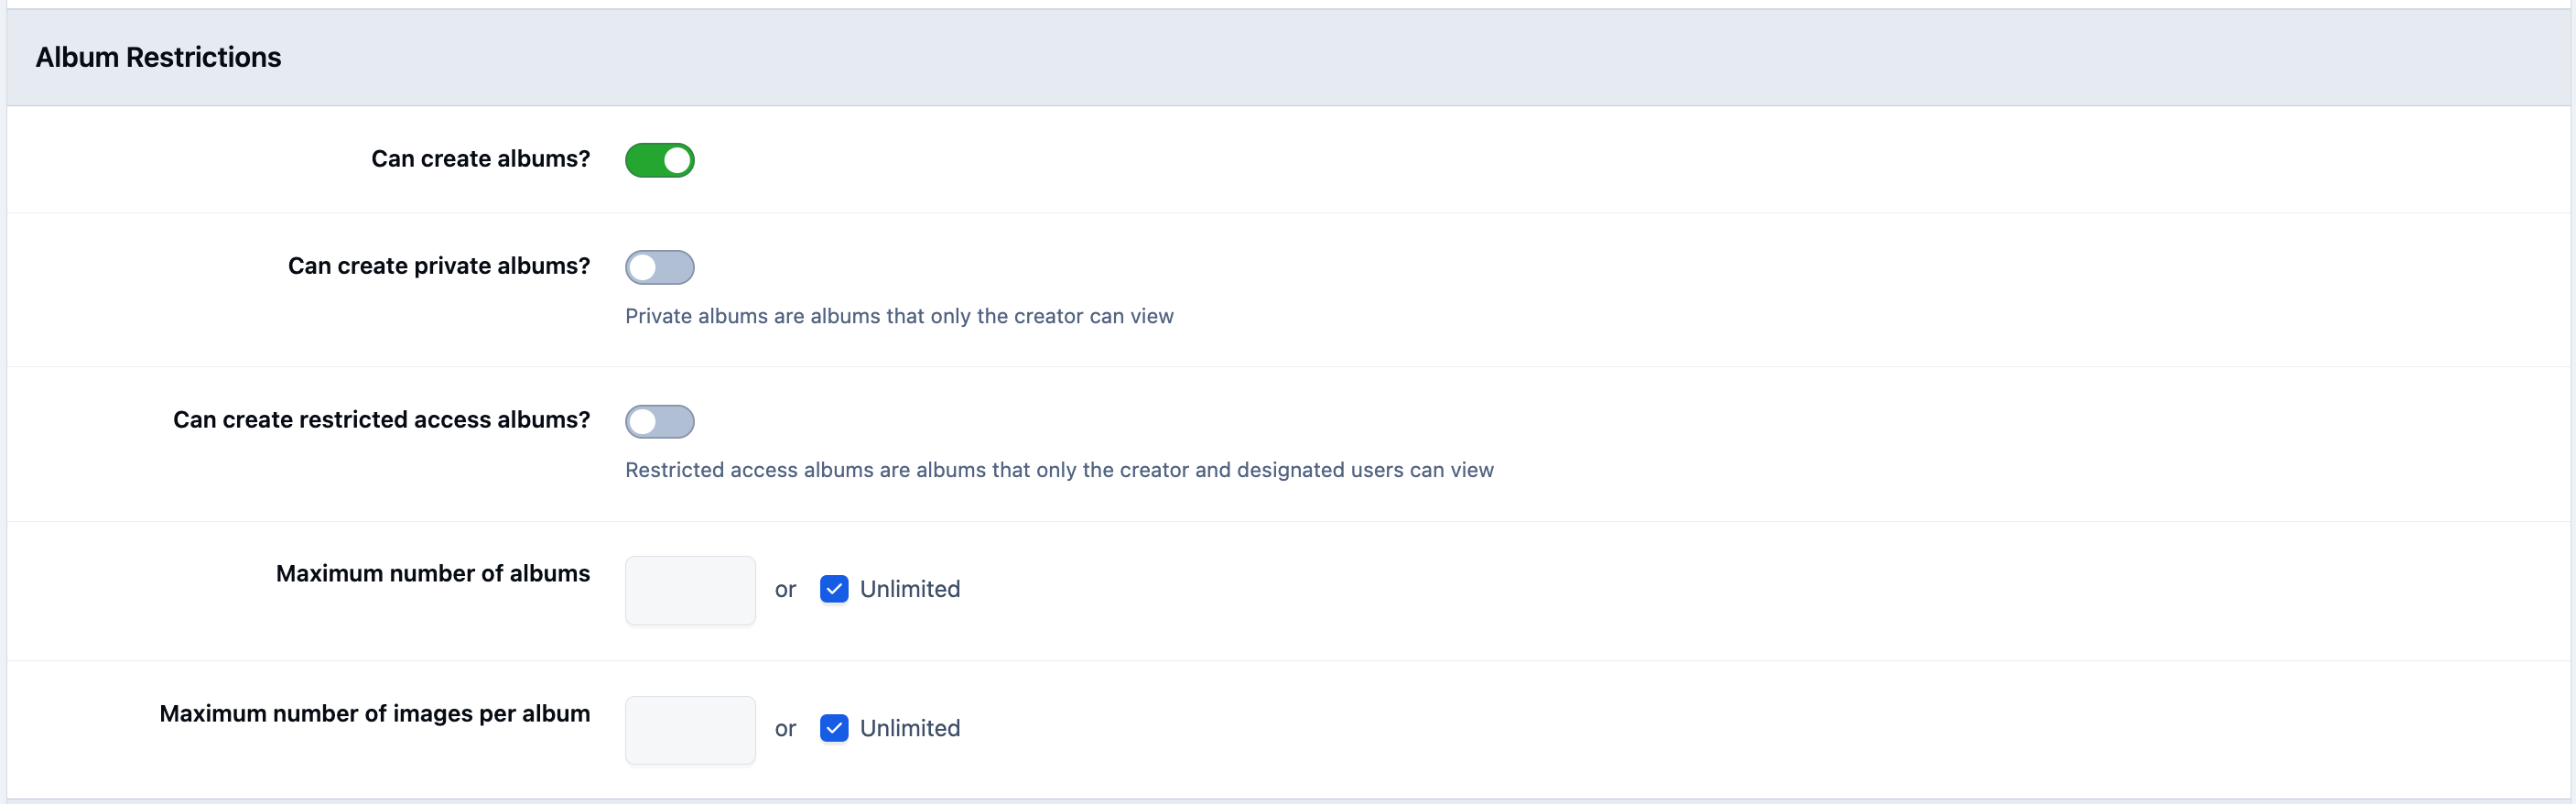
Enabling certain options will reveal additional settings, giving you more granular control over how members can use the Gallery. For example, in the image below, enabling the 'Can create albums?' option unlocks further configuration options related to album creation and management.
Album Settings Per Group
Member Gallery Info
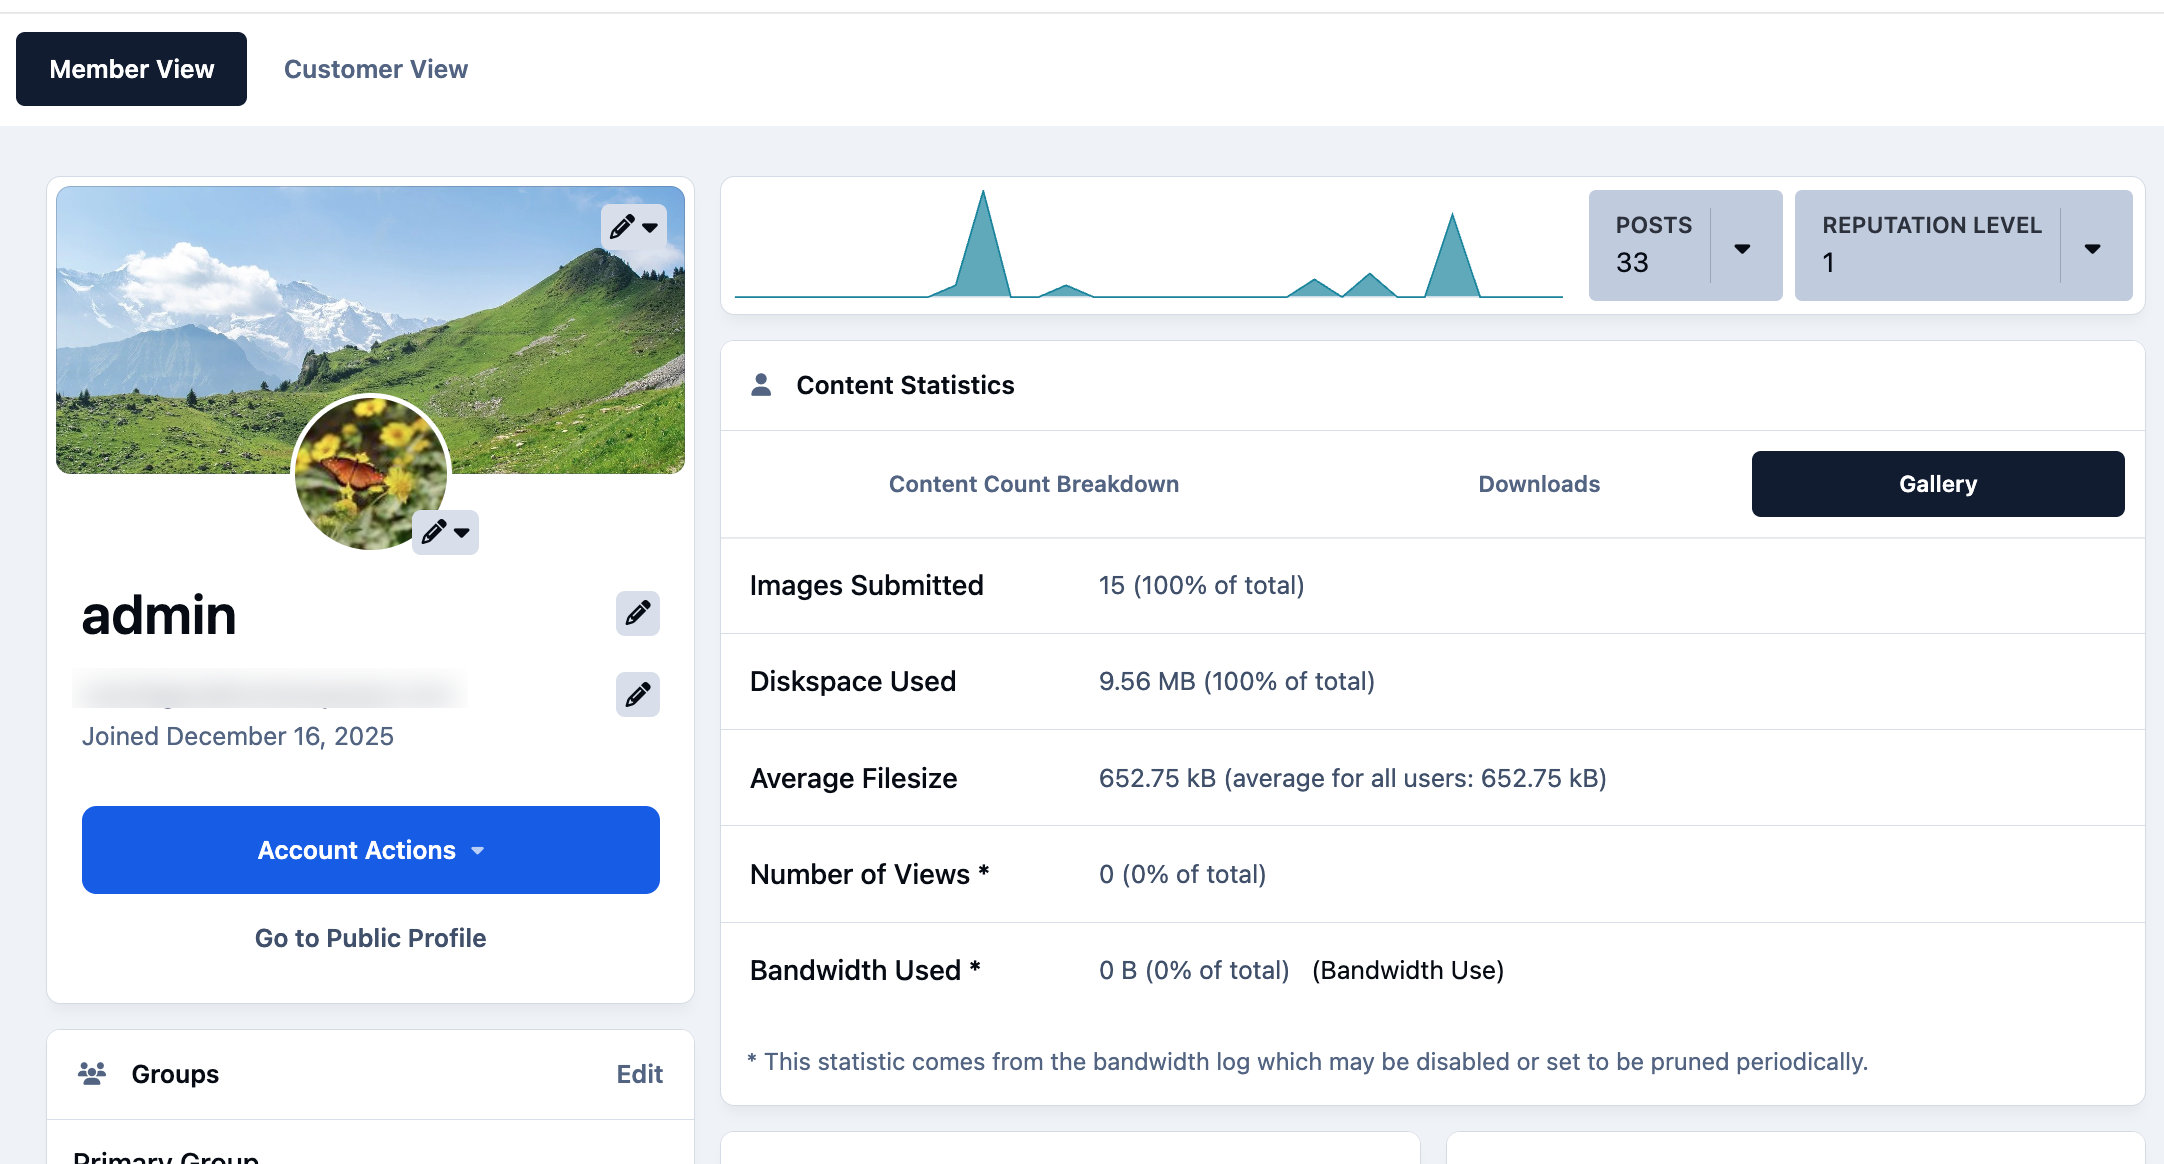
Once the Gallery application is installed, additional information becomes available when viewing a member’s profile in the AdminCP.
From the member edit screen, you’ll be able to see statistics related to that user’s activity in the Gallery, such as the number of images, albums, or other content they have contributed.
Gallery Information in Profile
Video Encoding
Video encoding can be switched on within the following area of the admin CP
Community → Gallery → Video Encoding
Videos uploaded to the Gallery are automatically re-encoded into a standard MP4 format. This ensures consistent playback and maximum compatibility across different browsers and devices.
Recommended Comments