


Many communities choose to create their own Gallery categories to organise content in a way that best suits their structure.
Setting up and managing categories within the Gallery is straightforward and can be done directly from the AdminCP in Invision Community, giving you full control over how images and albums are organised.
Creating Categories
You can view and manage your existing Gallery categories by navigating to the following area in the AdminCP:
Community → Gallery → Categories
Here, you’ll see a list of all current categories, where you can edit, reorder, or create new ones as needed.
Category Listing
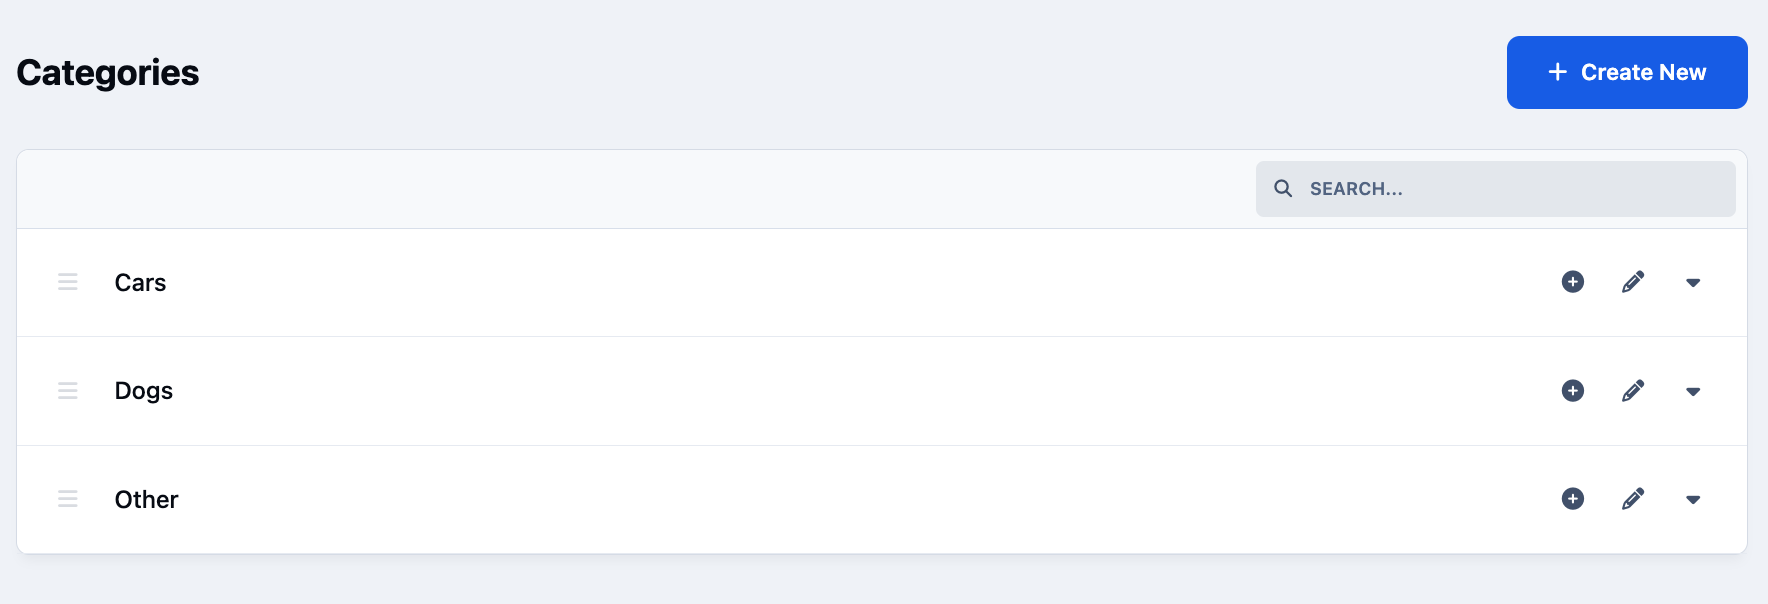
By selecting the dropdown menu next to any category, you’ll see additional options available for that category.
These include the ability to edit settings and customise permissions, such as controlling which member groups can view the category and who is allowed to upload content to it.
Adding a Sub-Forum
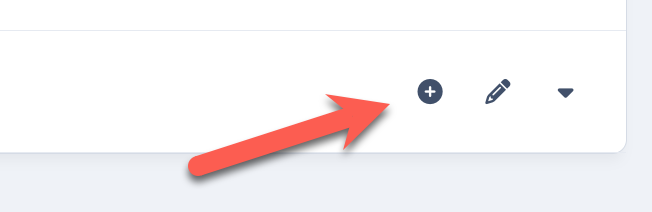
Clicking the '+' icon next to an existing category allows you to create a sub-category within it.
If you’d like to create a new top-level (main) category instead, simply click the 'Create New' button provided at the top of the page.
Category Options
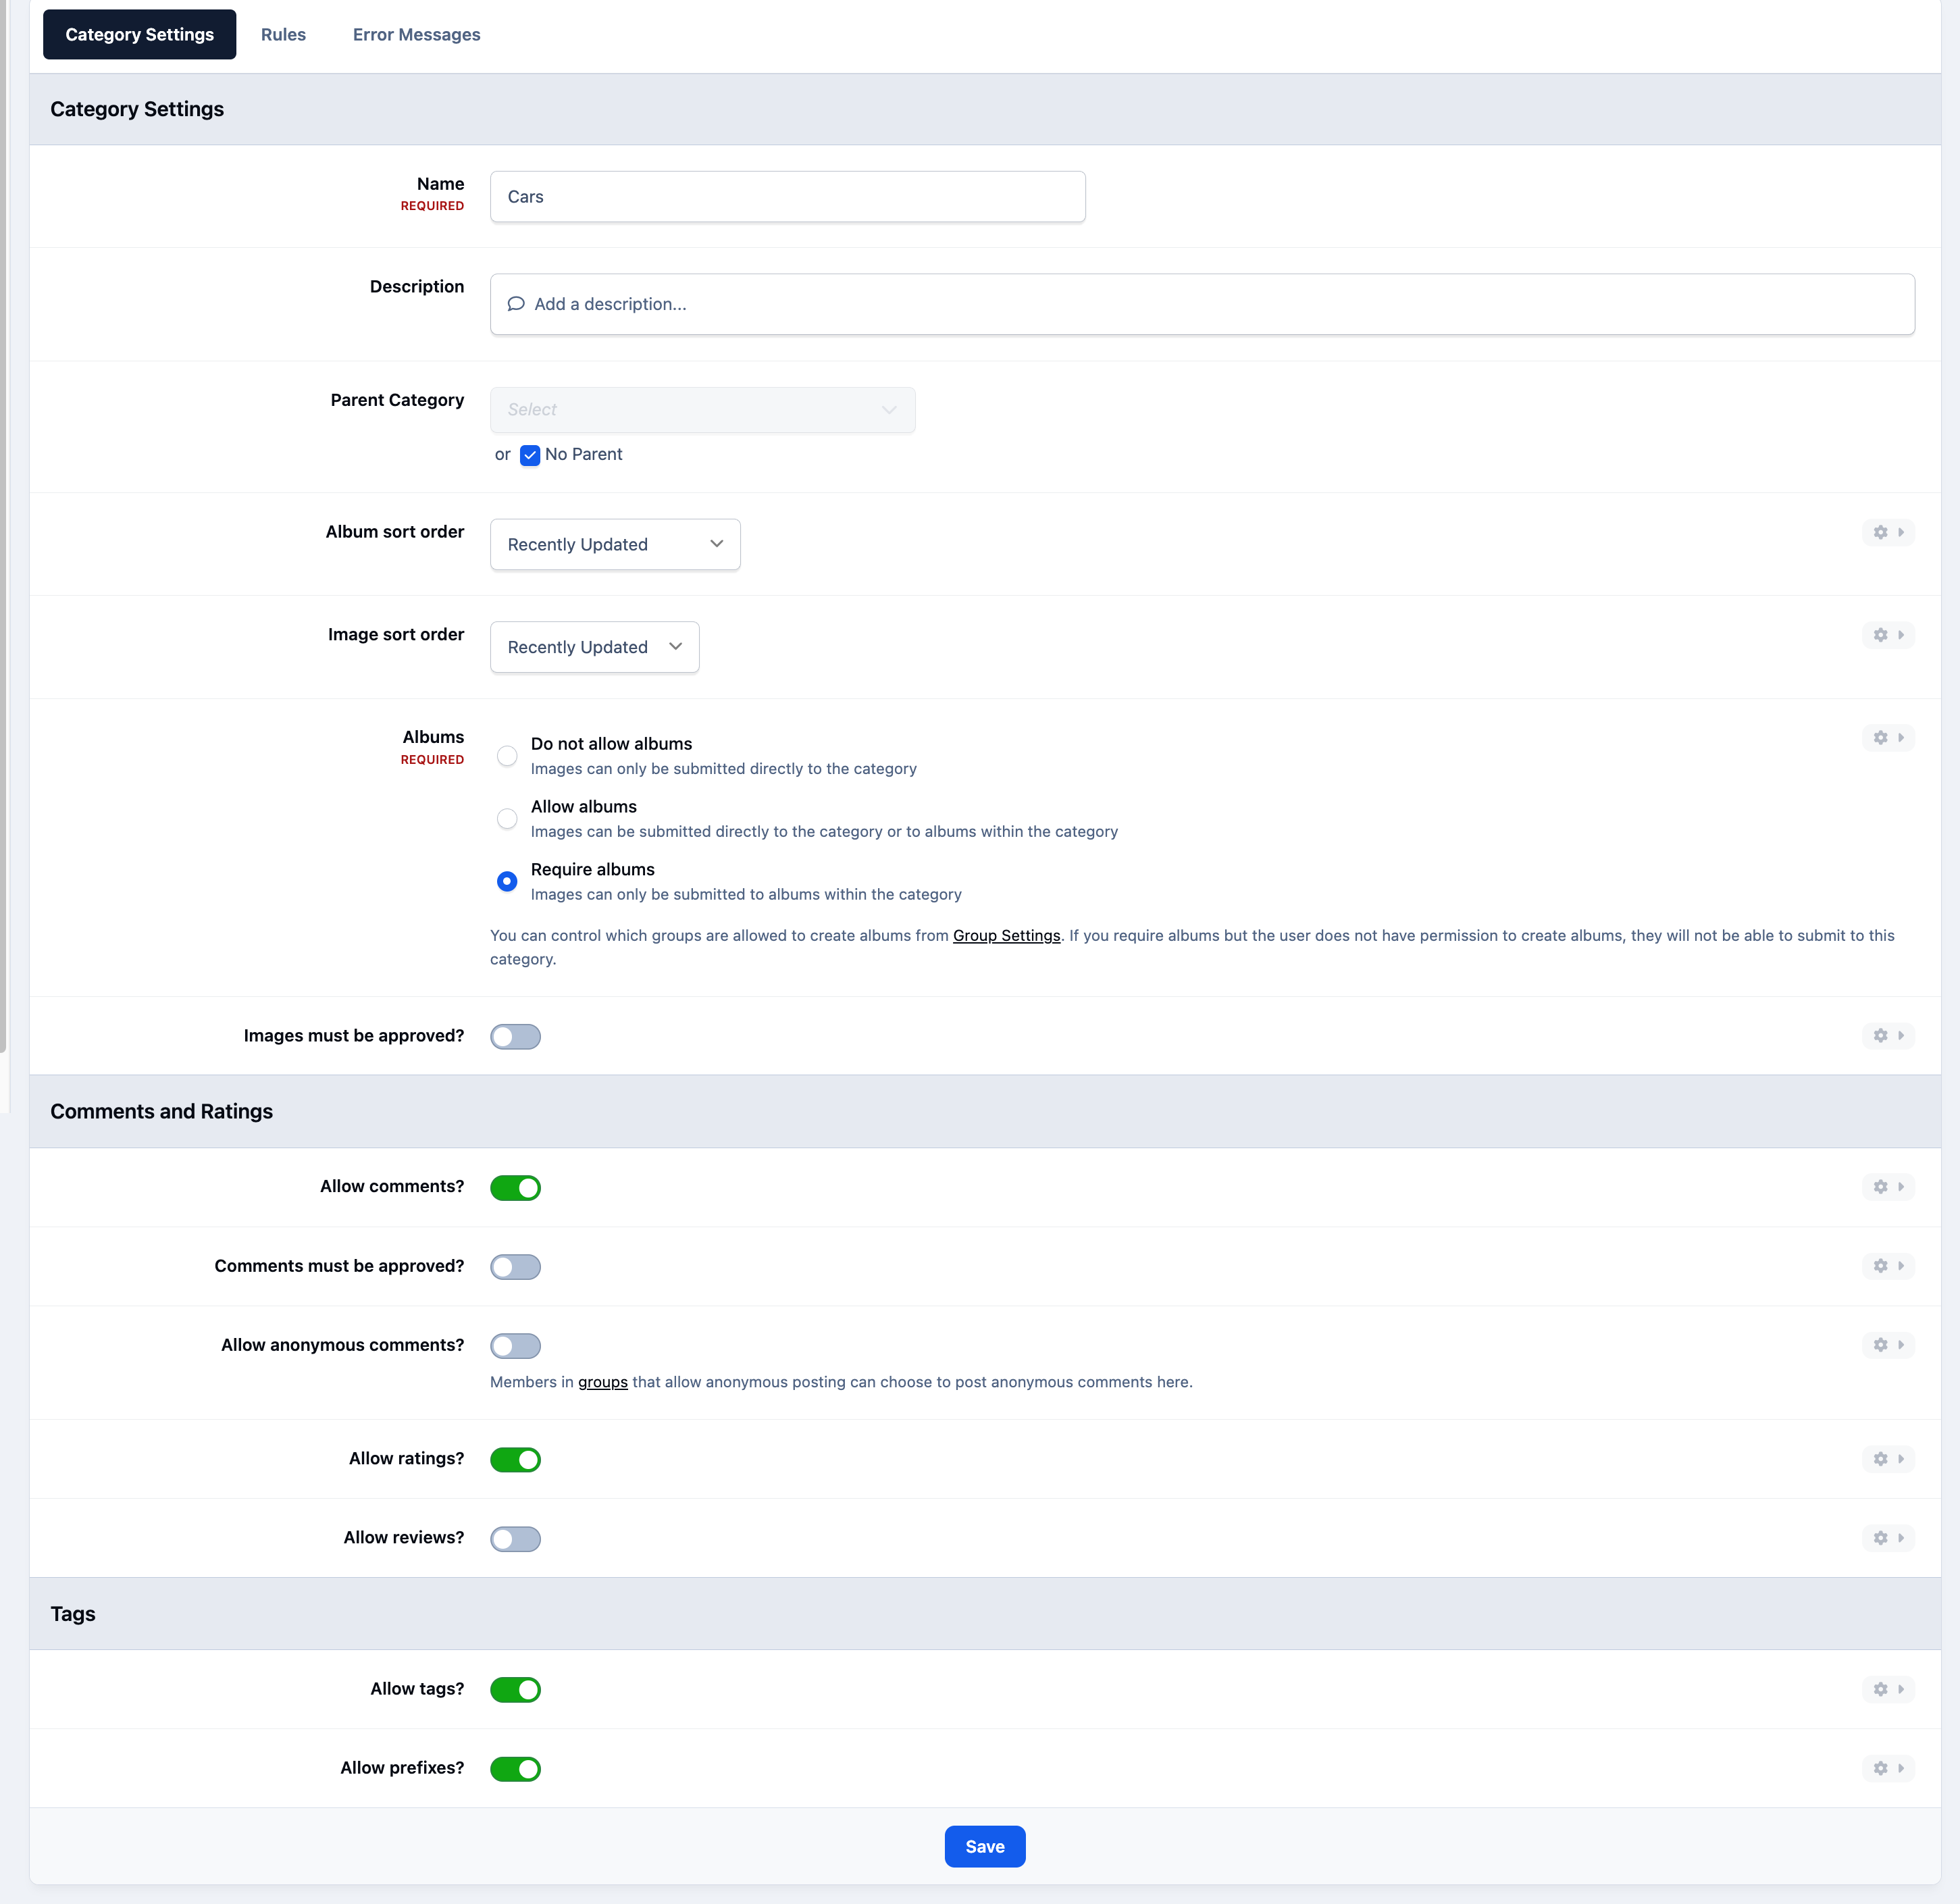
When creating a category, you’ll be presented with a range of configuration options.
These include settings for enabling comments, allowing ratings, permitting member-created albums, and other features that control how content can be added to and interacted with within that category.
Category Settings
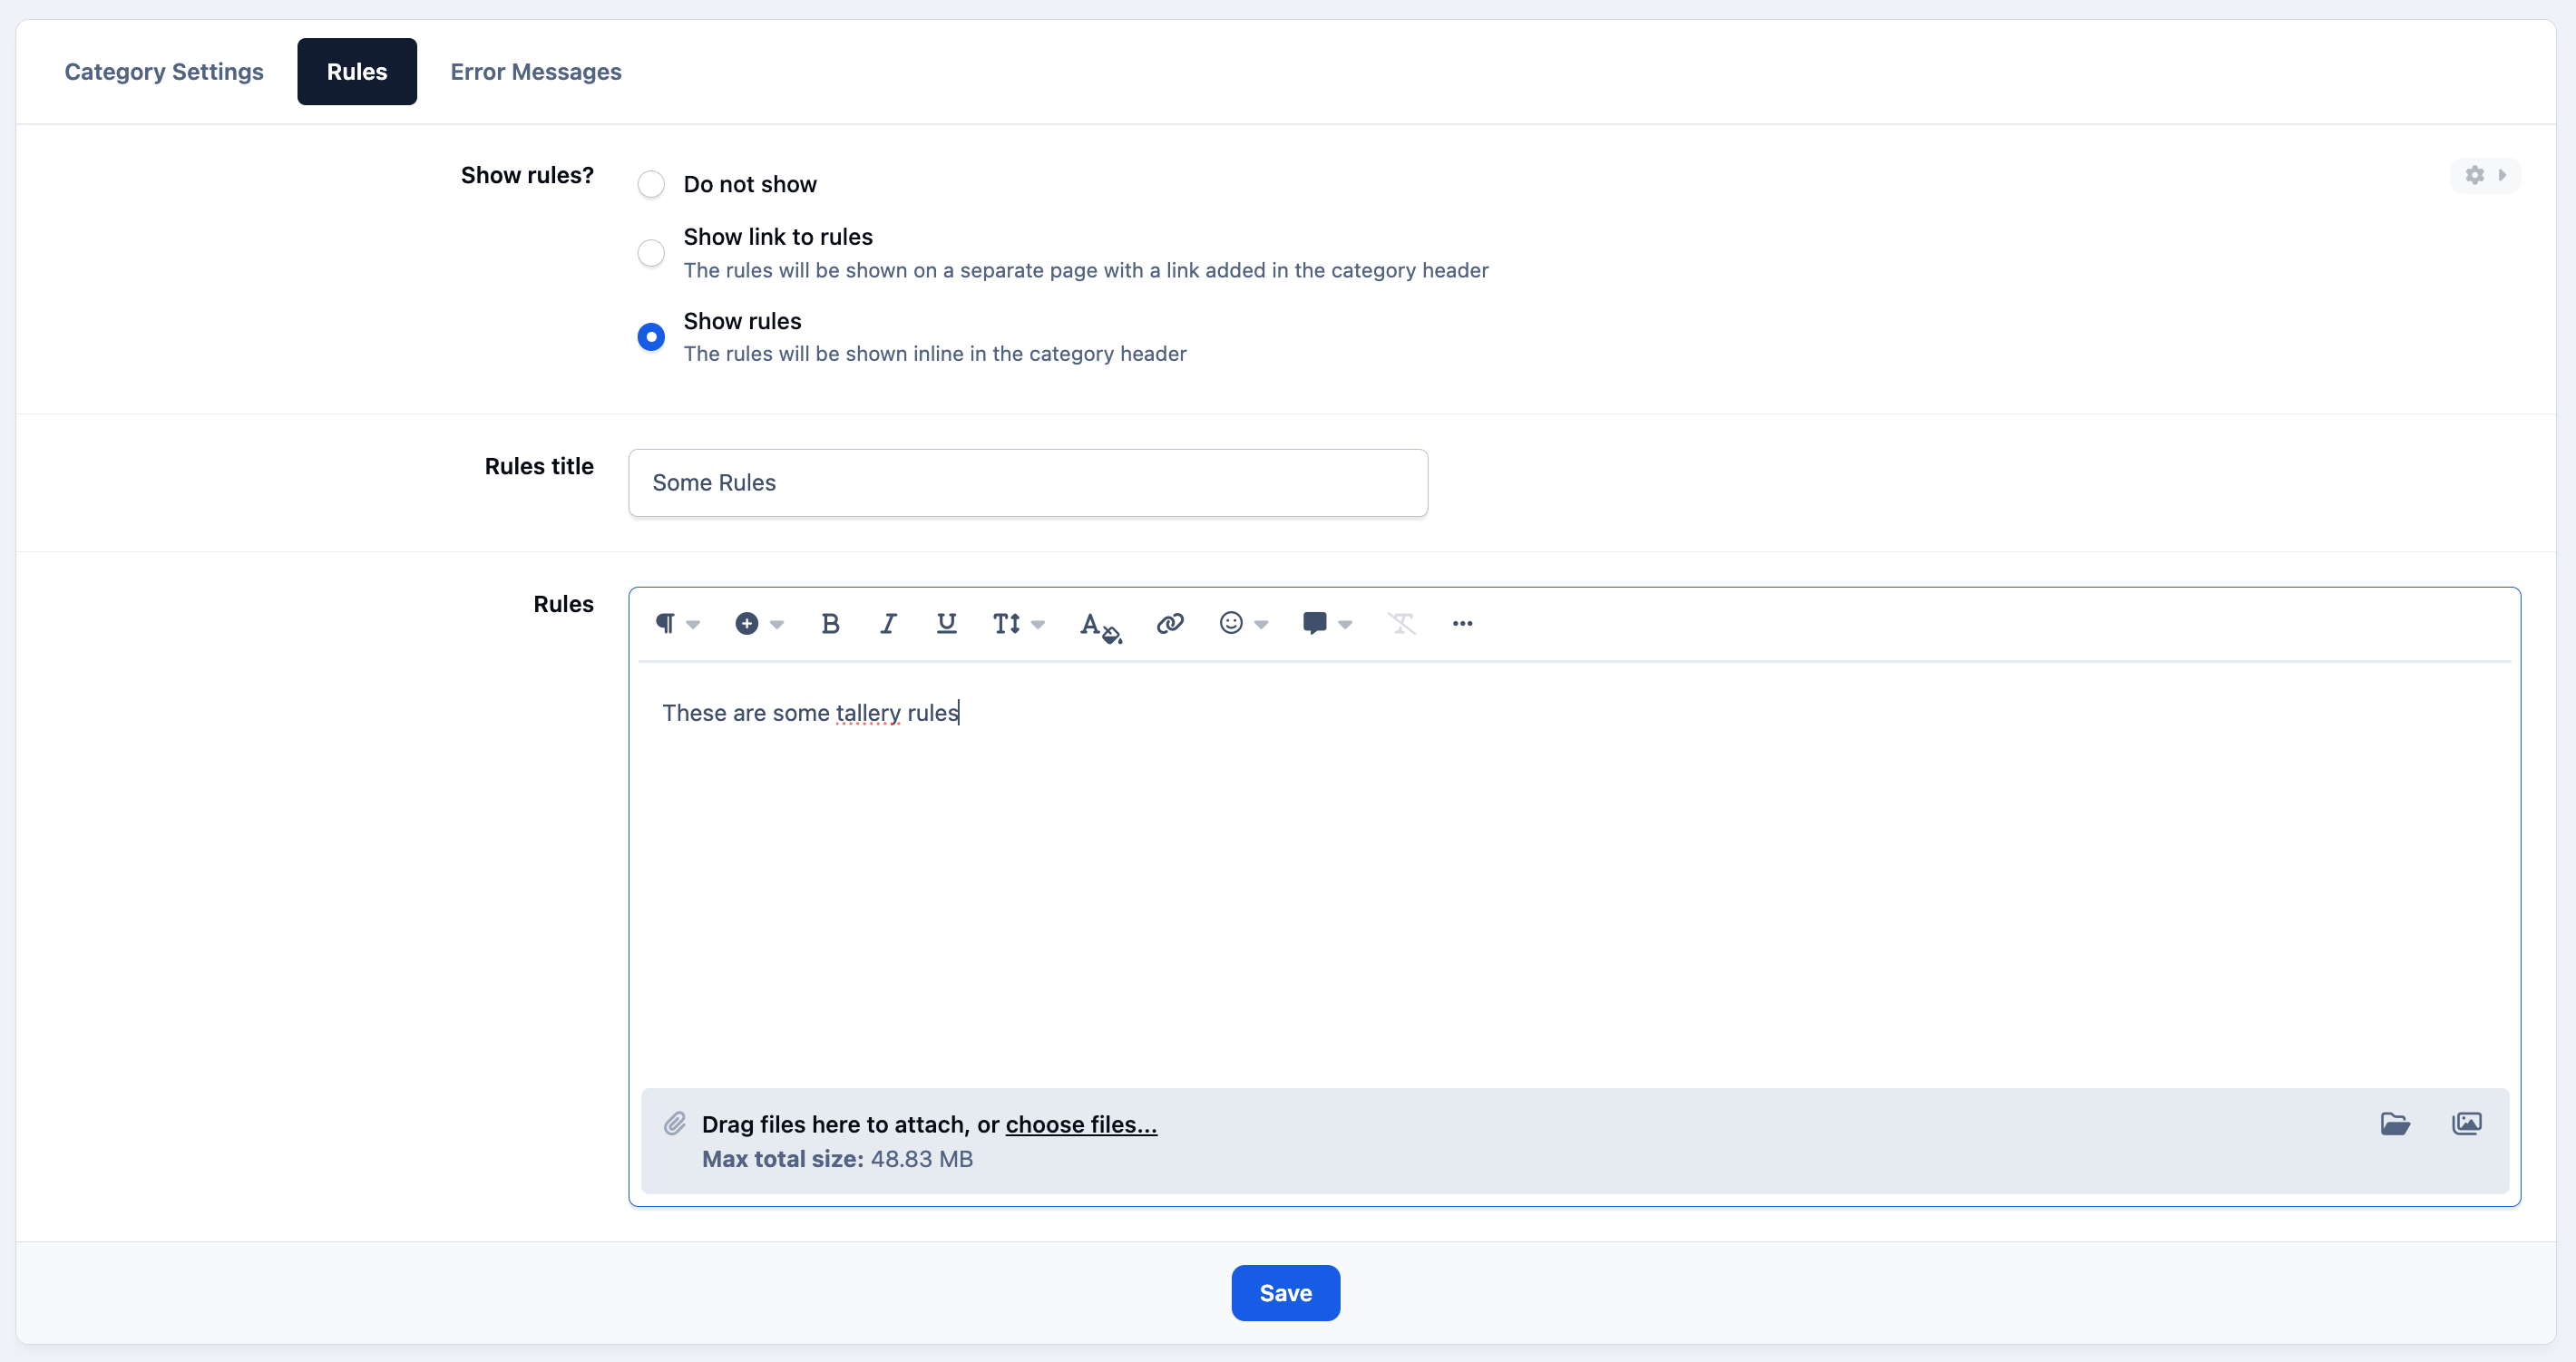
The Rules tab allows you to define guidelines that will be shown to members when they upload images.
This is useful for outlining expectations such as content standards, image requirements, or any other important information users should review before submitting their uploads.
Category Rules
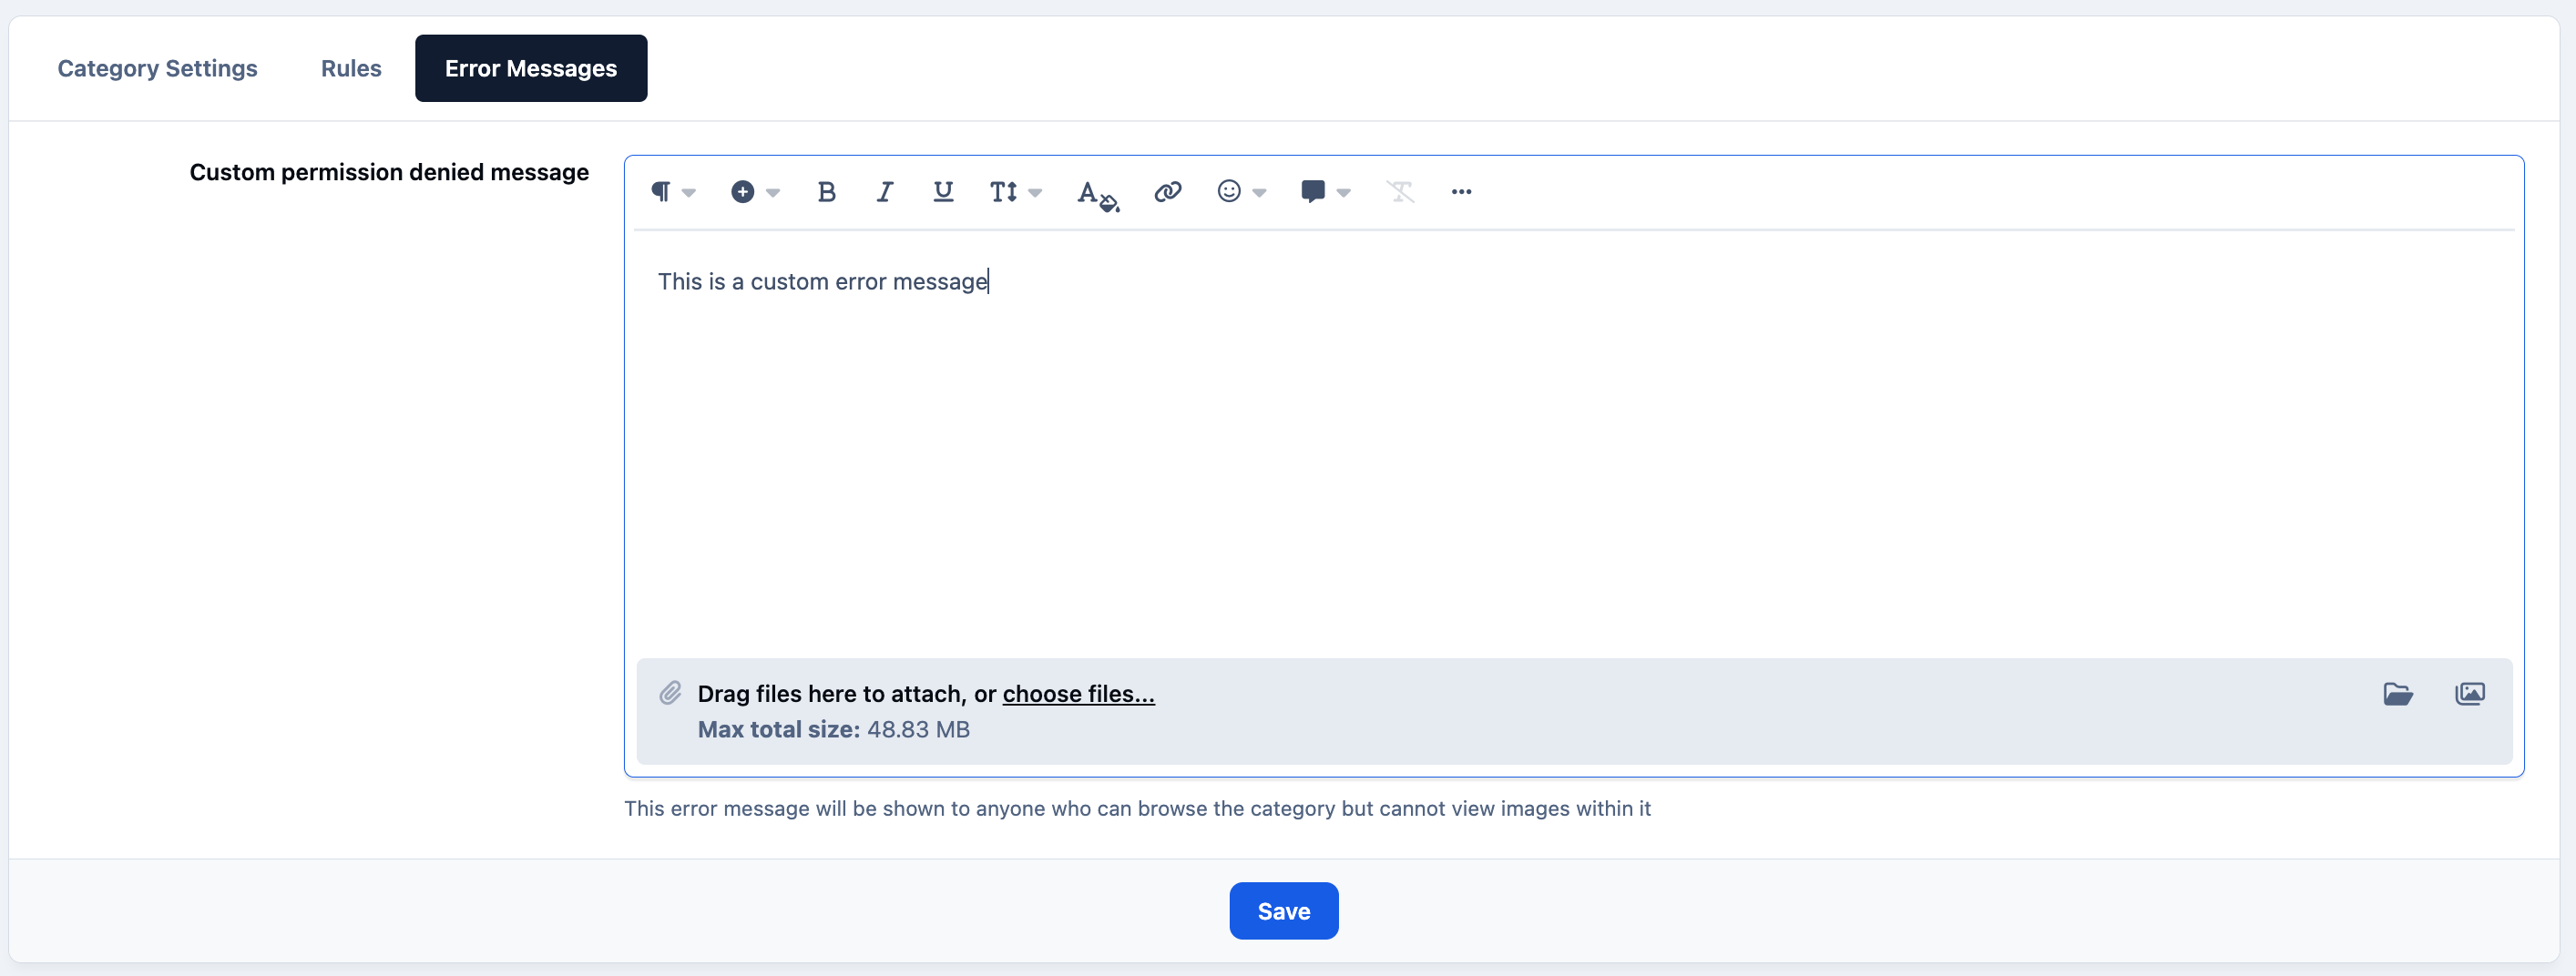
You can also customise the error message shown to users who do not have permission to view images within a specific category.
This can be particularly useful if access is restricted to certain member groups — for example, when using paid subscriptions. In these cases, you can provide a clear message explaining why access is restricted and how users can gain the appropriate permissions.
Custom Error Message
Permissions
After creating the Gallery categories you need, the next step is to configure their permissions.
To do this, click the dropdown menu next to the relevant category and select Permissions. This will take you to the permissions screen for that specific category, where you can control which member groups can view, upload, comment, rate, and interact with content within it.
Gallery Category Permissions
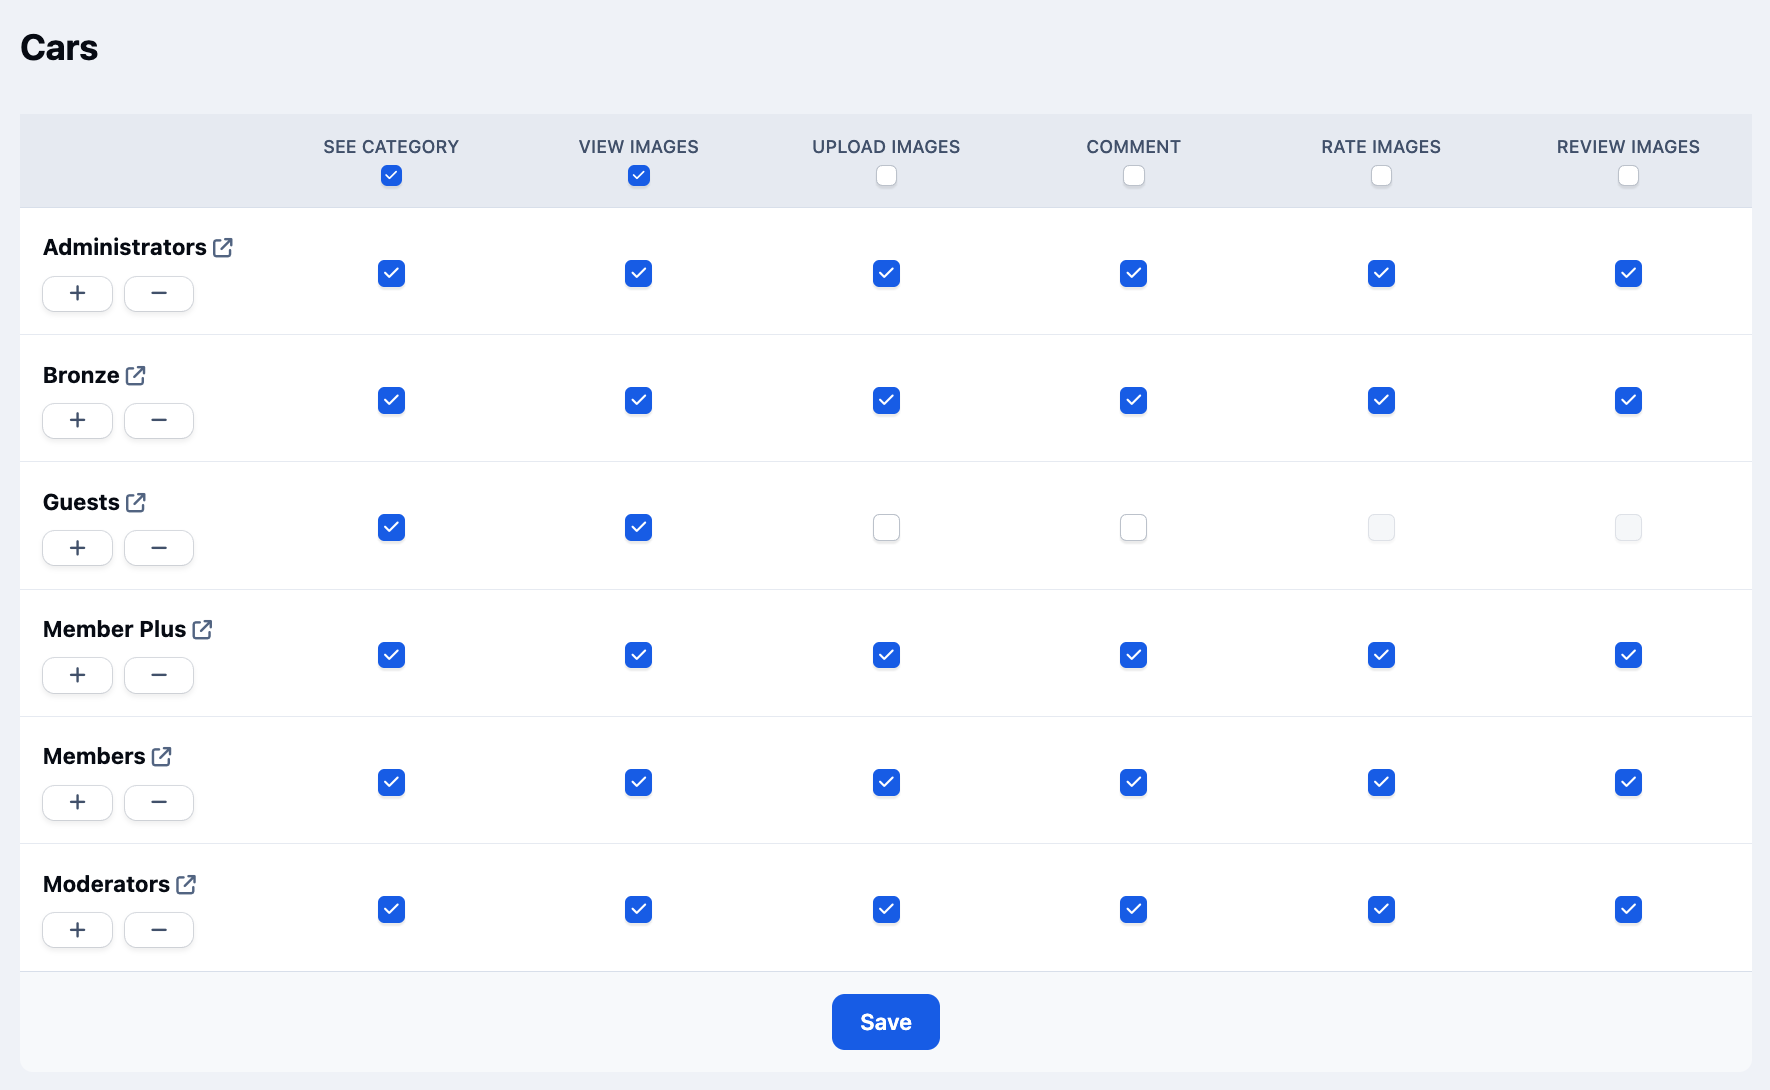
Once on the permissions screen, you can configure the appropriate access levels for each member group within that category.
This allows you to define exactly who can view, upload, comment, rate, and review content in that specific Gallery category.
Recommended Comments