


Uploading content to the Invision Community Gallery is handled through a simple step-by-step wizard.
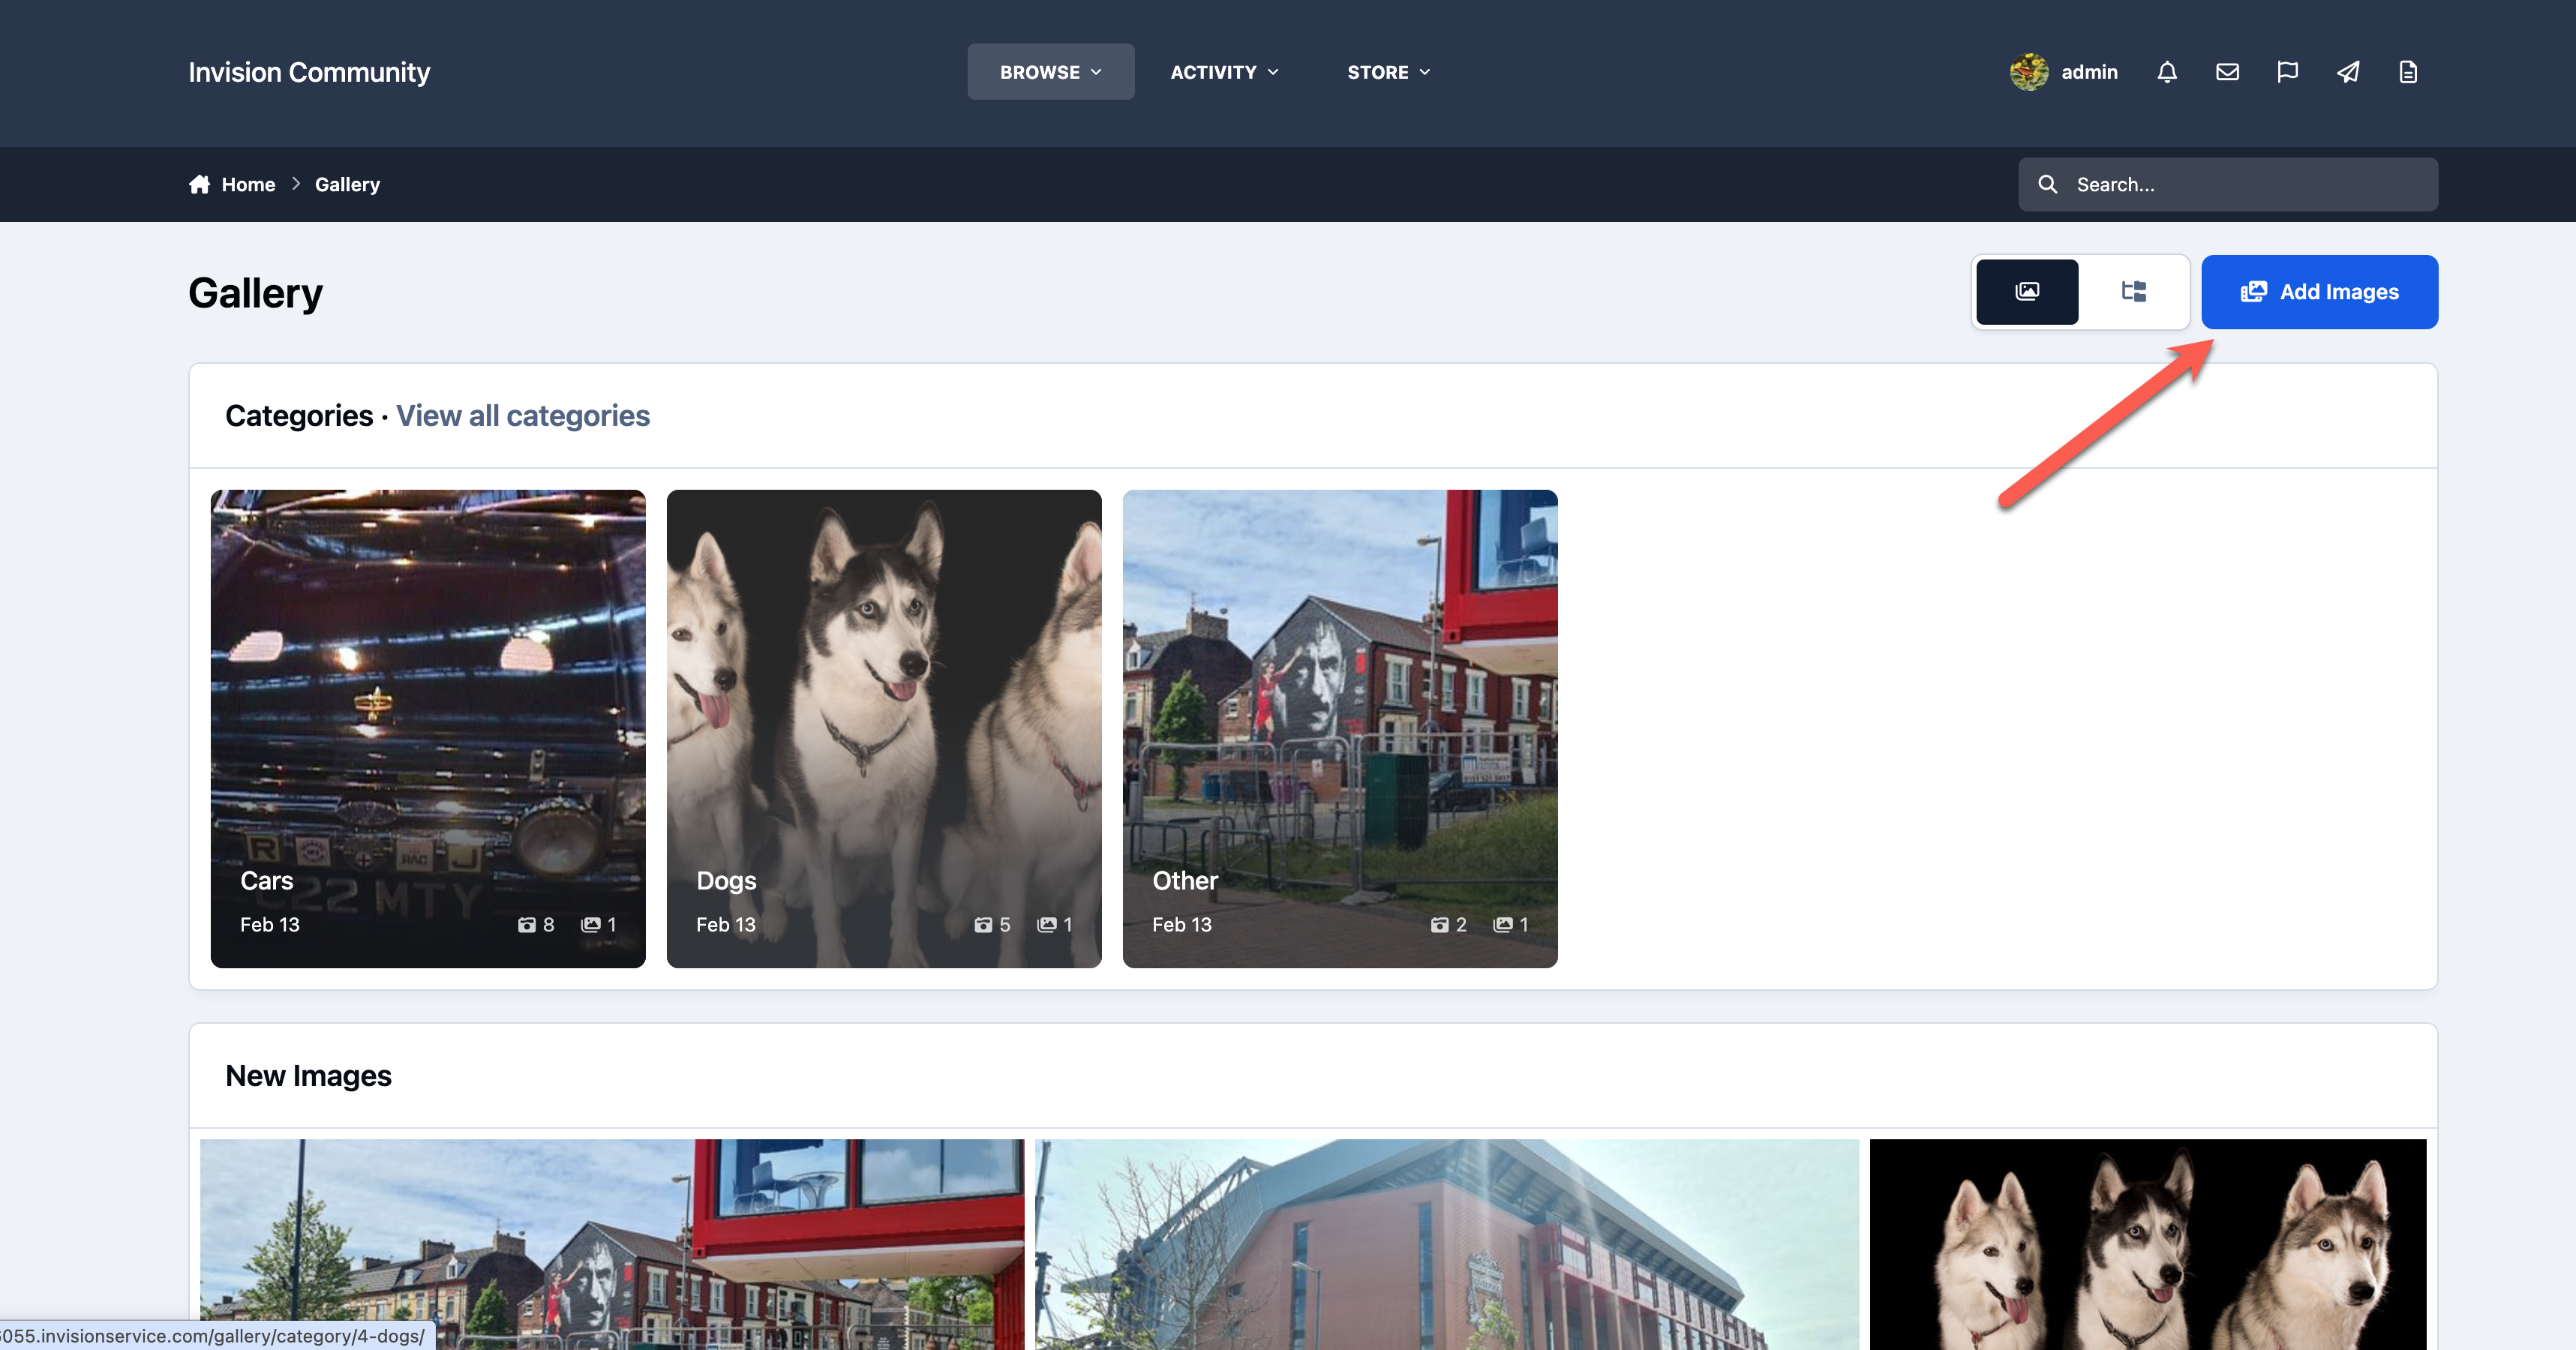
You can access this by clicking the 'Add Images' link on any Gallery page, as shown below.
Add Image Option
Choosing/Creating Albums
After selecting this option, you’ll first be asked to choose a category, unless you are already viewing one.
If your member group has permission to use albums within that category, you’ll then be prompted to either 'select an existing album' or 'create a new one' before continuing with the upload.
Choosing a New or Existing Album

As shown above, you can configure both ownership and album features during this step.
The Ownership option allows you to specify who the album belongs to. Members with the appropriate permissions can create an album on behalf of another user if needed.
Within Album Features, you can define settings such as the sort order of images and whether ratings are allowed. In some cases, you may also see a
option, which provides additional control over who can view the album, as shown below.
Album Permissions
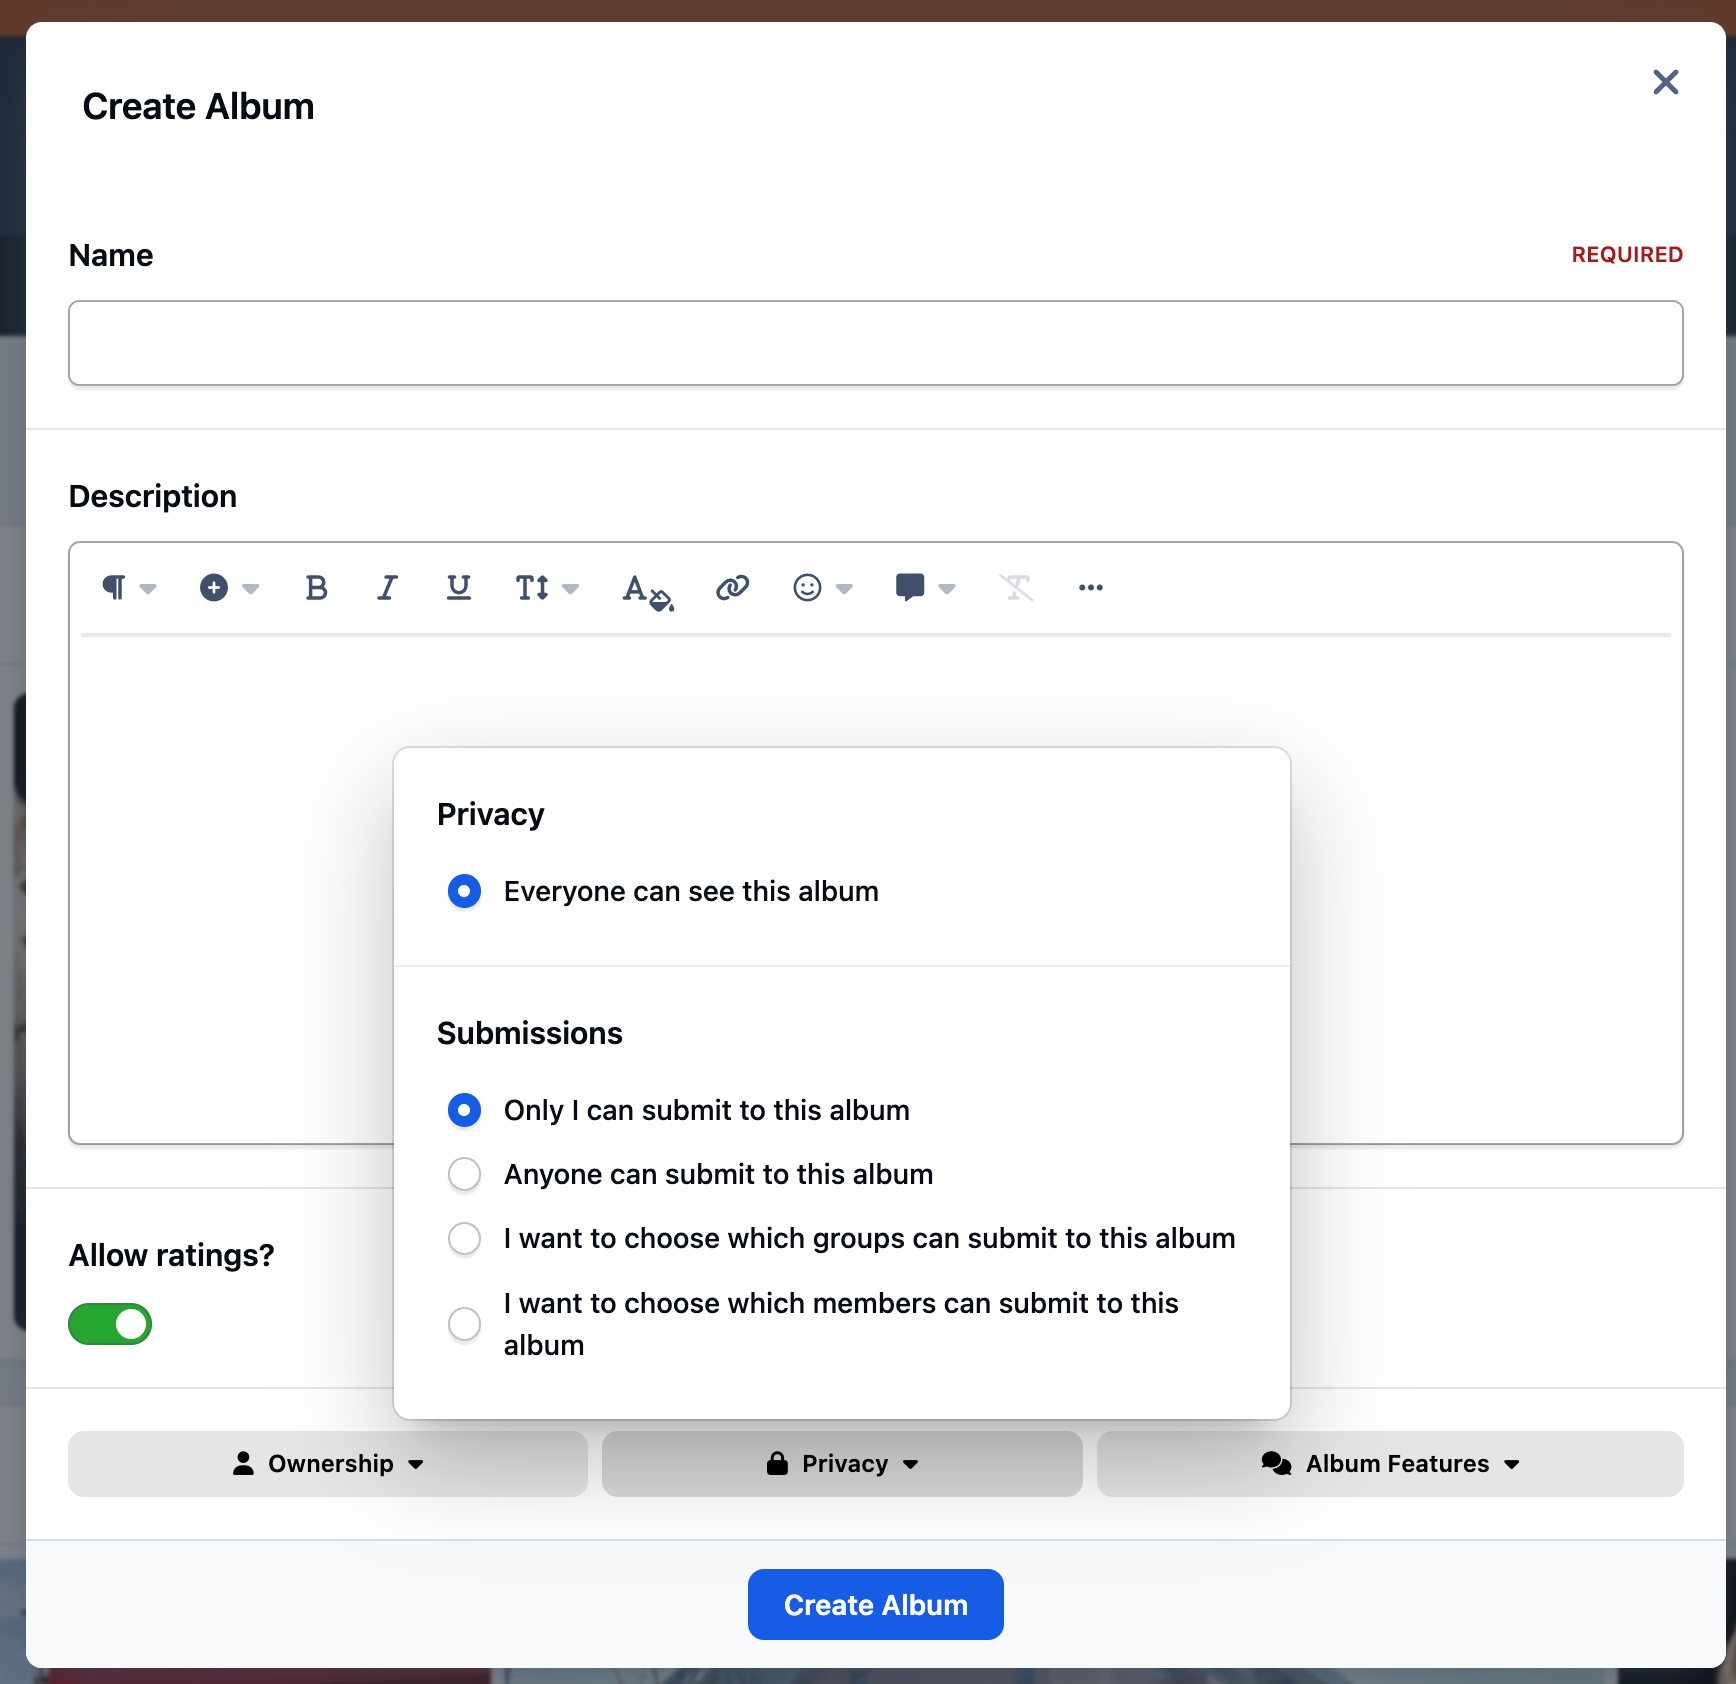
This option can be enabled on a per-group basis. When allowed, it gives members the ability to choose who can view the contents of the album they are creating, providing additional privacy and control over their uploads.
Uploading Images
In the next step, you can upload your files by either dragging and dropping them onto the page or by selecting files manually from your device.
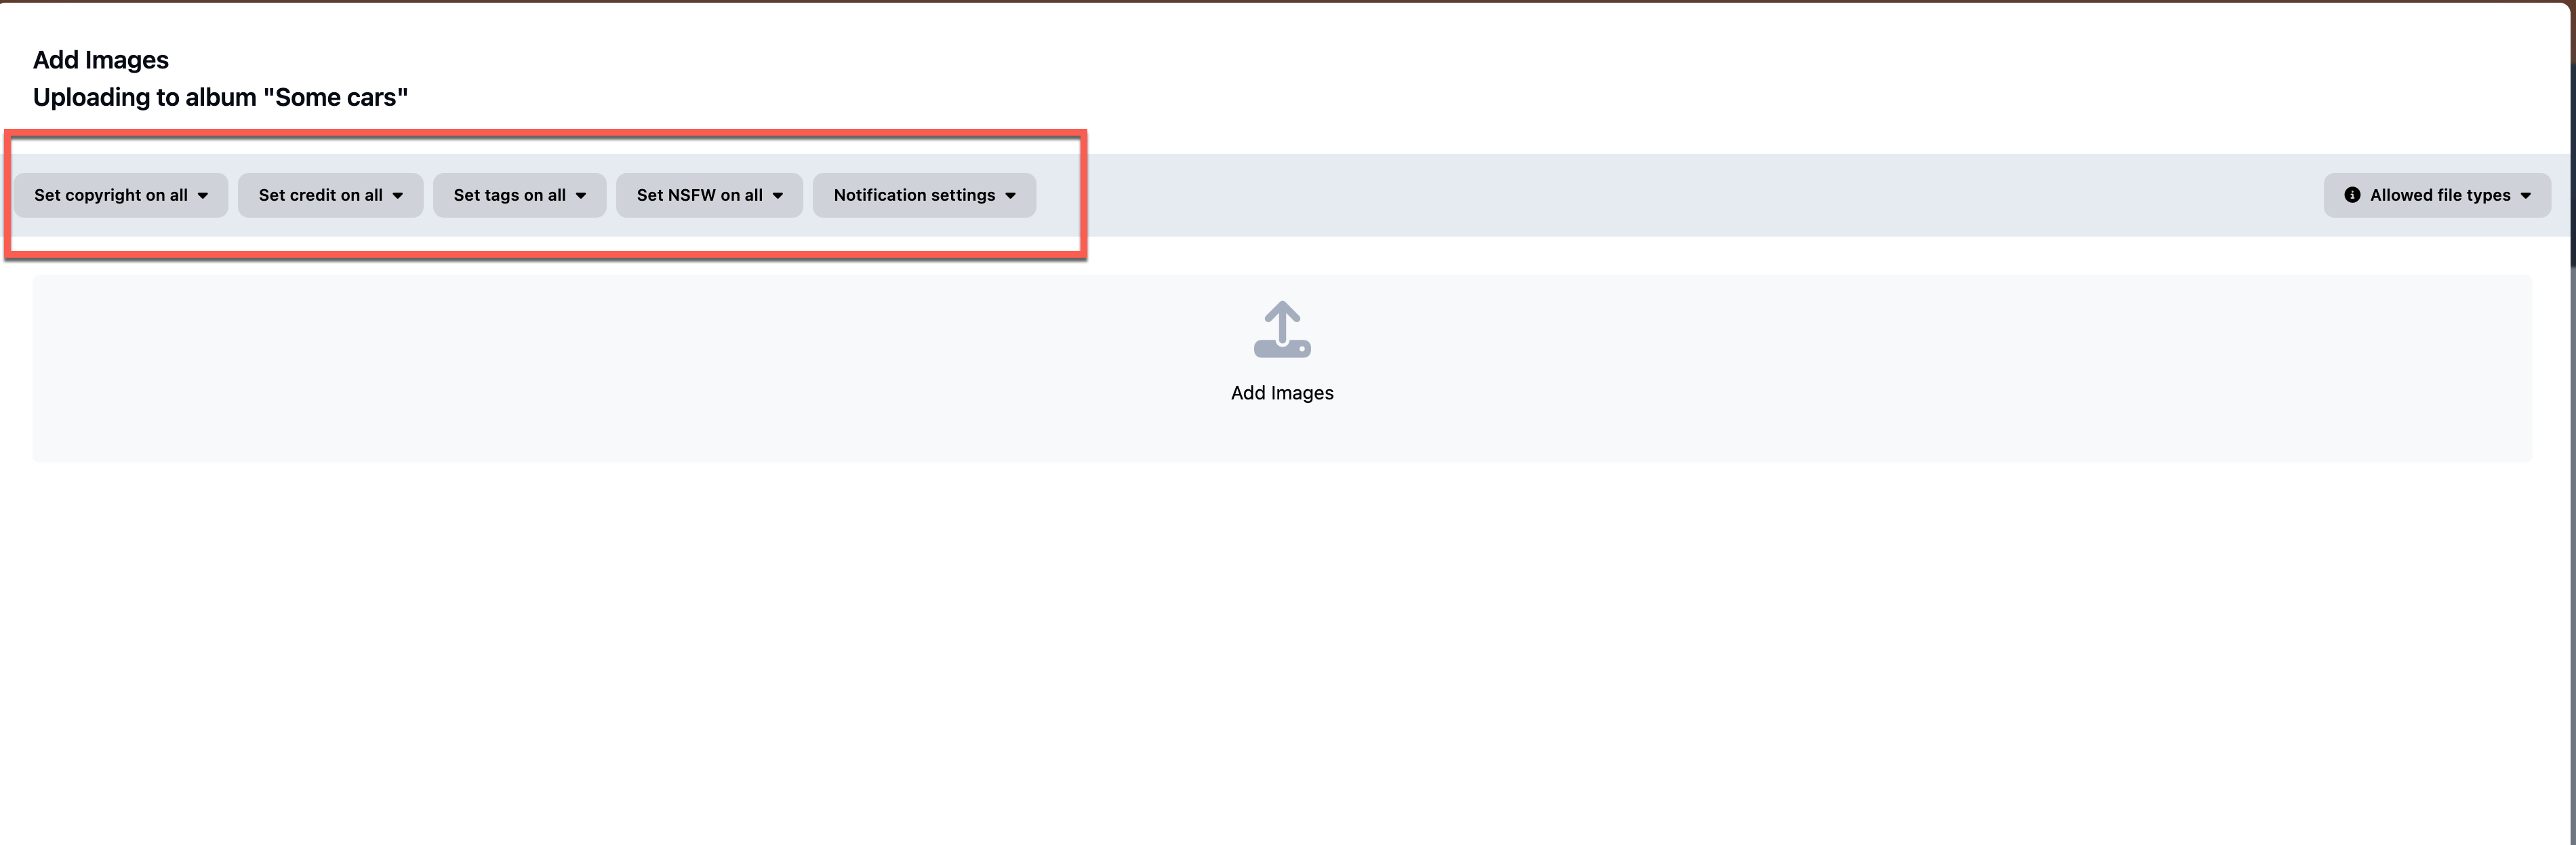
Depending on your permissions, these uploads may include images or videos. You’ll also notice an option (highlighted below) that allows you to adjust the default settings for the files you upload, such as adding copyright information, tags, and other metadata.
Options When Adding Images
Adding Images
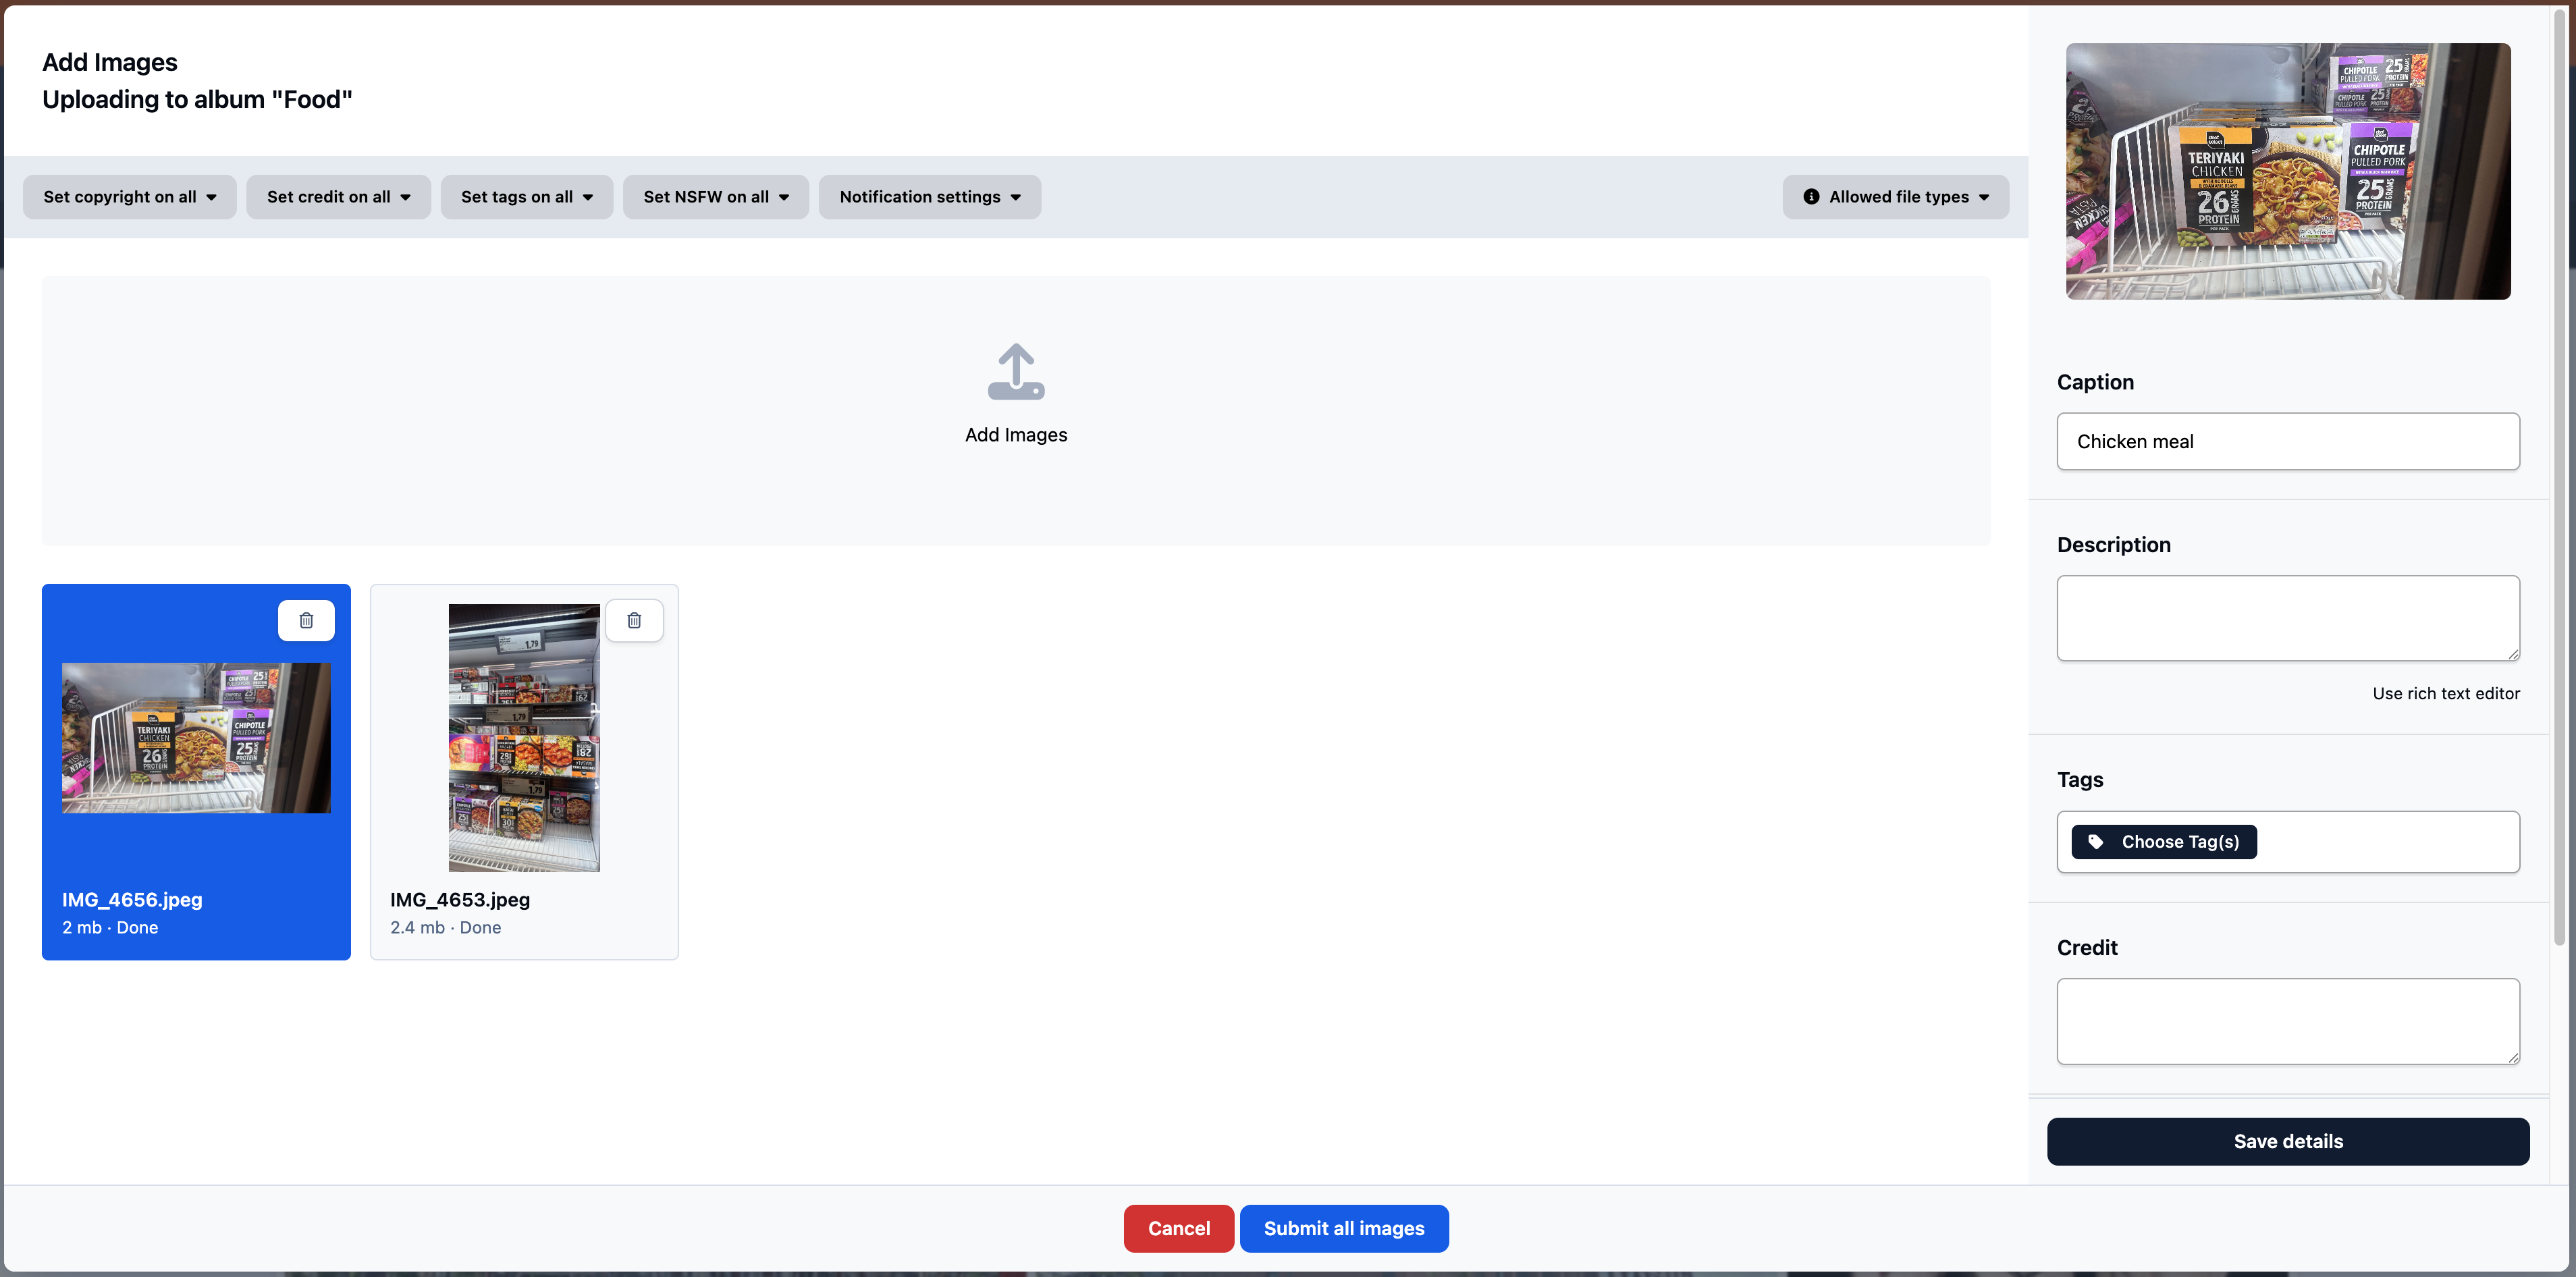
Once your images have finished uploading, you’ll be able to edit the details associated with each one.
At this stage, you’ll be presented with a screen similar to the one shown below, where you can update information such as the title, description, tags, and other related settings for each image.
Adding Images to Gallery
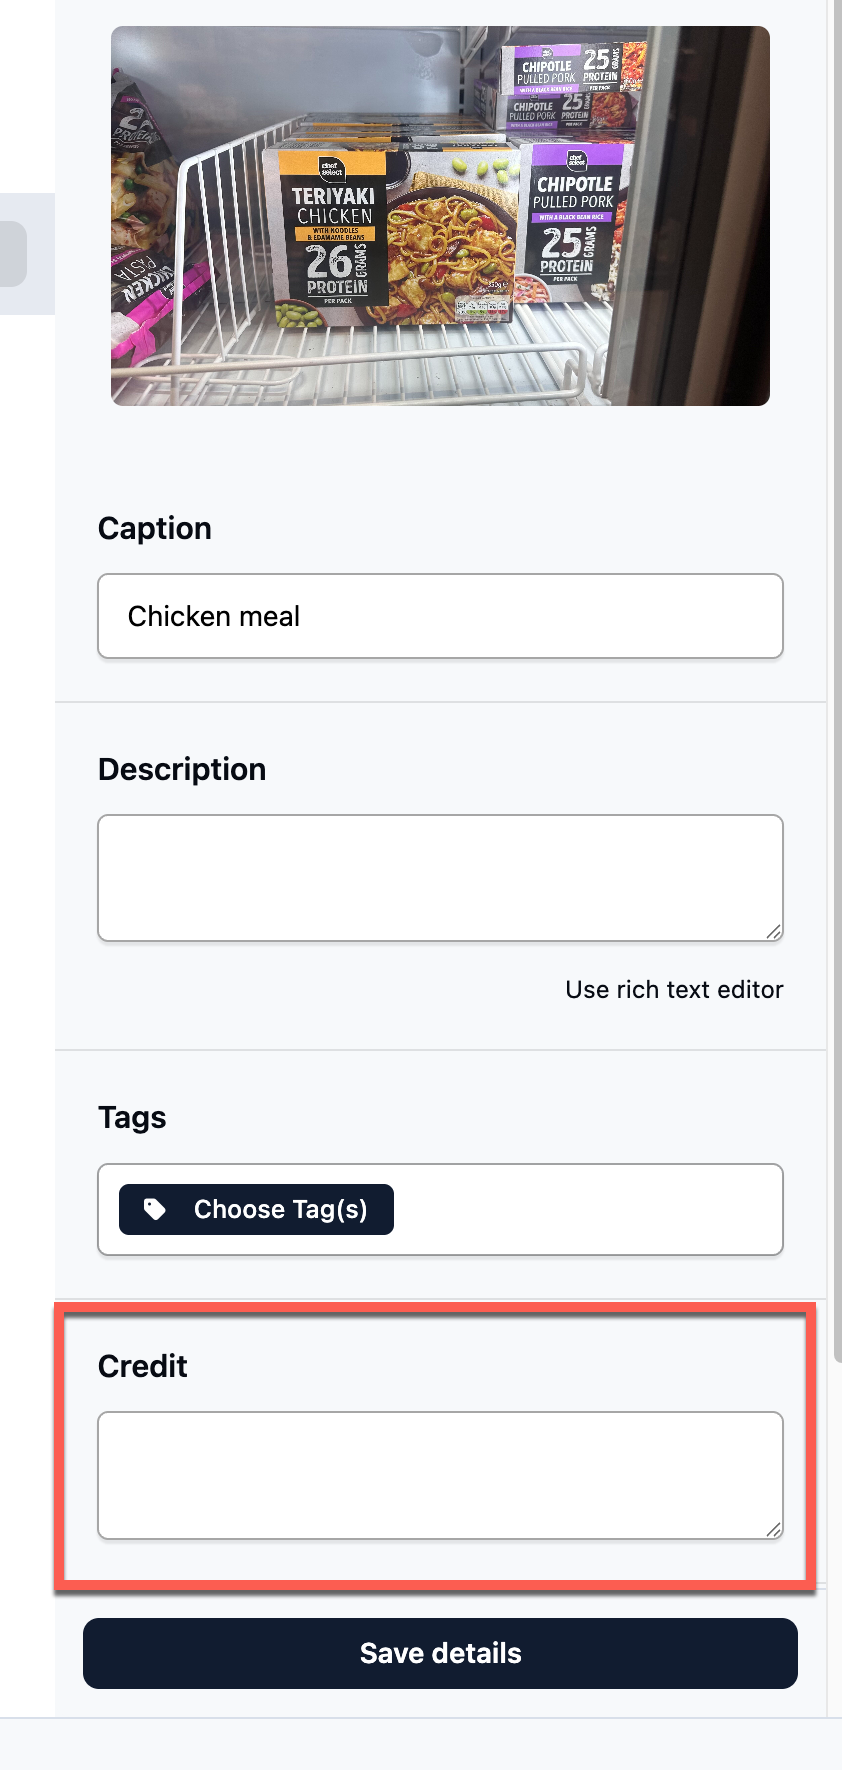
Giving Credit
You can add credit information to your images using the buttons shown either beneath each individual image or applied to all uploaded images at once.
Selecting this option will allow you to enter a line of copyright or credit text. This can be used to acknowledge another copyright holder, photographer, or external website where the content originated.
Giving Credit to Others
Recommended Comments