


Introduction
In this tutorial, we’ll walk through the basics of creating calendar sections within your community.
This guide is intentionally kept simple and is designed to help you get started quickly. For more detailed information and advanced configuration, you can explore the additional guides available under Features → Events in the guides area.
First Open
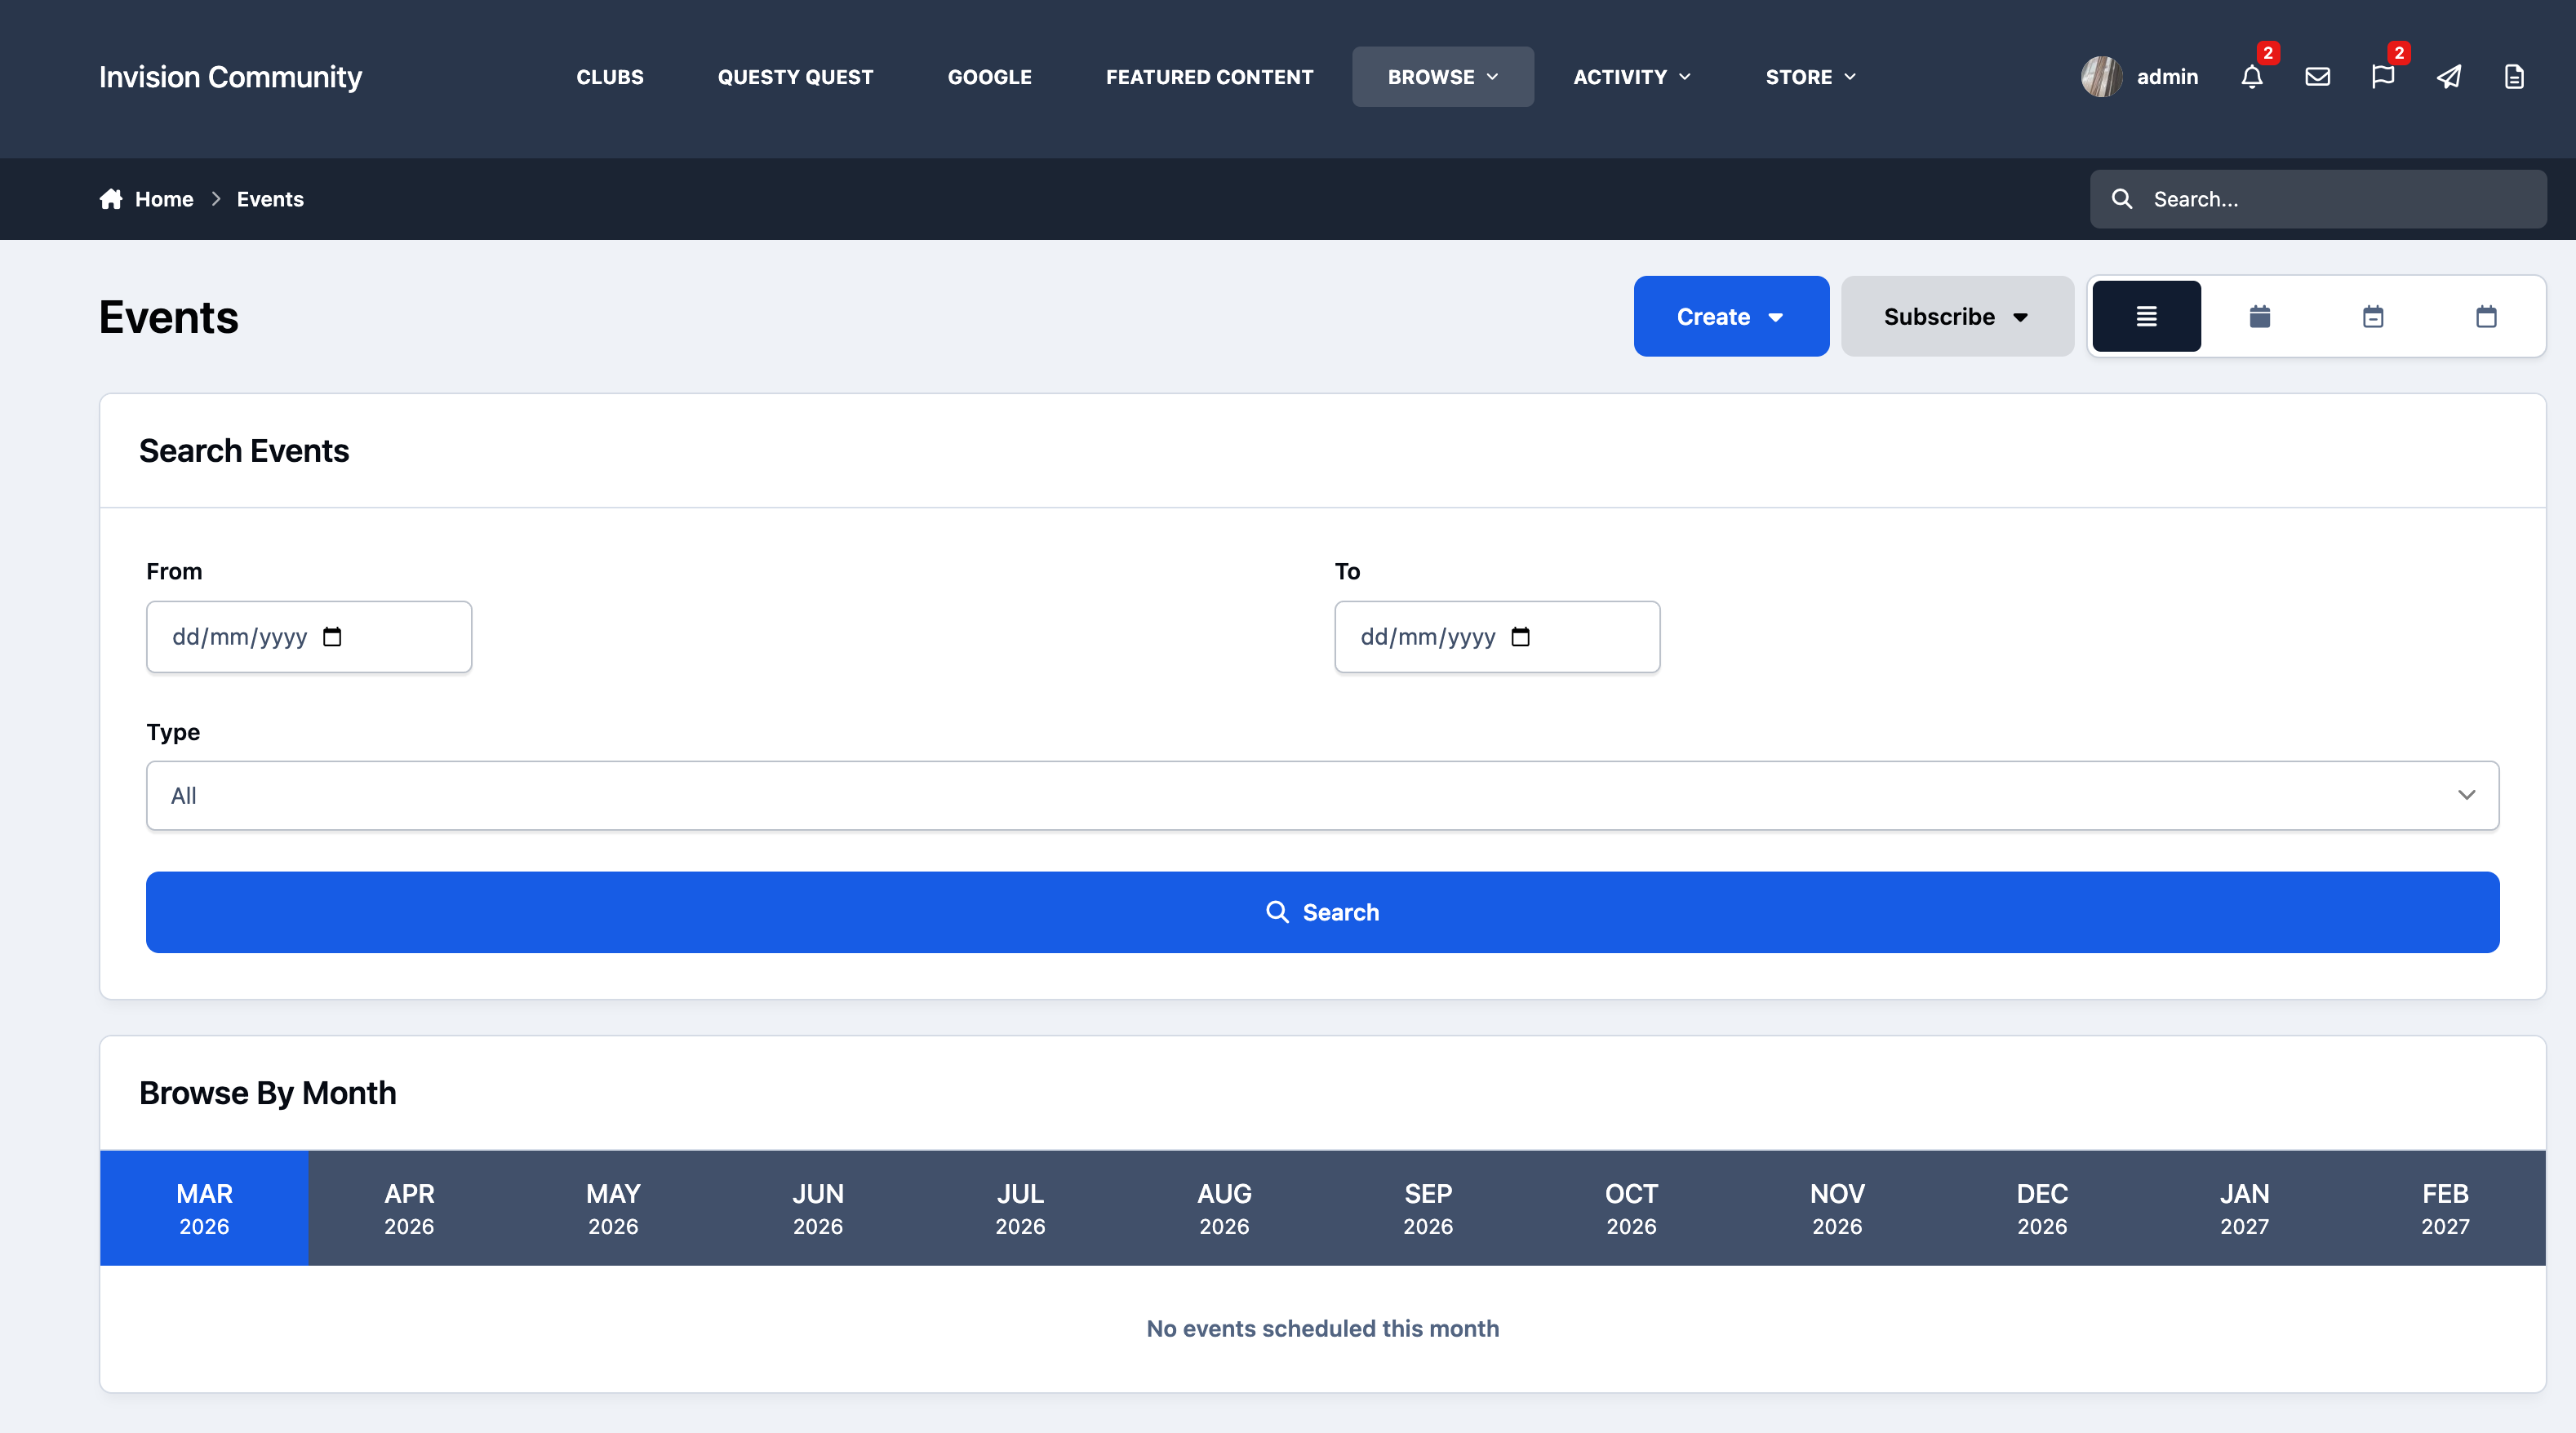
When the software is first installed, one calendar is created by default. This is the community calendar, which members can use to add and share events.
First View
Deleting Existing Calendars
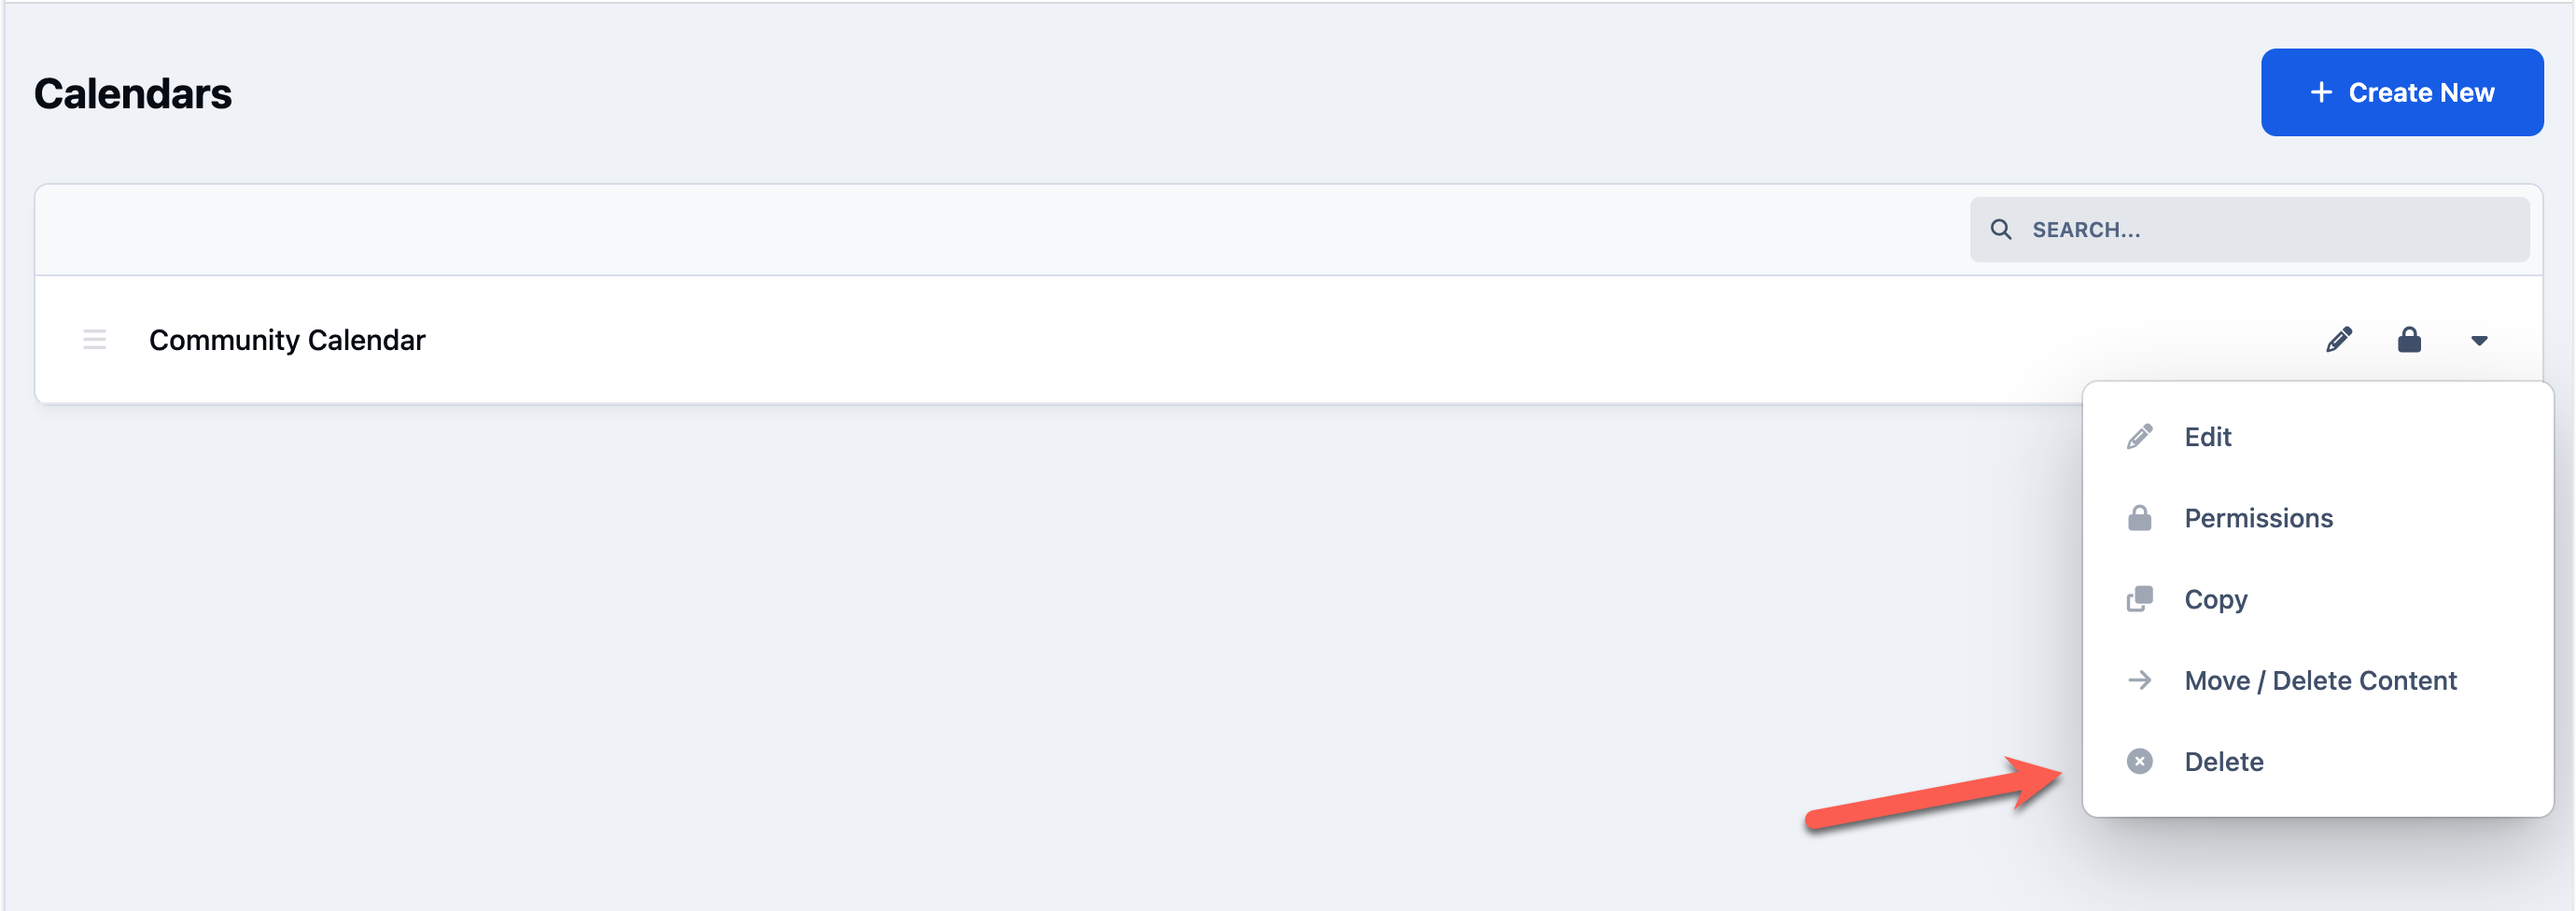
First, we’ll remove the default community calendar so we can set things up exactly how we want. Calendars can be managed from the following location in the AdminCP:
Community → Events → Calendars
Using the dropdown provided, select the delete option next to the default community calendar
Deleting a Calendar
The Sports Calendar
For the purposes of this guide, we will create a set of calendars suitable for a sports-focused site.
Below is the planned structure for our sports calendars. You can, of course, create any calendar structure that best fits the needs of your own community.
General
Football Season
Baseball Season
Creating Calendars
Now that we know how we want our calendars structured, we can go ahead and create the three main calendars: General, Hobbies, and Staff Area.
To do this, click the “Create New” button in the top-right corner.
Create New Button

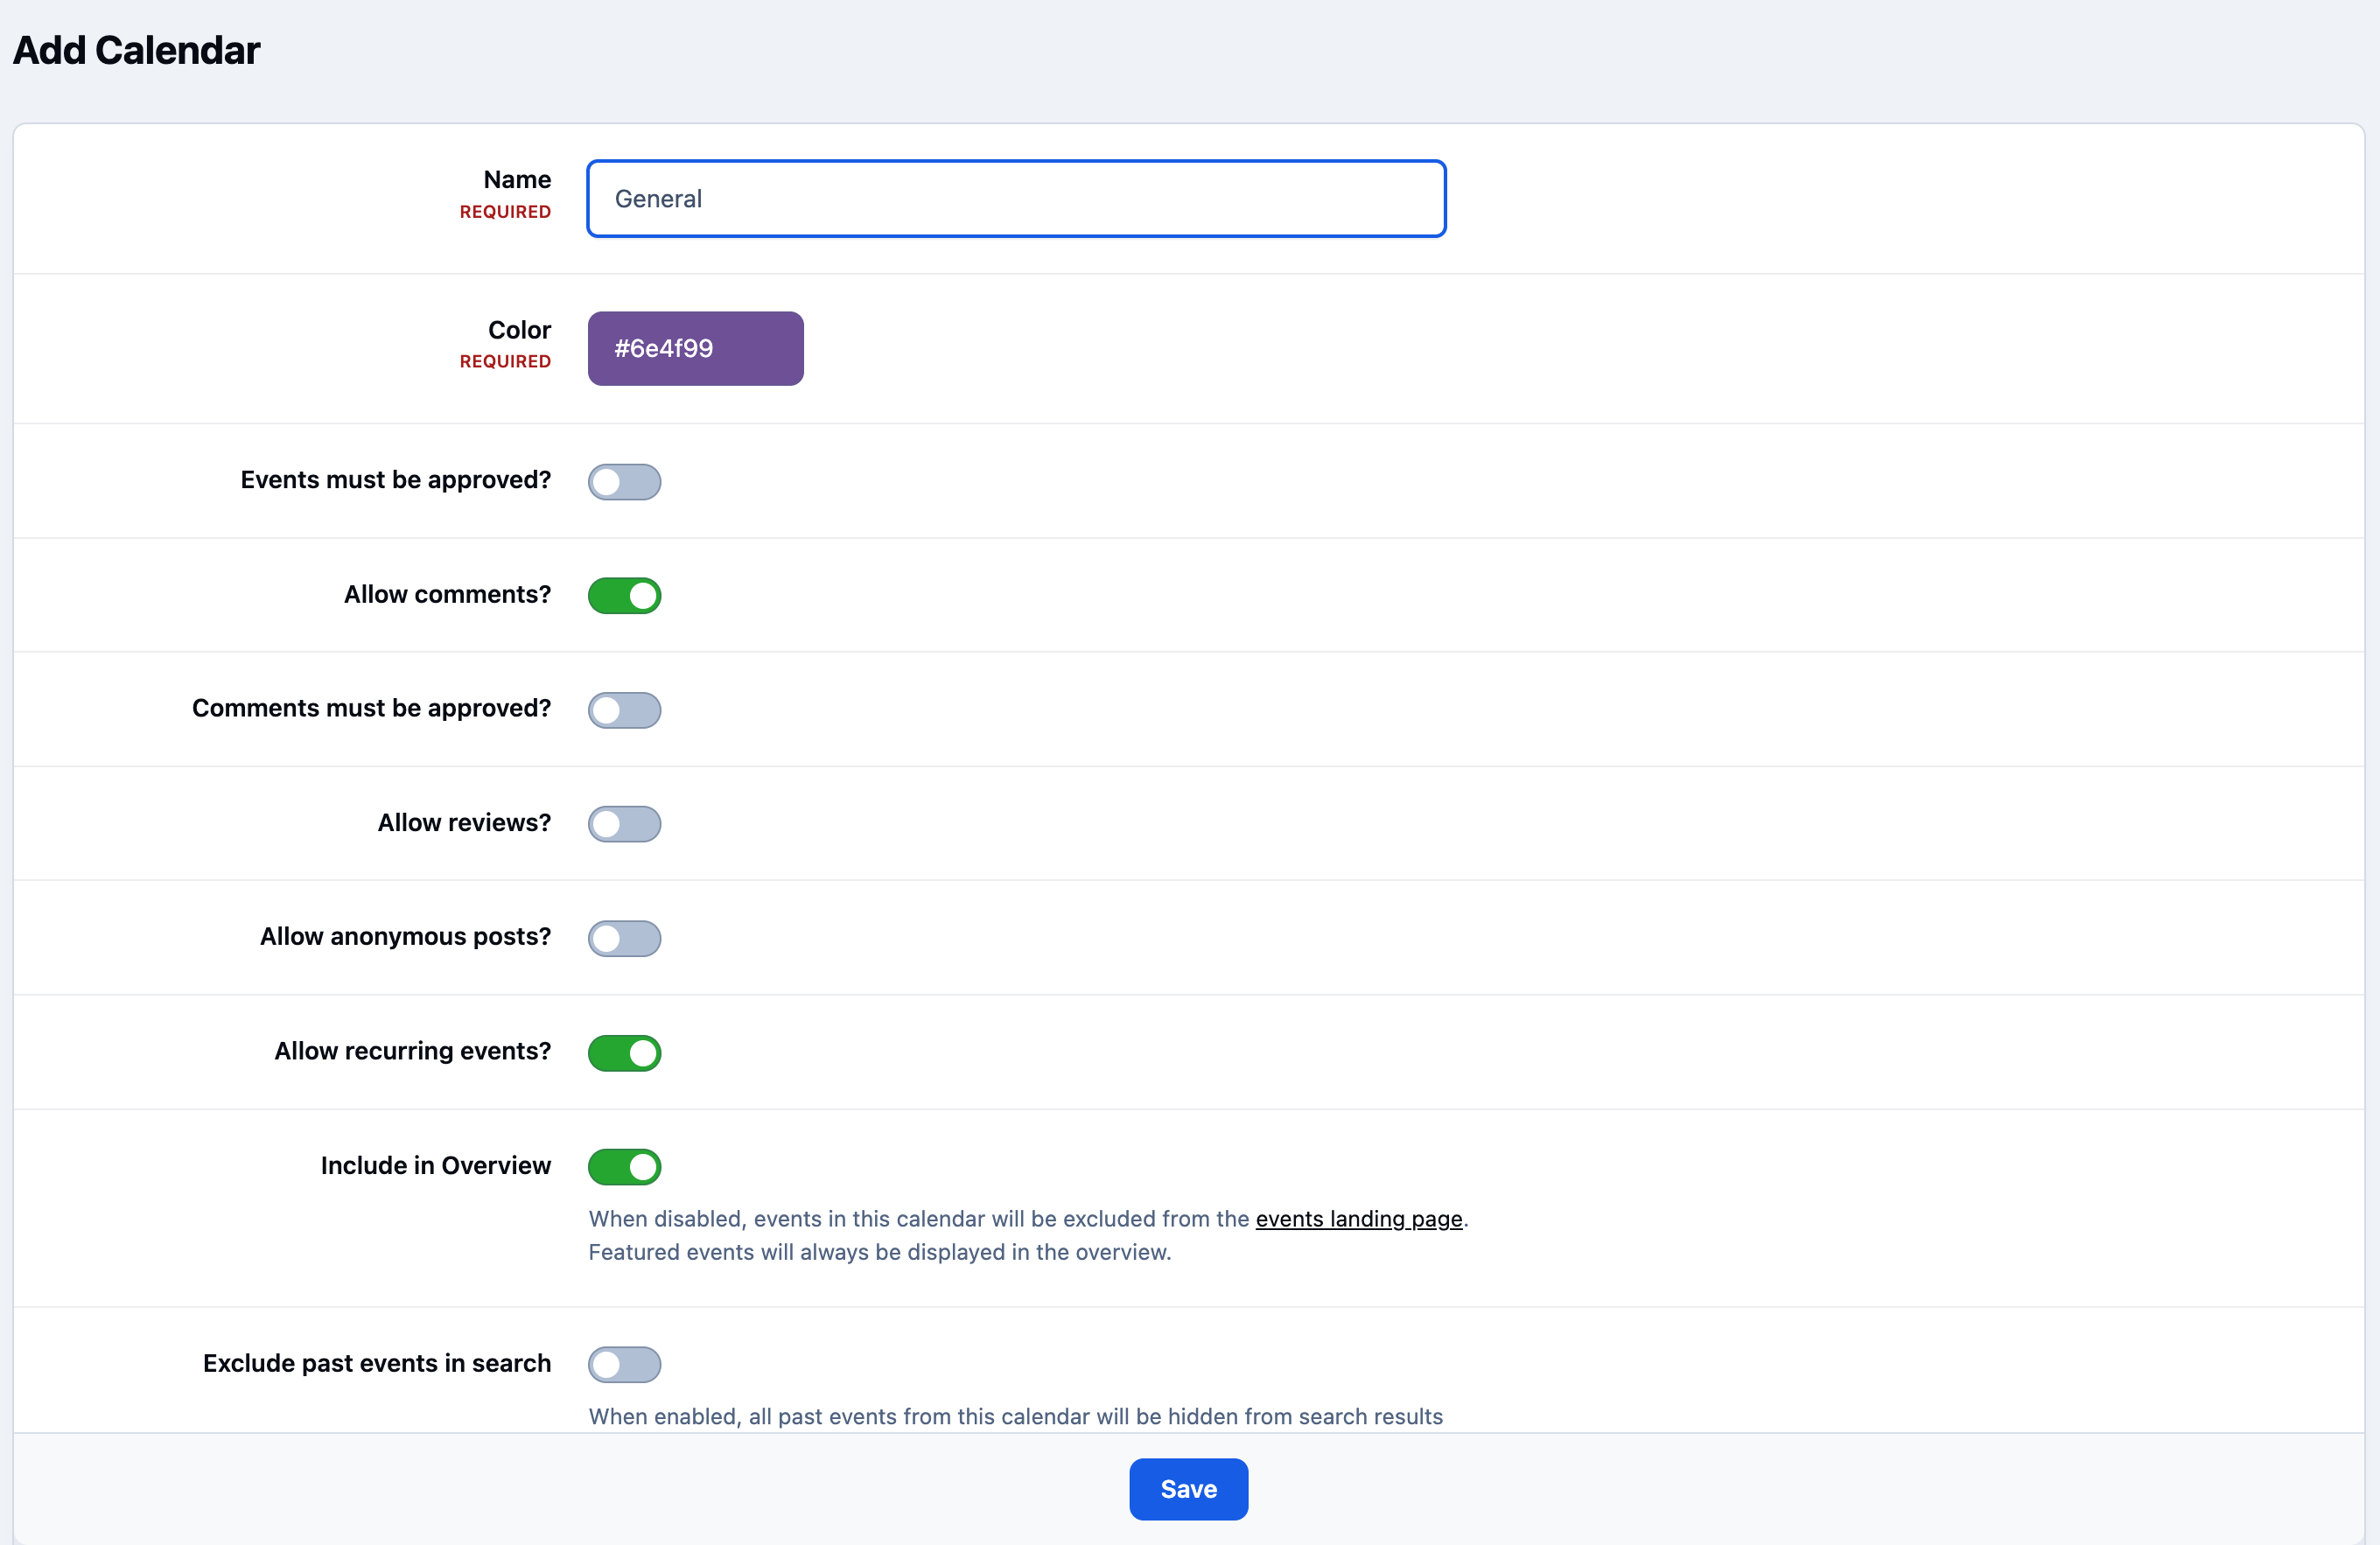
Enter the name of the new calendar as "General", which will be our first category. For this example, the default settings are suitable.
You’ll also notice the colour option. This determines the colour used for events from this calendar when viewing multiple calendars together, helping you easily distinguish between different event types.
Add a New Calendar
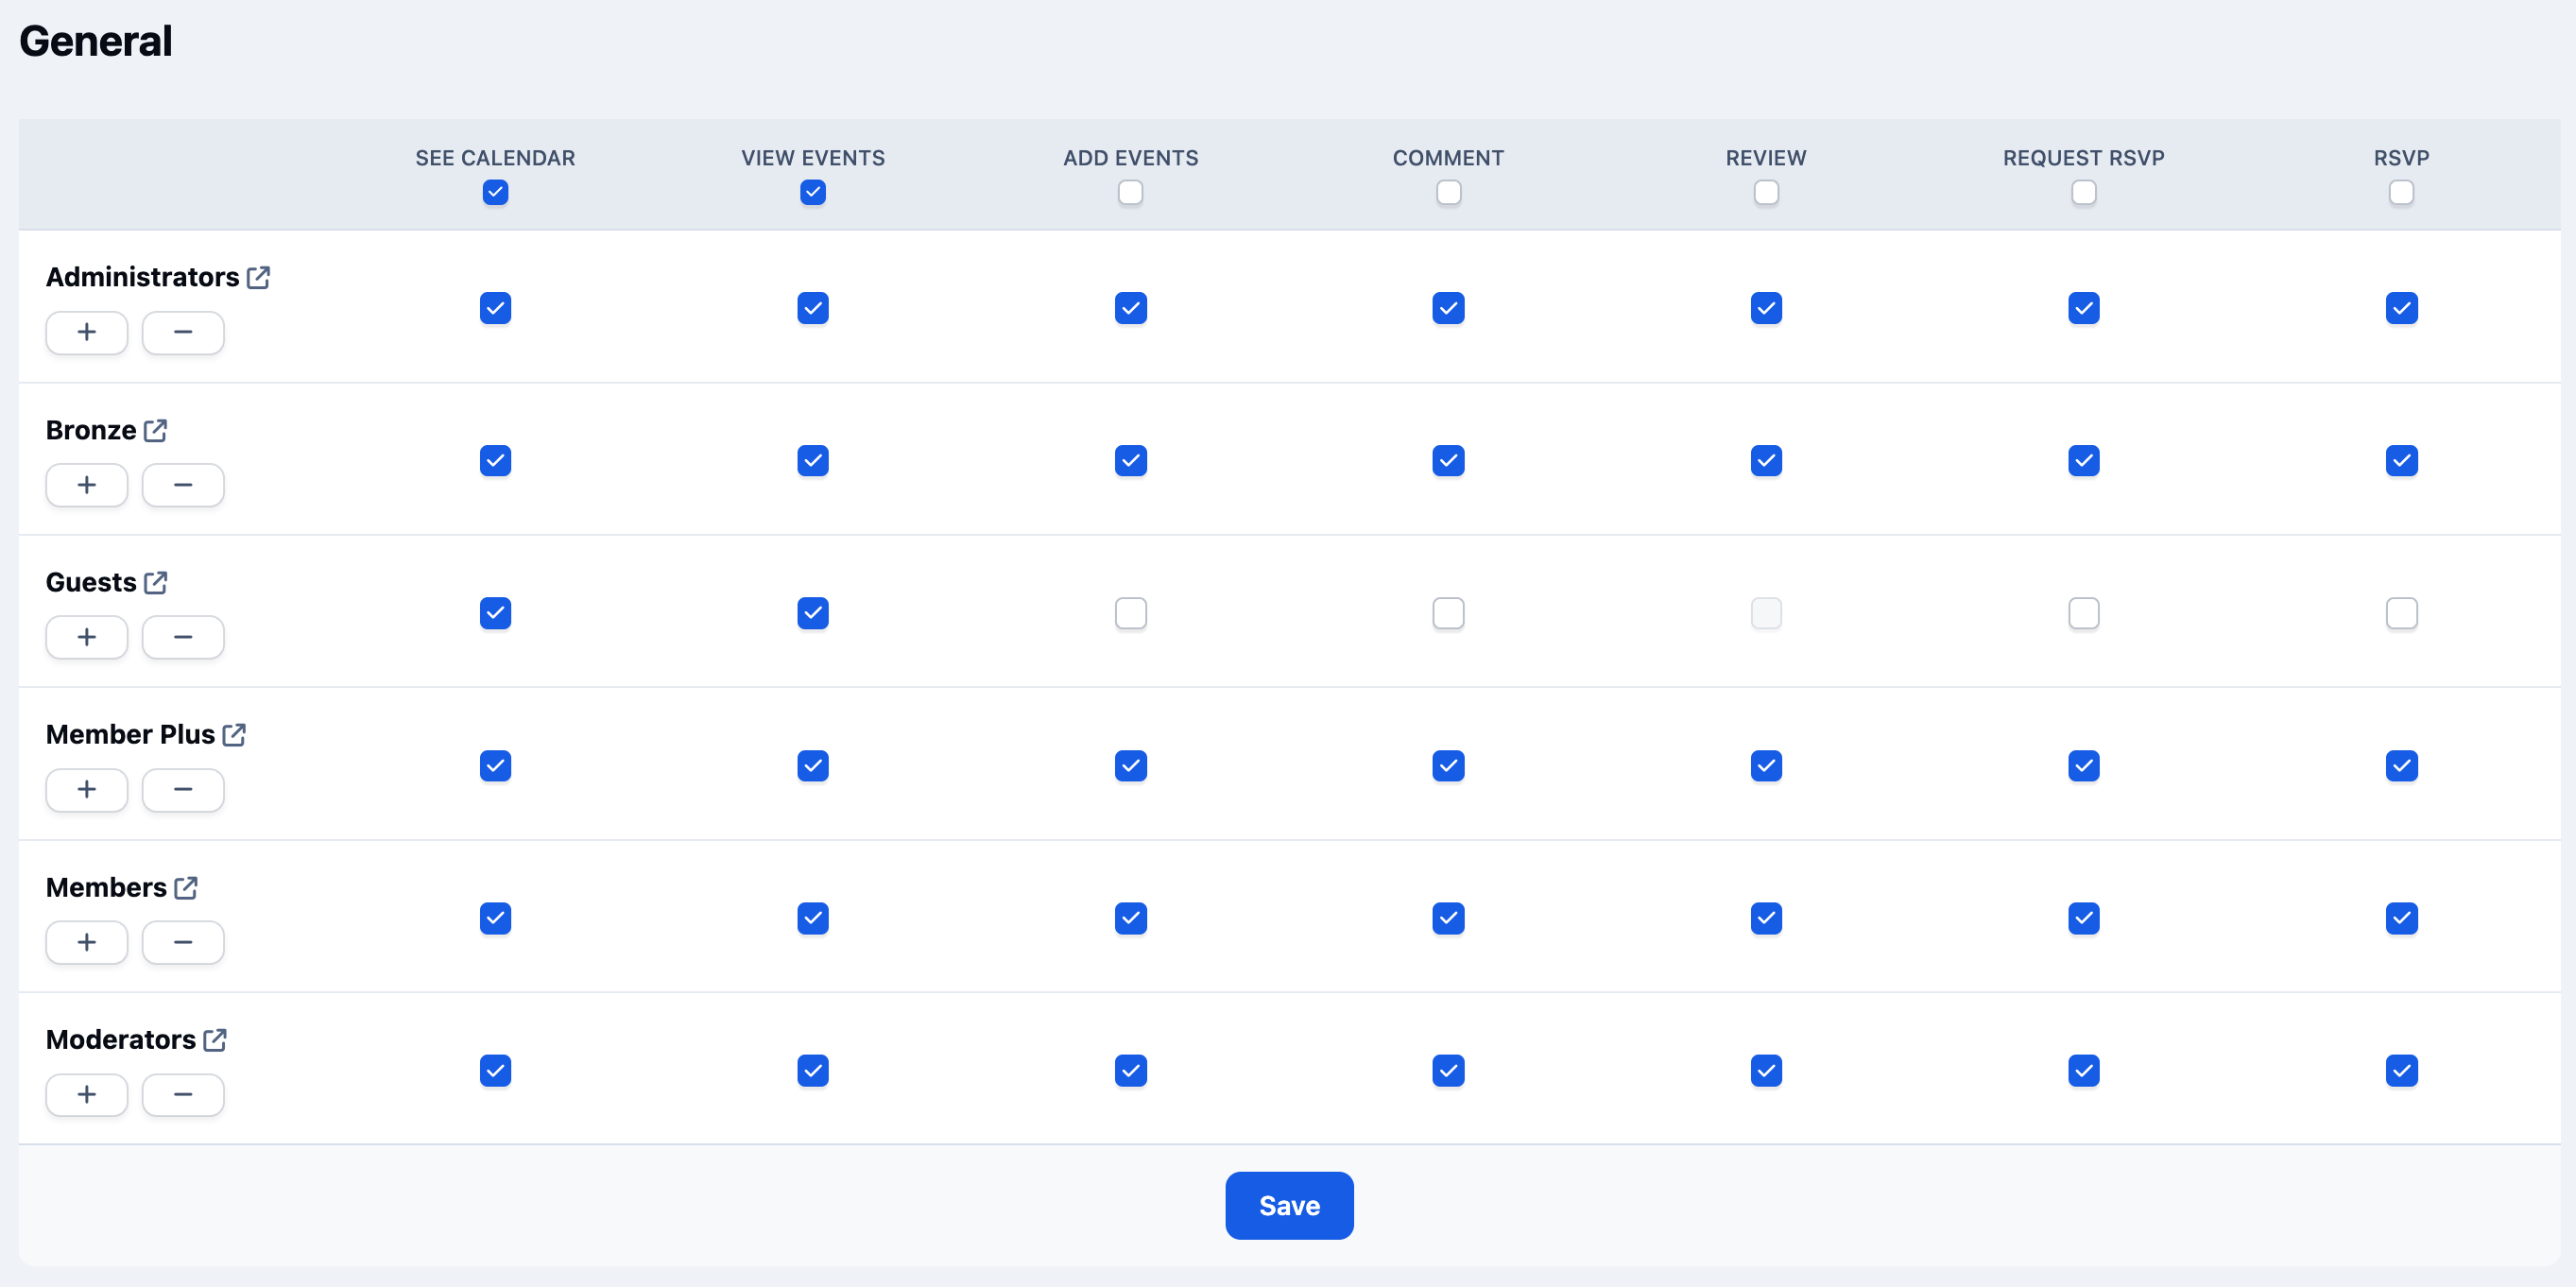
When you click Save, you’ll be prompted to configure the permissions for the new calendar.
On the left side, you’ll see a list of each member group, while the available permissions for those groups are displayed across the top. This allows you to control what each group is allowed to do within that calendar.
Selecting Permissions
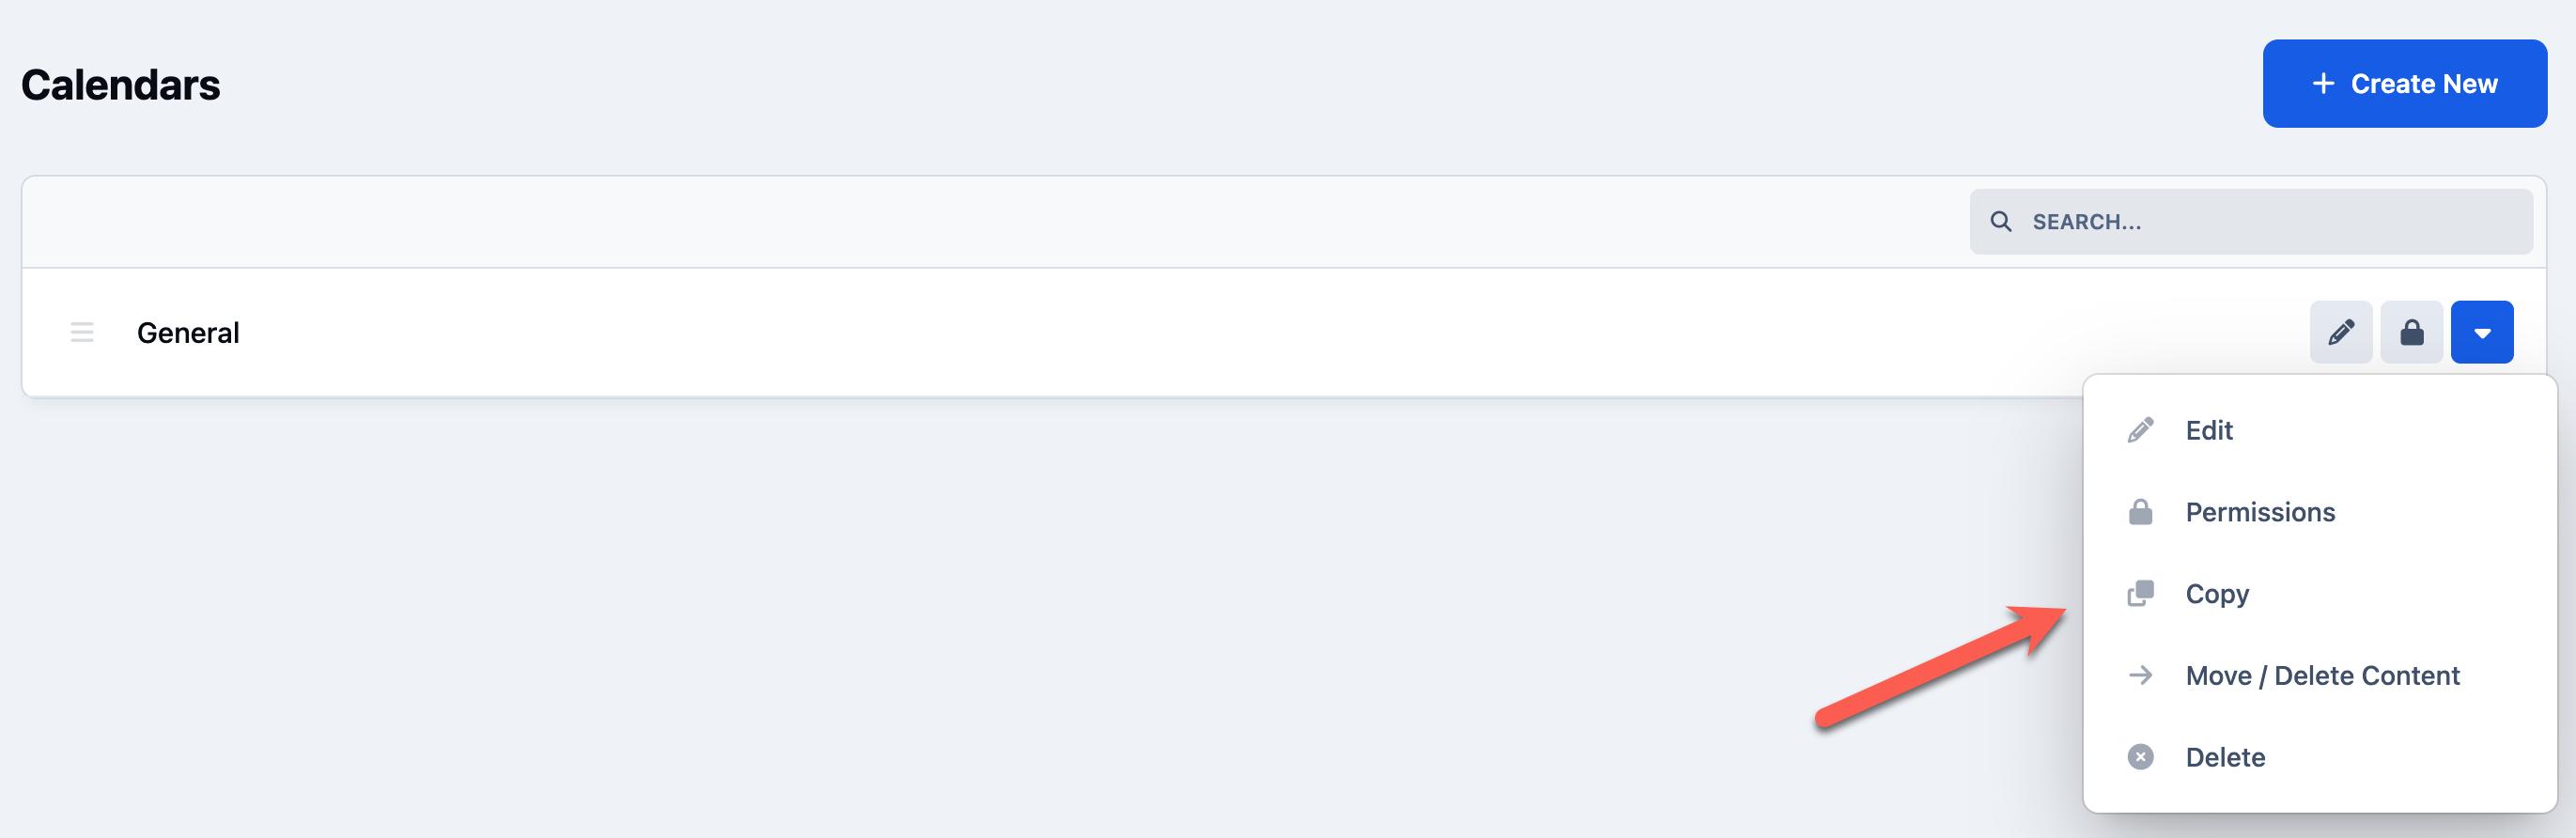
Now that we’ve created the first calendar, we can go ahead and create the remaining two. You can use the Create New button again as we did previously, but there is also a copy option available, as shown below.
This feature appears in many areas of the suite and can be useful when you want to duplicate an existing setup, saving time if your categories share similar settings.
Copying a Calendar
That is now all three of your new calendars created, and ready to use by your members
Rearranging Items
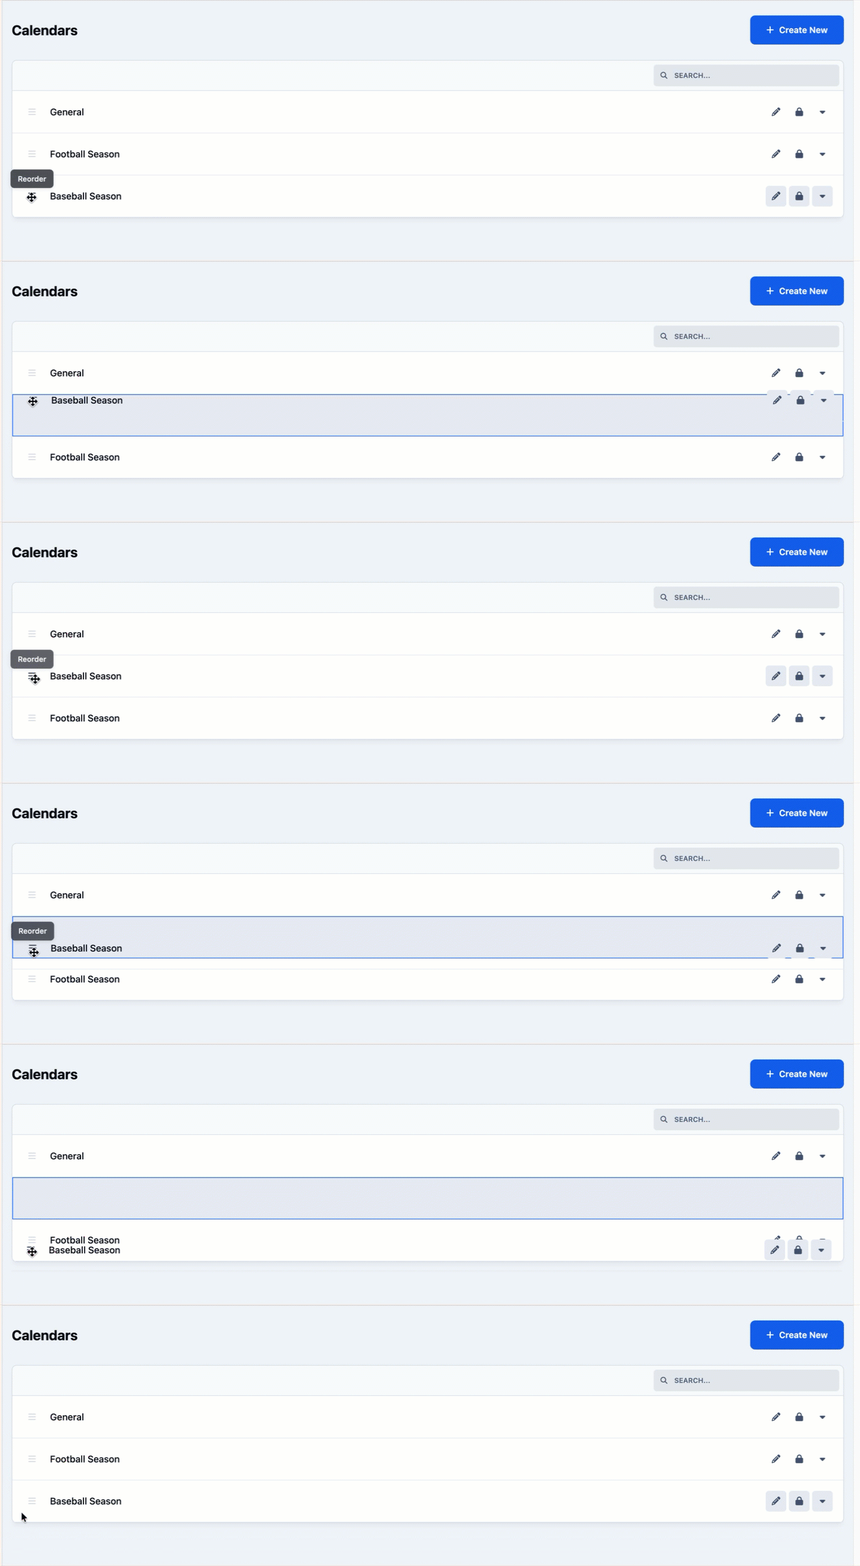
Once you’ve created your calendars, you may want to rearrange them to better match the structure you have in mind.
This can be done easily by clicking and holding the drag handle on the left side of a calendar, then dragging it into the desired position within the list.
Rearranging Calendars
Summary
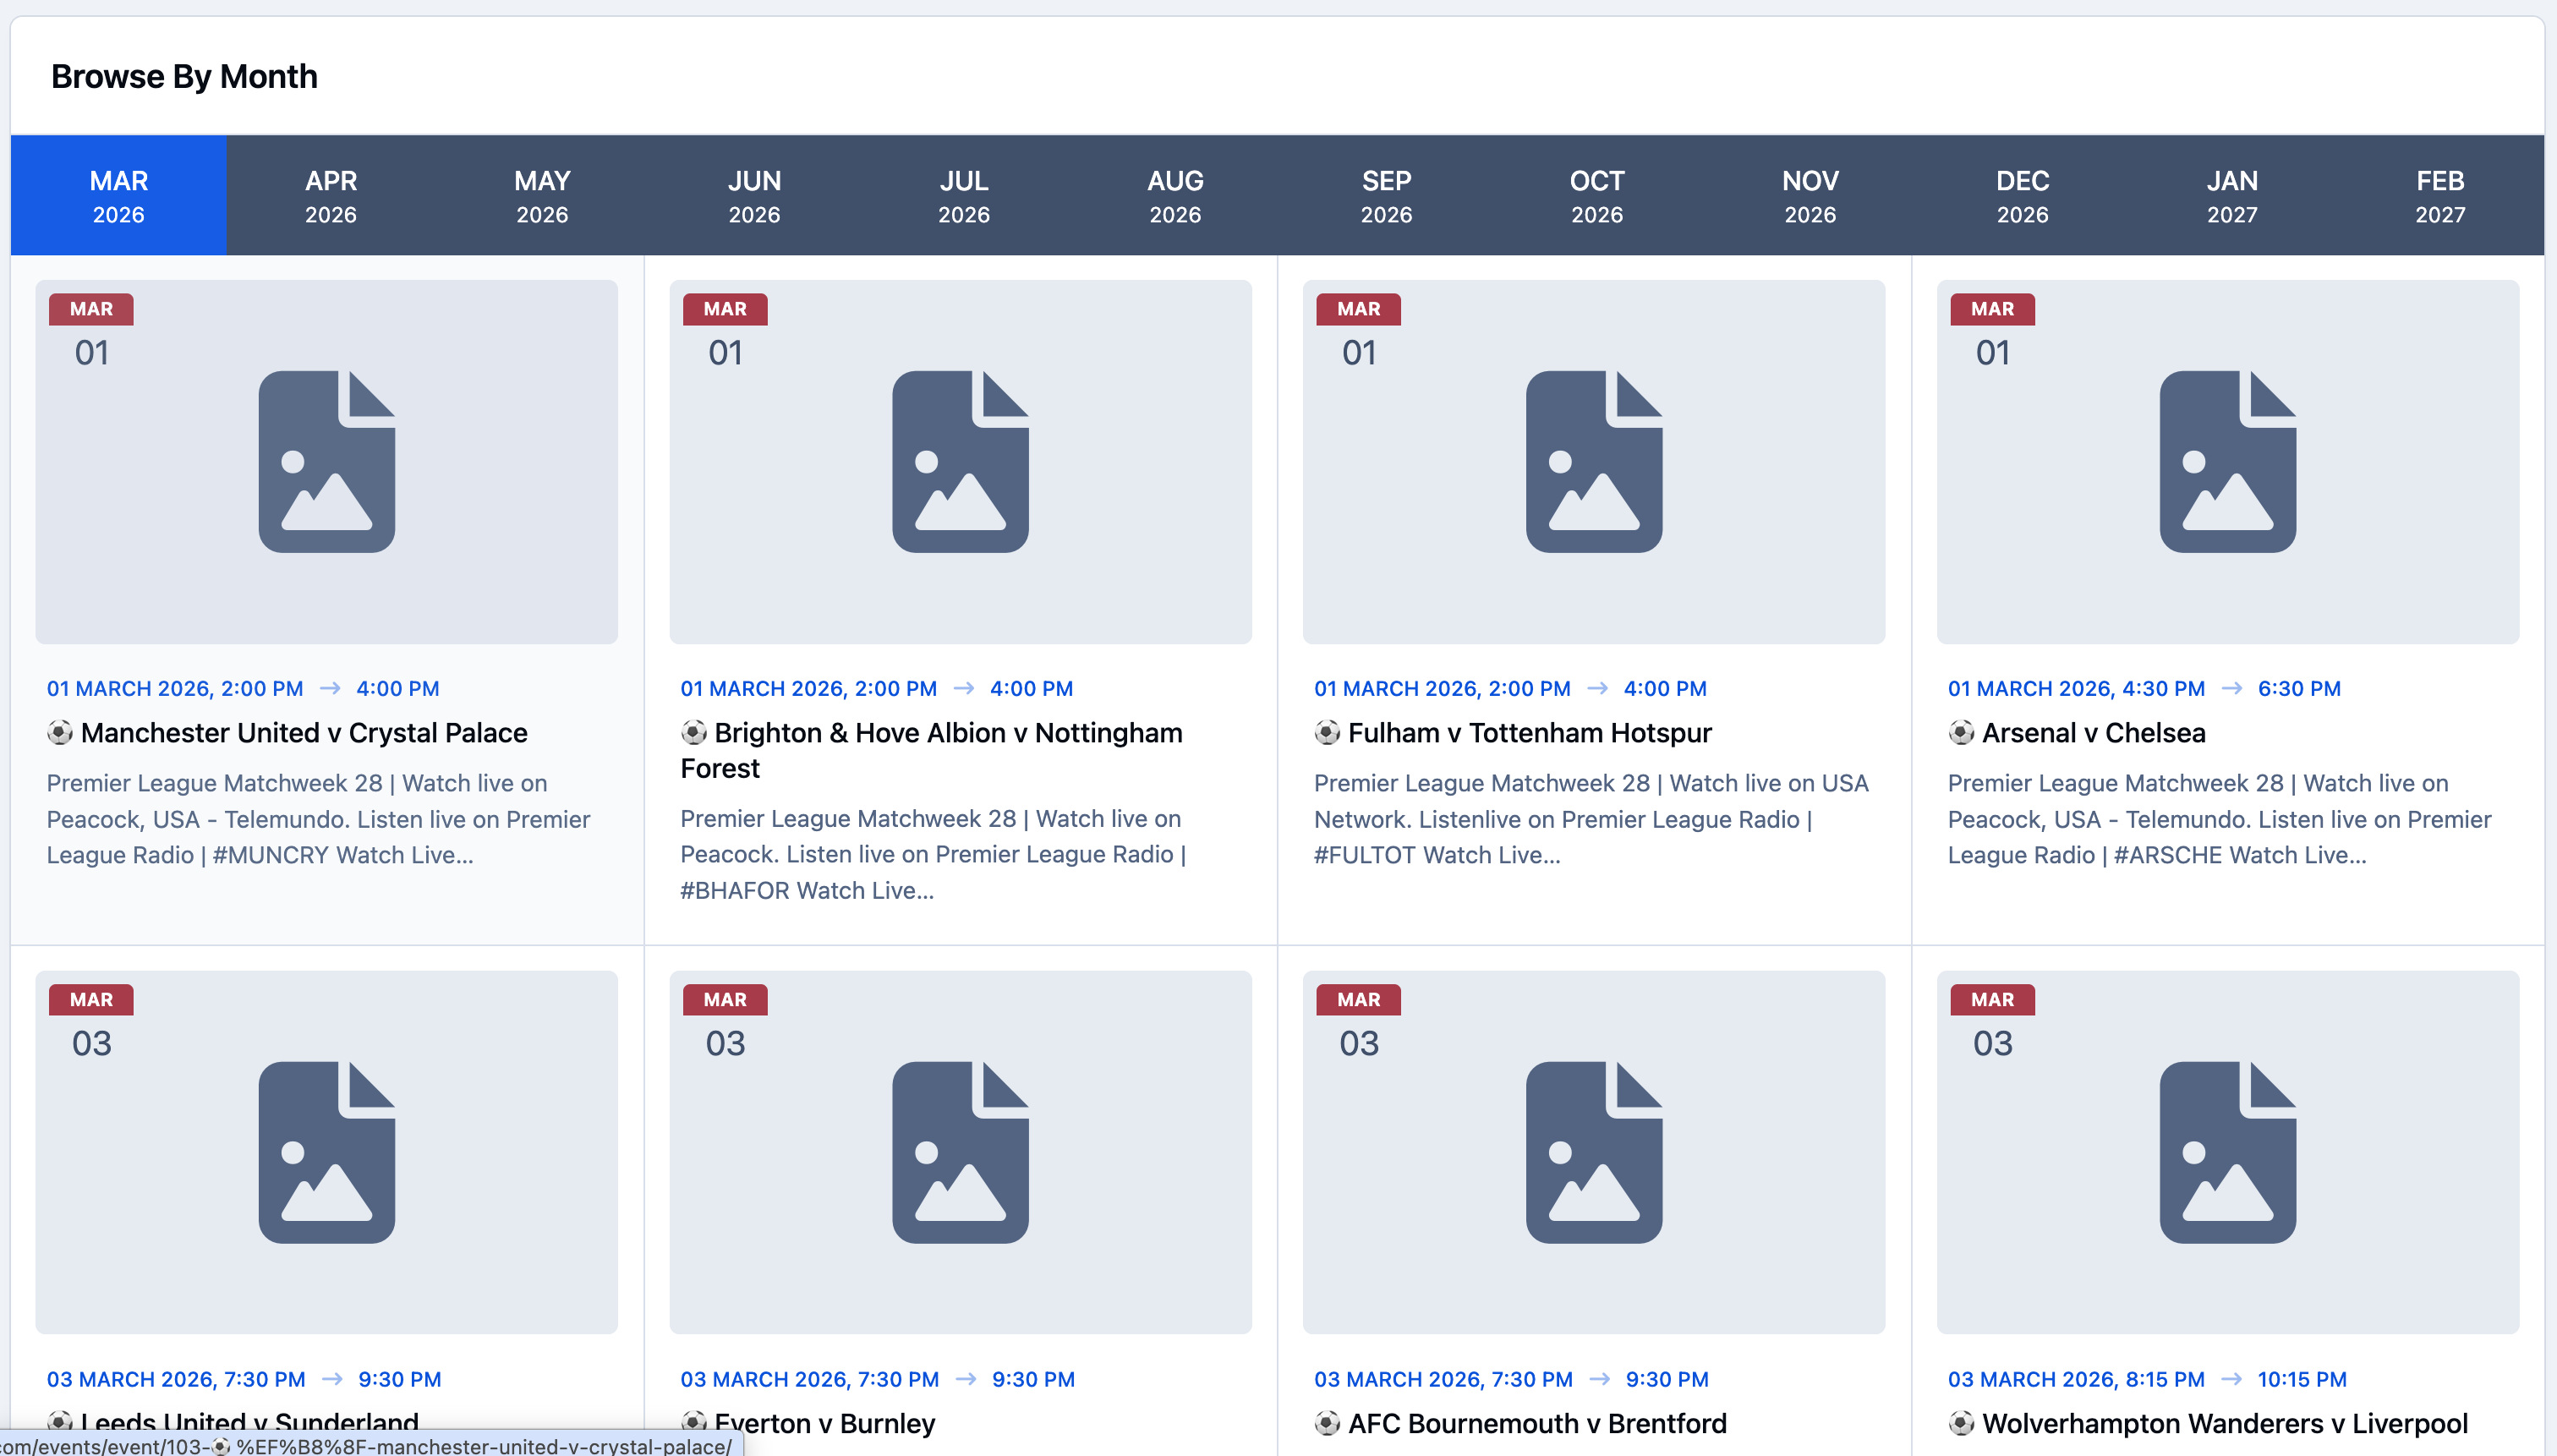
If you now go to the front end of your site and select the Calendar icon, you’ll see the calendars we set up by using the dropdown.
In this example, a few sample events have been added to demonstrate how the calendar will look once members begin adding their own events.
An Example Events Calendar
You’ll find additional guides for this application under Features → Events in the menu on the left. These include more detailed explanations of specific settings, along with further examples and tips tailored to different types of communities.
As with all areas of the suite, if you’re unsure where to find something or cannot locate the information you need in our guides, you’re welcome to submit a ticket to our support team. We’re always happy to help and provide advice on getting the most out of your Invision Community Suite.
Recommended Comments