


Introduction
In this guide, we’ll demonstrate how easy it is to get started with your own downloads section using the Downloads application in Invision Community.
This guide focuses on the fundamentals needed to get up and running quickly. For more advanced configuration and detailed features, you can explore the additional guides available under Features → Downloads.
First Look
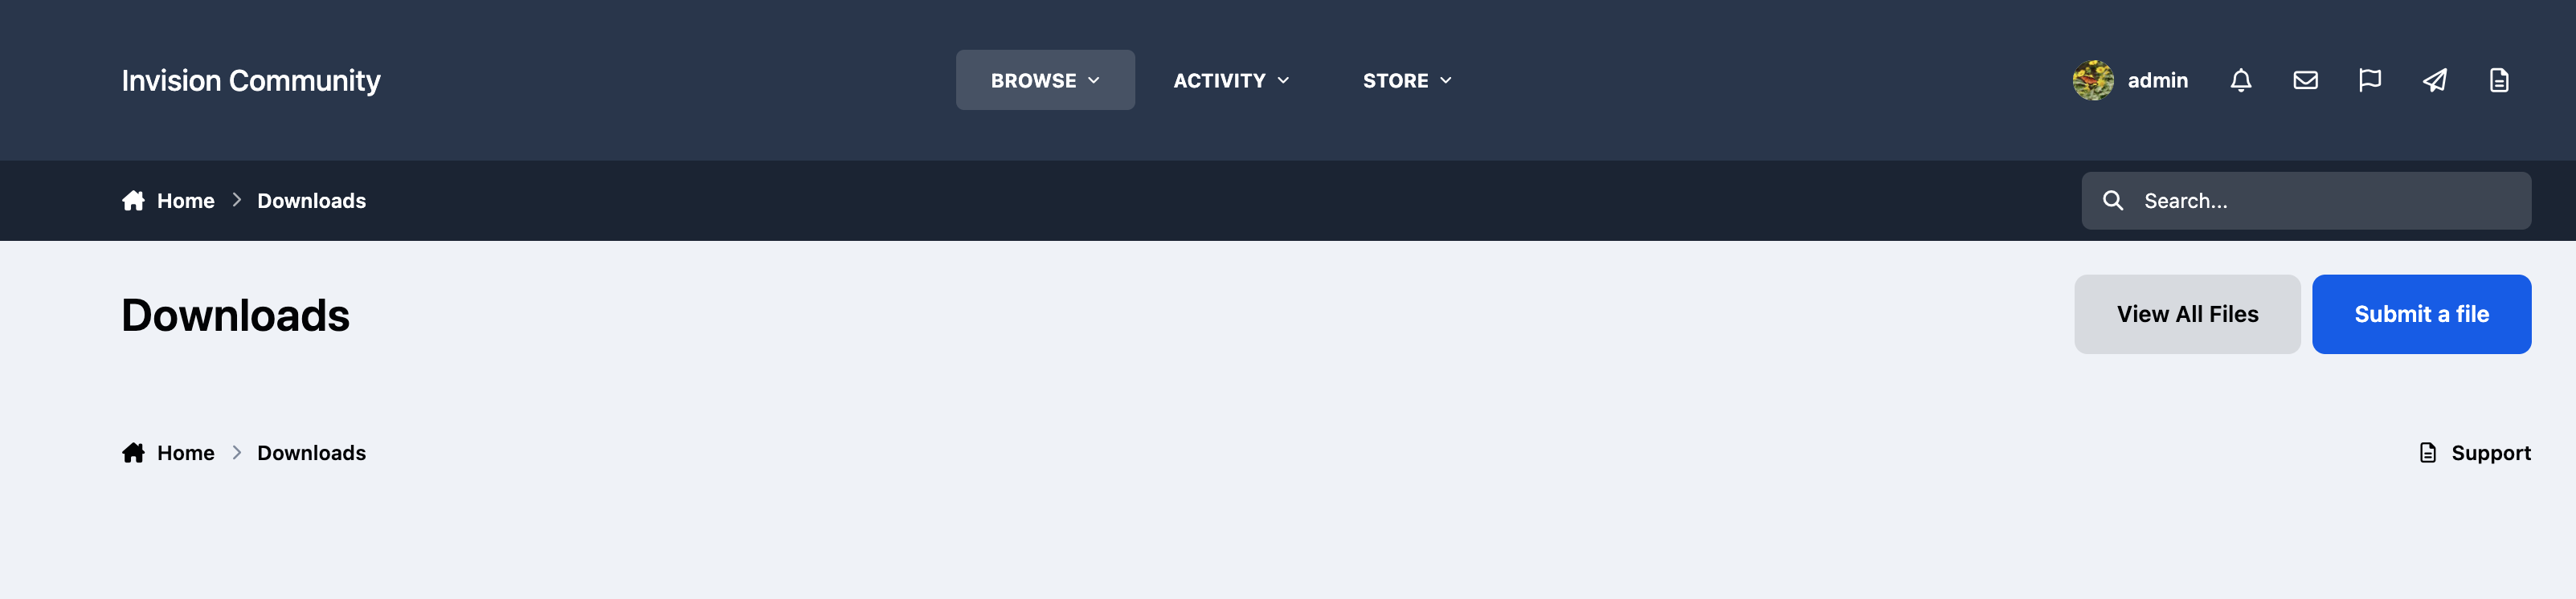
When your community is first set up, the Downloads section will not contain any categories and will appear blank, similar to the image shown below.
The first step is to decide how you want to organise your downloads and create the necessary categories. Setting these up in advance will ensure the area is properly structured and ready for your members to begin adding and browsing files.
Downloads First View
Our PSD Area
Aims
For this example, we will create a downloads section called 'Our PSD Area' as our site is focused on digital artists.
Our goal is to organise this area by adding categories for the following types of resources.
Funny Art
Wallpapers
Misc Art
Creating Categories
Now that we know how we want to structure the Downloads area, we can go ahead and create the three main categories.
To do this, navigate to the following location in the AdminCP:
Community → Downloads → Categories
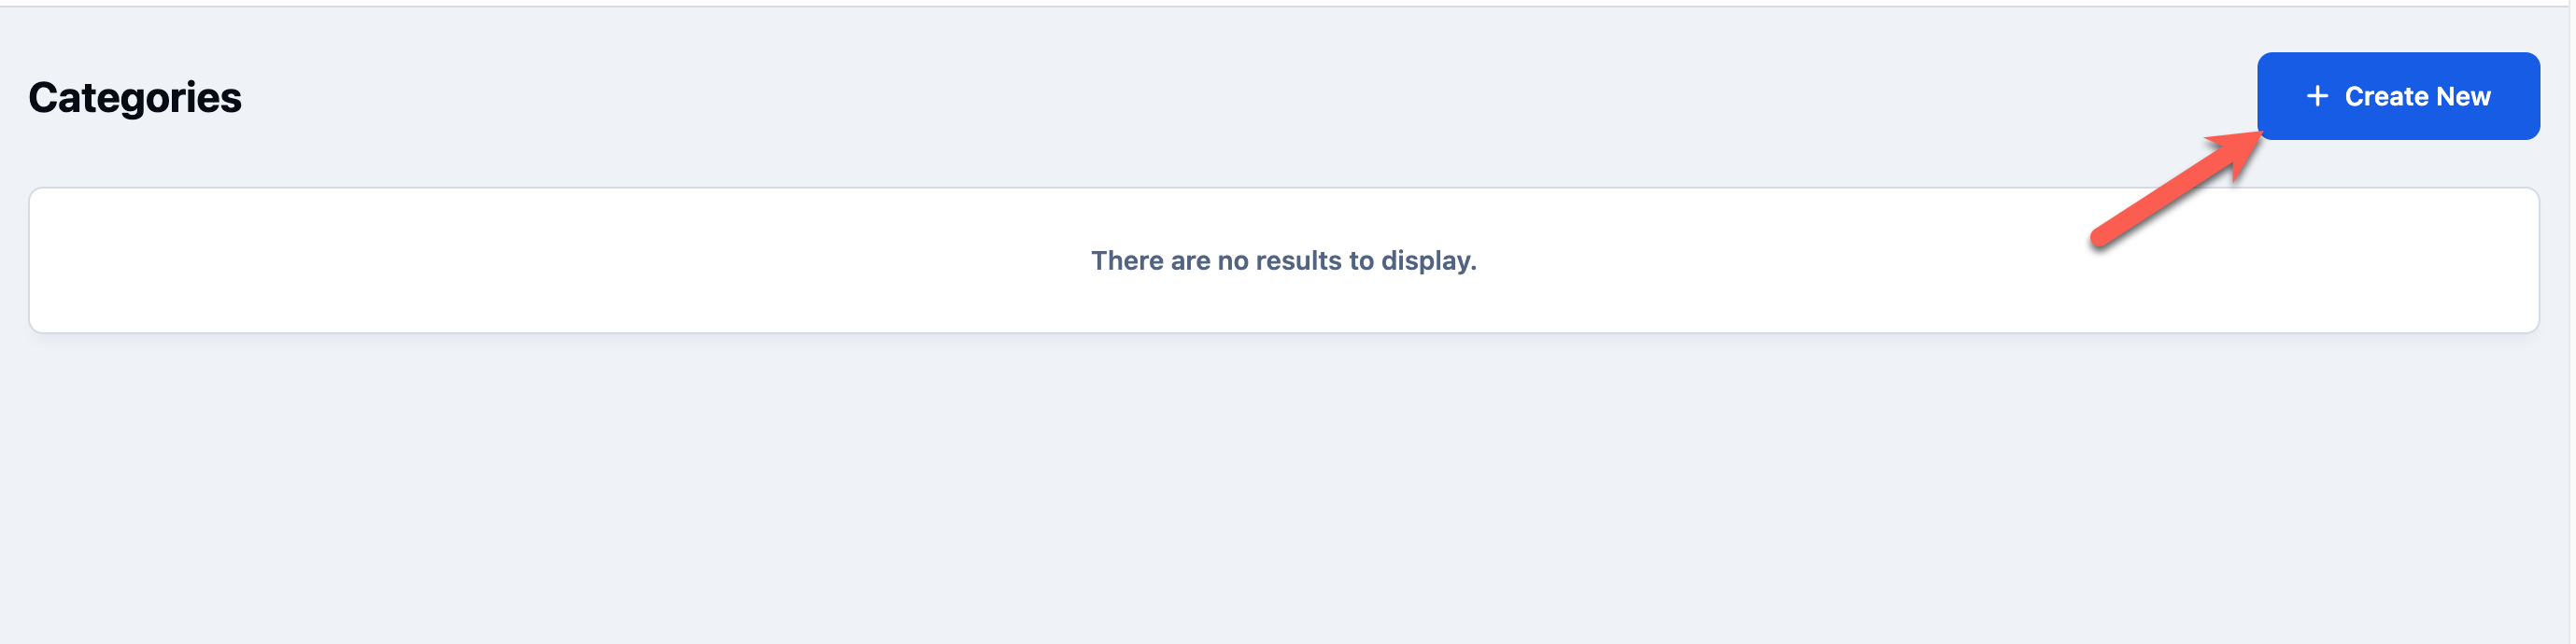
Once there, click the “Create New” button in the top-right corner to create your first category.
New Category Button
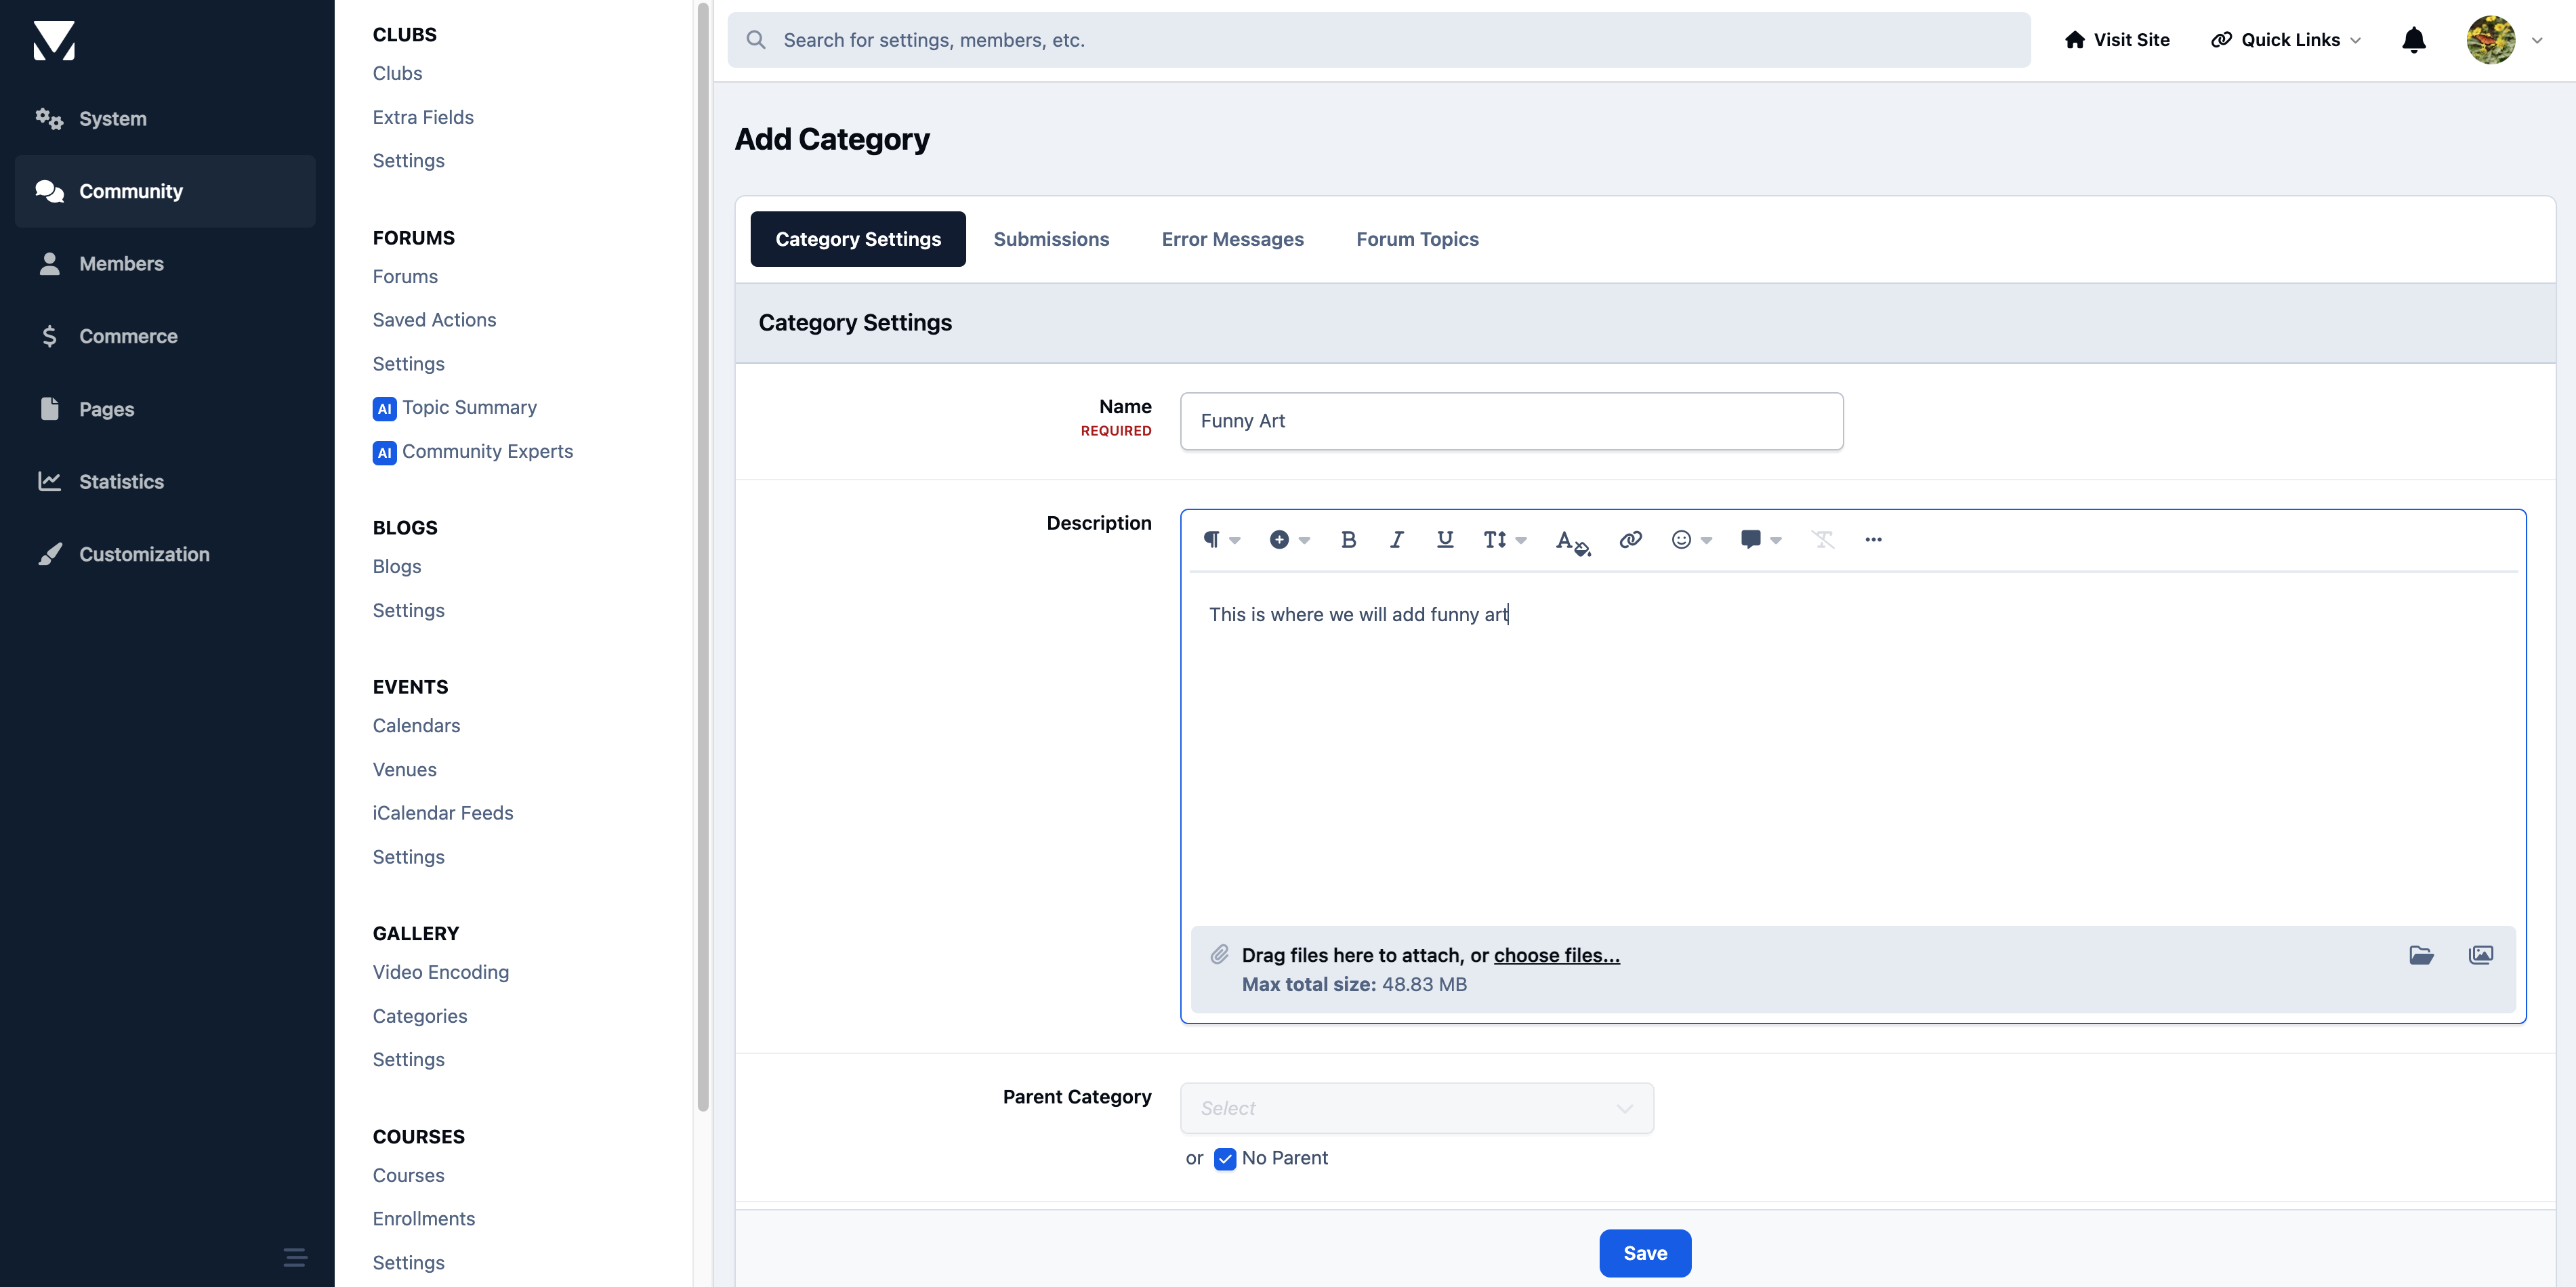
Enter the name of your category along with a brief description, then click Save to create the category.
Creating a New Category
After creating the first category, you can repeat the same process to add the remaining categories we discussed.
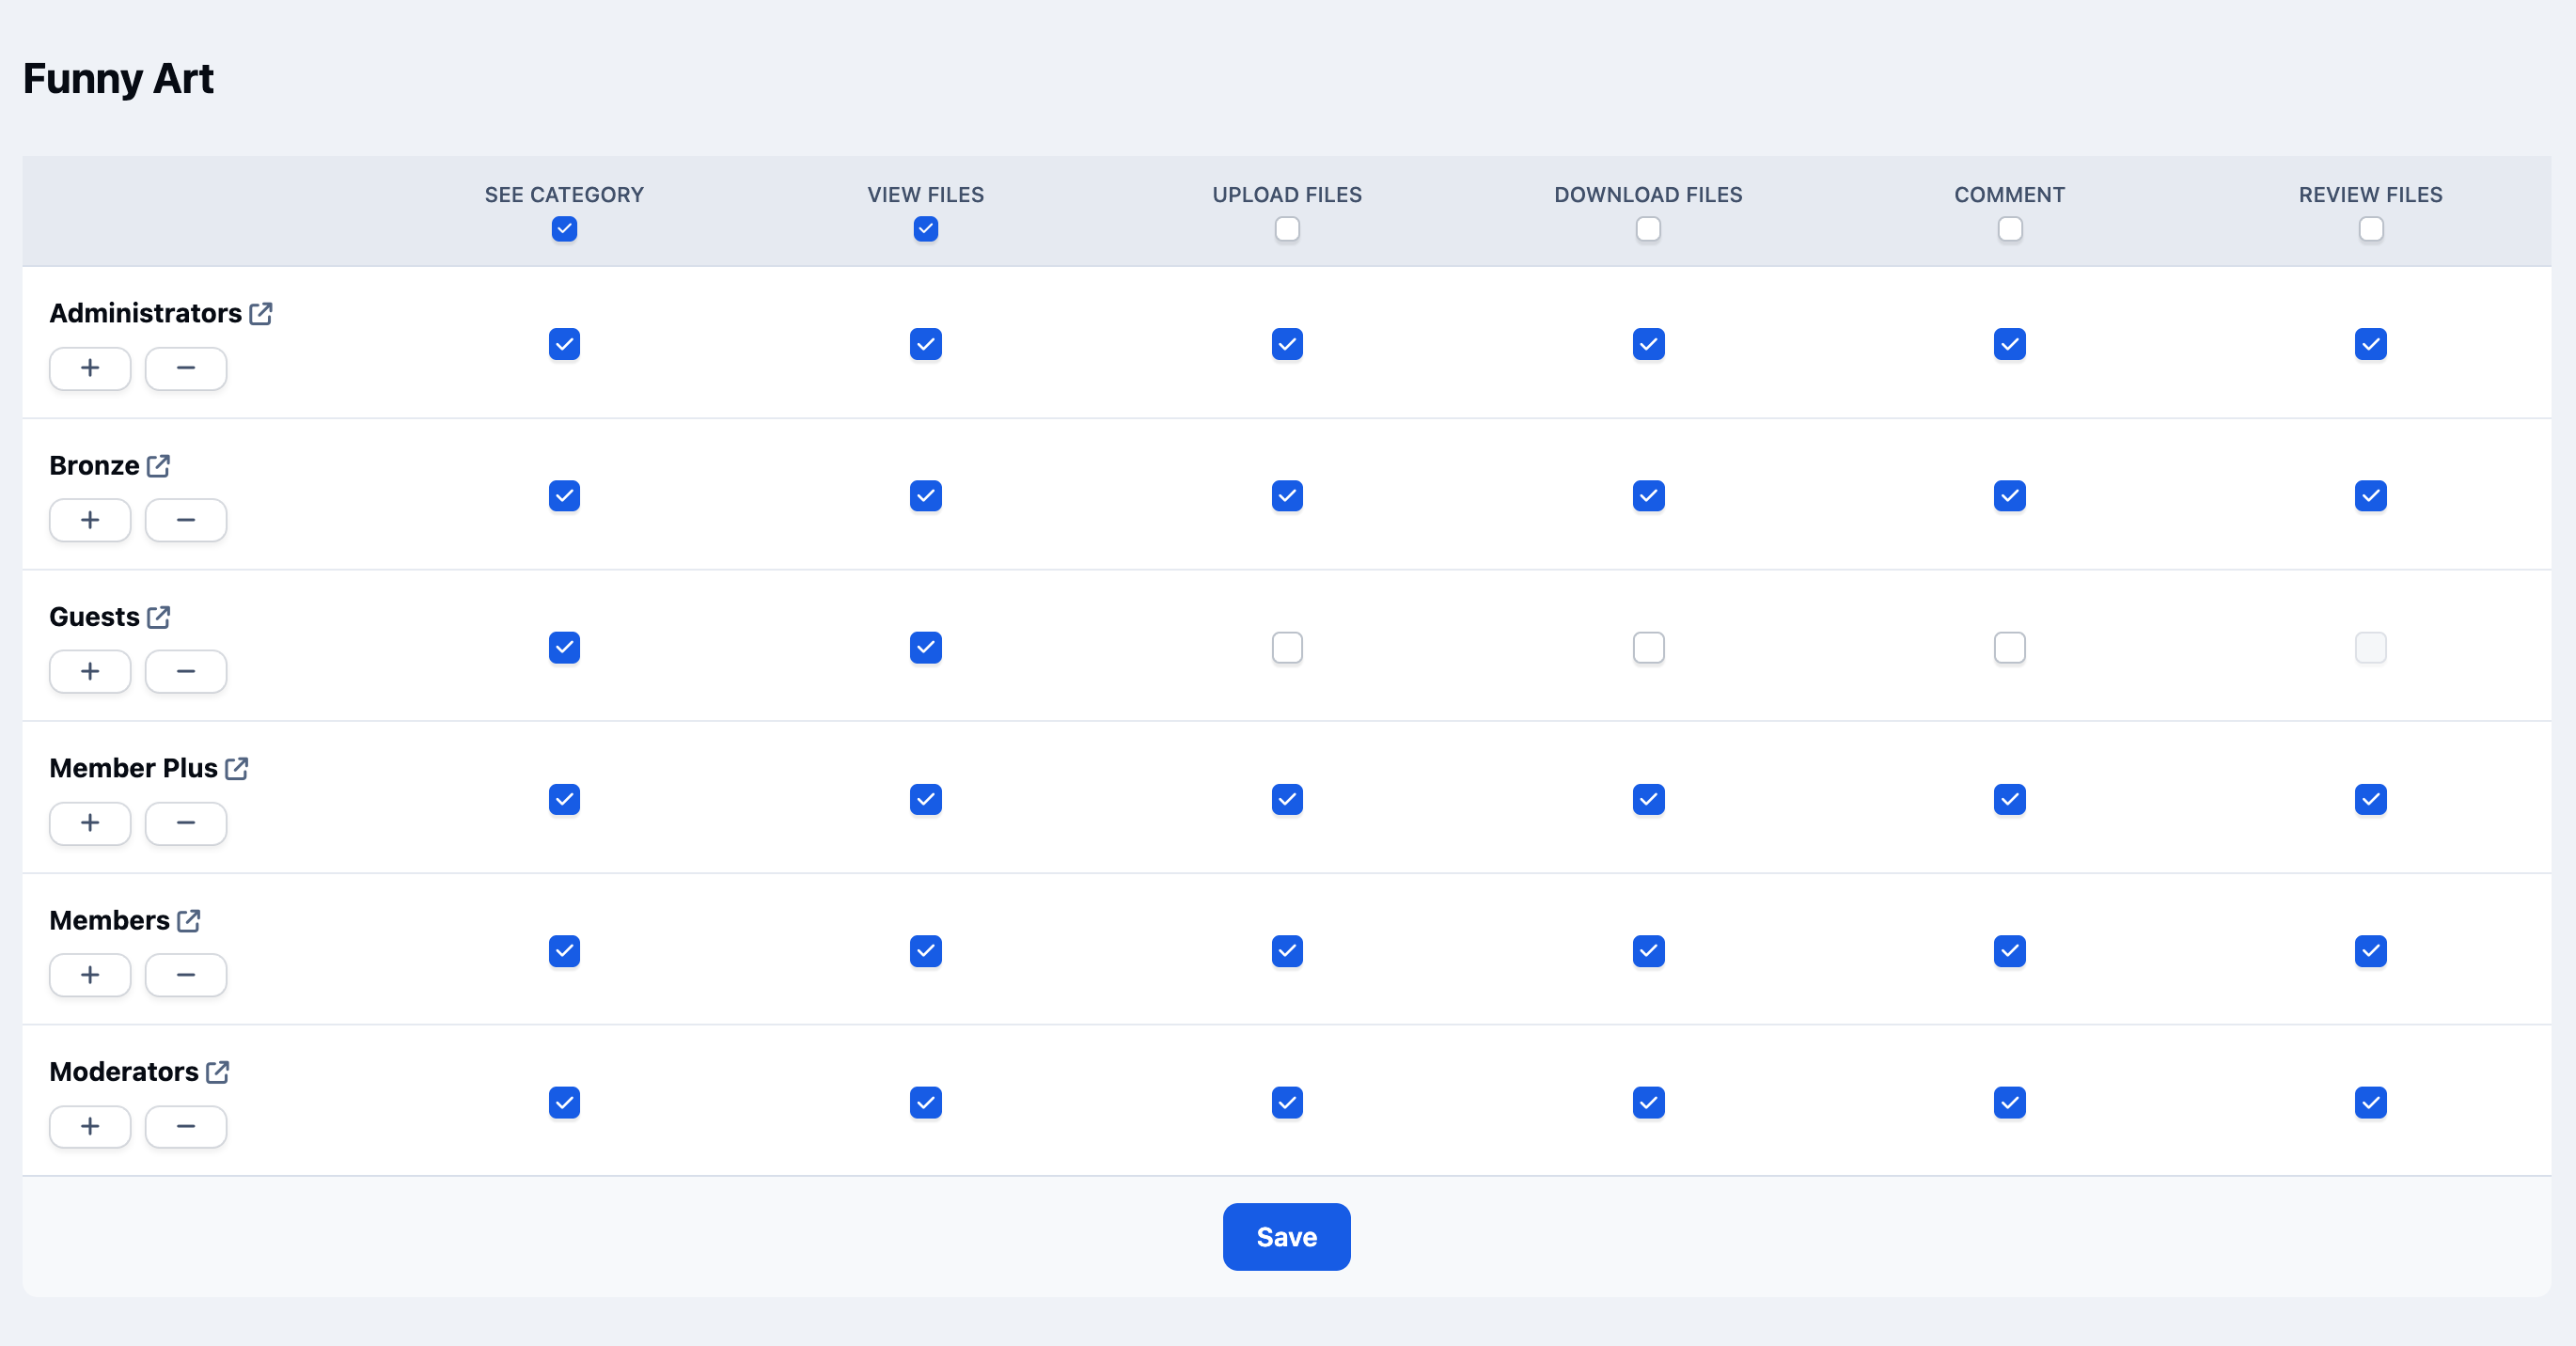
Each time you click Save, you’ll be presented with the permissions settings for that category. For this example, we’ll leave the default permissions in place, but you can adjust these at any time to better suit your community’s needs.
Category Permissions
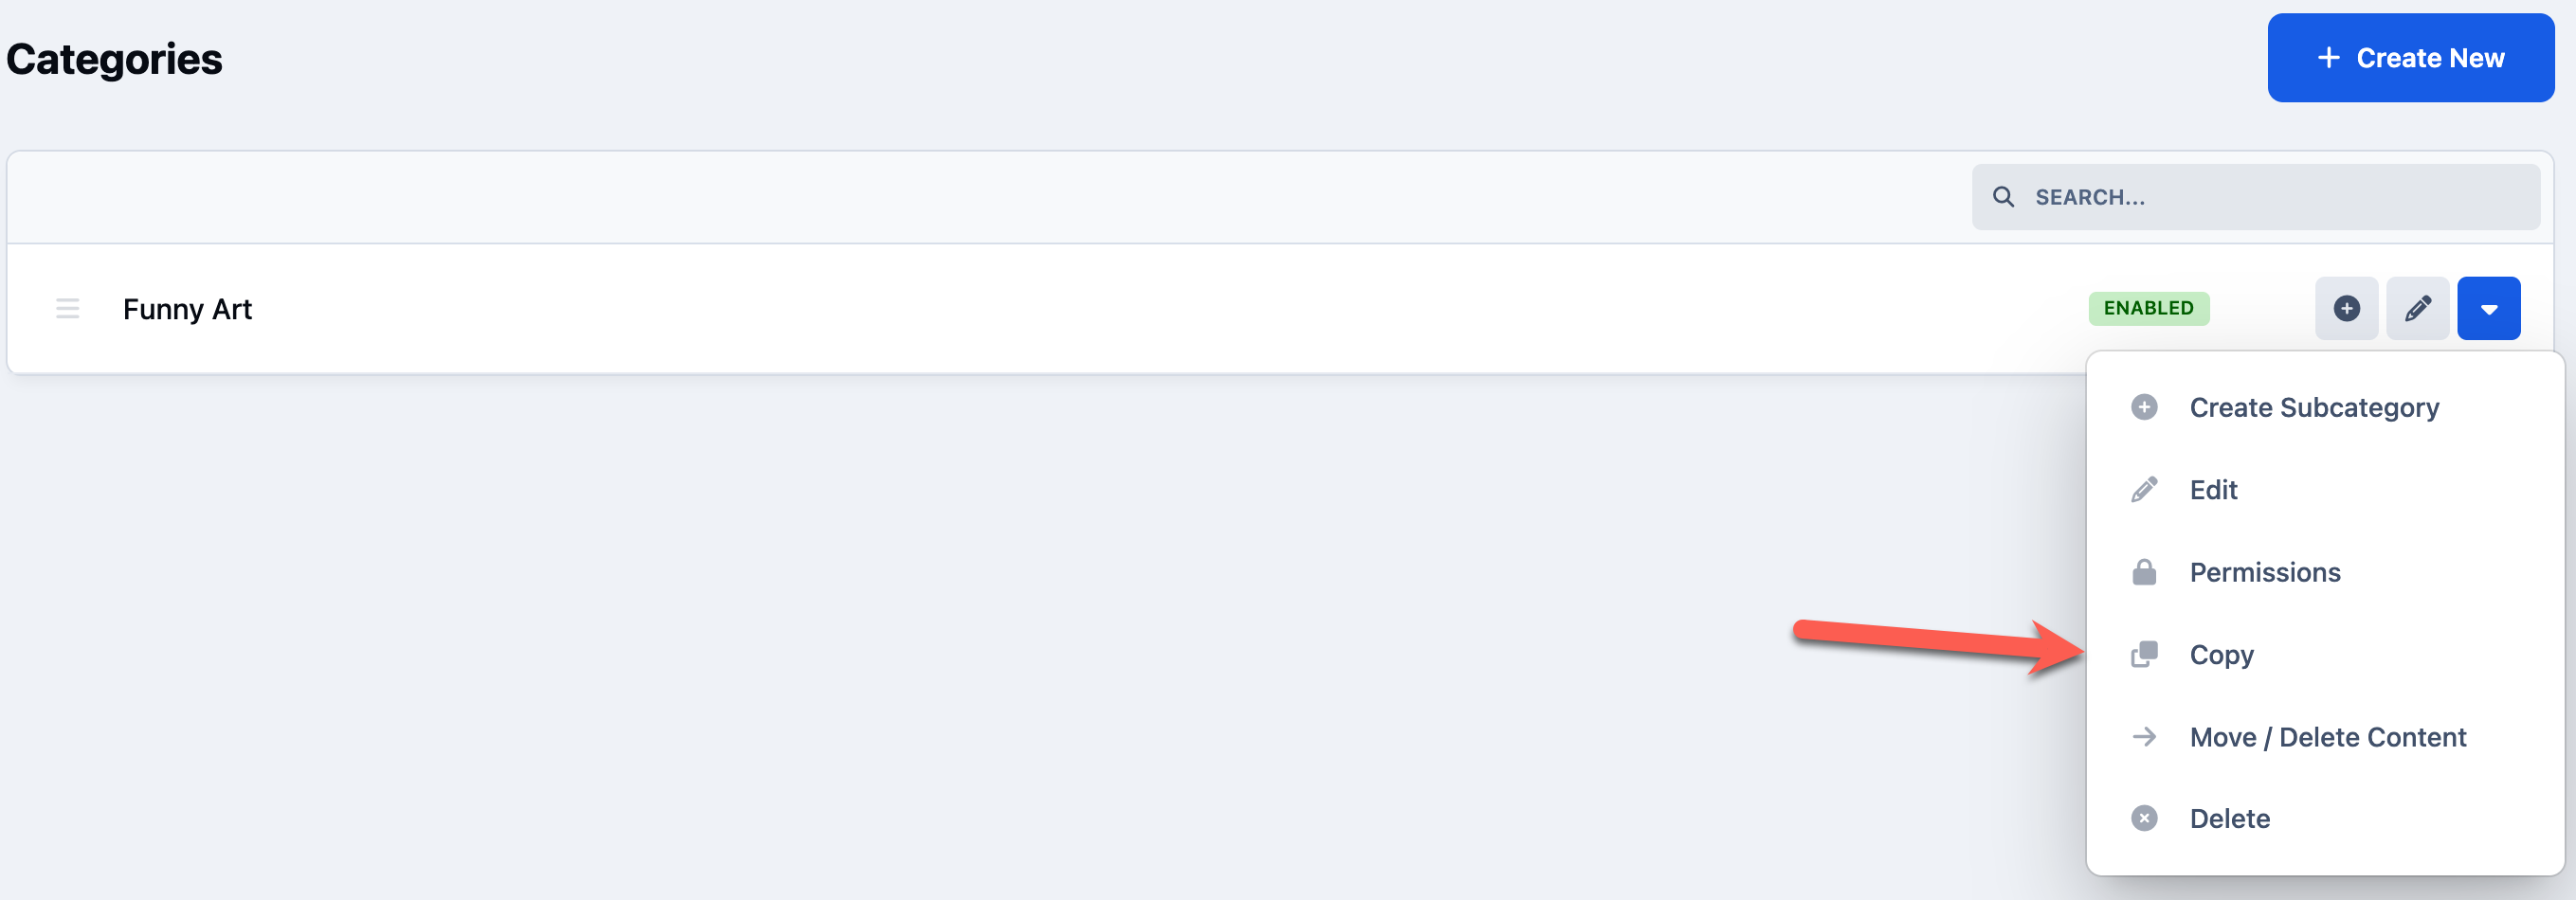
If you have customised any additional settings and don’t want to repeat the same configuration each time, you can copy an existing category to avoid duplicating your work.
To do this, select the Copy option from the dropdown menu next to any existing category. This will create a duplicate with the same settings, which you can then rename or adjust as needed.
Copying a Category
Rearranging Items
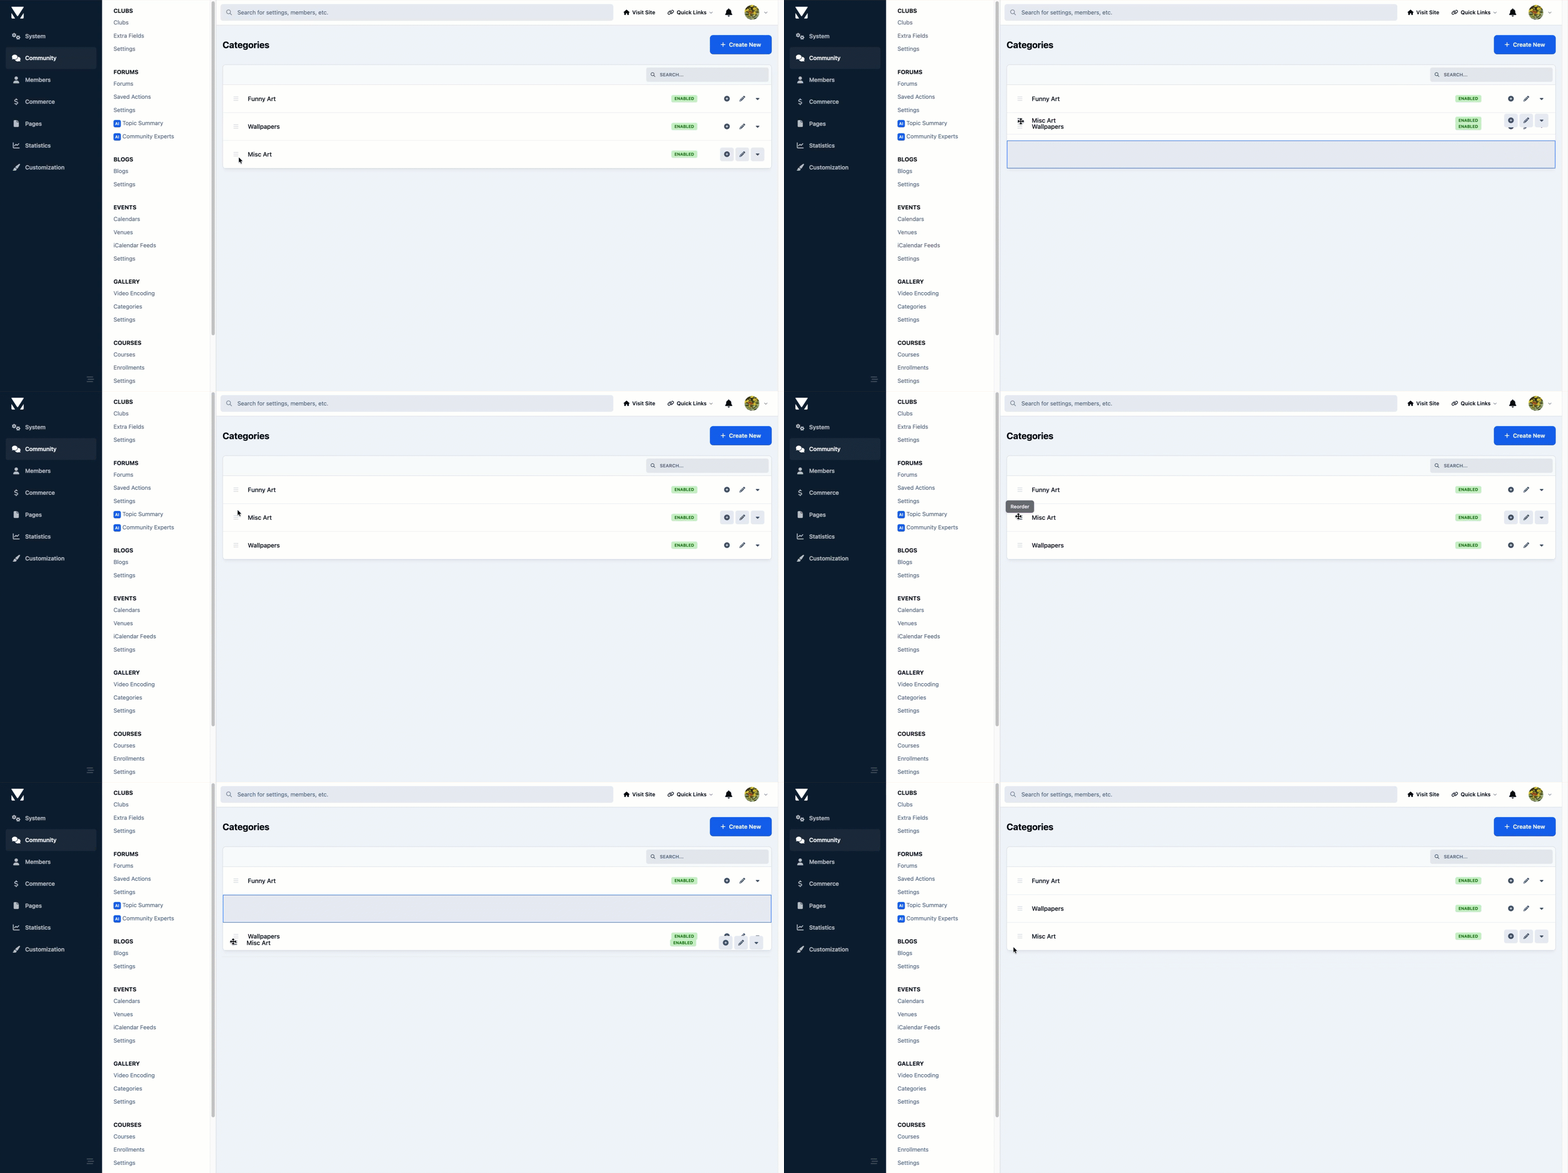
Once your categories have been created, you may want to rearrange them to better match the structure you have in mind.
This can be done easily by clicking and holding the drag handle (anchor icon) on the left side of a category, then dragging it into the desired position within the list.
Rearranging Categories
Summary
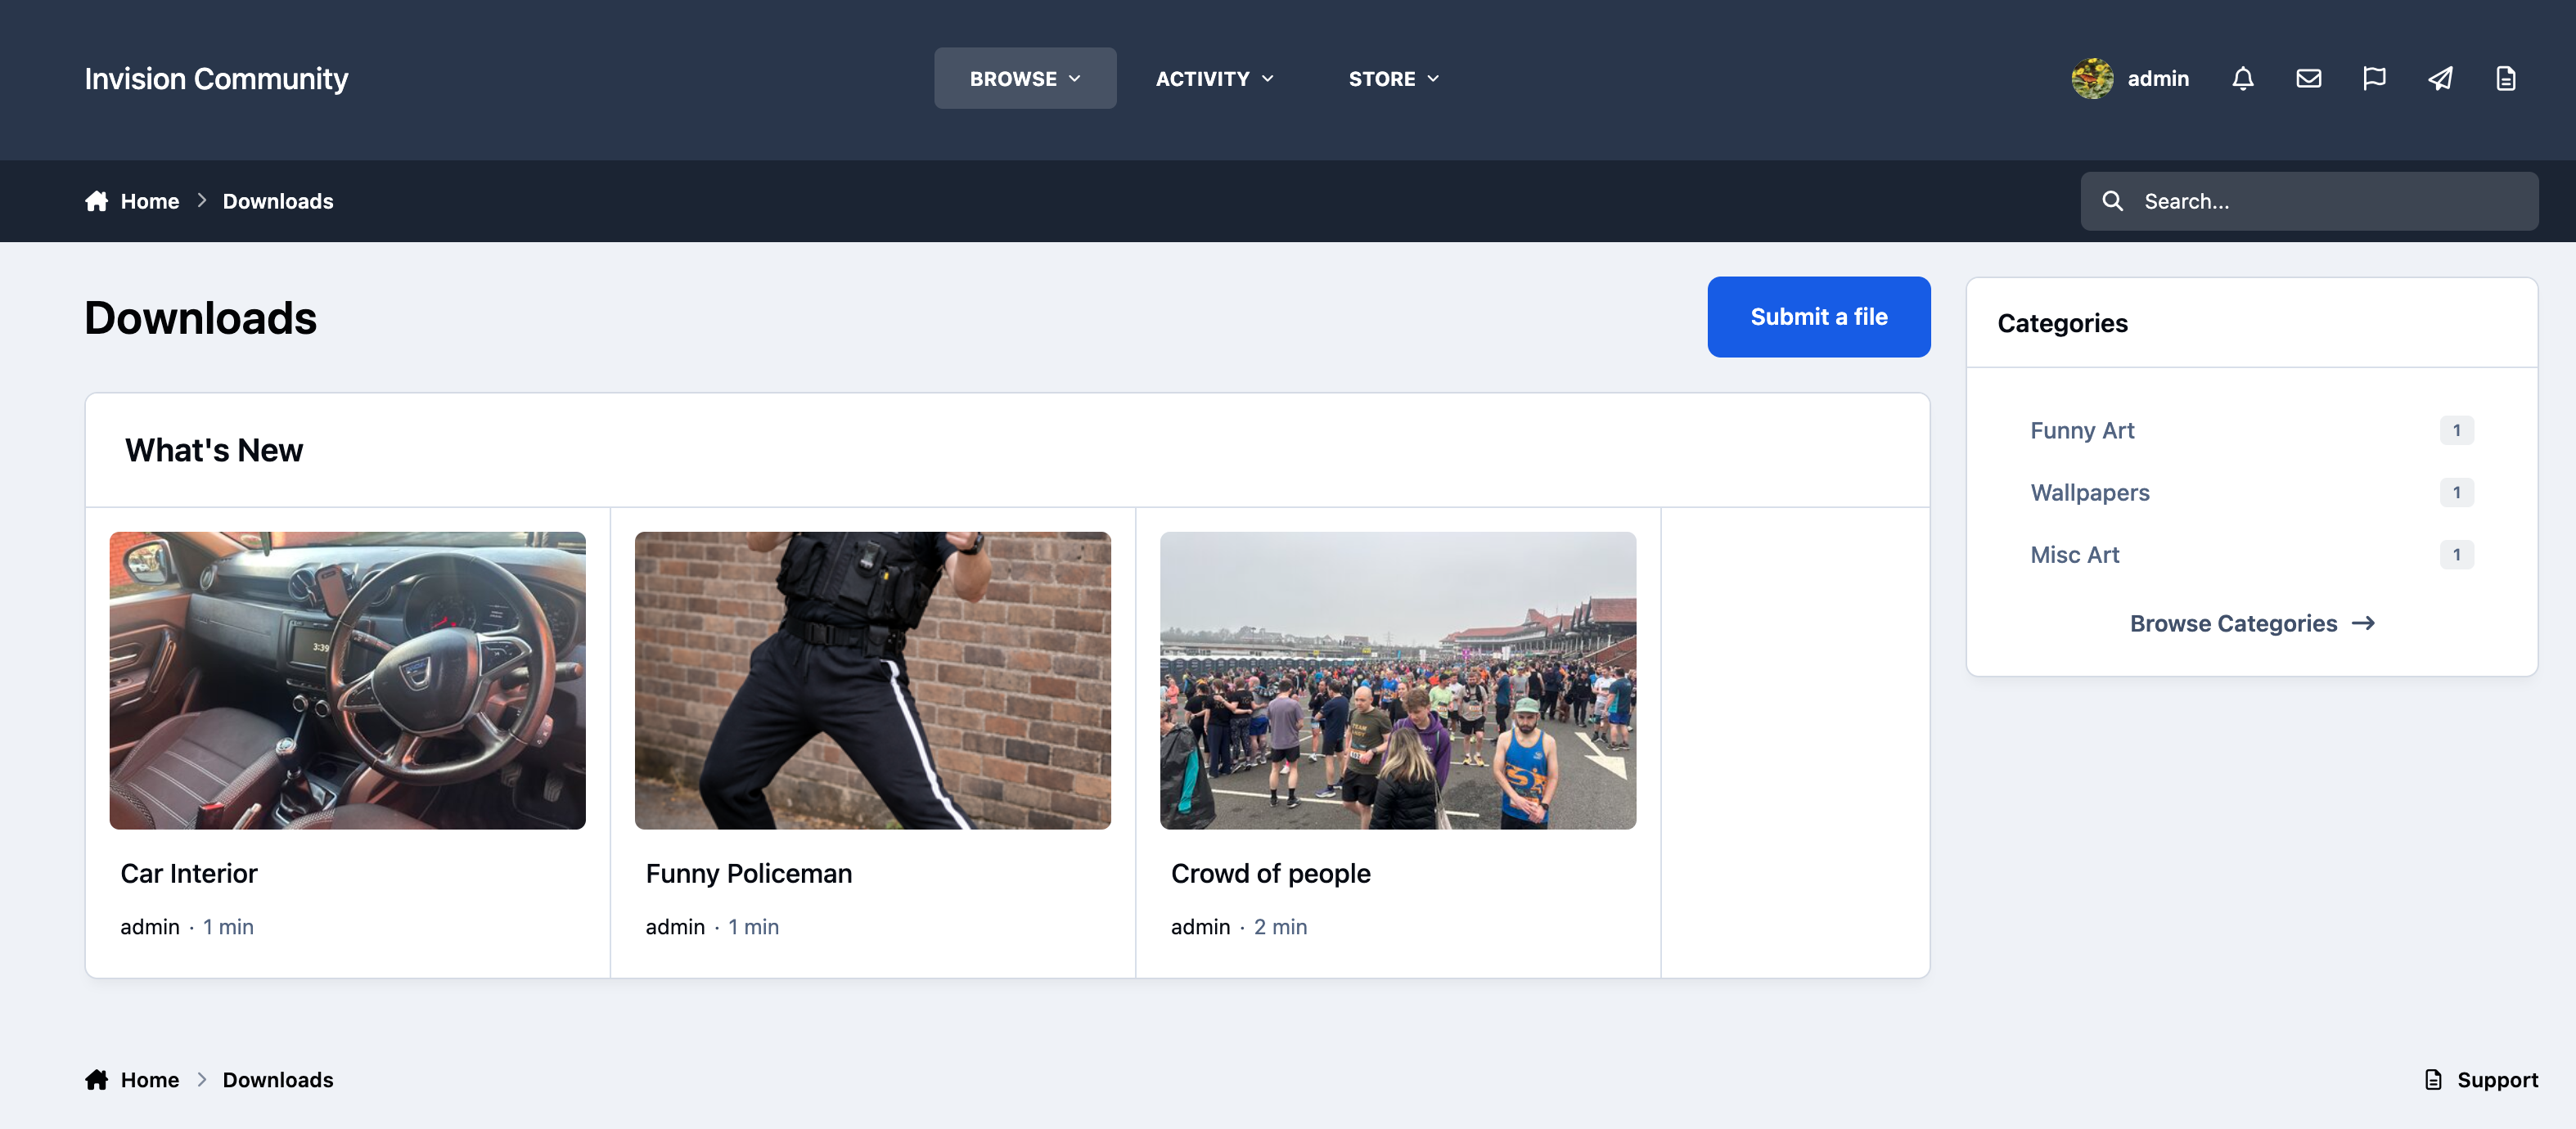
If you now visit the front end of your site, you’ll see the Downloads section structured as we planned.
In this example, some sample items have been added to demonstrate how the area will look once it begins to be actively used by your community.
Example Gallery
You’ll find additional guides for this application under Features → Downloads in the menu on the left. These provide more detailed information on specific settings, along with further examples and tips to help you make the most of the Downloads system.
As with all areas of the suite, if you’re unsure where to find something or can’t locate the information you need in our guides, you’re welcome to submit a ticket to our support team. We’re always happy to help and provide guidance on getting the best out of your Invision Community Suite.
Recommended Comments