


Introduction
In this guide, we’ll help you get started with the Blogs application in your Invision Community suite. We’ll cover the basics of how blogs work and show how easy it is to adjust settings for both you and your members.
First Open
After installing the Blogs application, the blog section will initially be empty. By default, all members of the site can create their own blogs. This means they can set up personal blogs and add their own blog entries.
Blogs When First Opened
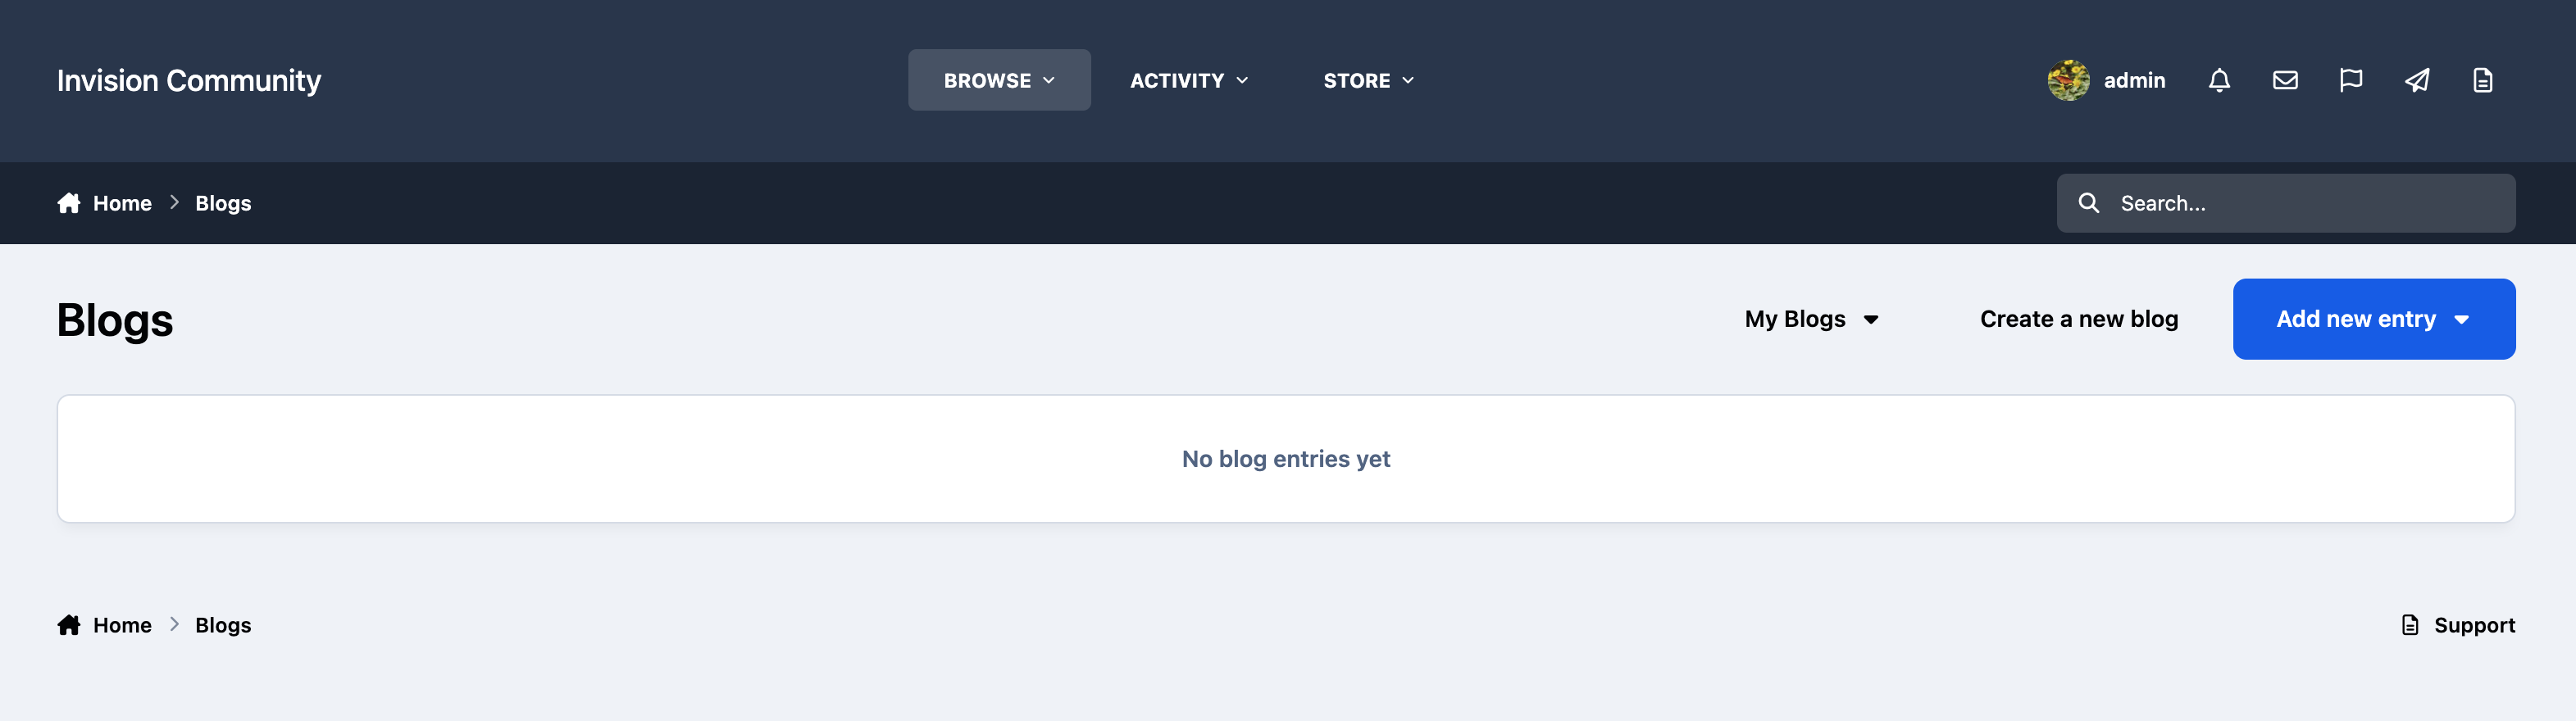
A member can create one or multiple blogs for different topics. For example, someone might create one blog about their favourite sports team, another about their own training in that sport, and another about their general fitness. Each blog can then have regular entries related to that topic.
Creating a blog
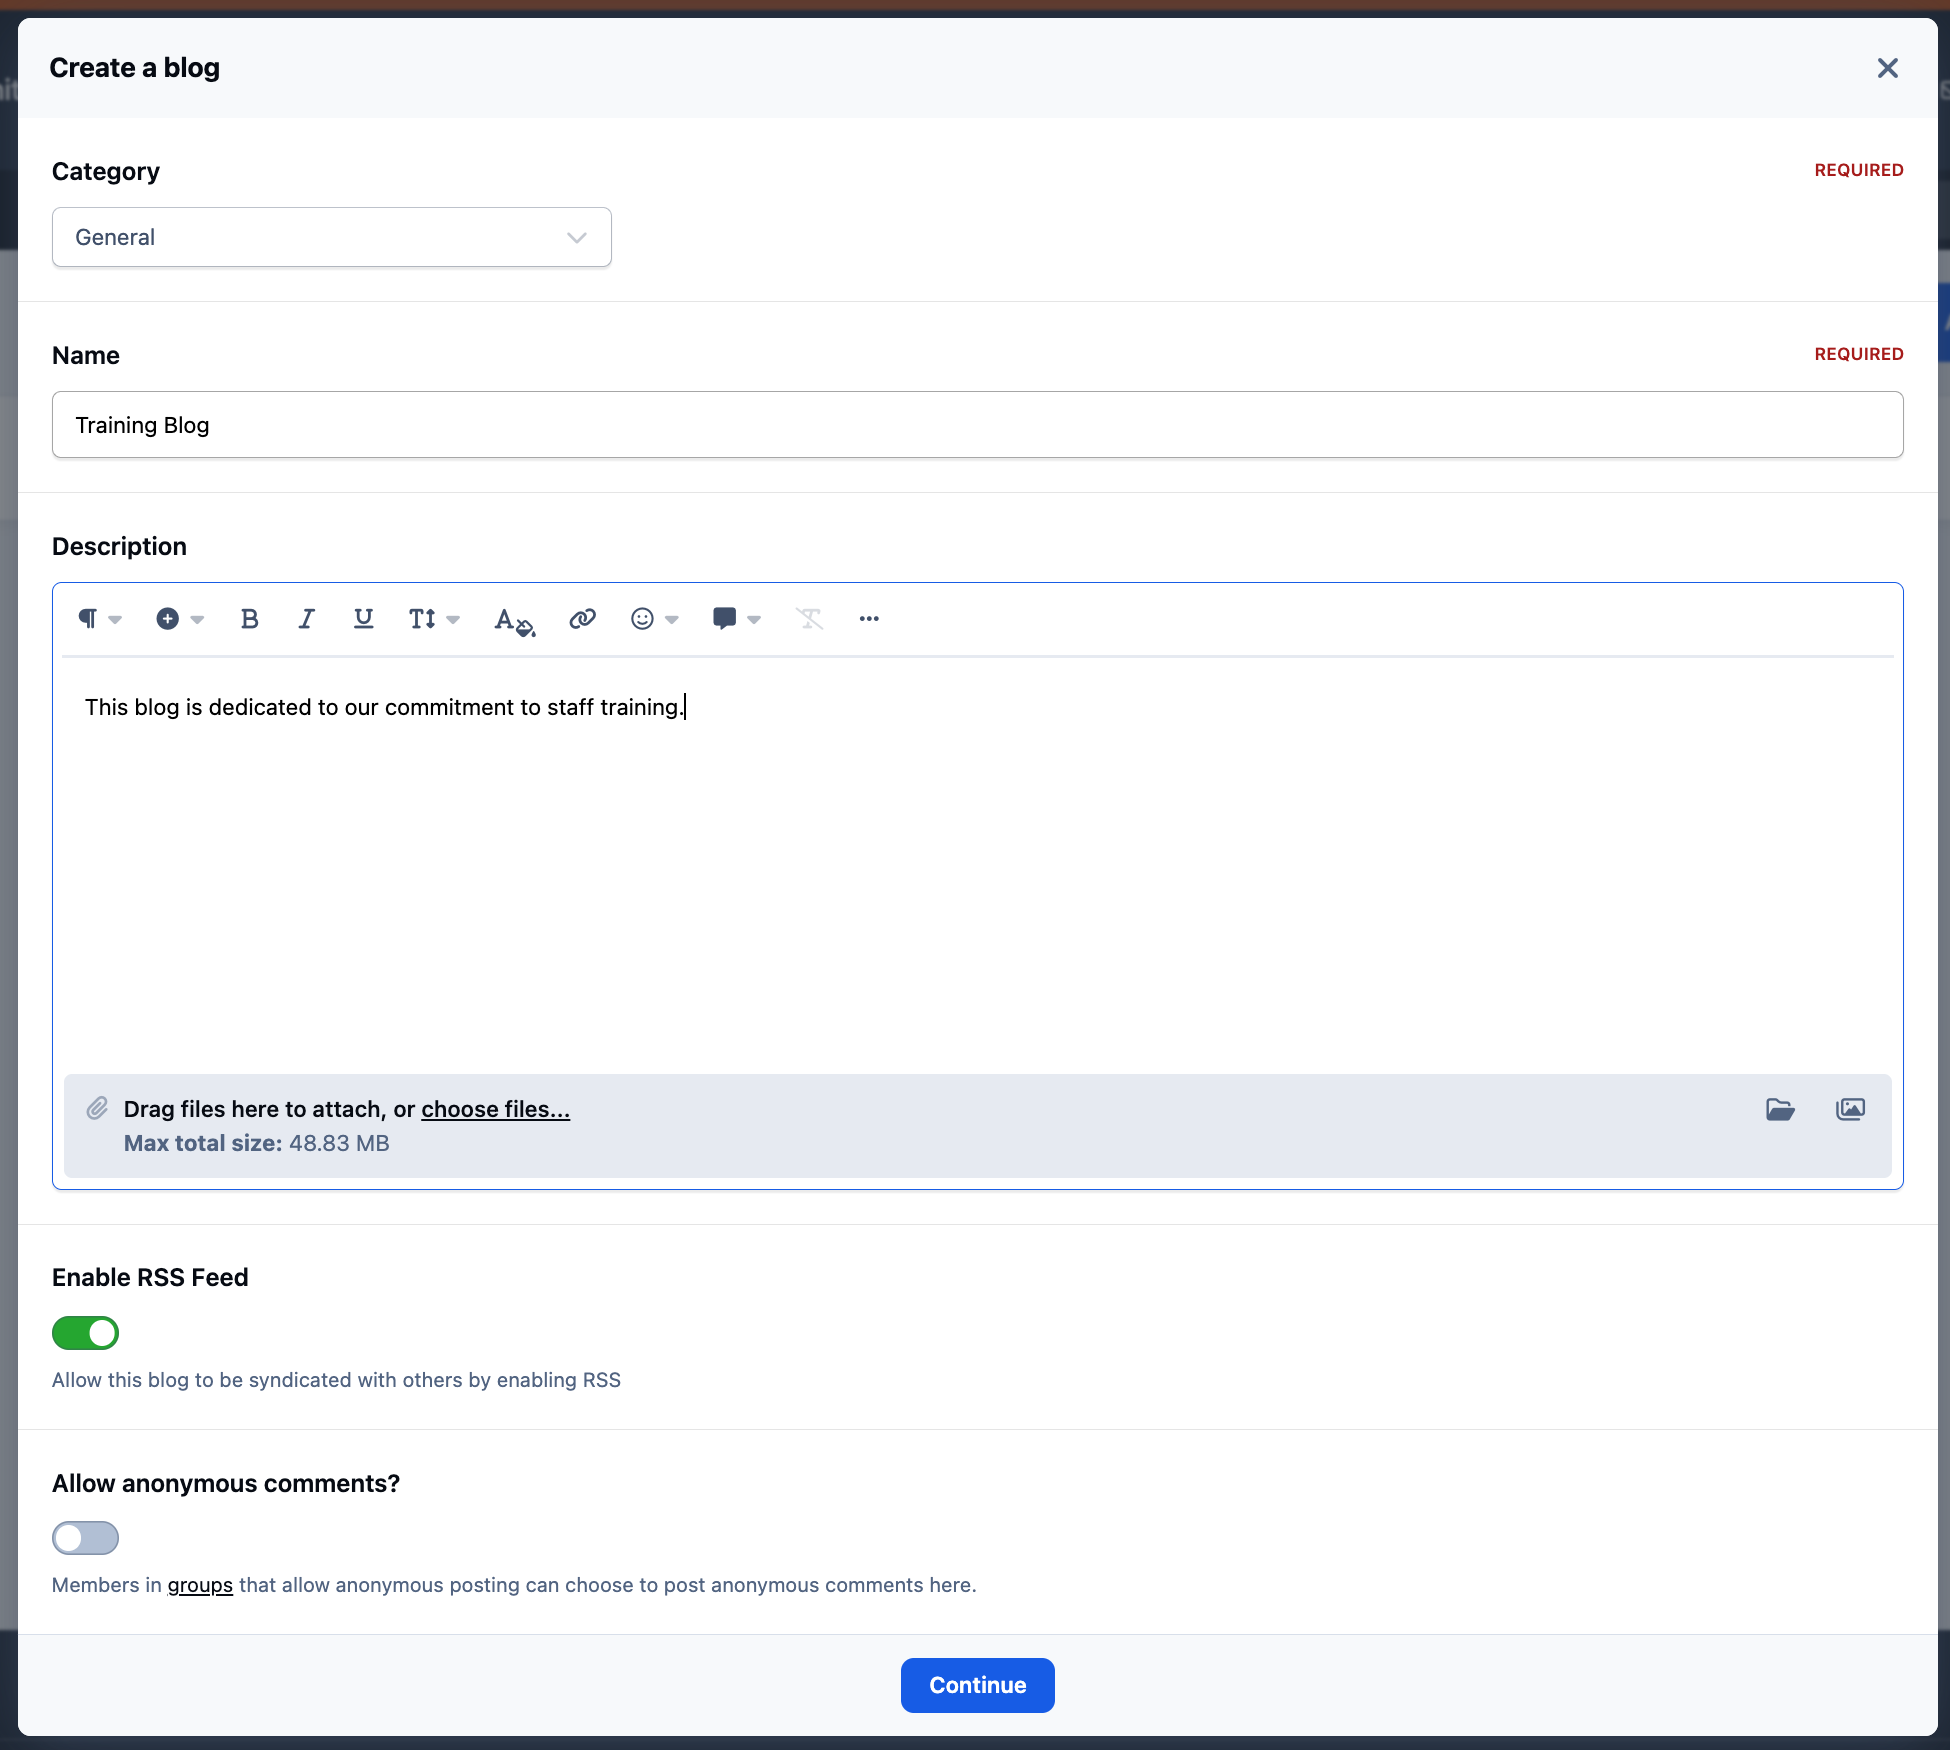
Members can create a blog by selecting the "Create a blog" button. They will then be asked to choose a category, provide a blog name and description, and decide whether they want their blog to be available via RSS feed readers.
Creating a New Blog
Adding Entries
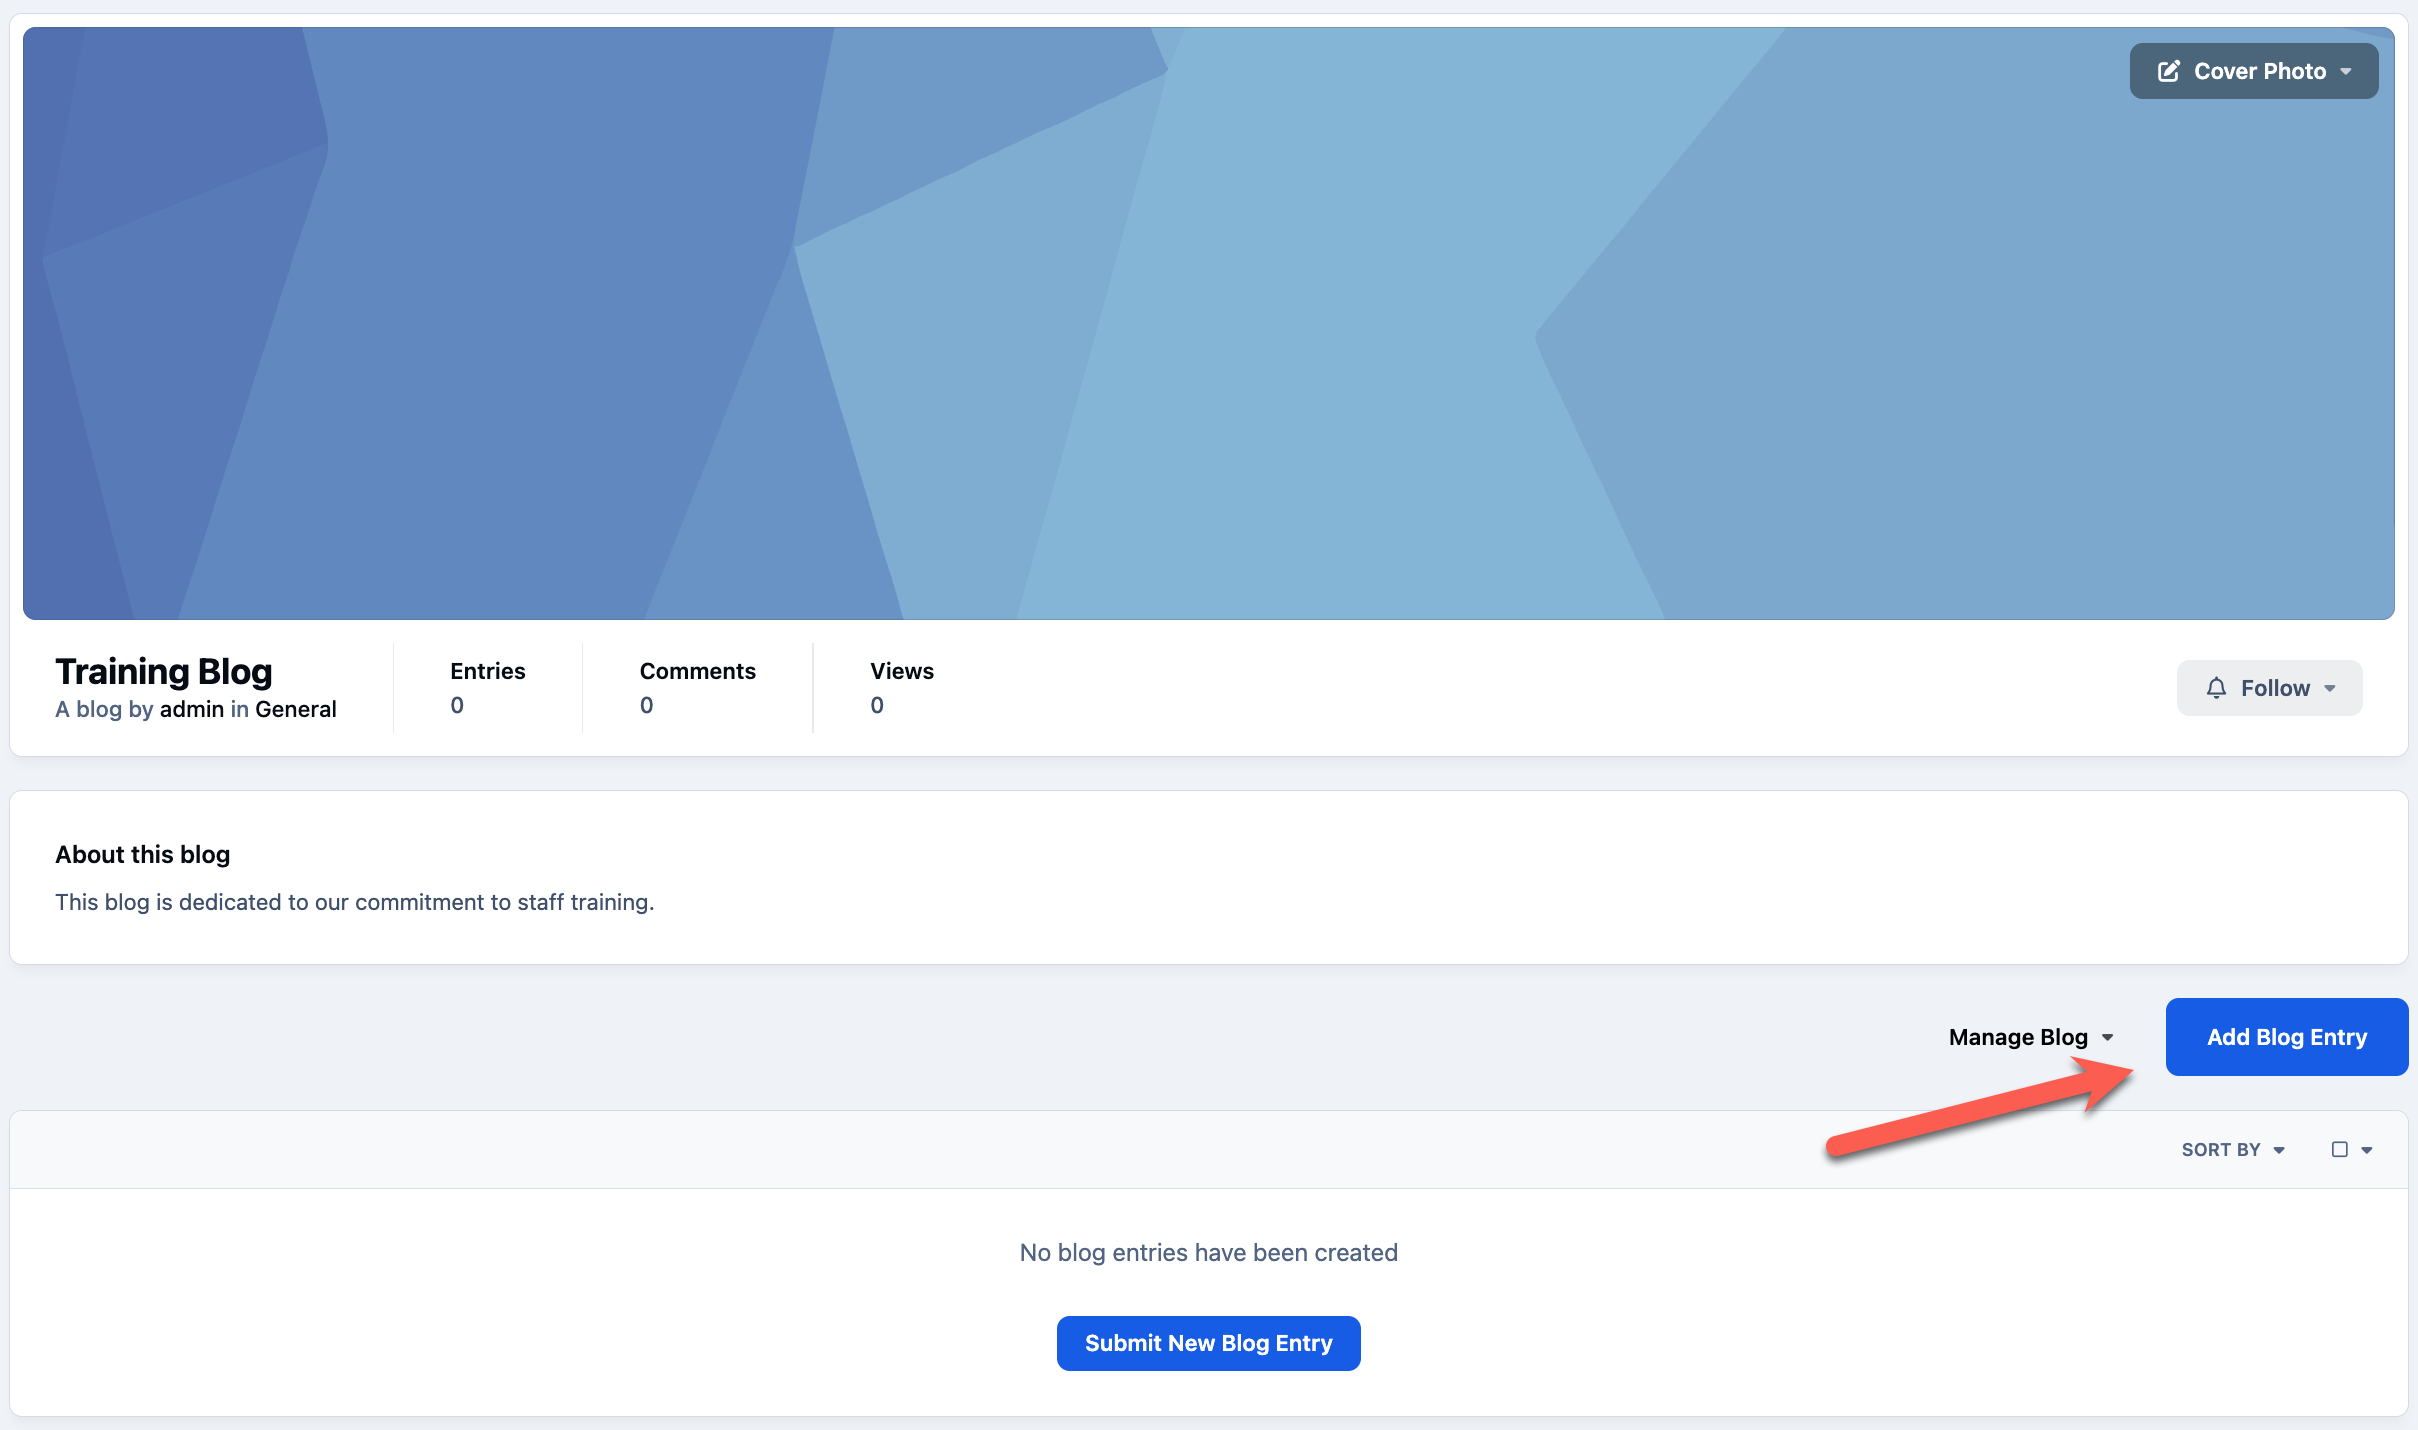
Once a blog has been created, entries can be added using the button located in the top-right corner of that blog.
Click the Blog Entry Button
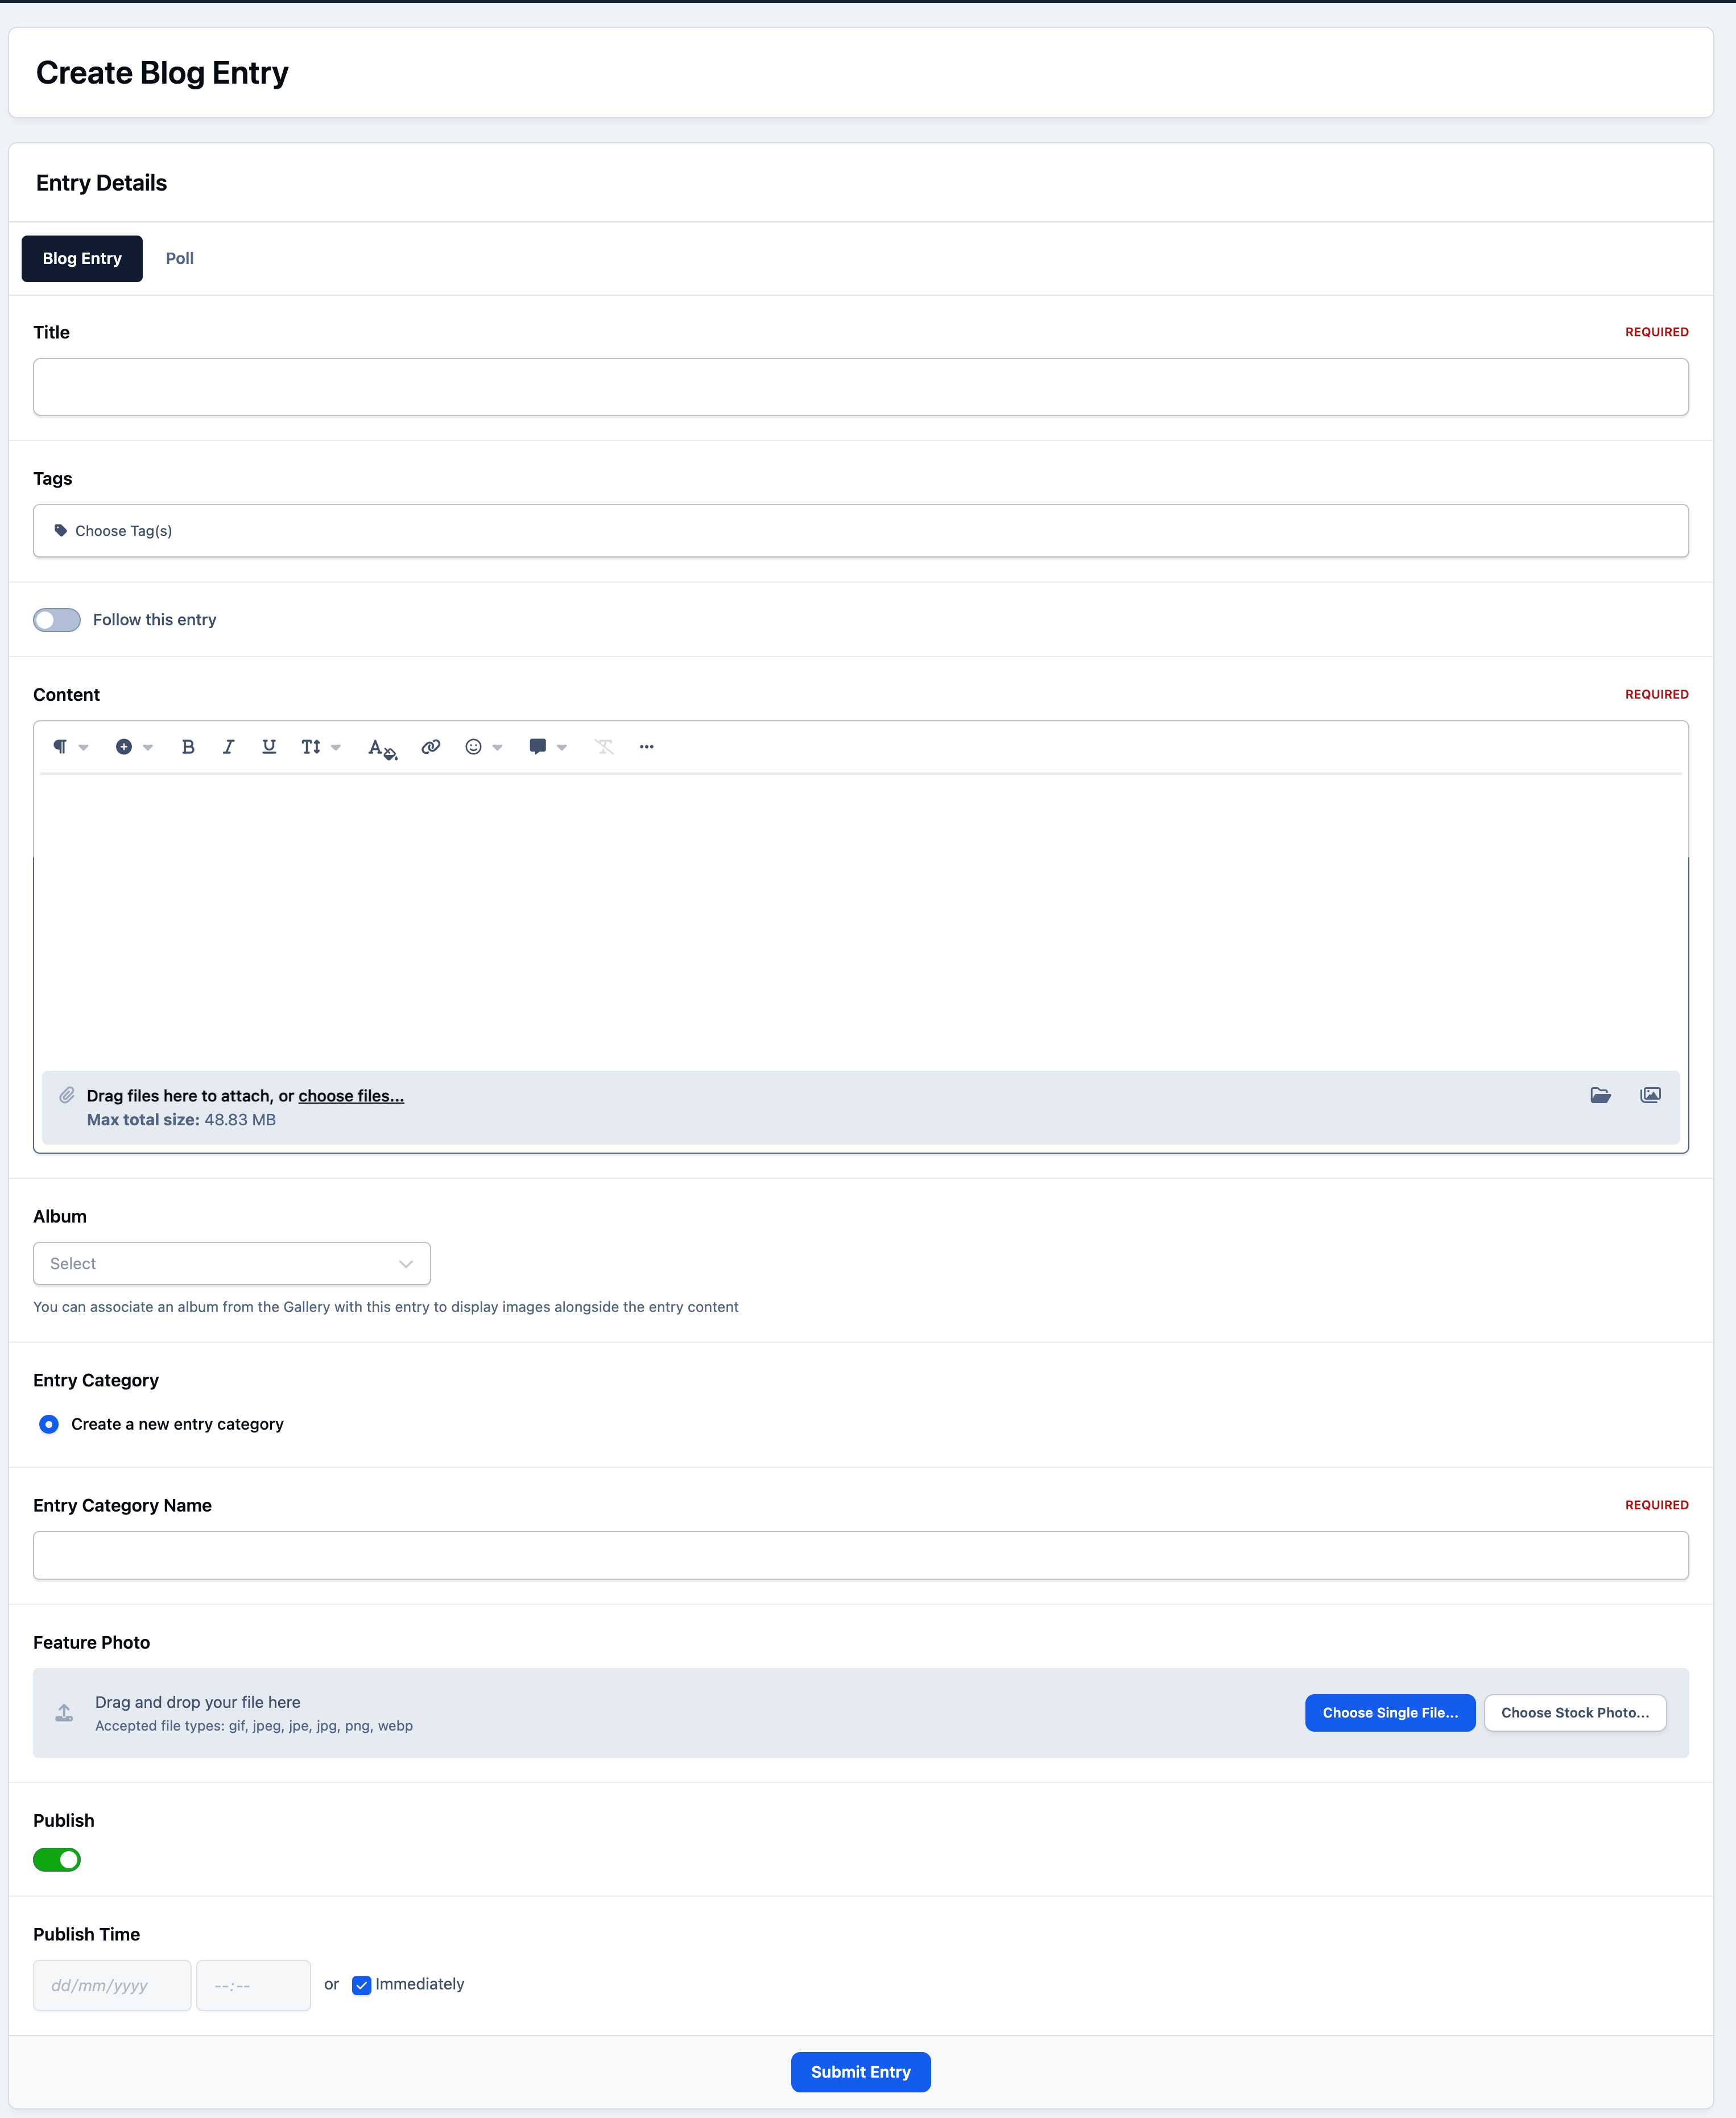
When creating a new entry, you can choose a feature image, add polls, and even link the blog entry to an album in your Gallery application if it is installed.
Creating a New Blog Entry
Adding more categories
If you want to create additional blog categories, you can do so from the AdminCP by navigating to the following location:
Community → Blogs → Blogs
Select Create New Category to add a new category.
Adding a Category

Our example blog
Our Aims
Now that our community suite is installed and the Blogs application is available for members to use, we want to make a few adjustments to better suit our site. Our goal is to accomplish two things:
Create a blog where all staff members can post. This will act as a site blog for updates, announcements, and other relevant content related to the community. Any staff member may wish to post here.
Allow members of the regular Members group to create blogs that only selected friends can view, enabling them to maintain private blogs if they choose.
Group Blogs
Since a group blog does not belong to a single individual, it needs to be created from the AdminCP.
Log into your AdminCP and navigate to:
Community → Blogs → Blogs
Once there, click the Add Blog button in the top-right corner.
Adding a Blog from the Admin CP

In the creation screen, select Group instead of Single author, and then choose the staff groups that should be able to post in the blog. After that, provide a name and description for the blog.
Creating a Group Blog
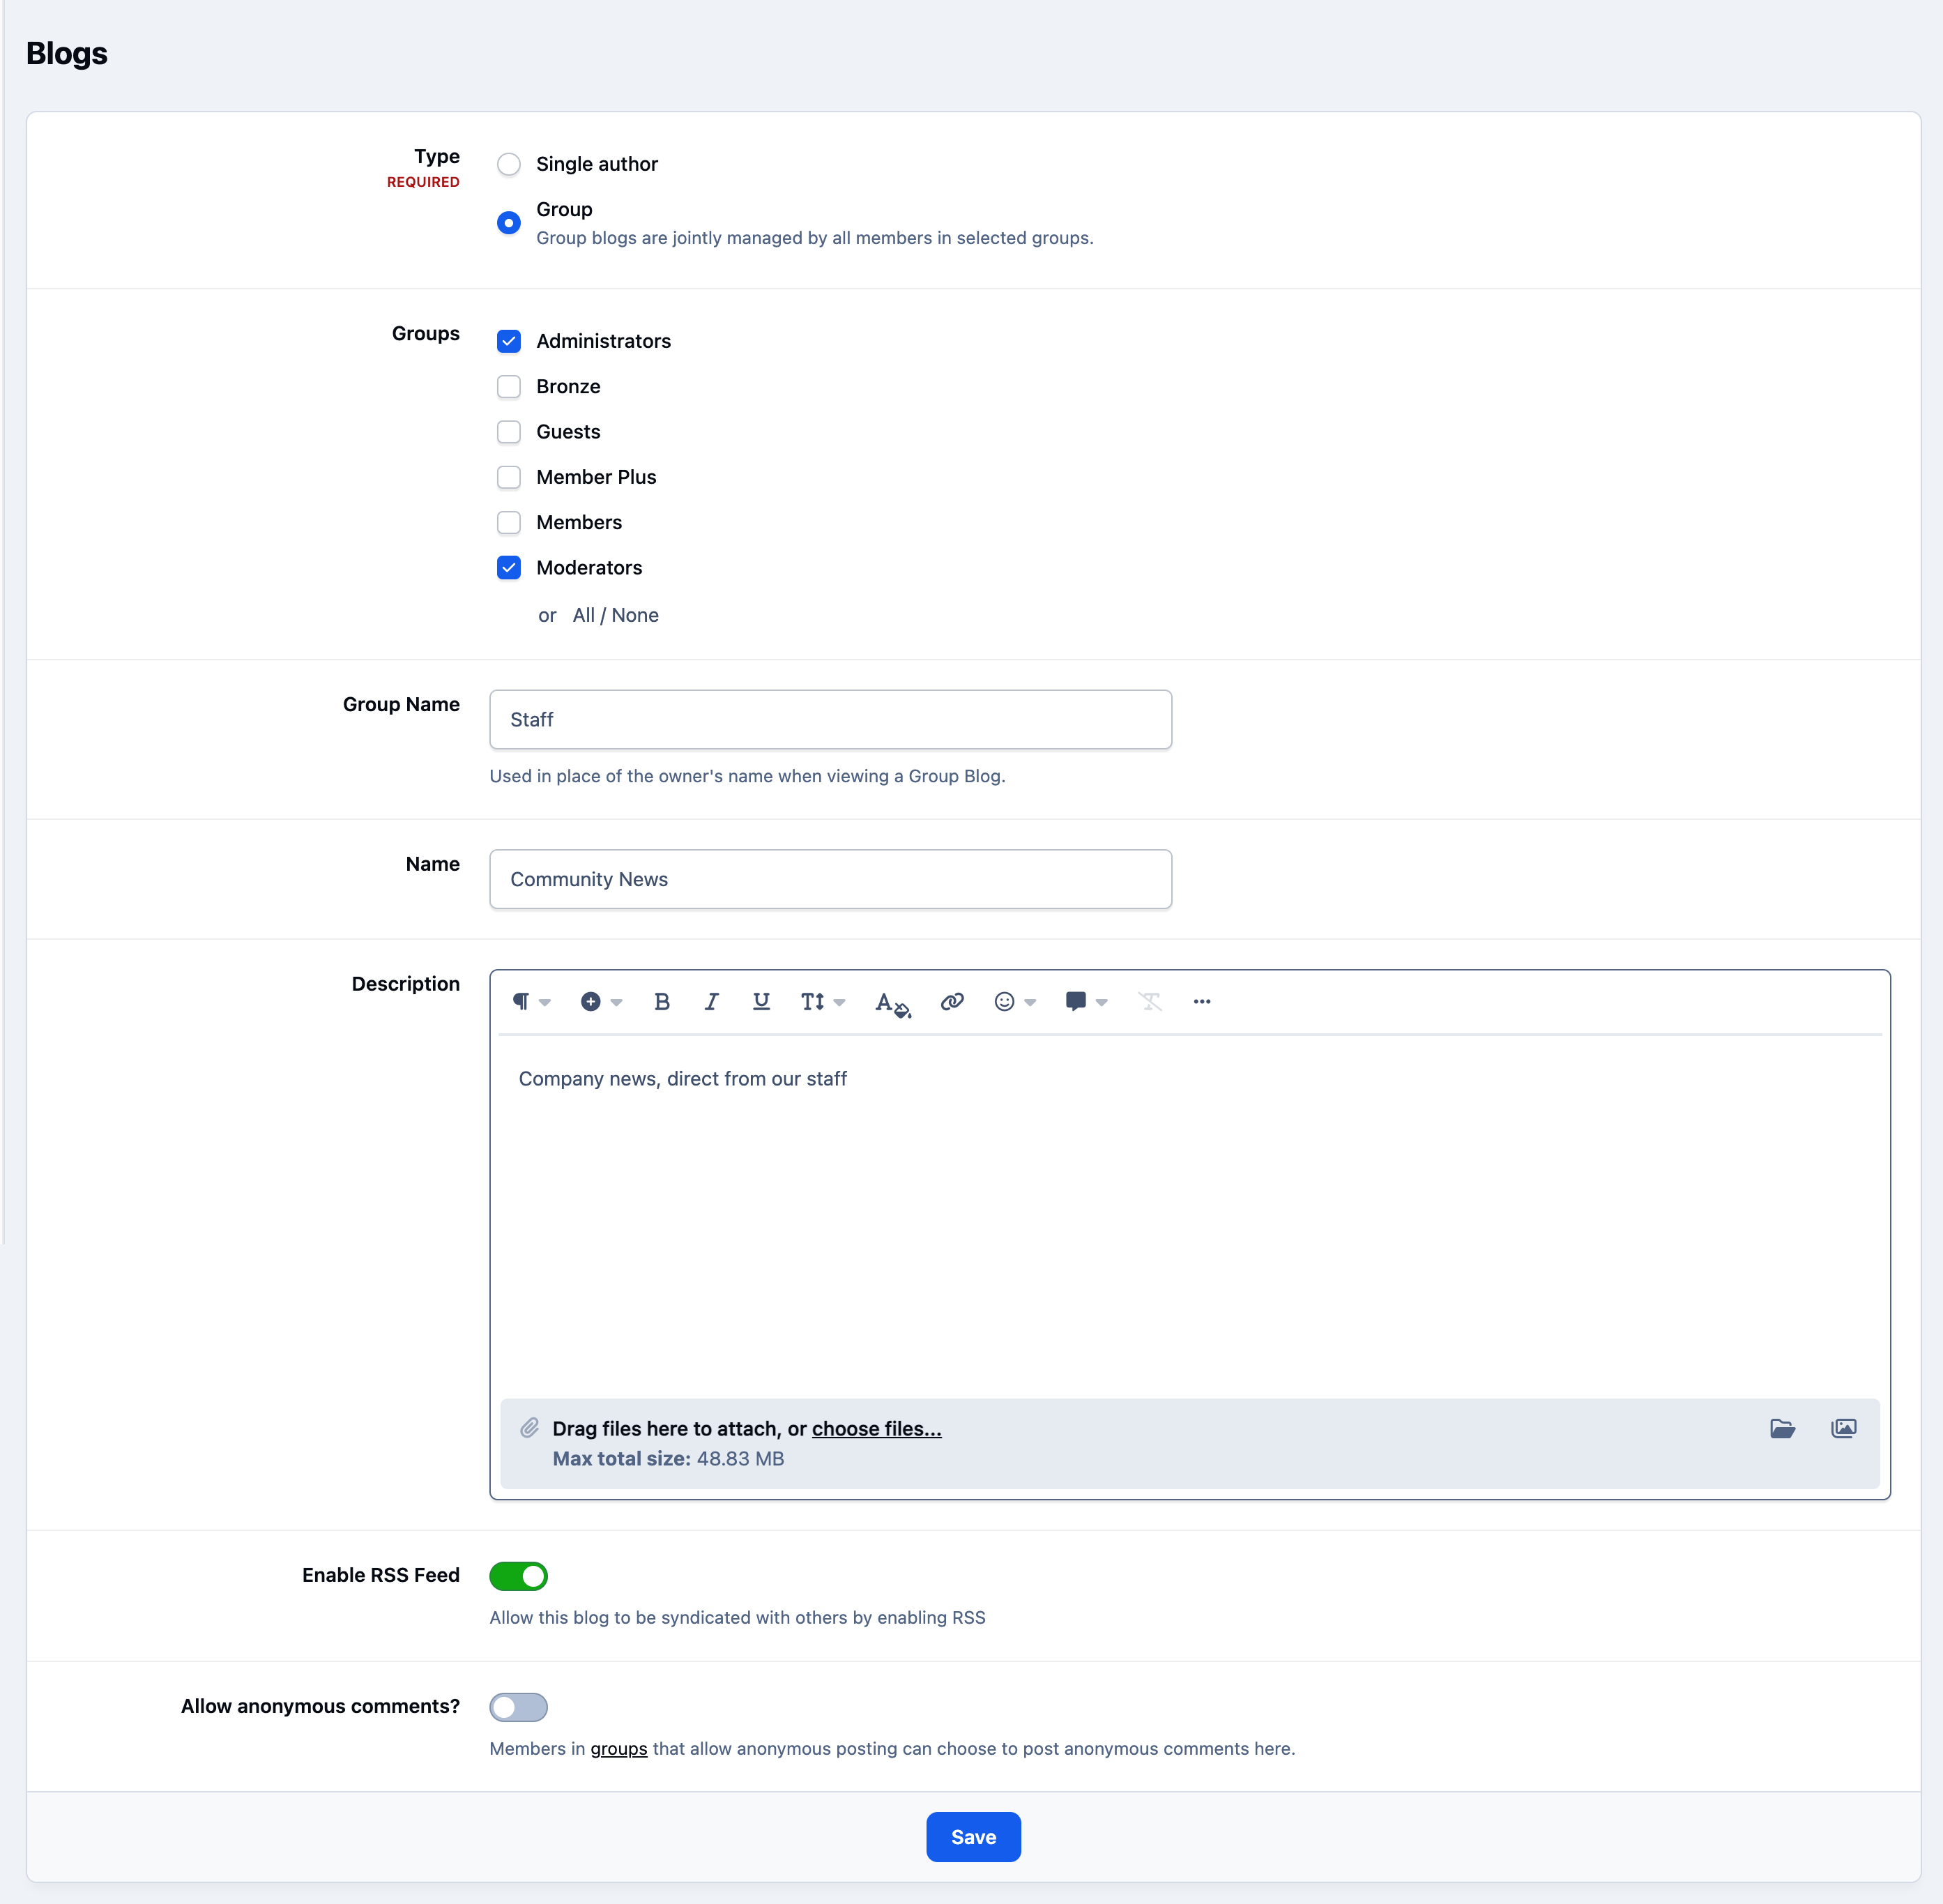
Once saved, all members of the selected staff groups will be able to add entries to this blog.
Private Blogs
Now that the staff blog is set up, we can configure the Members group so they can create blogs visible only to certain people.
To do this, navigate to the following area and click the pencil icon next to the Members group:
Members → Members → Groups
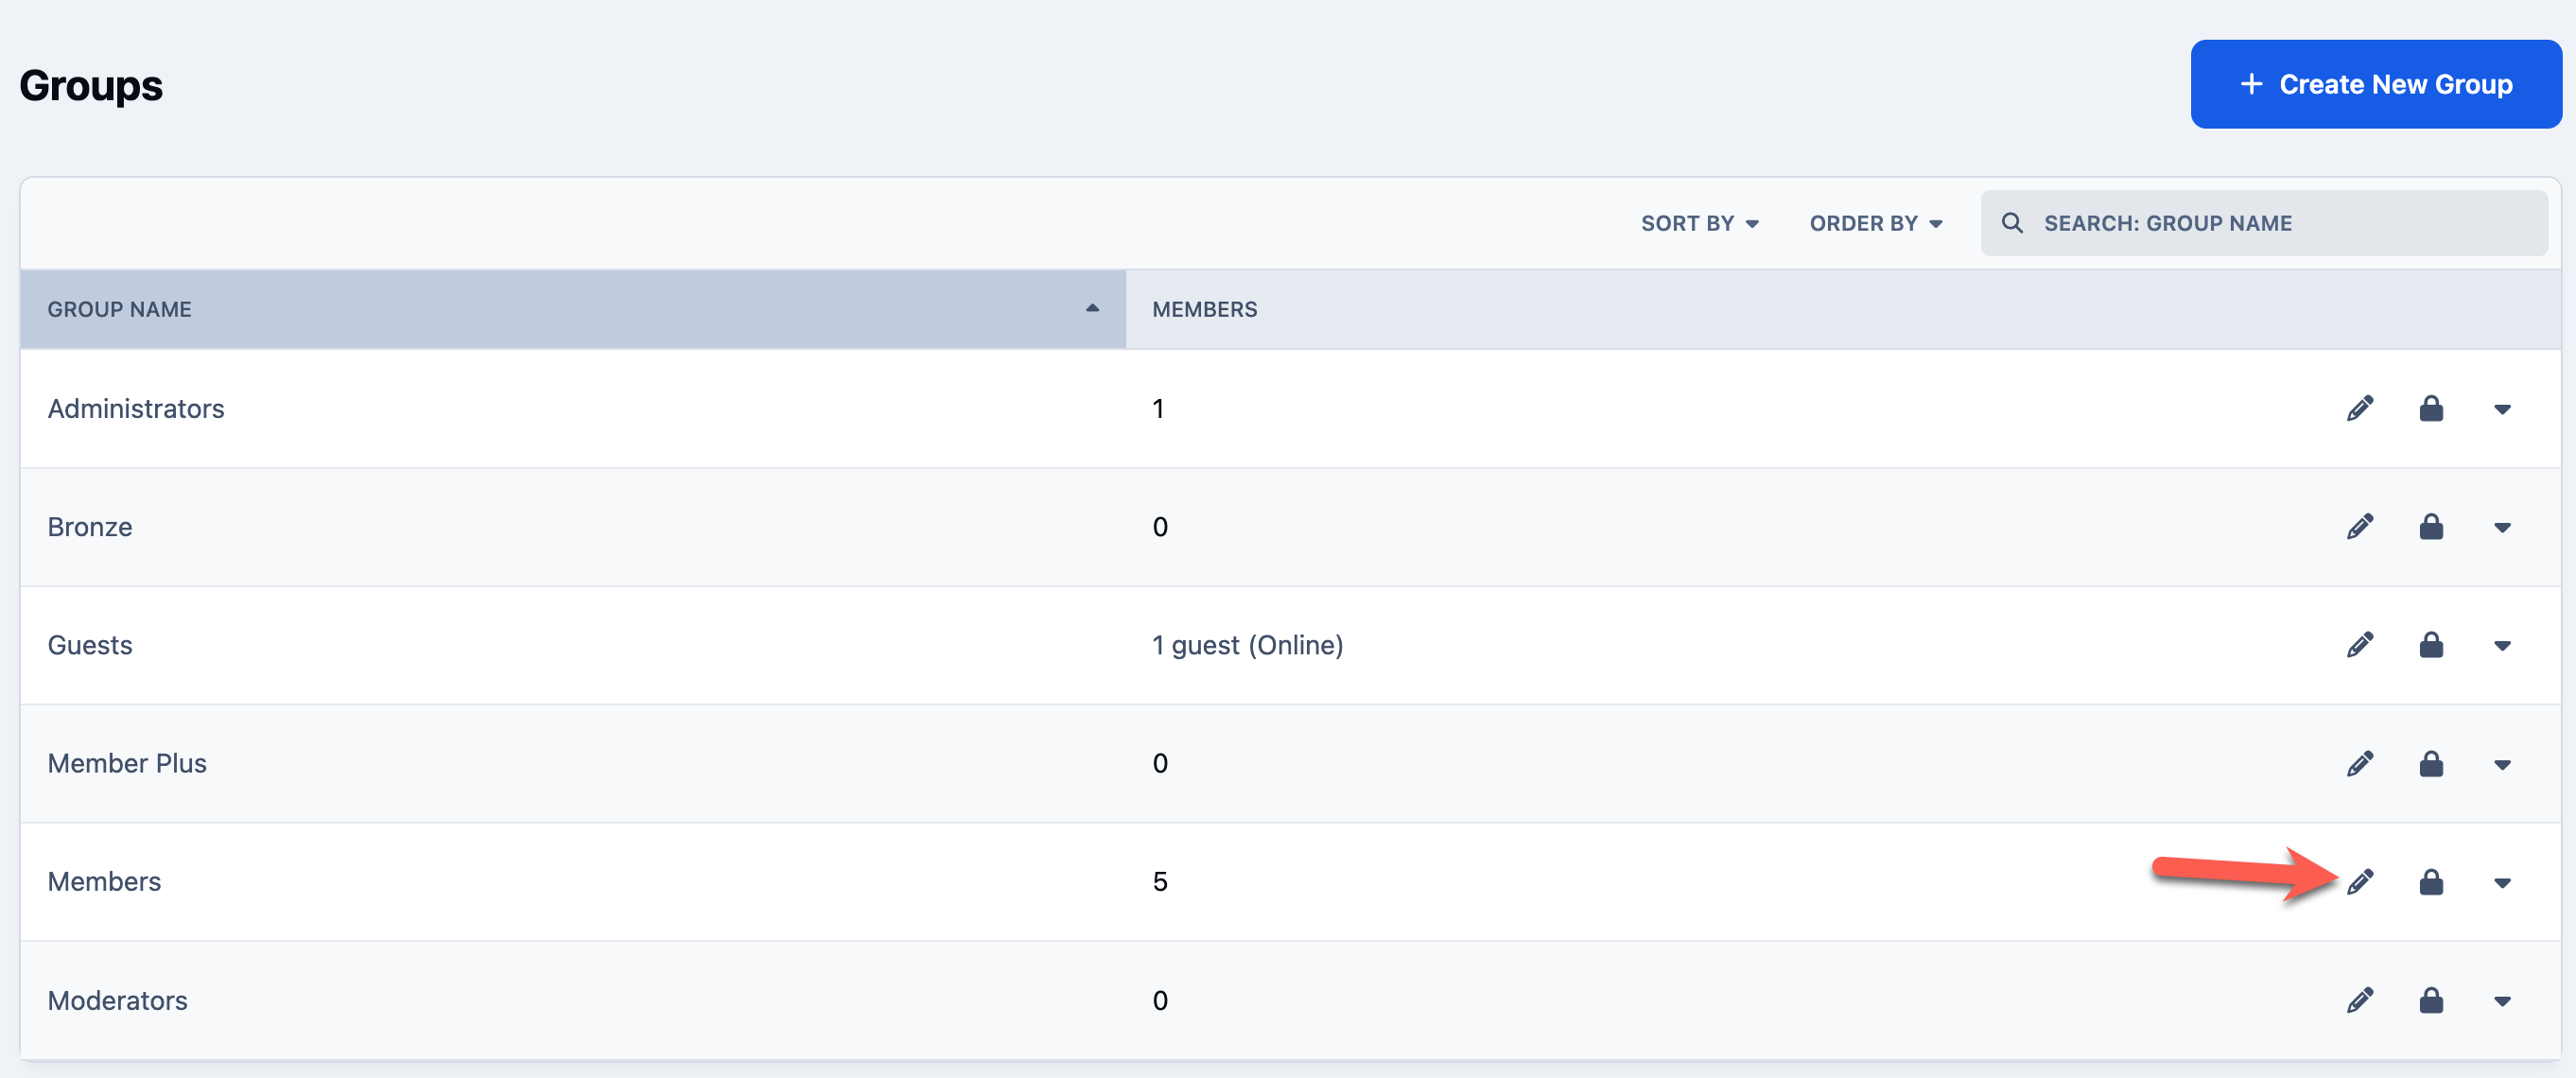
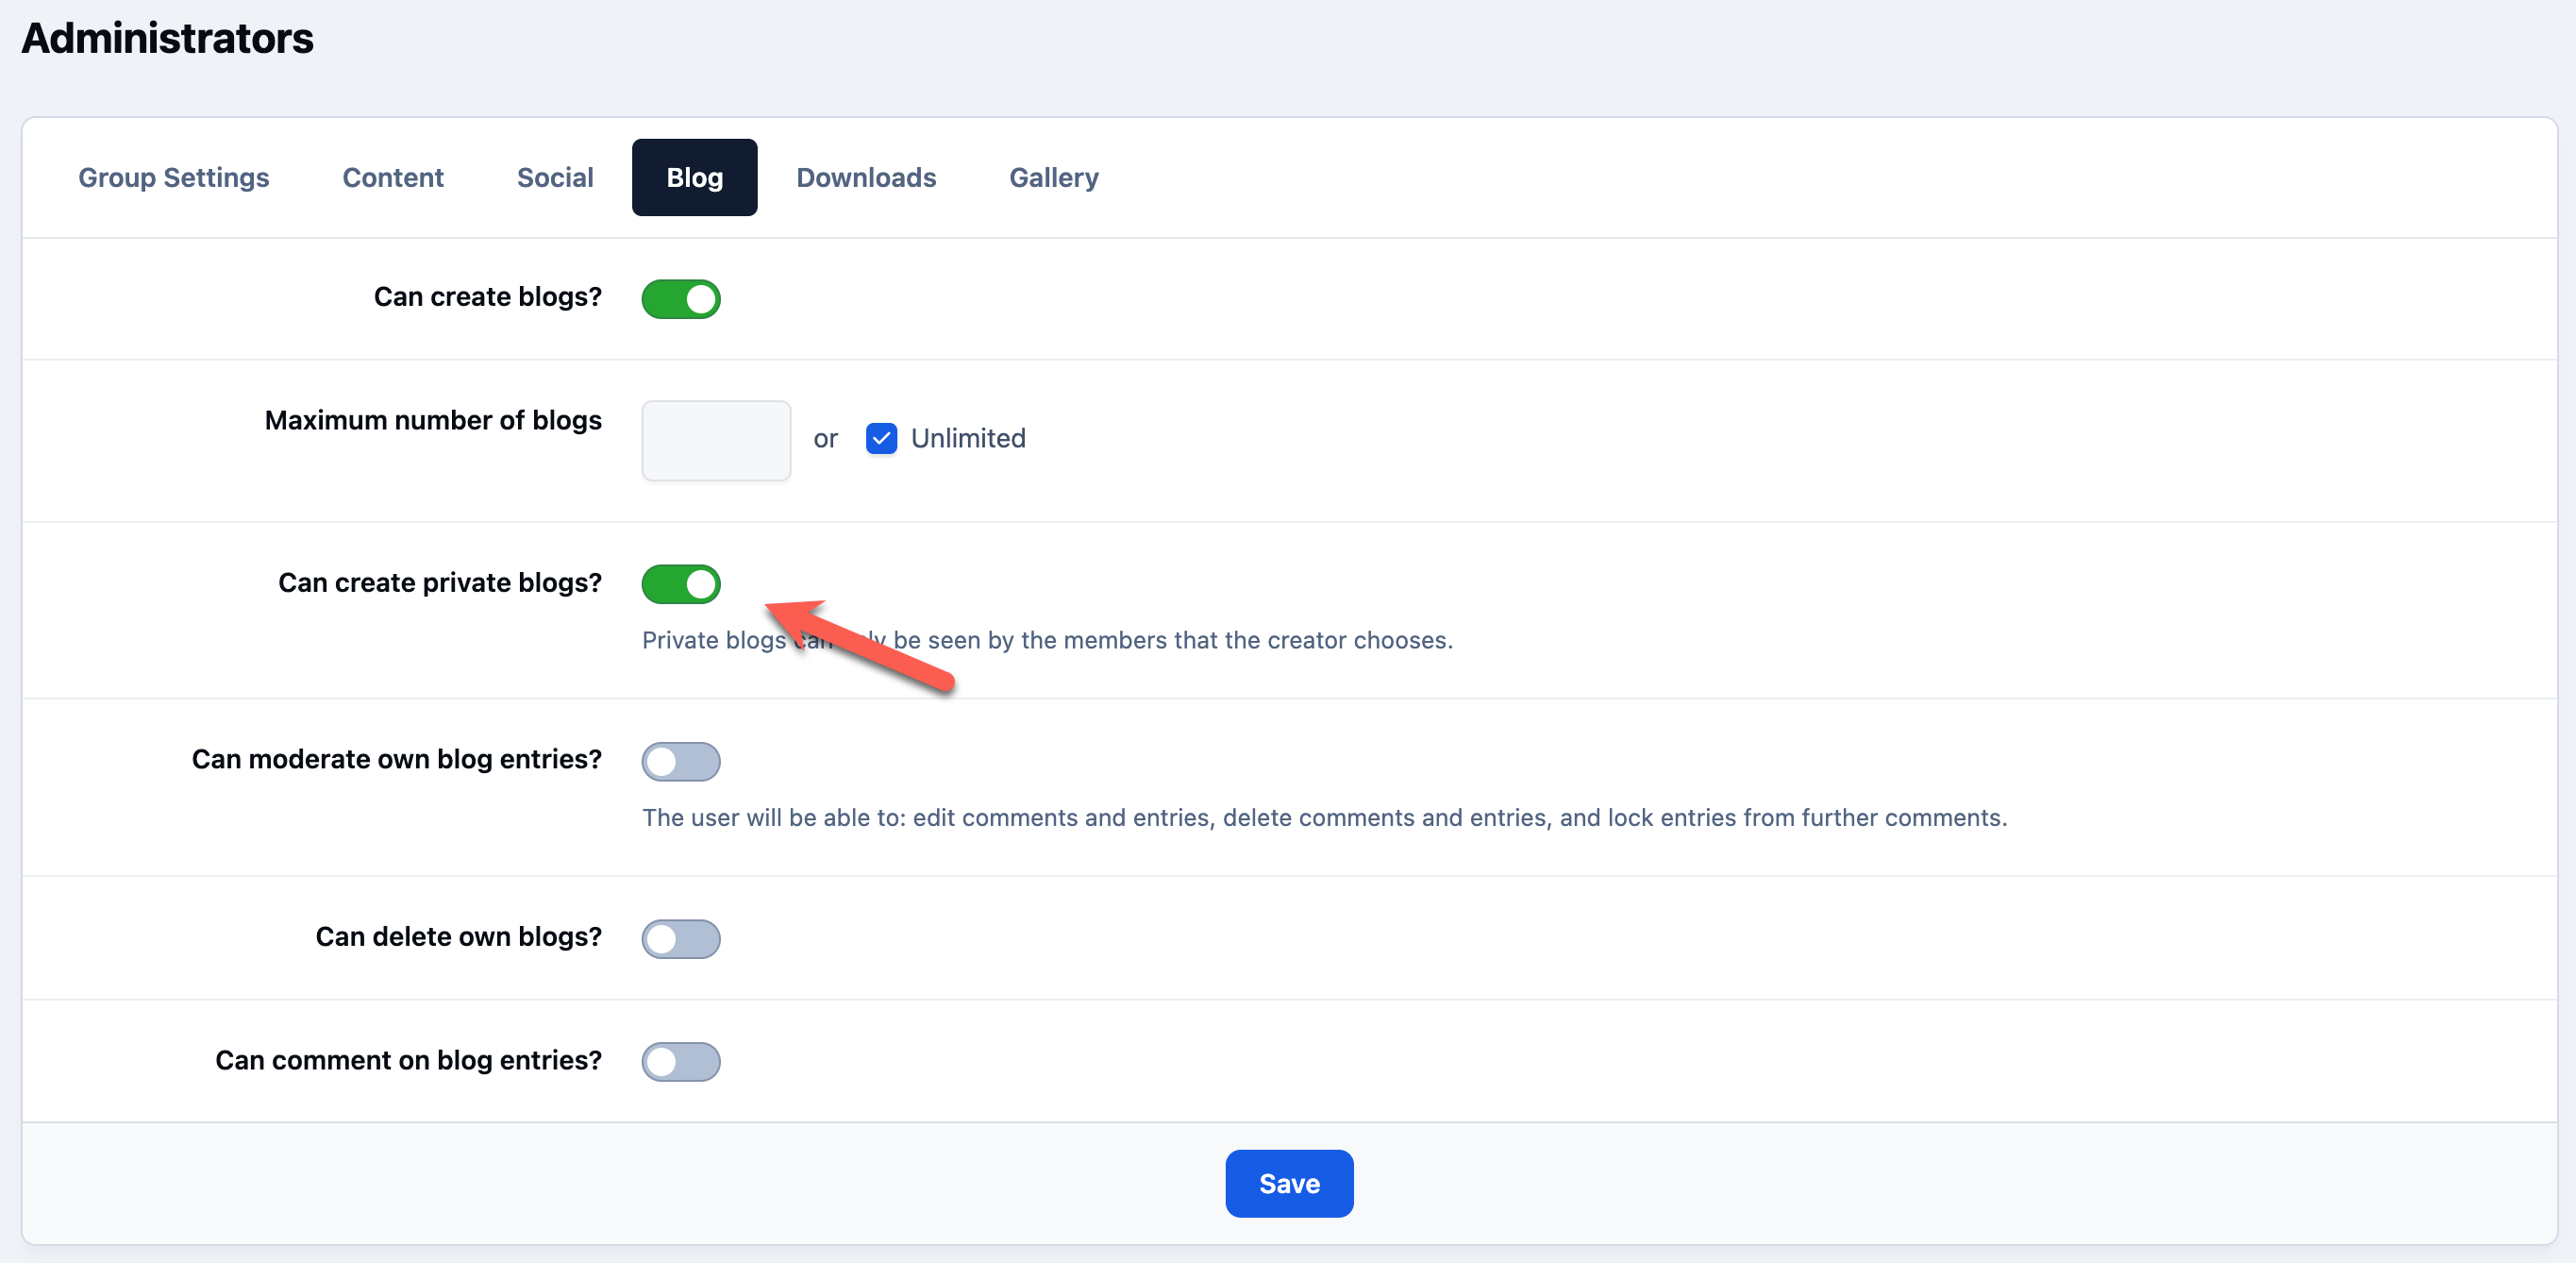
Inside the group settings, select the Blogs tab to view the permissions related to blogs for that group. Since we want members to create blogs visible only to their friends, we will enable the option allowing them to create private blogs.
Group Blog Settings
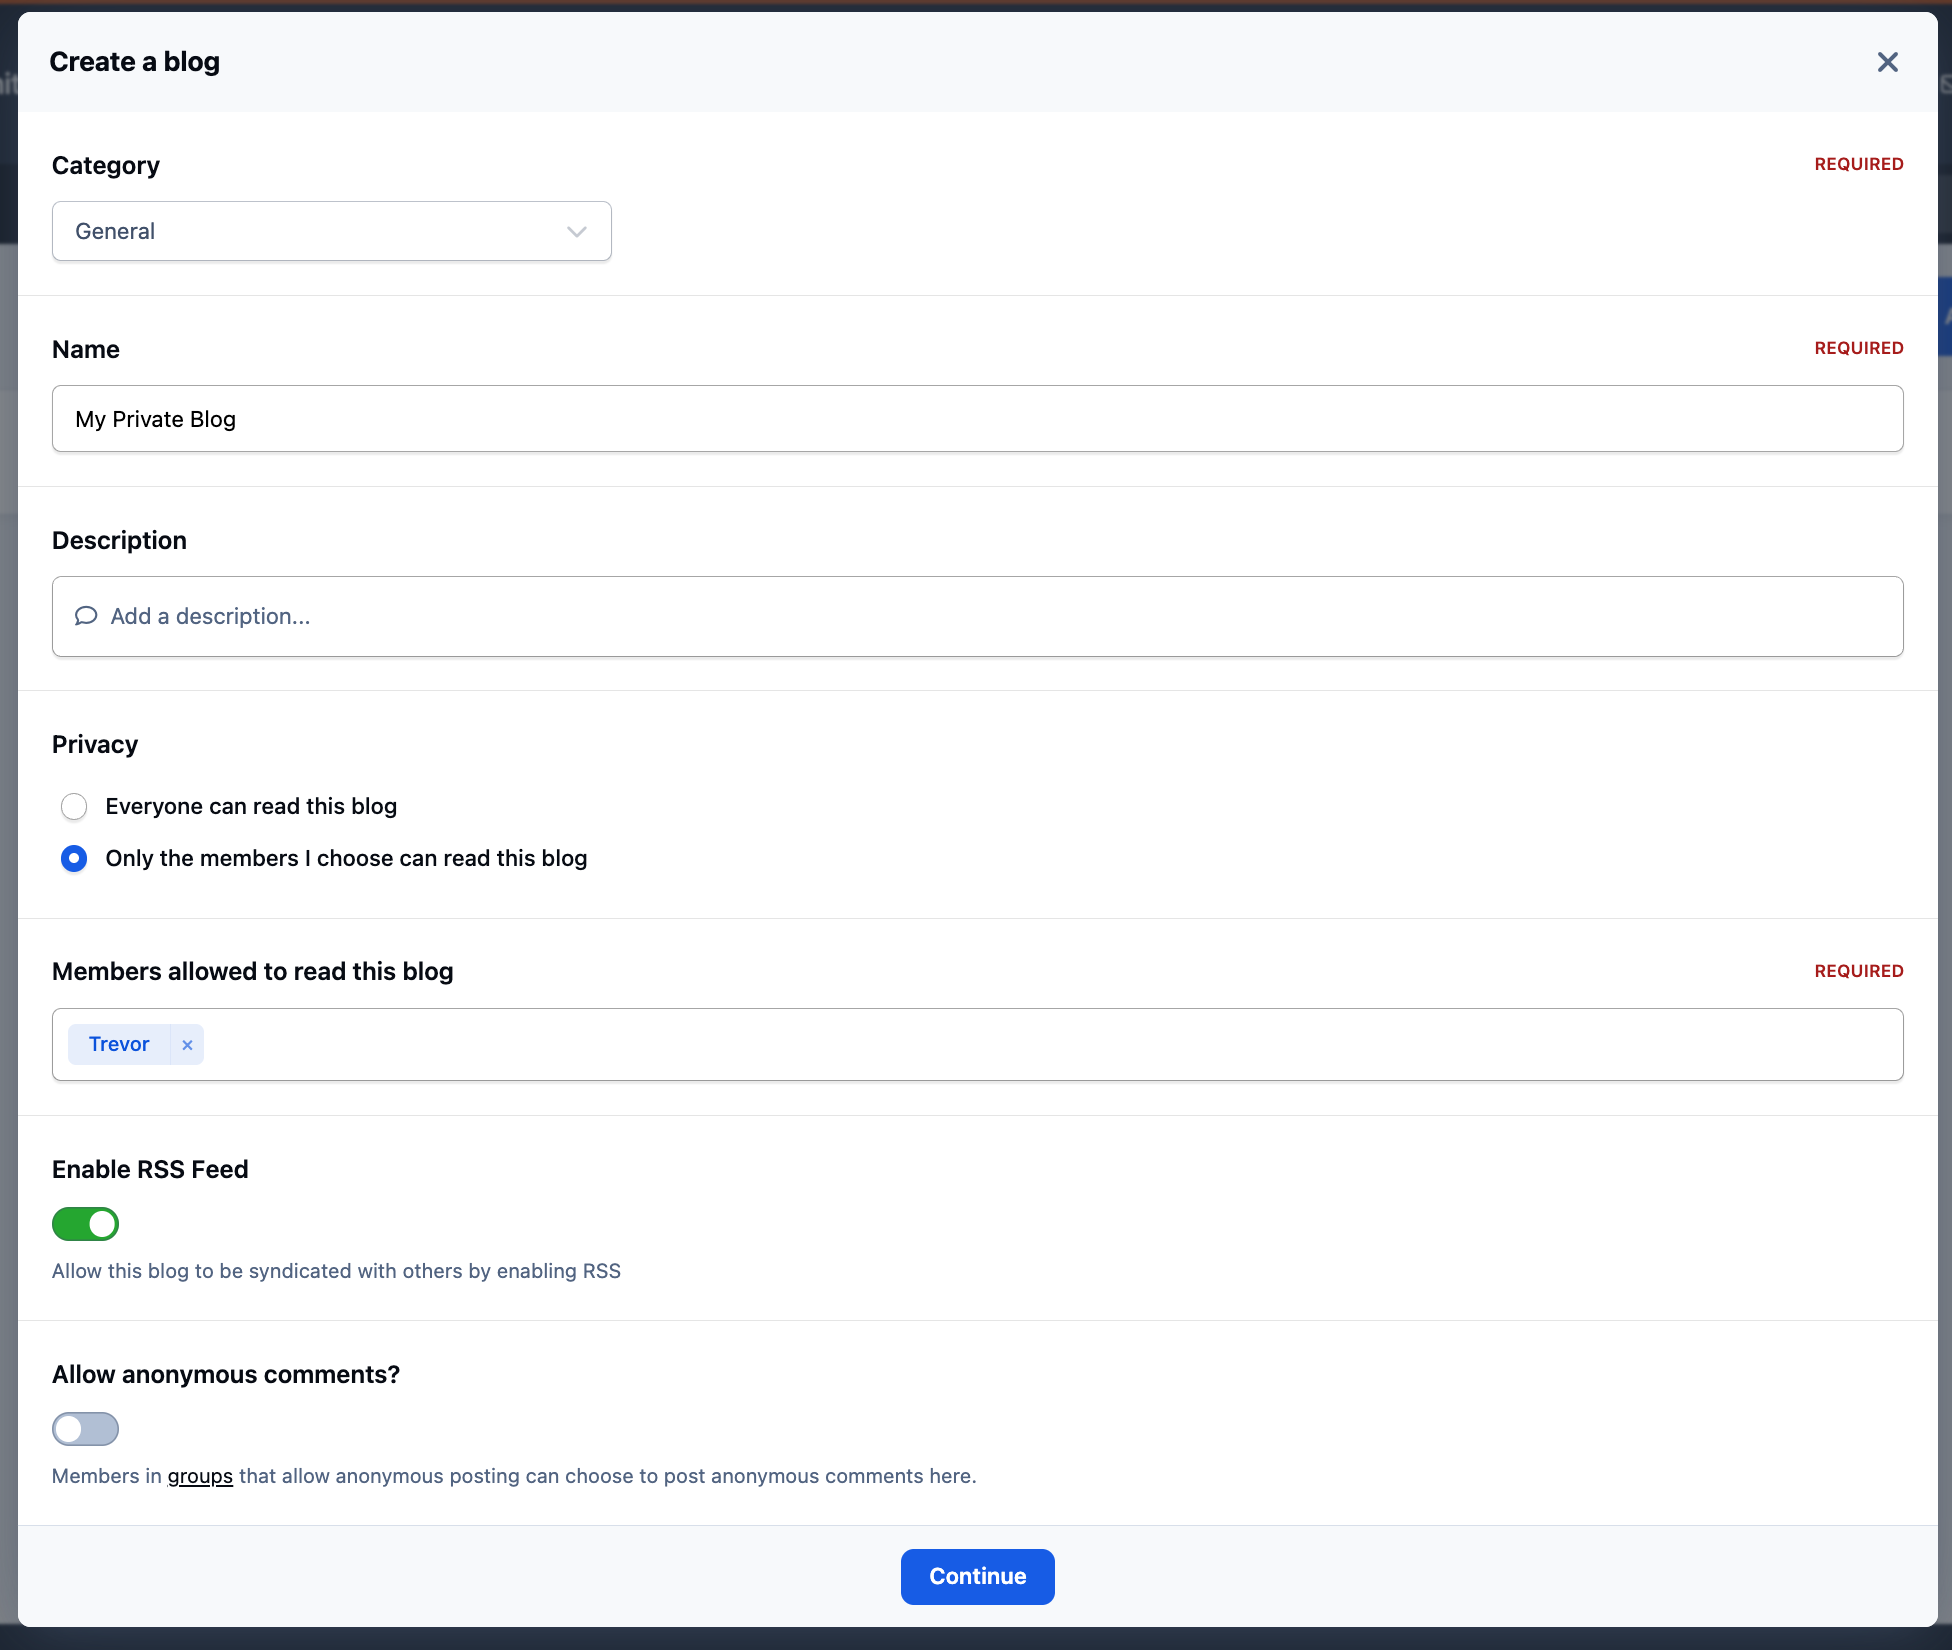
After enabling this option, members will see an additional setting when creating a blog, allowing them to choose who can view their blog entries.
Creating a Private Blog
Summary
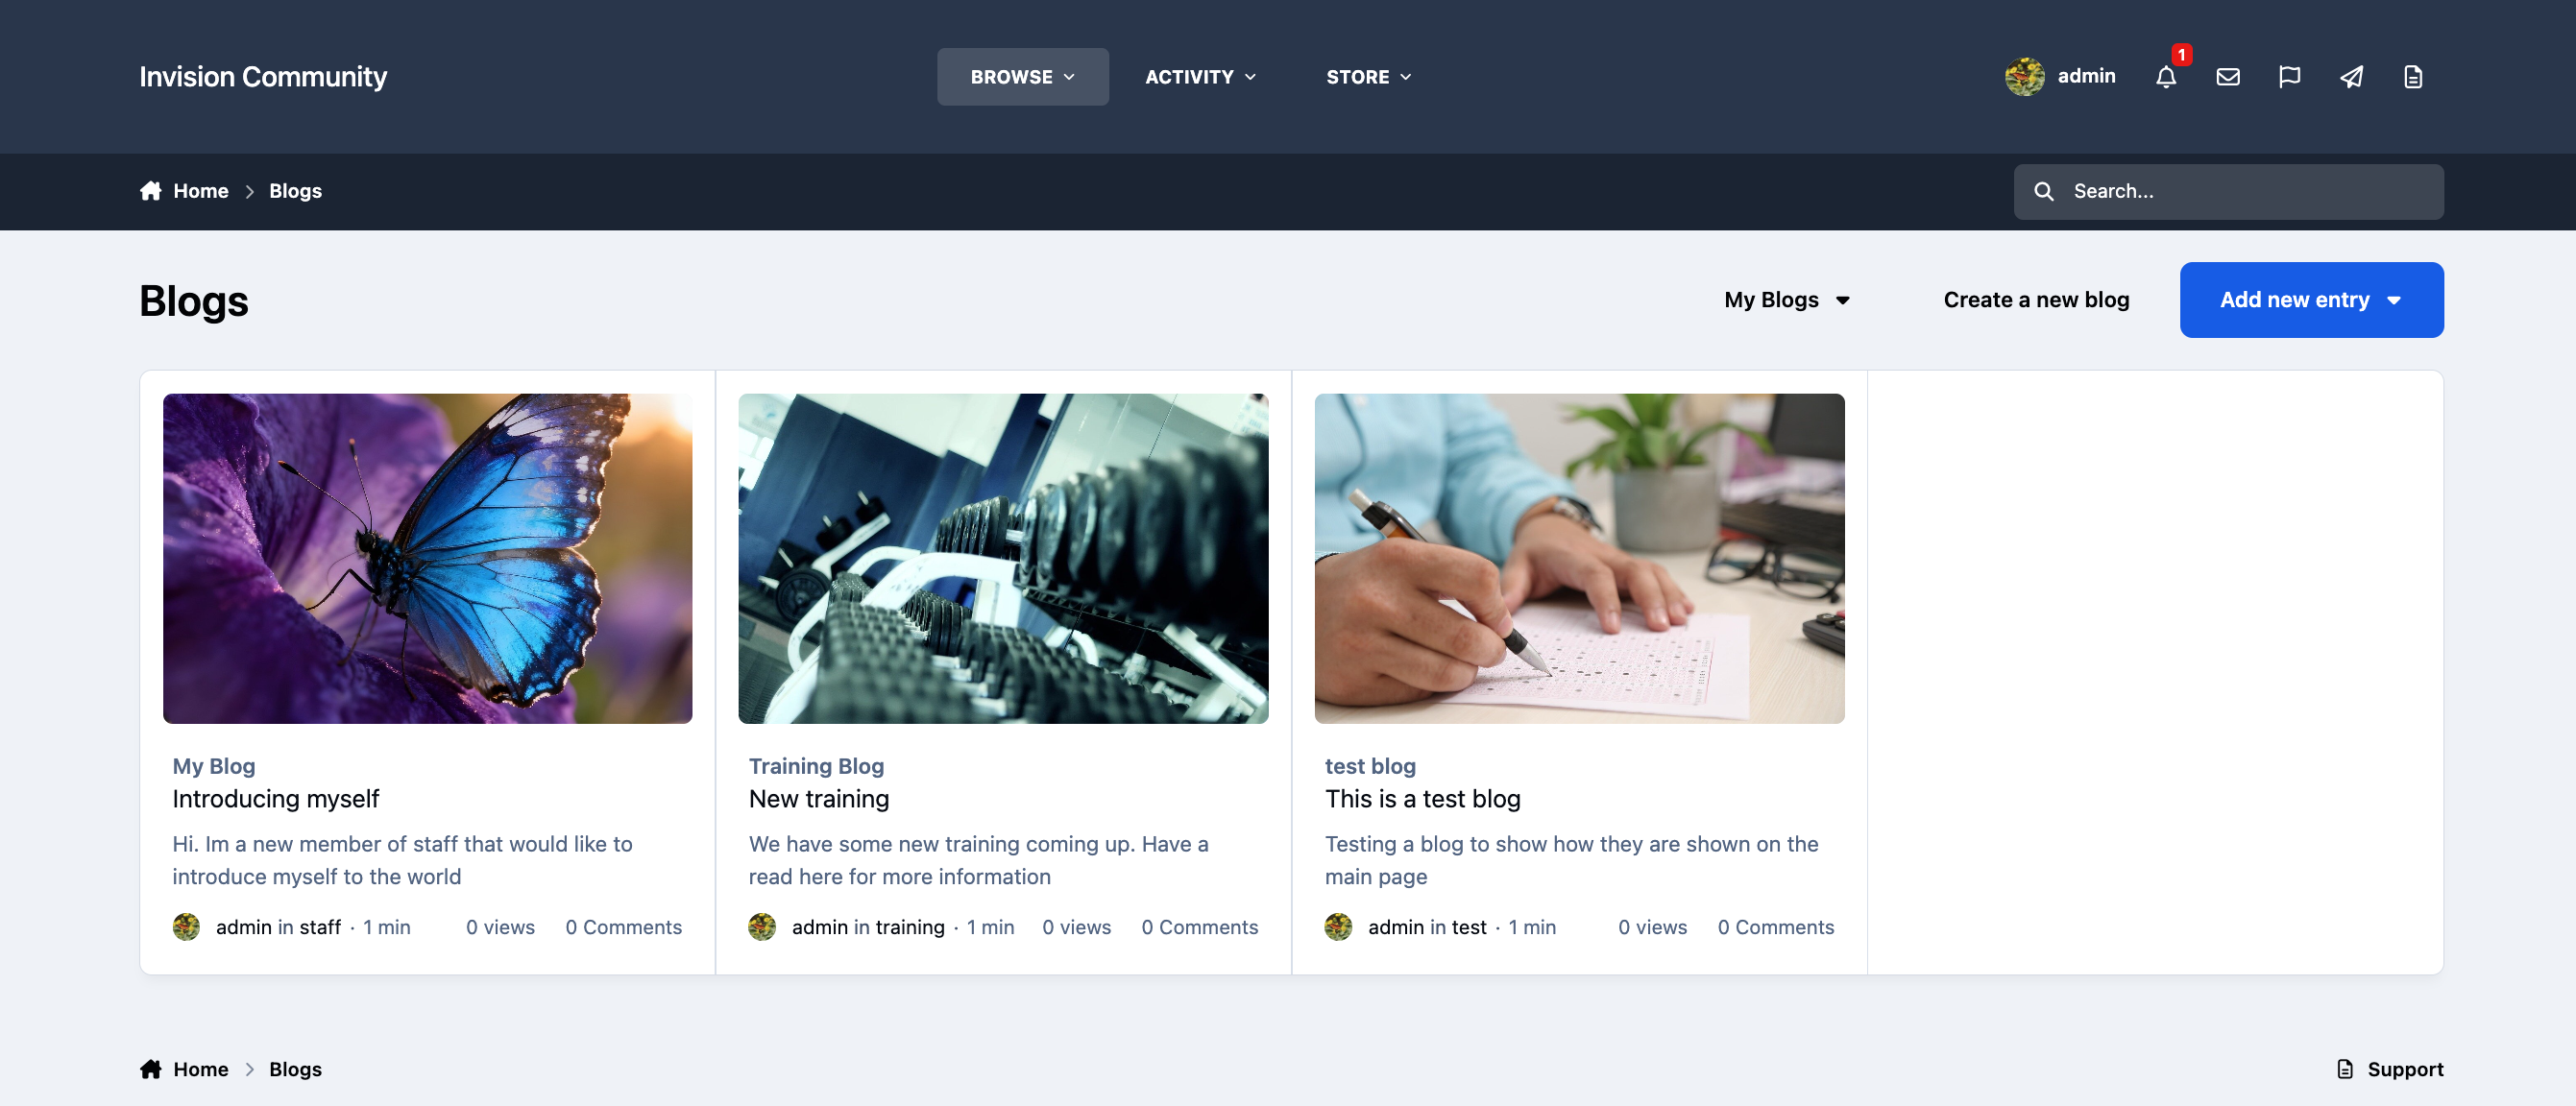
As you can see, blogs are simple for members to use and can serve many purposes within your community.
Example Blogs Page
You can find more guides under the Blogs section in the left-hand menu. These guides provide deeper explanations of specific settings, along with additional examples and tips.
As with all areas of the suite, if you are unsure where to find something or cannot locate the information you need in our guides, please feel free to submit a ticket to our support team. We are always happy to help you get the most out of your Invision Community suite.
Recommended Comments