
Clubs provide a way to create and support sub-communities within your site. Over the years, many customers have asked for social group functionality, and Clubs are our implementation of that concept — giving members their own focused spaces within your wider community.
Set up
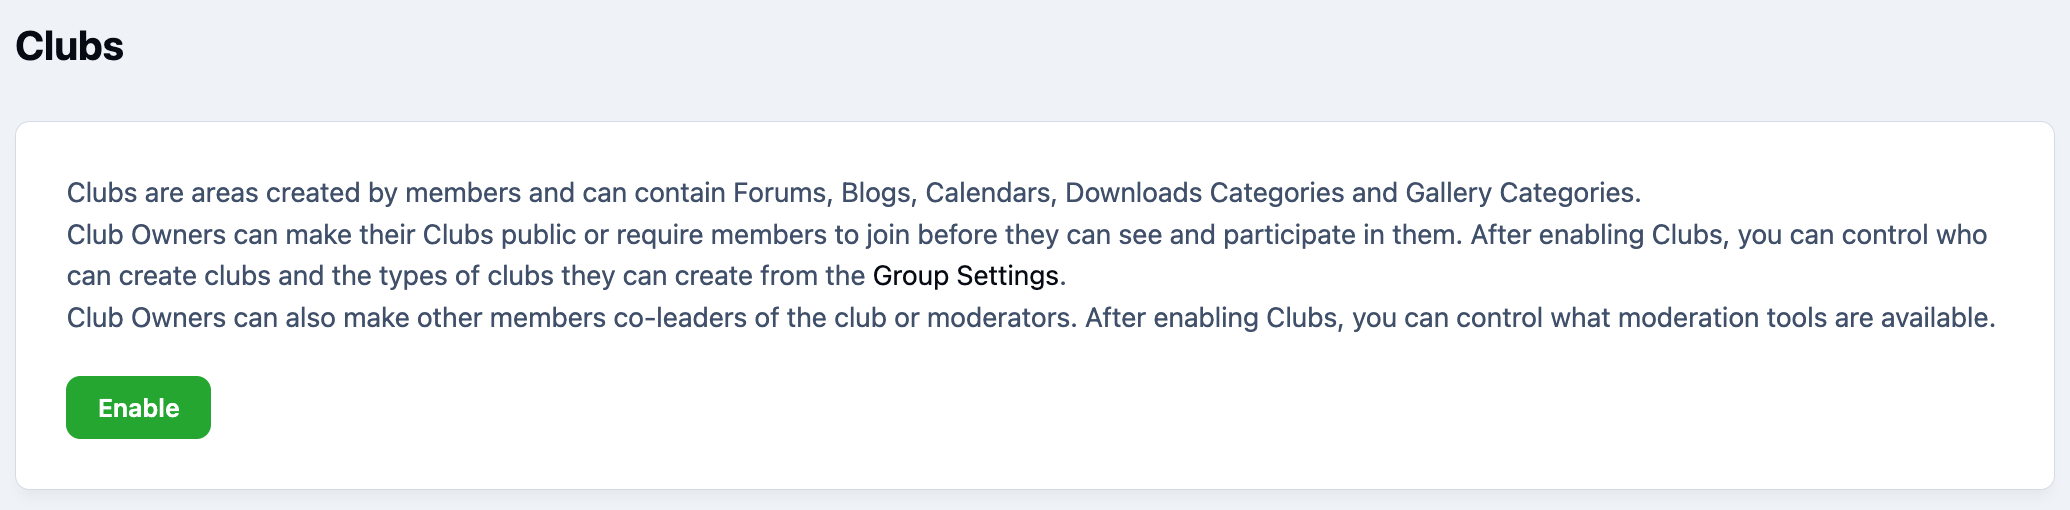
Switching On
You can do this by navigating to the follwong location within your Admin CP:
Community → Clubs → Clubs
Here you’ll see an 'Enable' button. Once activated, you can start configuring and creating Clubs for your community.
Enable Clubs to Start
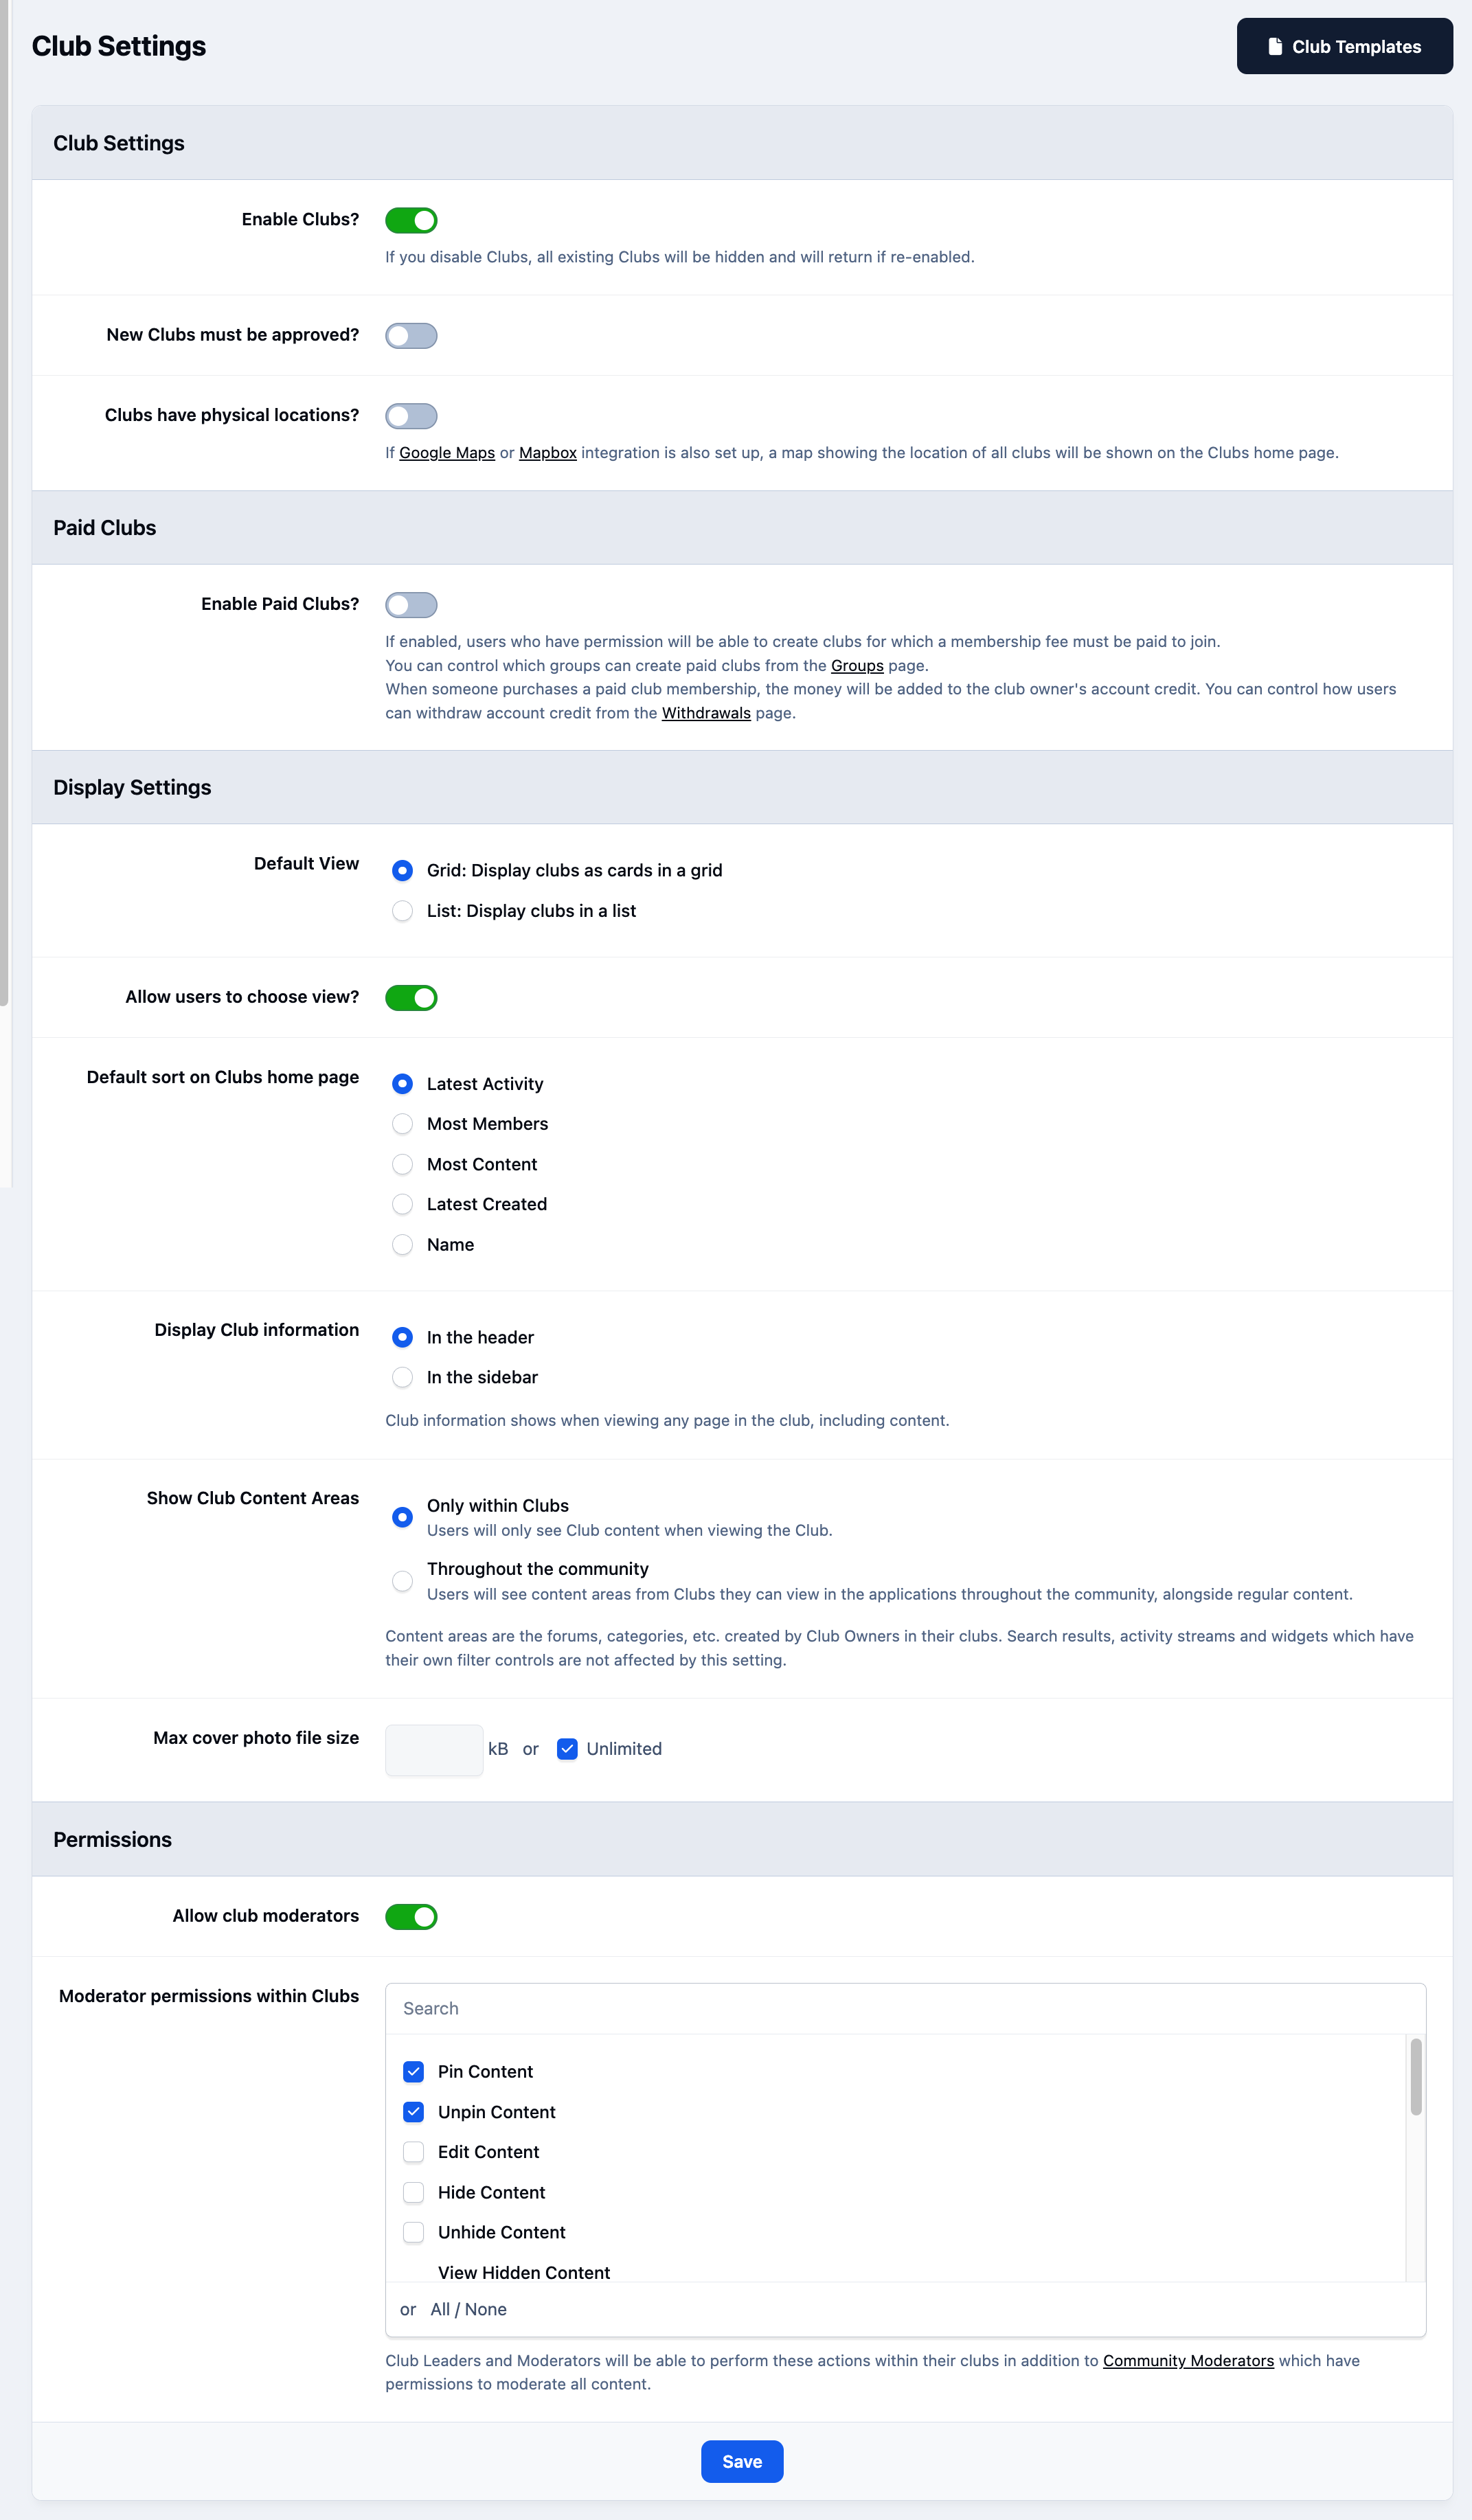
Setup
The Clubs application includes a range of global settings that apply to all clubs across your site. These settings control everything from whether new clubs require staff approval, to how clubs are displayed within your community.
One area that deserves particular attention is the permissions assigned to club moderators. Here, you can define exactly what level of access and control they should have within their clubs.
Various Club Settings
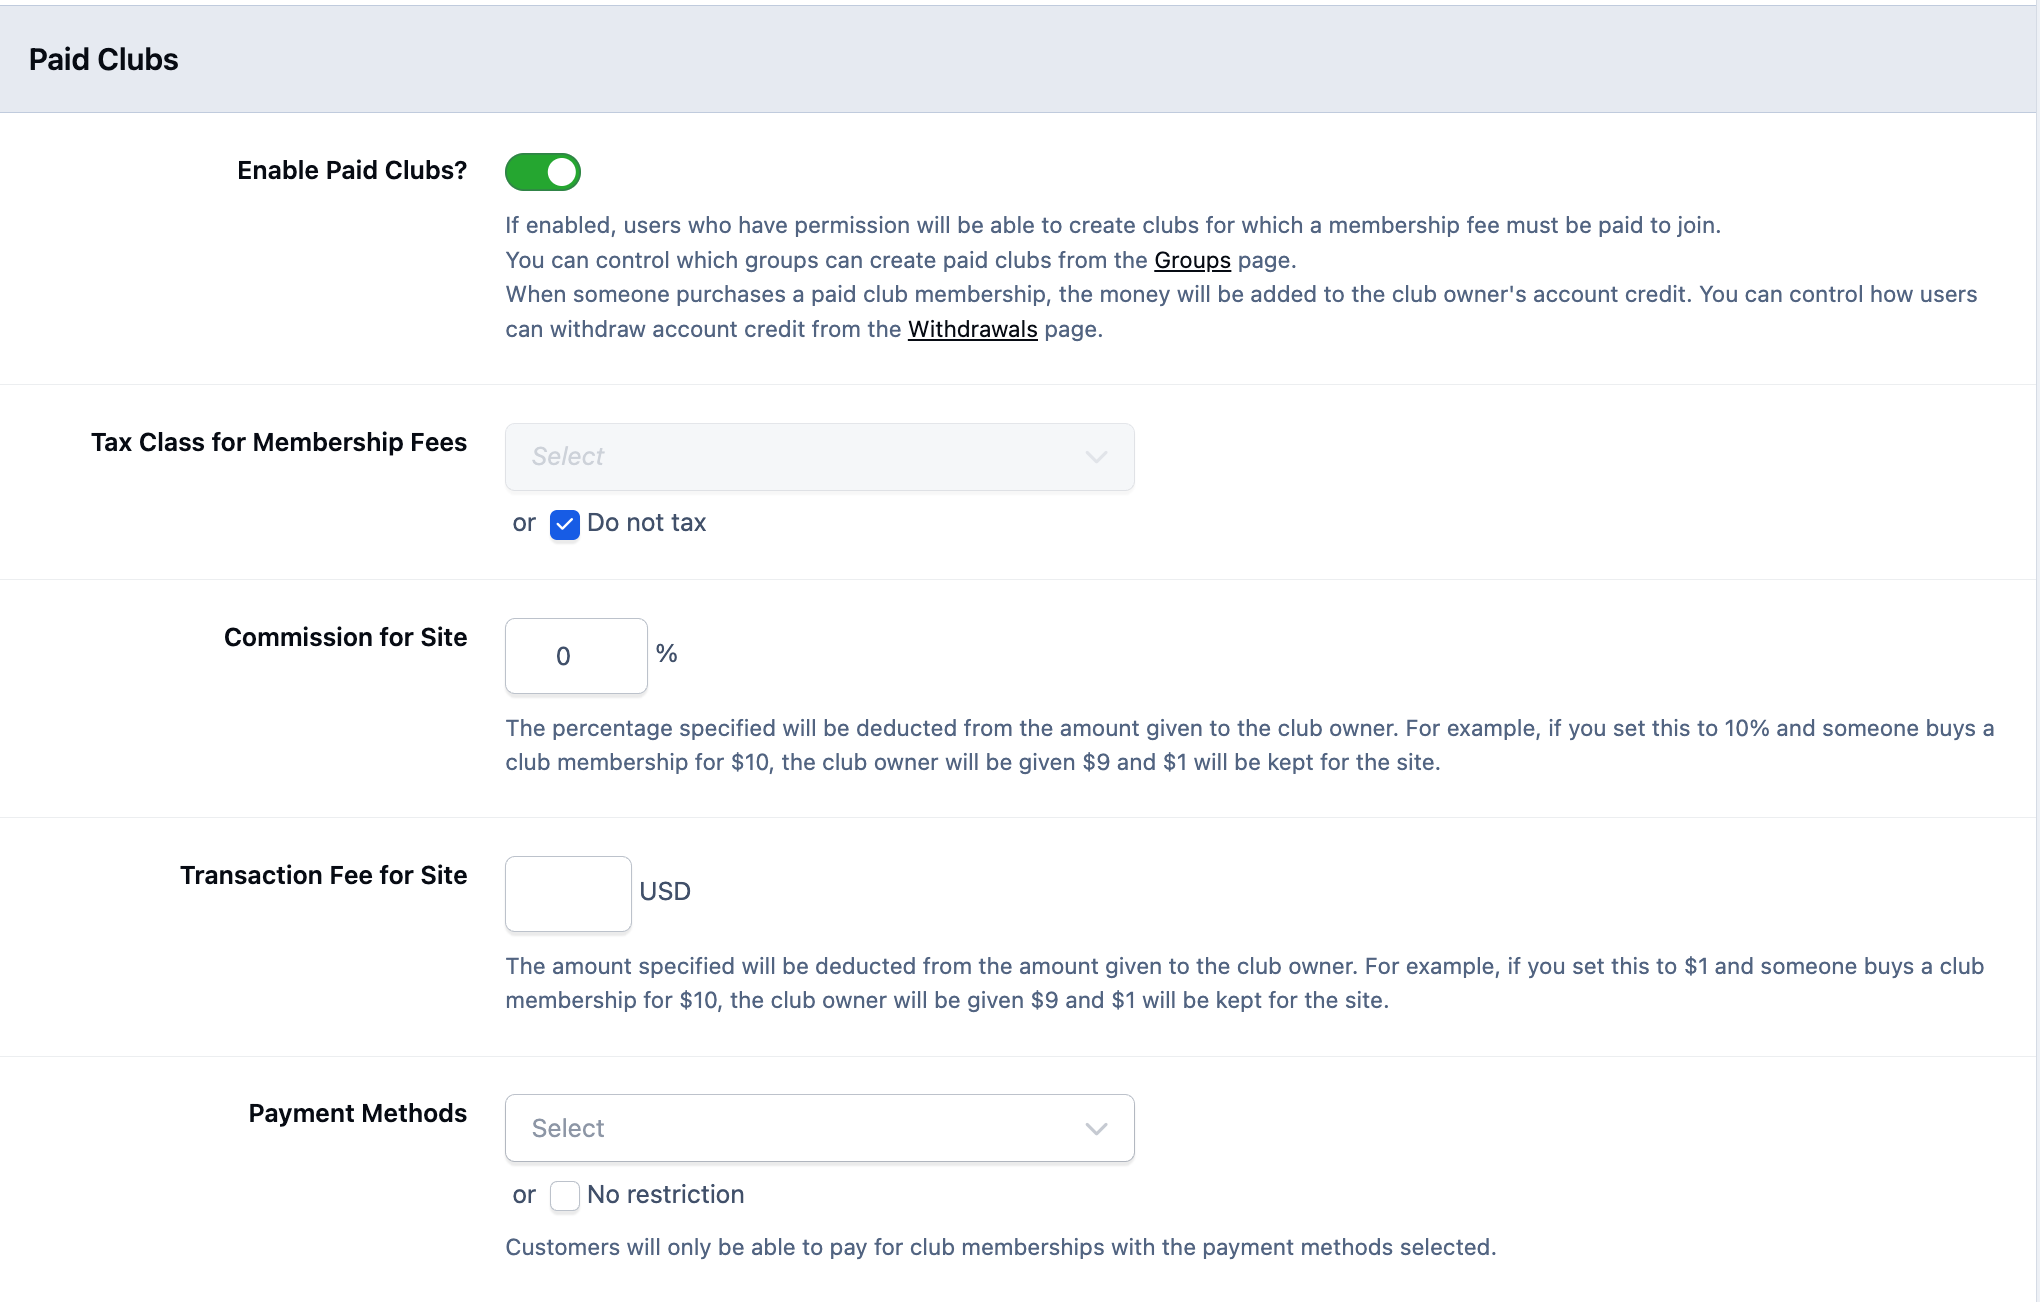
Paid Clubs
you can enable paid access to Clubs directly from here
Community → Clubs → Settings
Once enabled, eligible members will be able to create Clubs that require a membership fee to join. You can control which member groups are permitted to create paid Clubs by adjusting the relevant settings within each group’s Club permissions.
The available settings also allow you to define commission rates for your site, configure applicable taxes, and choose which payment methods can be used for paid Club memberships.
Enabling Paid Clubs
his adds an extra option during Club creation for members who have the appropriate permissions.
Any revenue generated from paid Club memberships will be credited to the creator’s account balance. These funds can then be withdrawn in accordance with your configured withdrawal settings under Commerce → Payments → Withdrawals.
Allowed Permissions
You can manage what members are allowed to create and participate in directly from their group settings. These options can be found by navigating to Members → Groups → Social, then editing the relevant group.
From here, you can control:
Which types of Clubs members are allowed to create
How many Clubs they can create
Whether they can create paid Clubs (this option is available only if paid Clubs are enabled)
What types of content they can create within Clubs
For more detailed information, please refer to the Group Settings documentation.
Using Clubs
Club Types
Public - Everyone can see these clubs and their posts. Members can participate within that club without the need to join.
Open - Everyone can see these clubs and their posts, however you have to join the club in order to participate. Anyone can join.
Closed - Everyone can see the club, and can see who is in that club, but only members of that club can participate. Users need to ask a leader of that club in order to join.
Private - Thee clubs can only be seen by member of that club. Users would need to be invited by a leader of that club.
Read Only - These are read only clubs that can only be added to by the leader of that club. Members cannot add content.
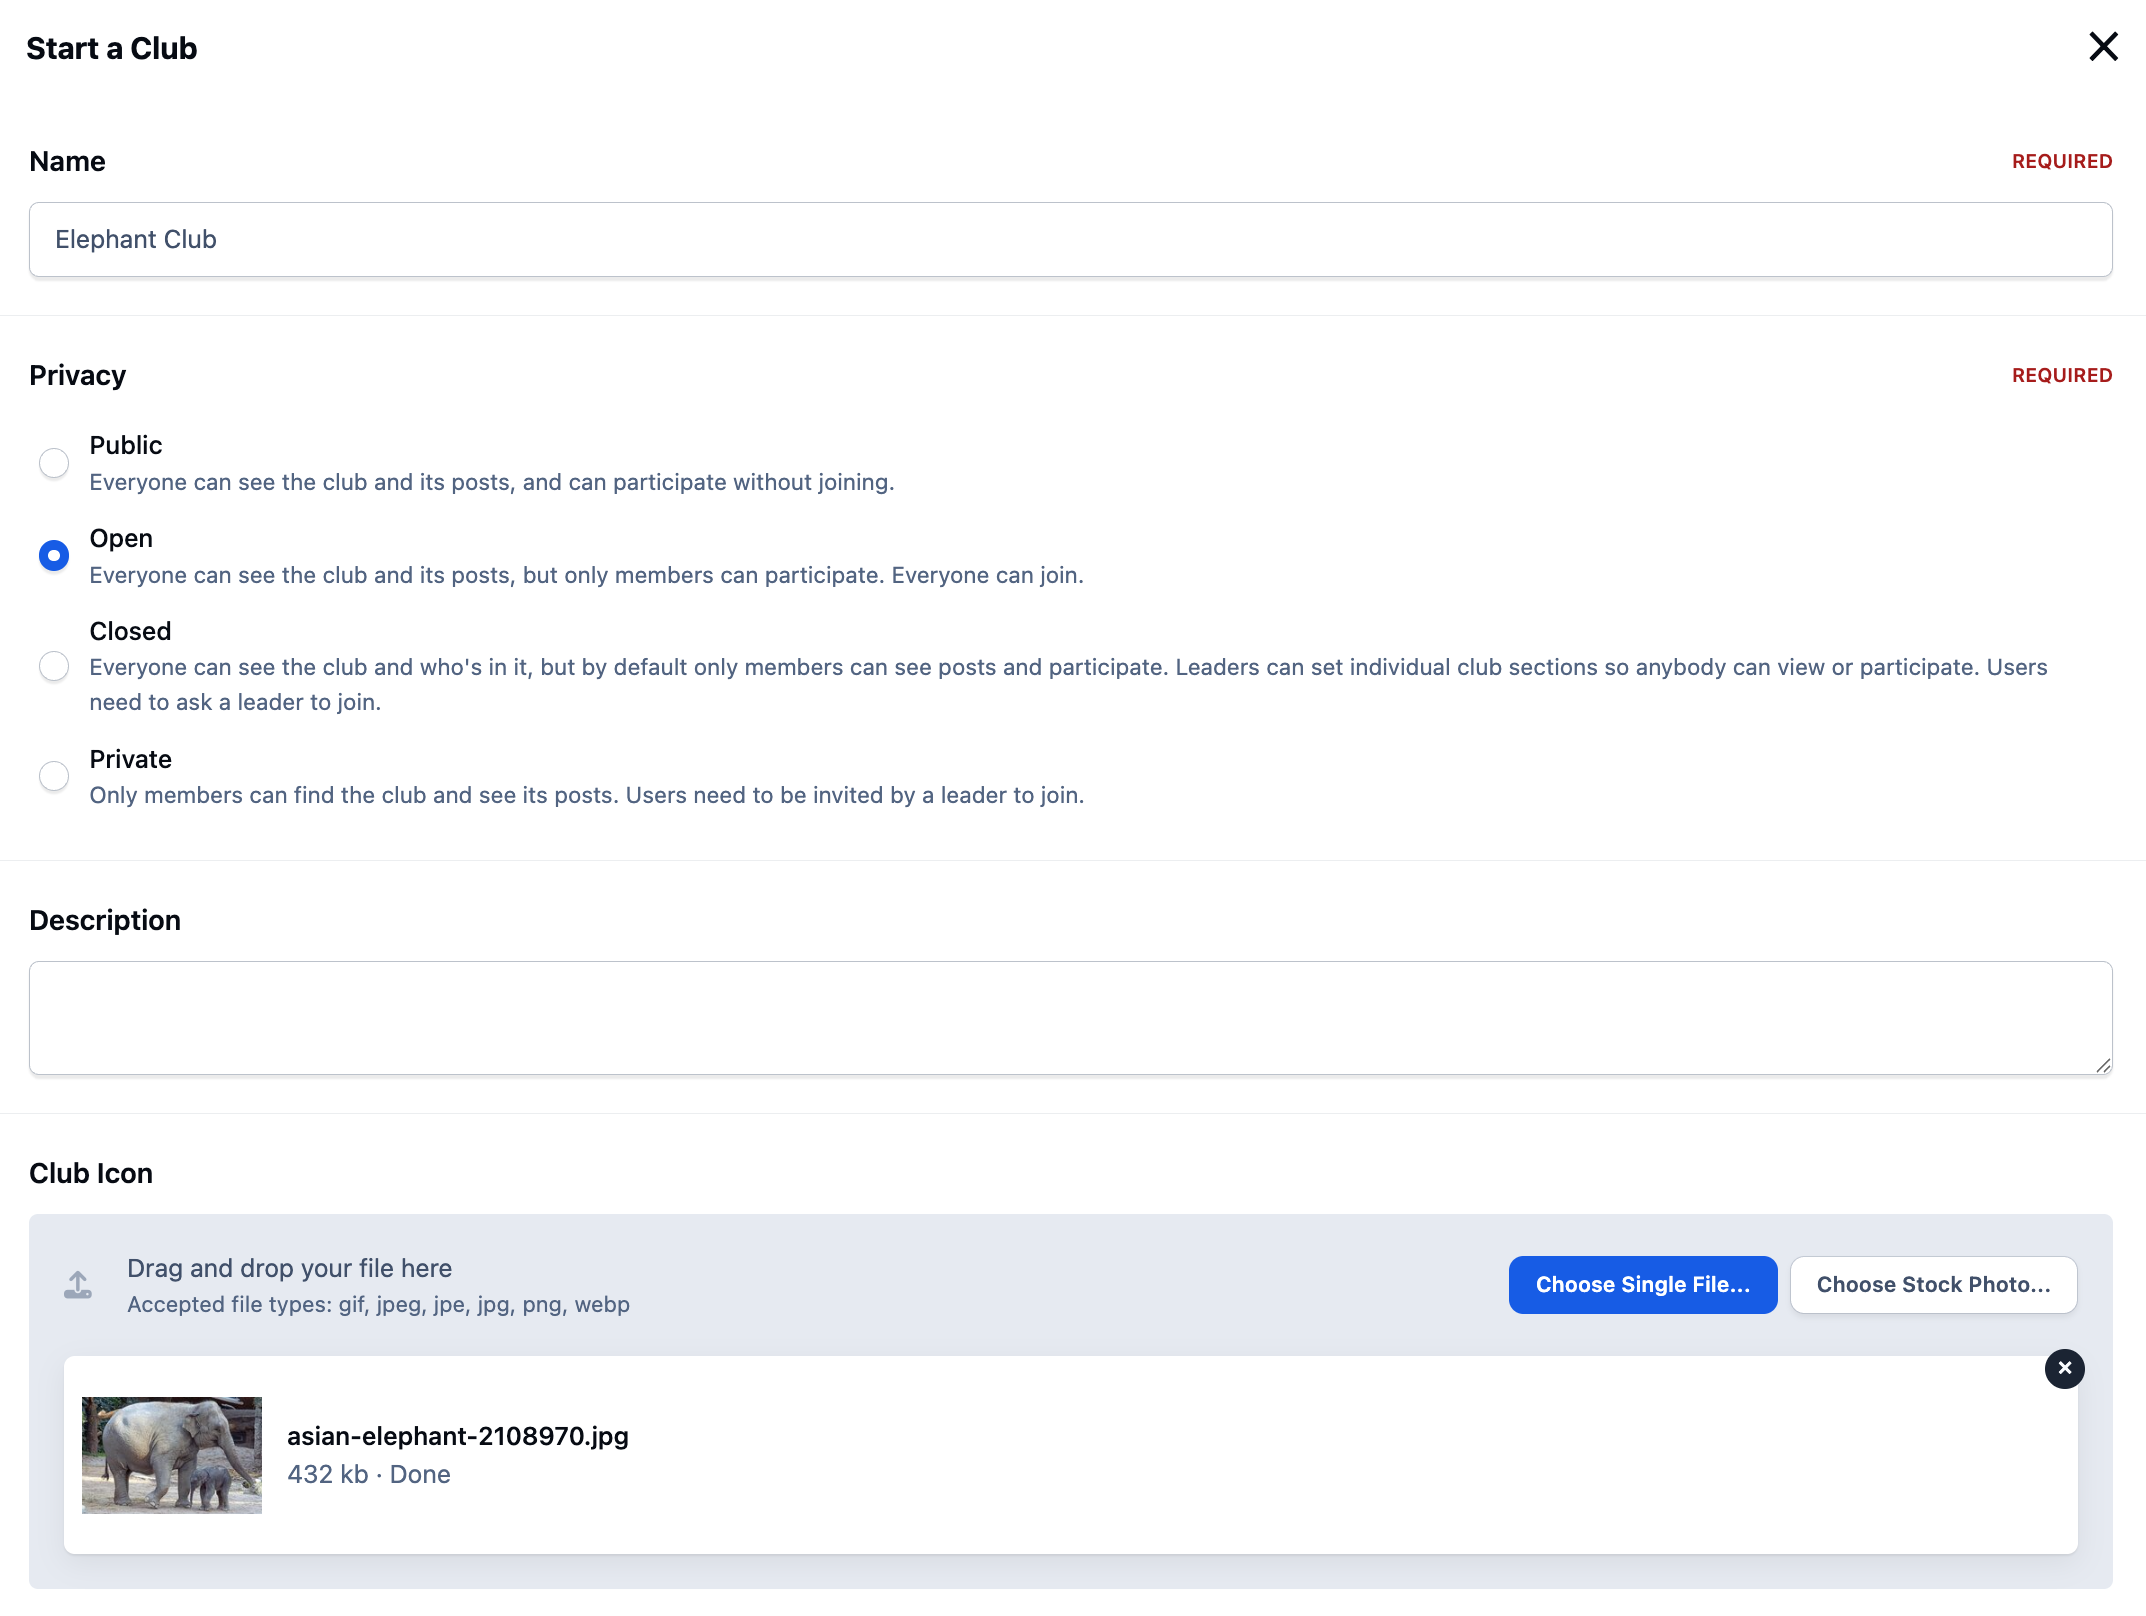
Creating Clubs
Members with the appropriate permissions can create new Clubs from the front end of your site. This is done from the Clubs page using the 'Start a Club' button.
To create a Club, the member simply completes the required details on the form and saves it, which will generate the Club.
In this example, a public Club has been created, complete with a custom icon that will display on the Club’s profile. A location has also been selected. Adding a location is optional, but if provided, it will display a map showing where the Club is based.
Creating a New Club
Addings Feature
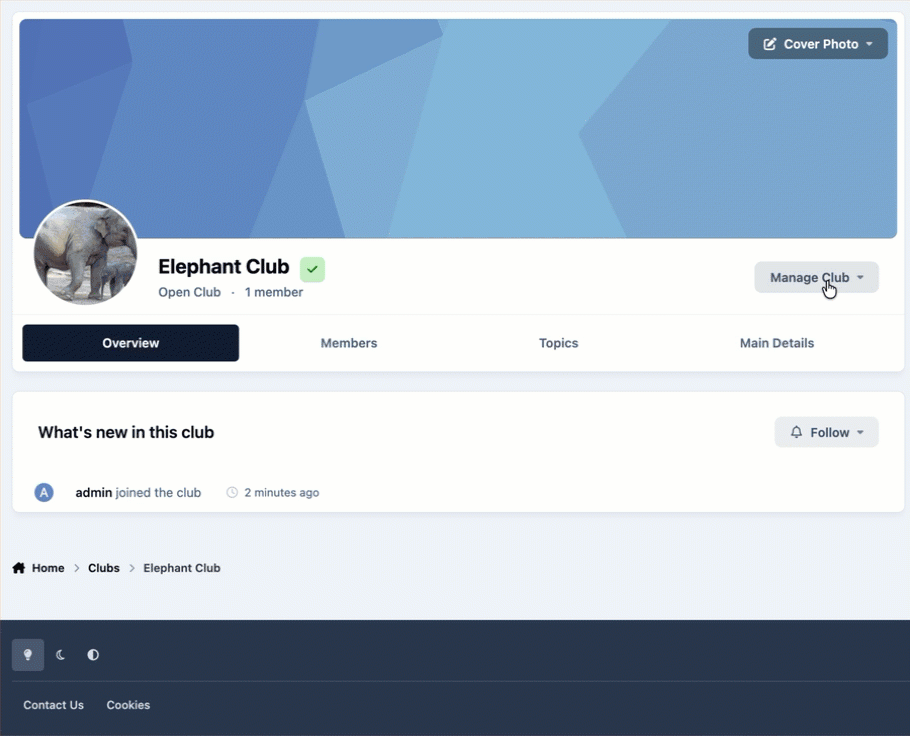
Once the Club has been created, click on it to enter.
Initially, you’ll see the Overview tab, which displays a stream of all activity within that Club. To add additional sections,such as forums, galleries, or other content areas. then select 'Manage Club'. From there, you can add and configure the extra tabs you’d like to include.
Manage Club Menu
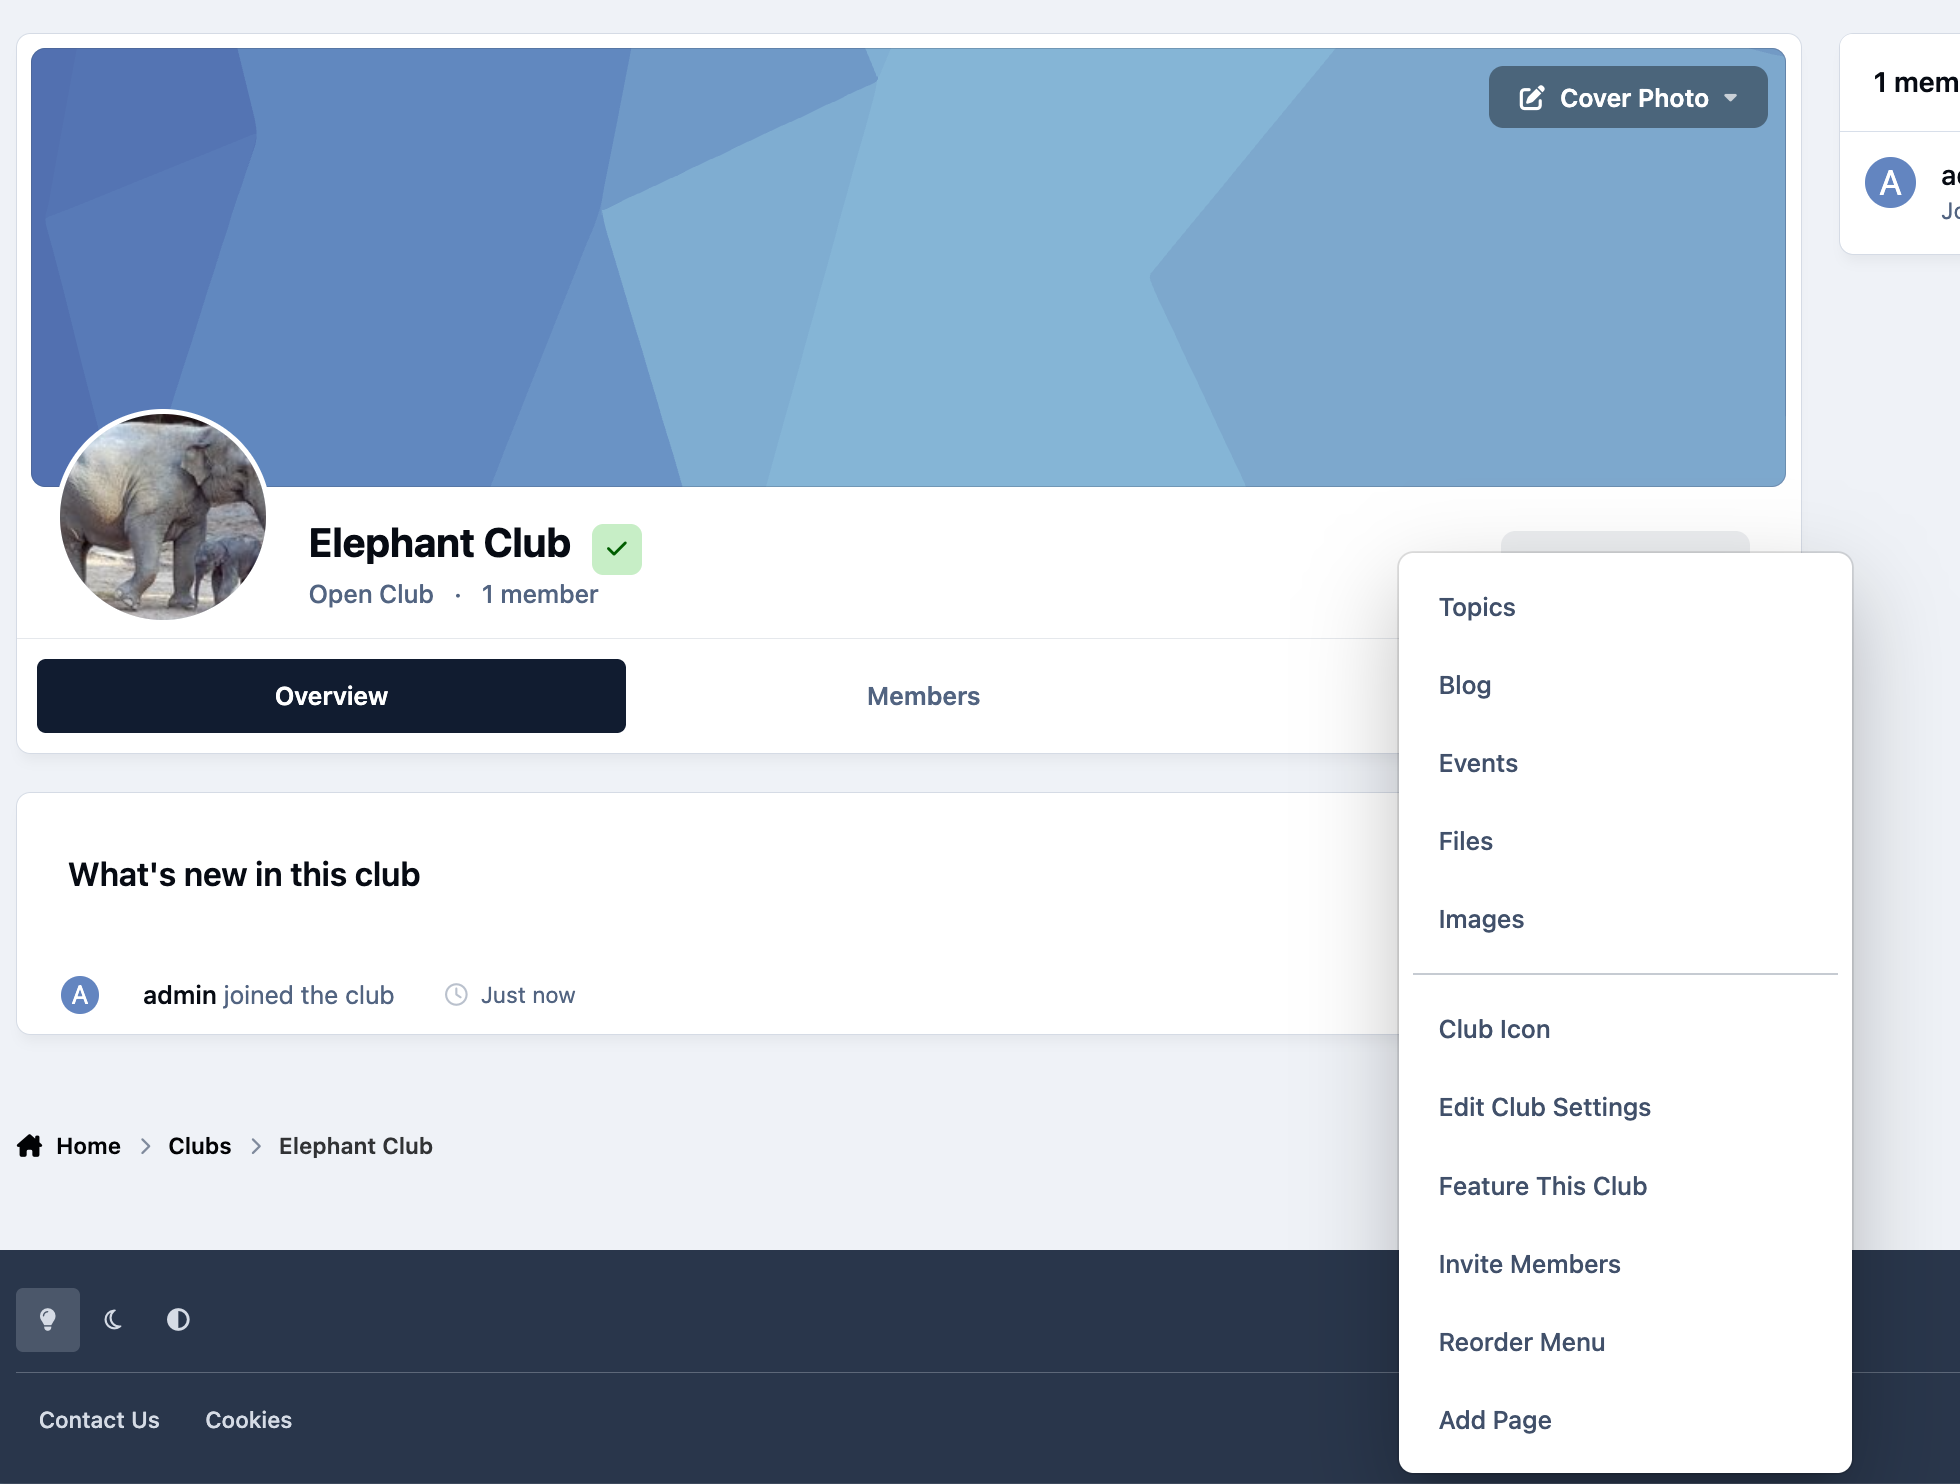
At the bottom of the options, you’ll see an additional 'Add Page' setting. This allows you to create a fully custom page within the Club.
You might use this to add an information page, guidelines, resources, or any other content specific to that Club. It provides flexibility to tailor each Club to its own needs.
Reordering Menus
If you’d like to change the order of items within a Club, you can easily do so from the front end.
Open the Club, select 'Manage Club', and then choose 'Reorder Menu'. You’ll then be able to drag and drop the menu items into your preferred order, allowing you to control how they appear to members.
Reordering Club Features
Club Rules
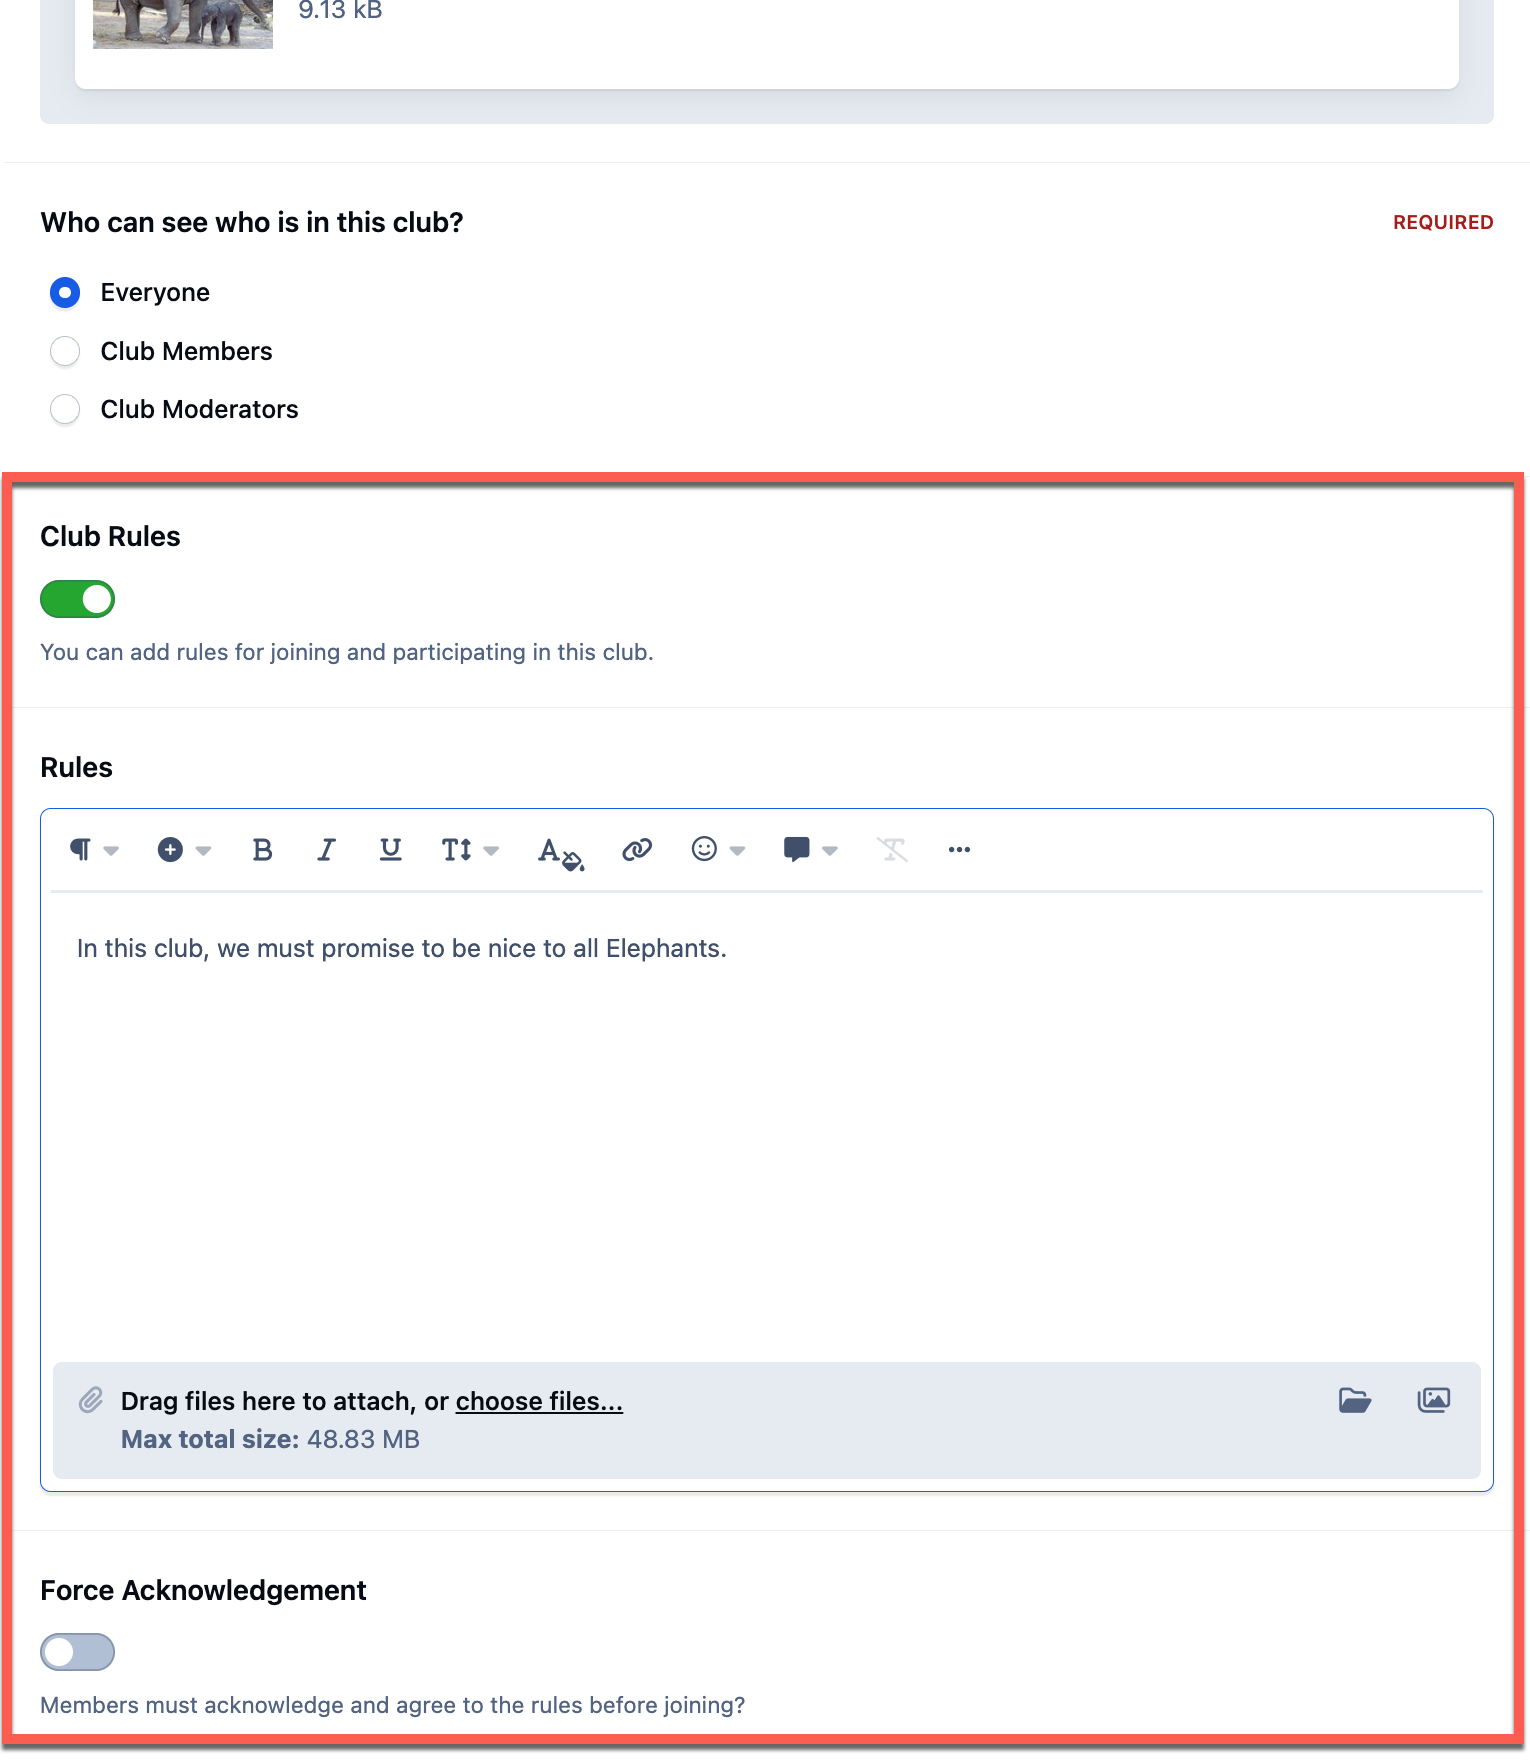
You can add or update Club terms either during the initial setup process or at any time later by selecting 'Edit Club Settings' from the 'Manage Club' menu.
From there, you’ll be able to create new rules or modify existing ones. You can also choose to require members to acknowledge these rules before they’re able to join the Club.
Adding Club Rules
A Note on Rules
If you change your rules, you can use the selection at the bottom to force people to re-acknowledge. Ensuring everyone has seen any rules you set up.
Moderators & Leaders
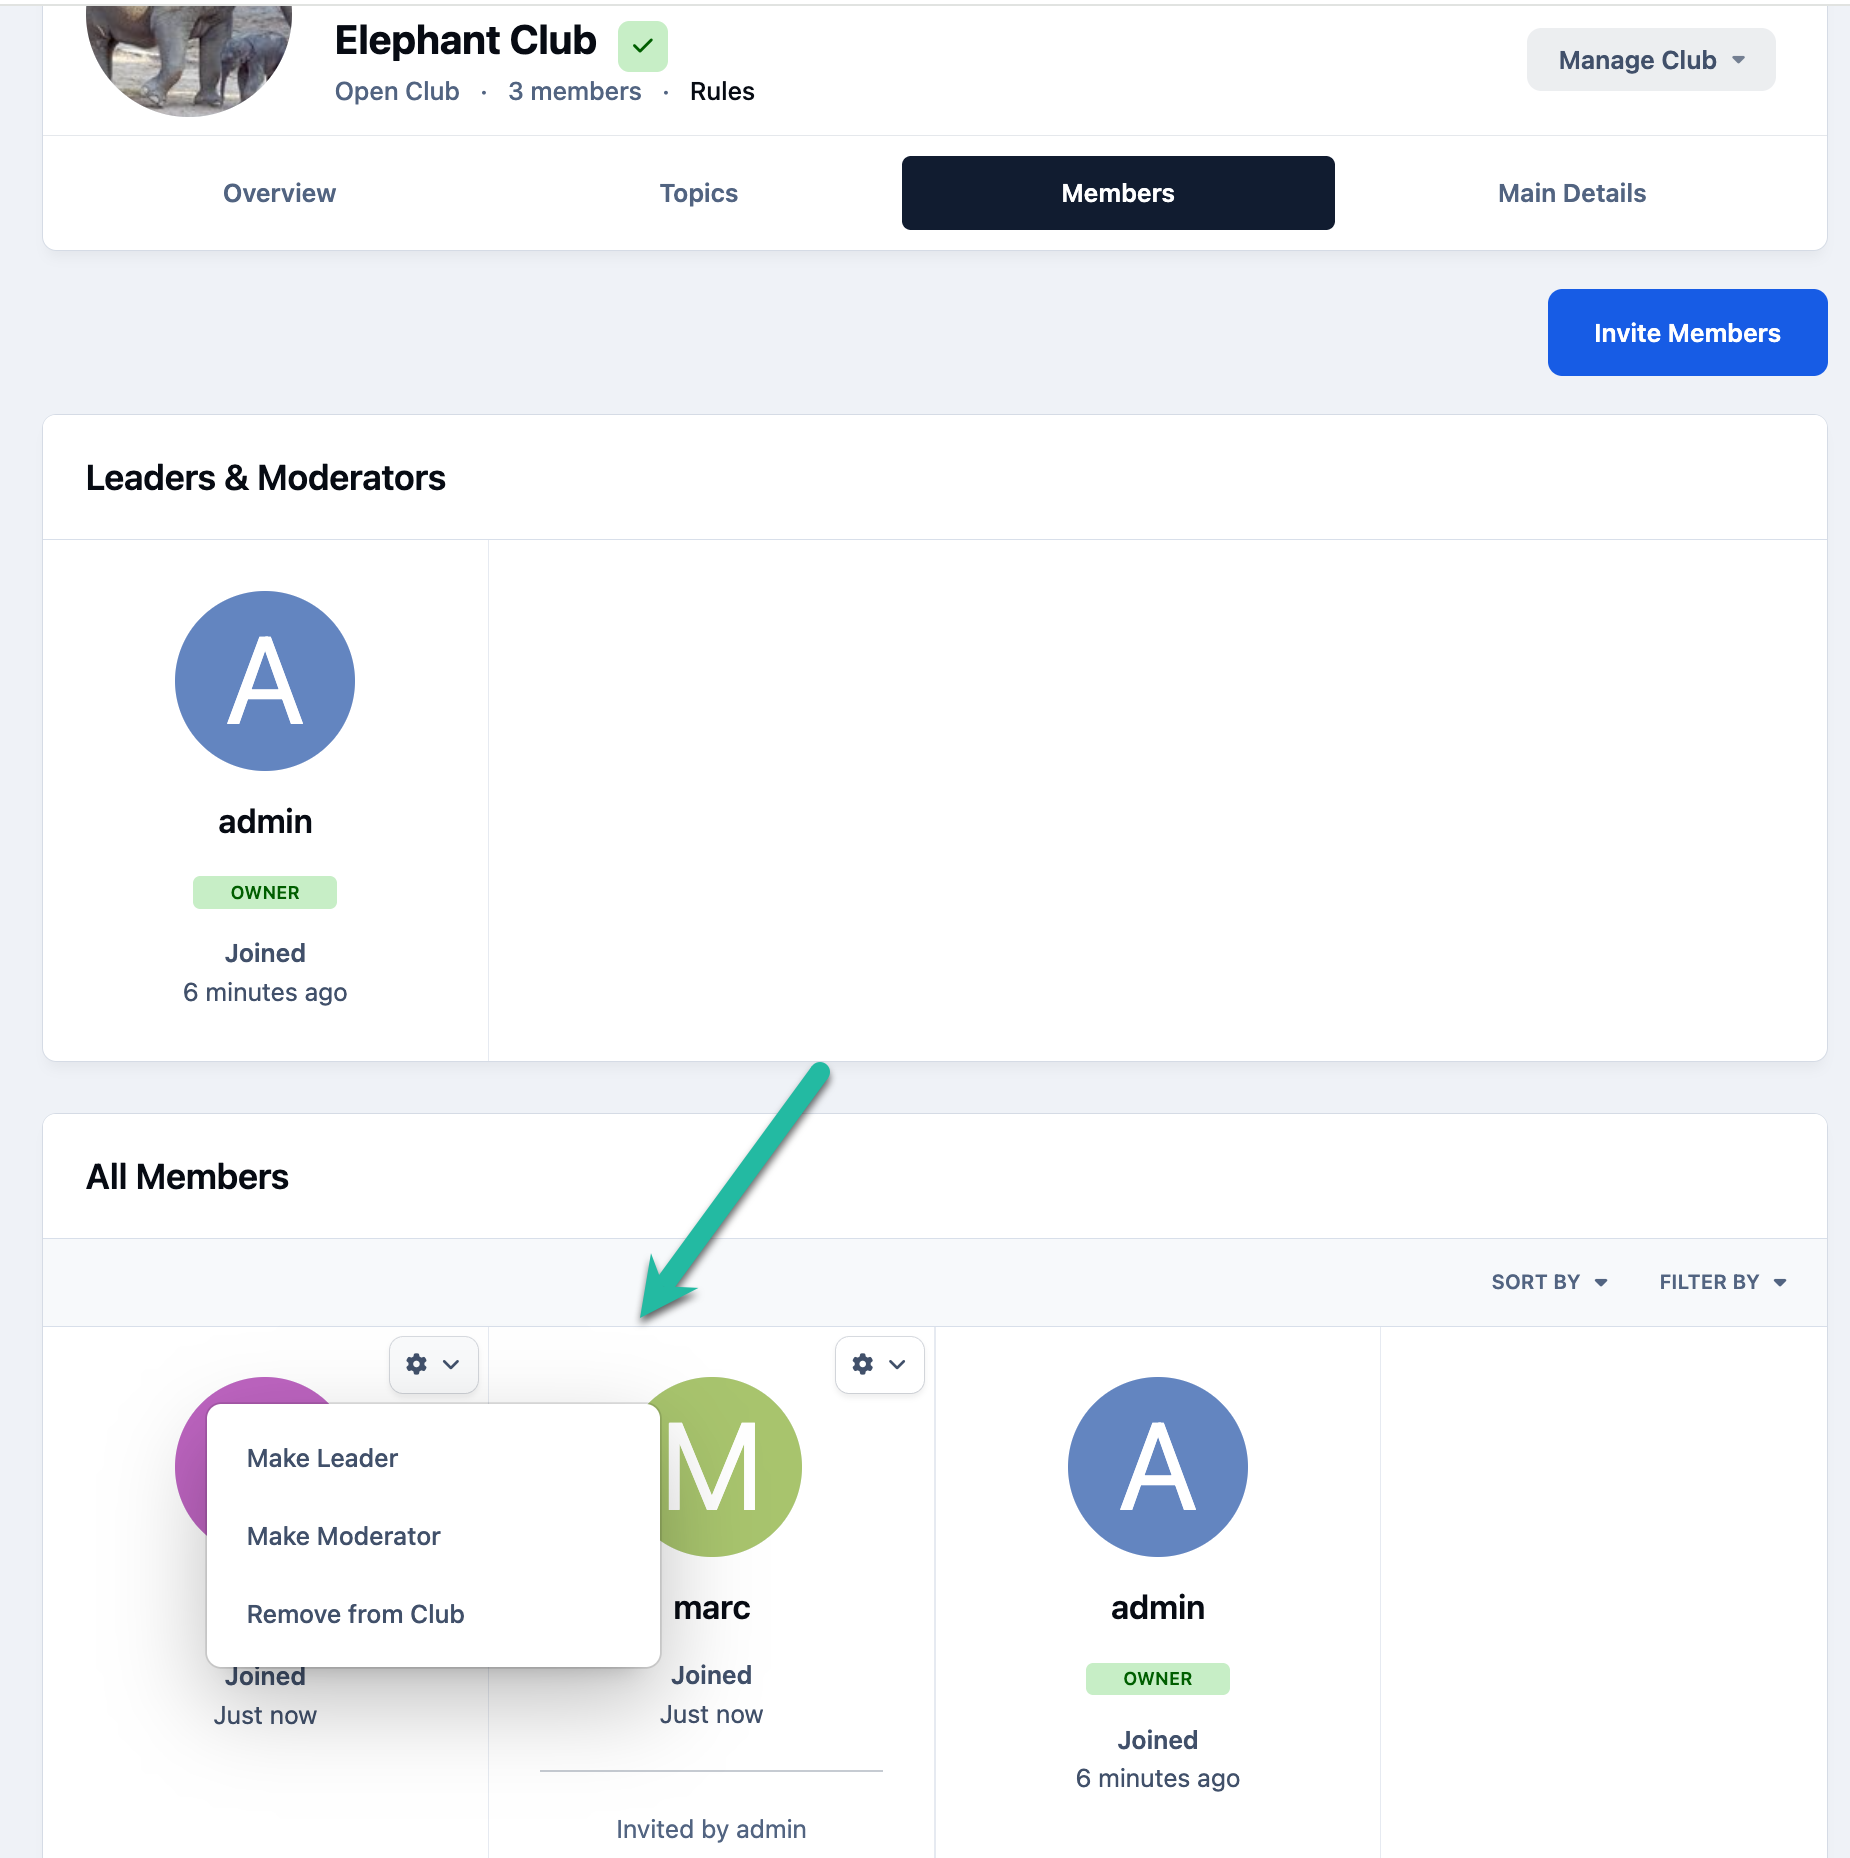
Within a Club, the creator has the ability to promote members to either Leaders or Moderators. The roles differ as follows:
Leaders - A Leader can moderate content and manage Club members, including promoting other members to Leaders or Moderators. The original creator of the Club is automatically assigned as a Leader.
Moderators -A Moderator can moderate content within the Club but cannot make structural changes or assign roles to other members.
You can promote members to Leader or Moderator from the Members tab within the Club, as shown in the image below.
Making Someone a Leader or Moderator
Recommended Comments