


Increasing the security of your site beyond the standard login process can be an important consideration, whether for all members or specifically to protect sensitive areas such as administrative sections.
Two-factor authentication (2FA) adds an extra layer of security by requiring an additional form of verification during login. This might include methods such as security questions or text message authentication, helping ensure that only authorized users can access their accounts, even if login credentials are compromised.
Two Factor Authentication
All two-factor authentication settings can be managed from the following location in the Admin CP
System → Settings → Two-Factor Authentication
Invision Community supports three different two-factor authentication methods, each of which is outlined below. When a member enables one of these methods, they will be prompted for the additional verification step after successfully logging in with their username and password.
Google Authentication
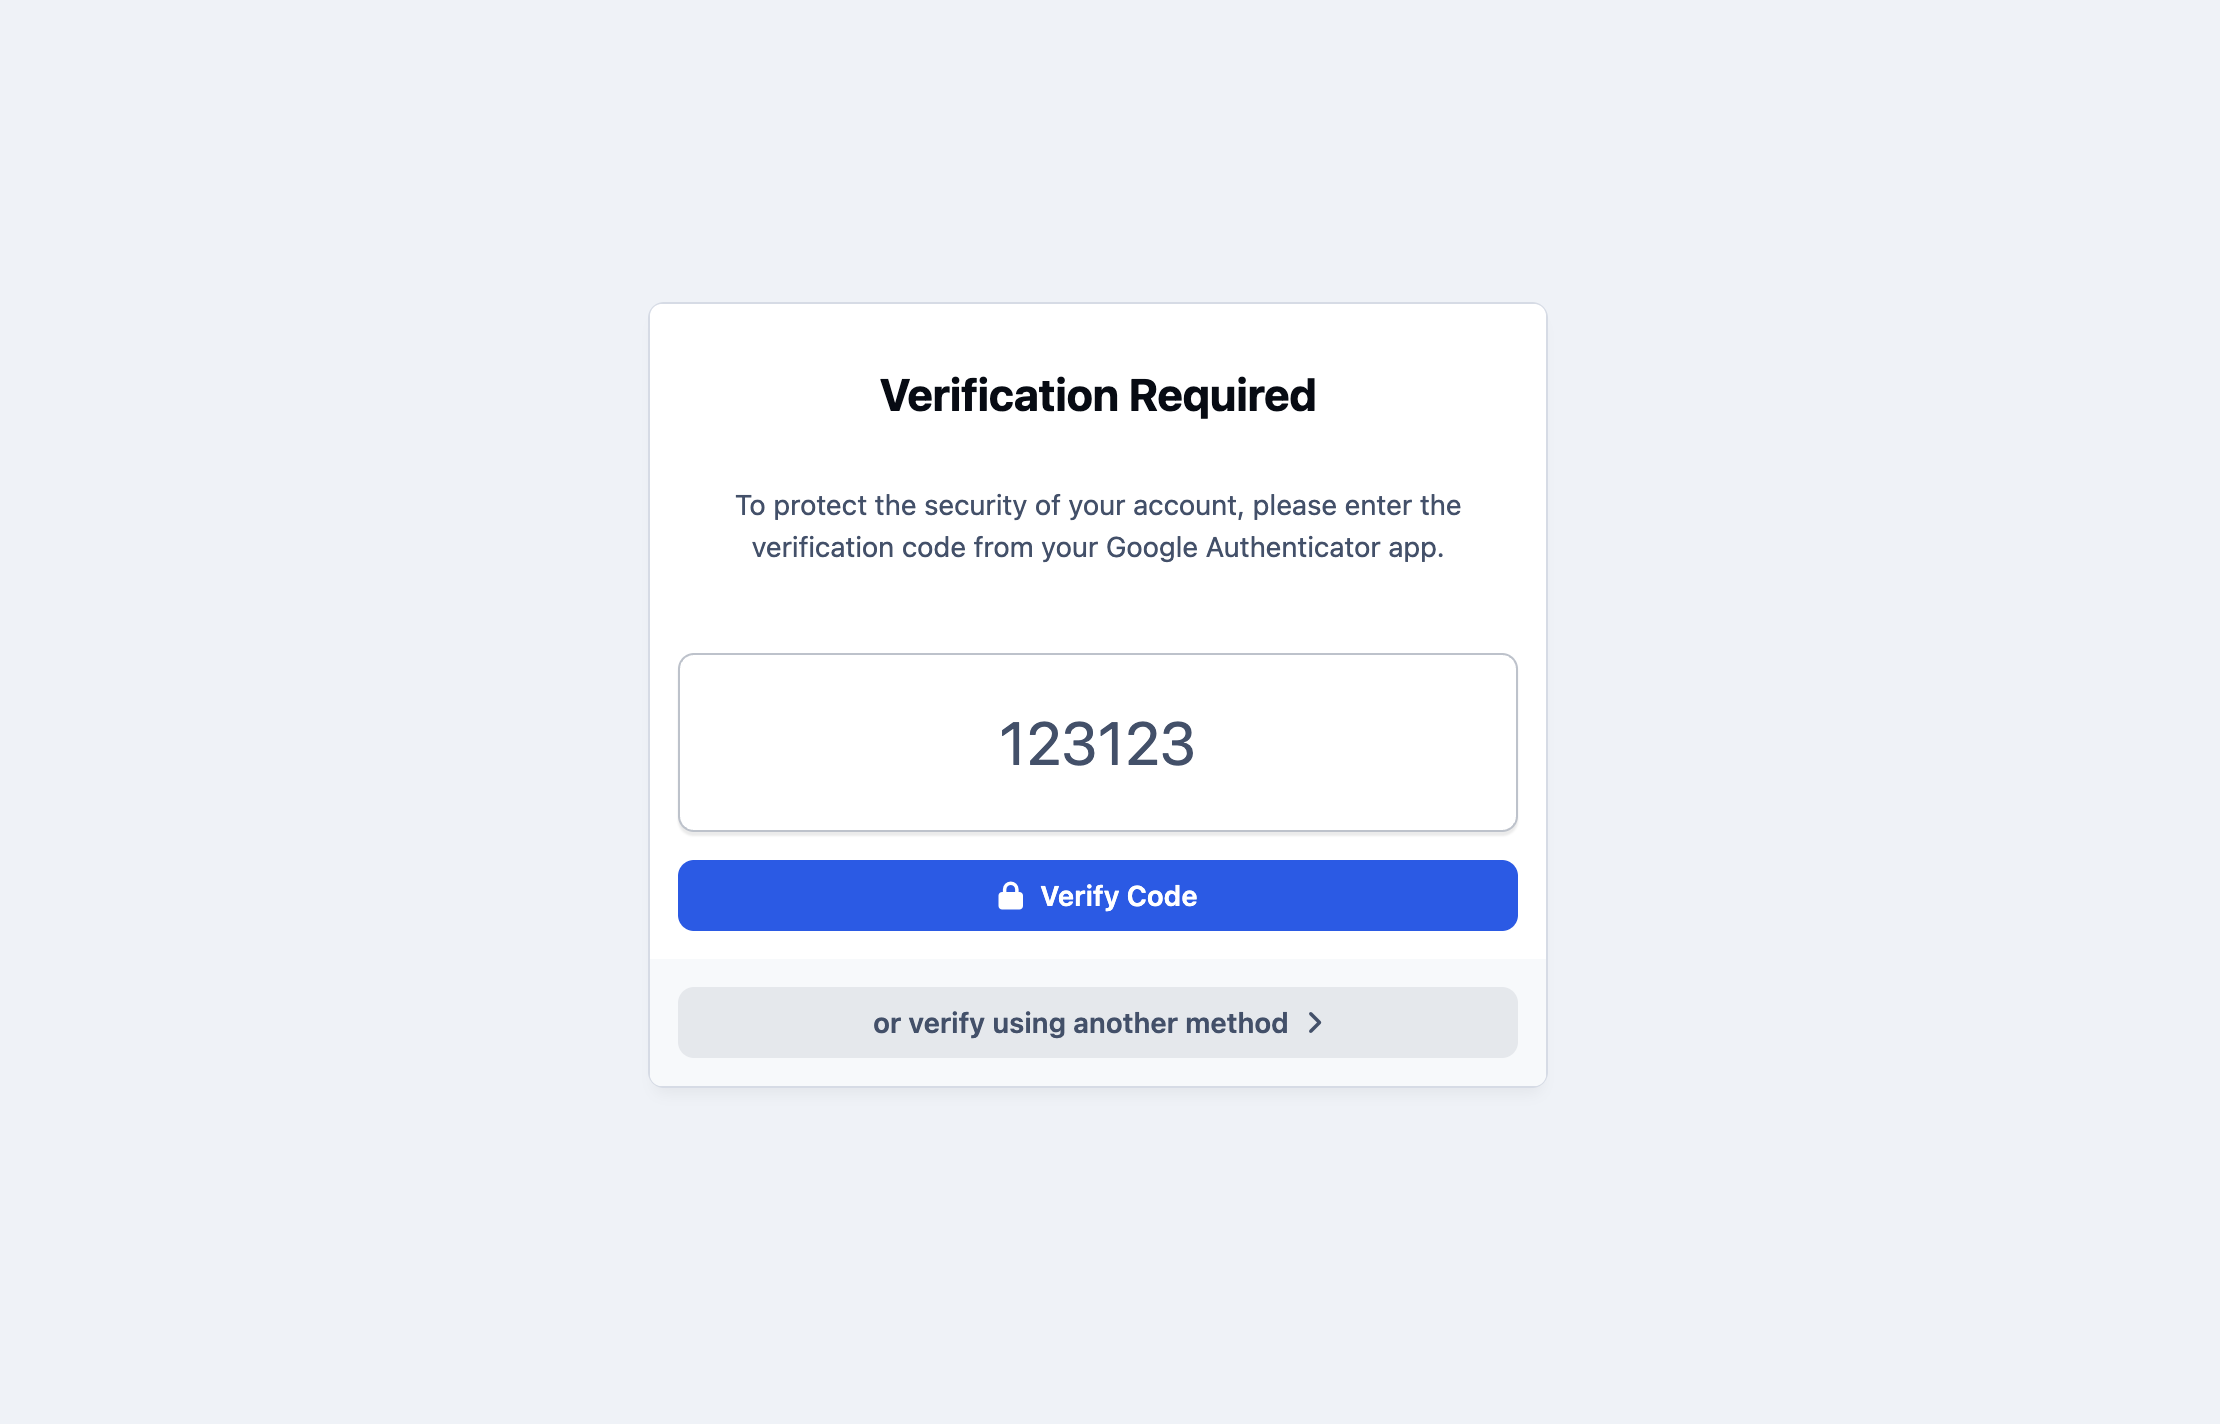
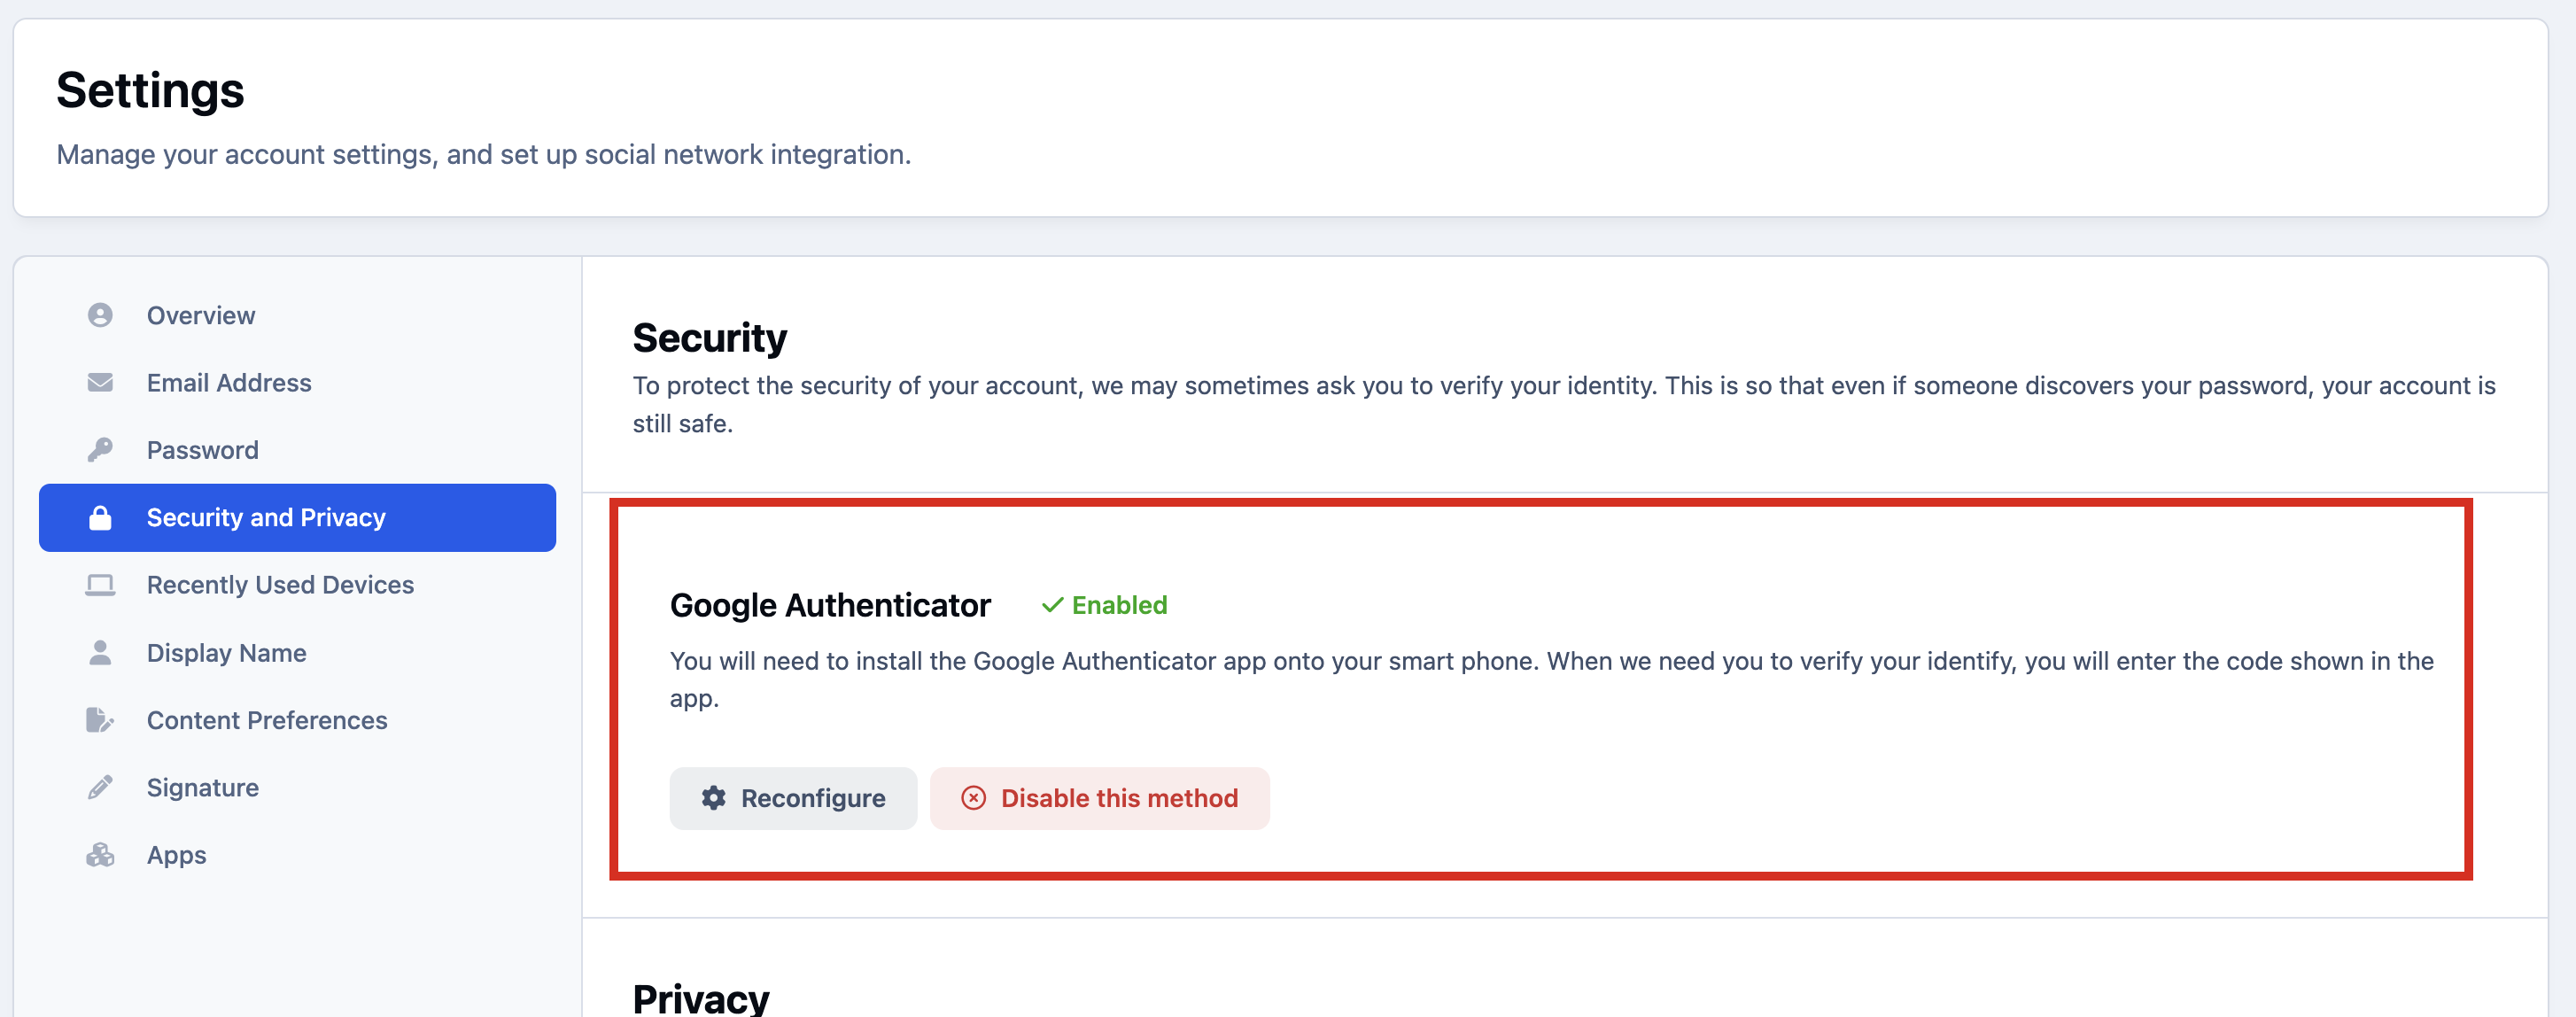
Members can configure two-factor authentication options from their Security Settings, which are found under Account Settings → Security and Privacy on the front end of the site.
From this area, users can see which security methods are already enabled. In the example shown, security questions have been set up. These can be edited using the available option, or additional authentication methods can be enabled if they are available.
Setting Up Two-factor-Authentication as a Member
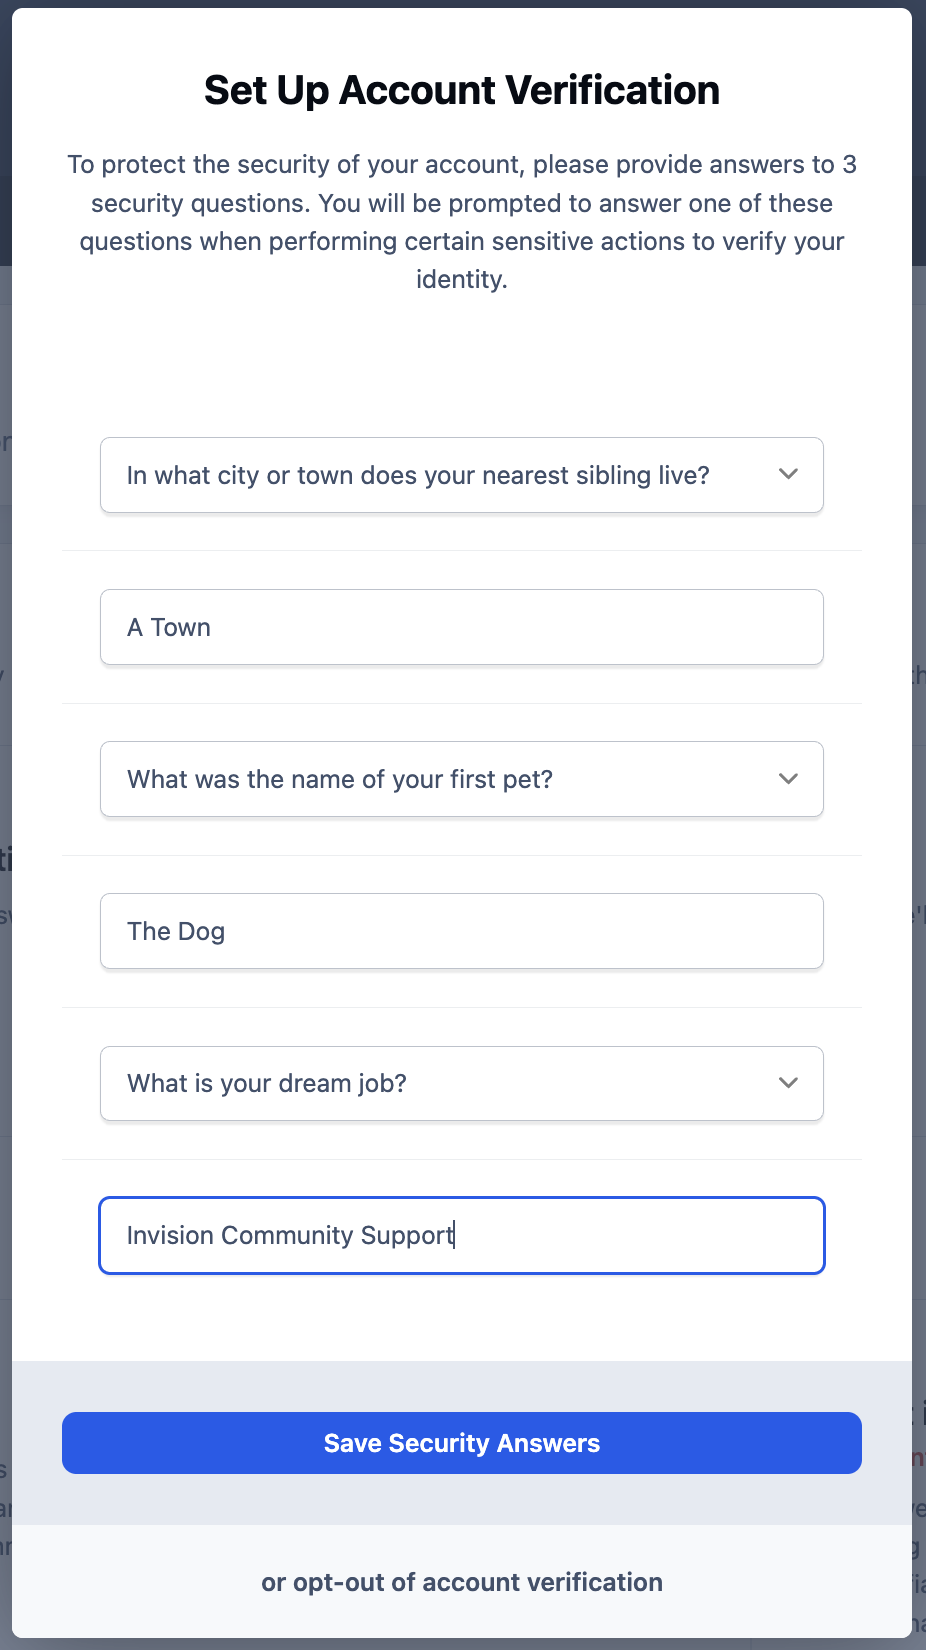
When setting up a two-factor authentication method, the system will prompt the user for any information required to complete the setup. In the example shown here, the user is asked to provide answers to three security questions.
Setting Up Questions
Authentication Types
In the default platform setup, there are three different two-factor authentication methods available. You can choose to allow these methods, or even require members to use them, depending on your security needs.
These options can be managed from the following location in the Admin CP, where each method can be enabled by selecting the icon next to it:
System → Settings → Two-Factor Authentication
Currently available authentication types include
Google Authenticator
A free system that will show a code on an app on the user's smartphone app which they will then need to enter.
Security Questions
The user will provide answers to security questions.
Verify
A paid service that will send a code by text message, phone call or Whatsapp for the user to enter.
Set up of these items vary, based on the item. For example, google verify requires keys from your verify account, whereas security questions you would just enter the questions you wish for the member to be able to use. You set these up by selecting the cog icon next to the item in question.
Settings
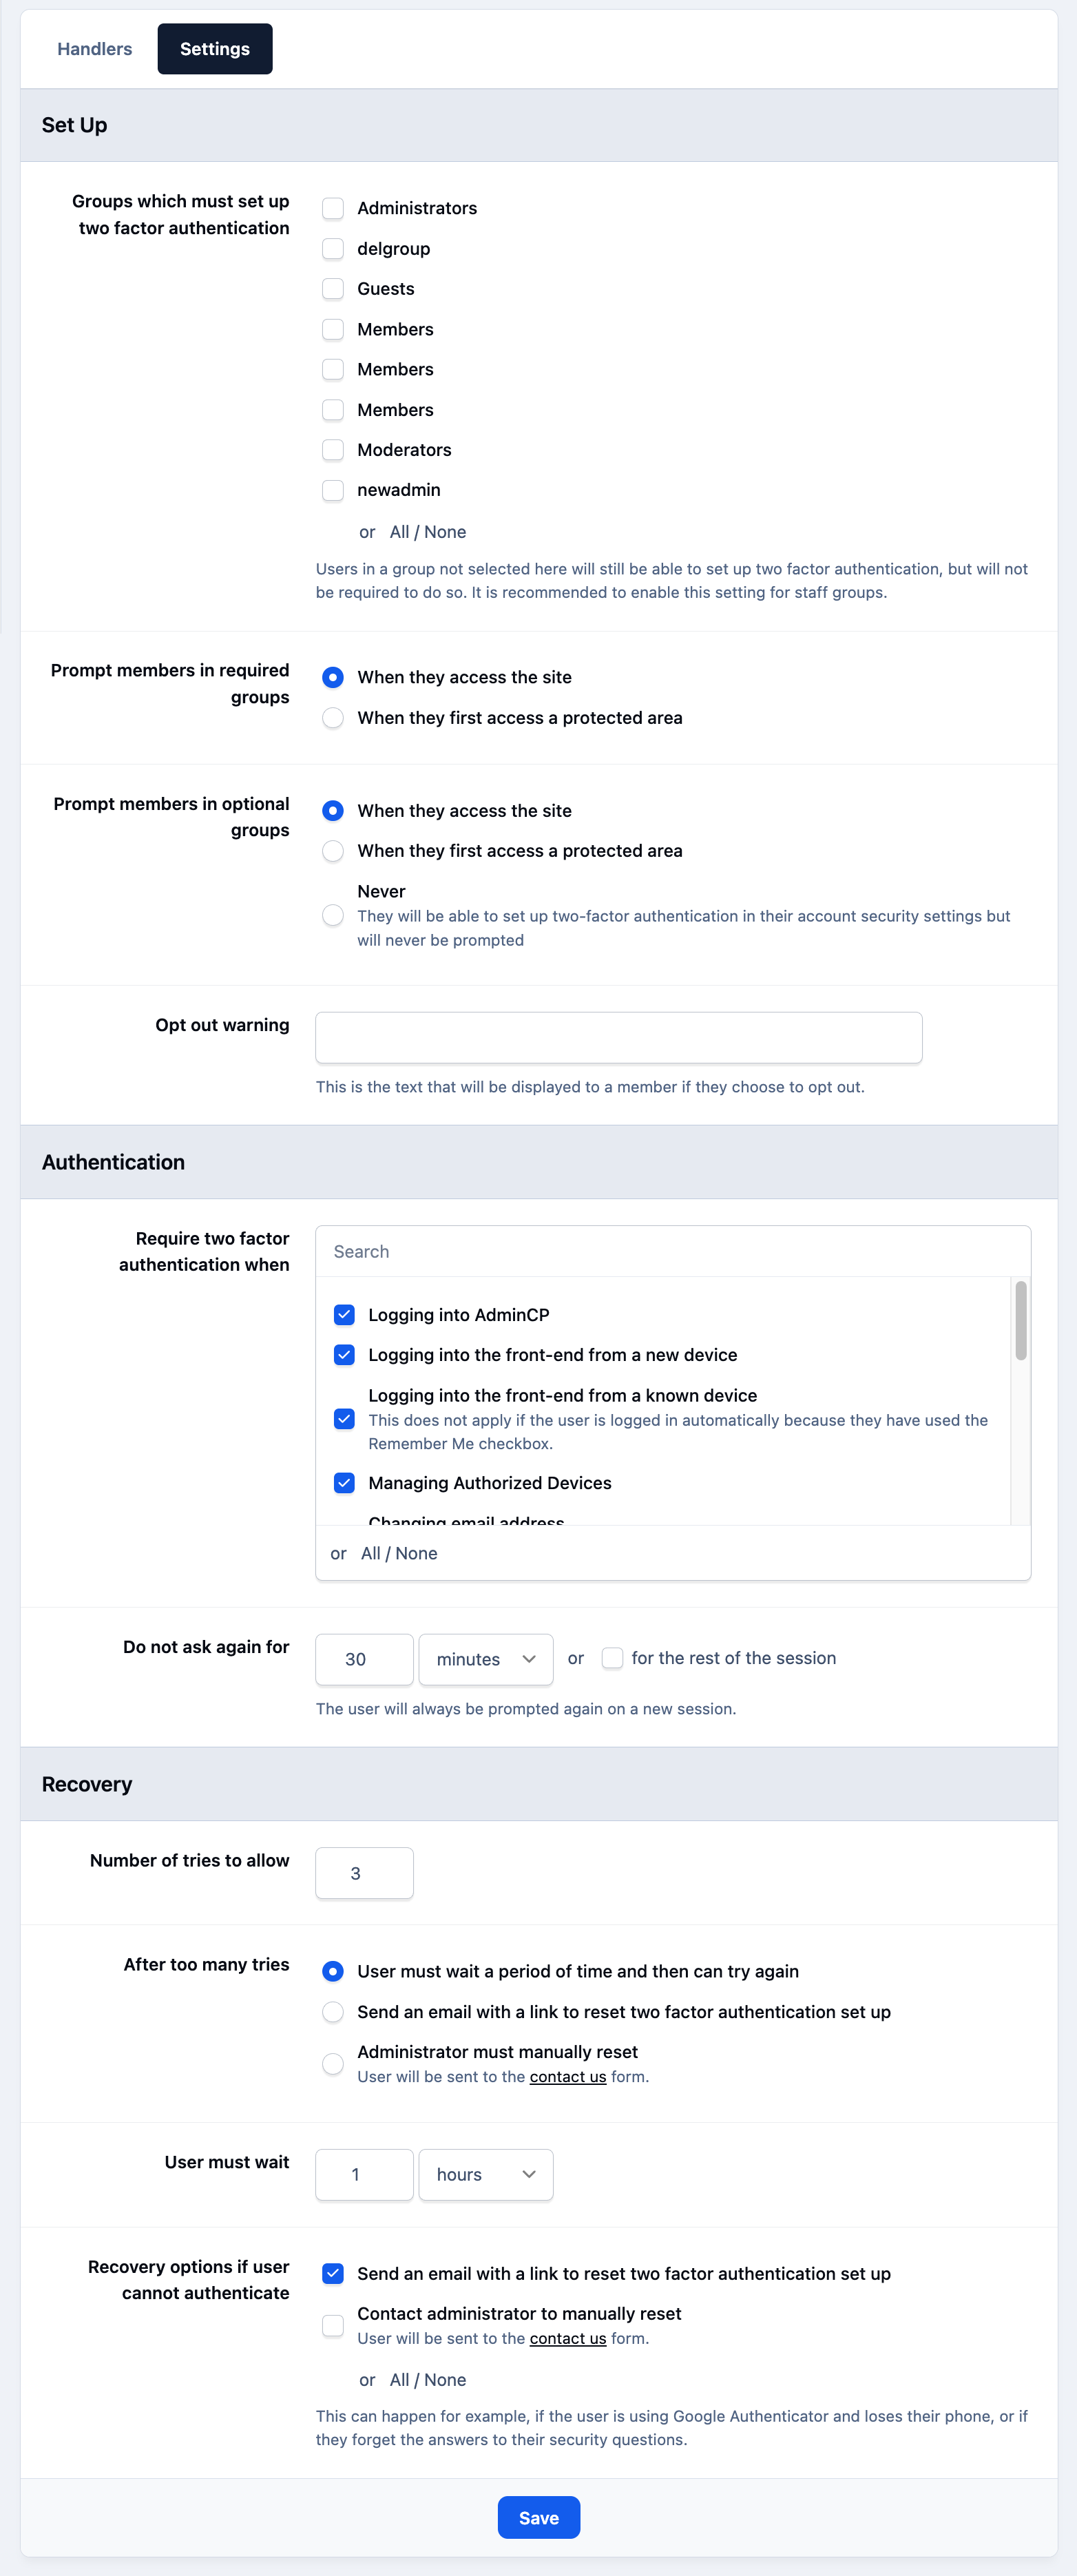
On the Two-Factor Authentication settings tab, you’ll find a range of options that control how two-factor authentication operates across your site.
These settings include the ability to require two-factor authentication for specific member groups. This can be an important security measure for groups with elevated permissions. For example, you may choose to make two-factor authentication mandatory for members of the Administrators group to help protect sensitive areas of the site.
Admin CP - Two-Factor-Authentication Settings
Passwords
Email addresses and passwords are the primary security credentials your members use to access your site. Because of this, it’s important that they are created securely and continue to be protected once stored.
To help with this, Invision Community allows you to define password strength requirements, ensuring members choose strong, secure passwords. These settings can be found in the following location
System → Settings → Login & Registration->Account Management
Password Settings
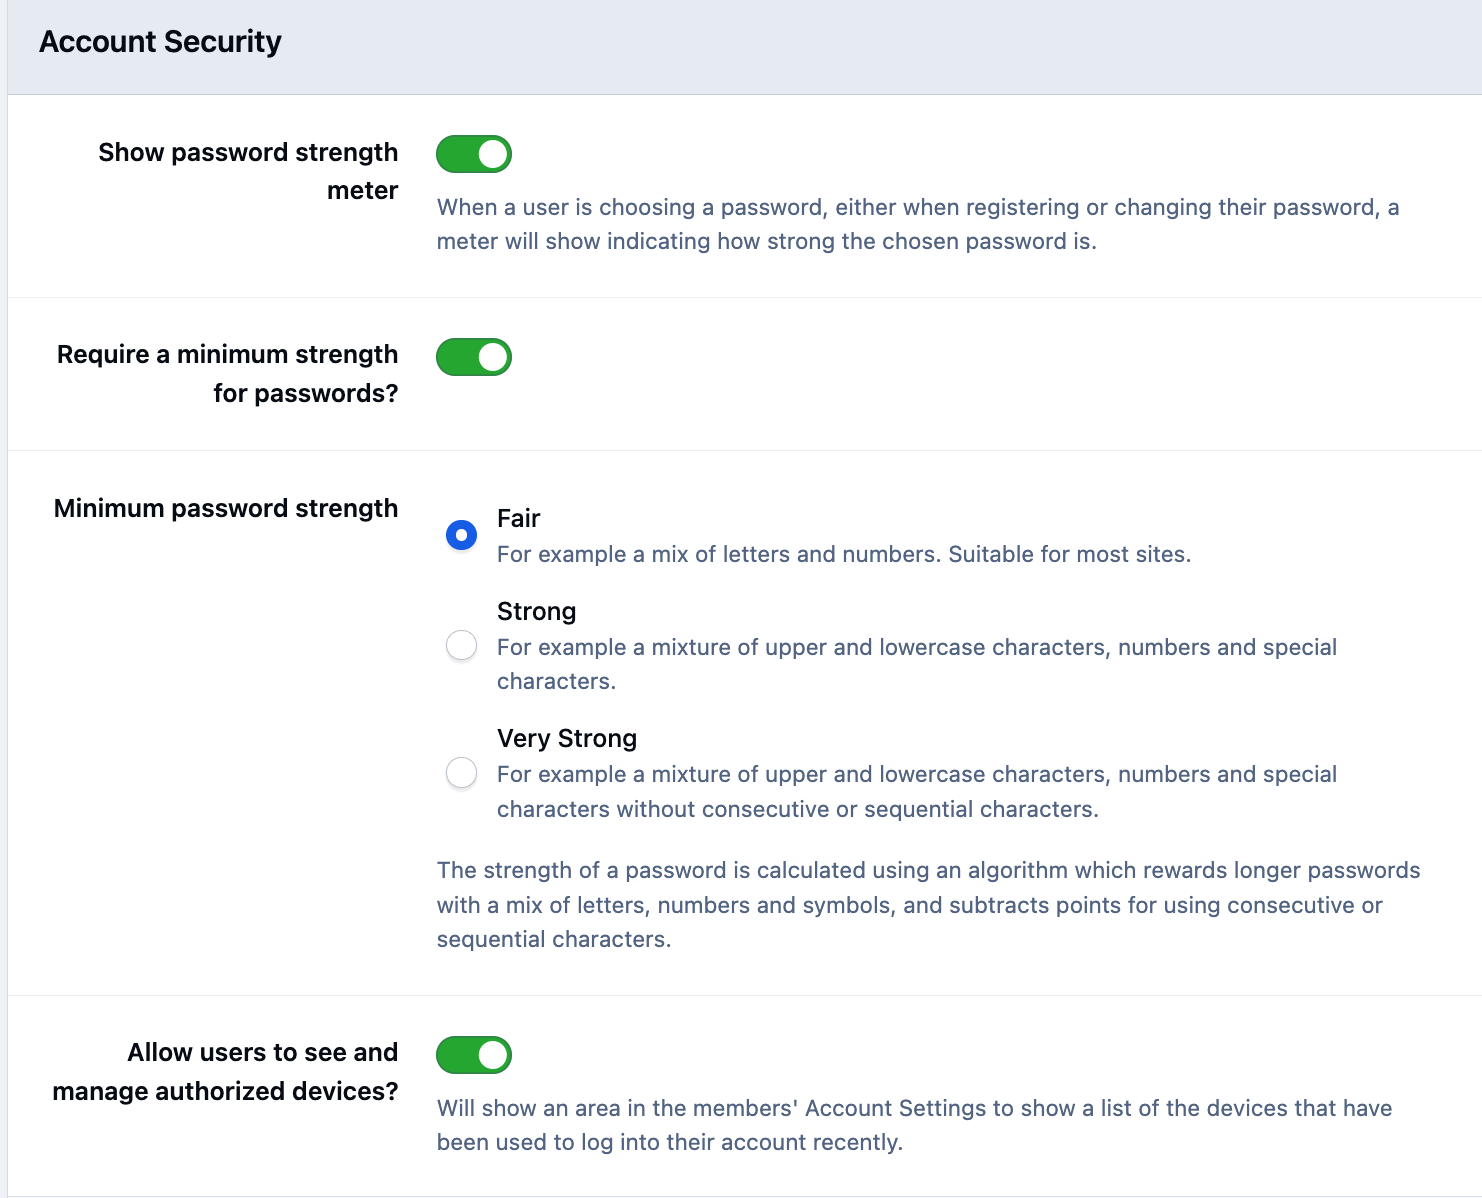
There may be occasions where you need to require members to change their password, such as after a security concern or policy update. This can be done from the members section of the admin CP by selecting the Force Password Reset button at the top of the page, which will prompt affected users to set a new password the next time they log in.
If you need to do this only for an individual member, you can do this by selecting "Edit Password" then clicking the link provided within the password reset page for that member
Recommended Comments