
What is Zapier?
Zapier is an automation platform that allows you to connect different applications and services together without needing to write any code. By creating automated workflows, known as Zaps, you can move information between your favourite tools, trigger actions when something happens, and reduce repetitive manual tasks.
Each Zap consists of a trigger and one or more actions. A trigger is an event that starts the workflow, such as a new member joining your community or new content being created. Actions are the tasks Zapier performs afterwards, such as adding information to another system, or updating an external service.
Using Zapier integrations, your community can work seamlessly alongside the other tools your organisation relies on, helping you save time, keep information consistent, and build powerful workflows tailored to your needs.
Setting up the Admin CP
The first step in setting up Zapier is to obtain your site's Zapier key. This key allows Zapier to securely connect with your community and create automated workflows.
To find your Zapier key, visit the following location within your Admin CP:
System → Site Features → Integrations
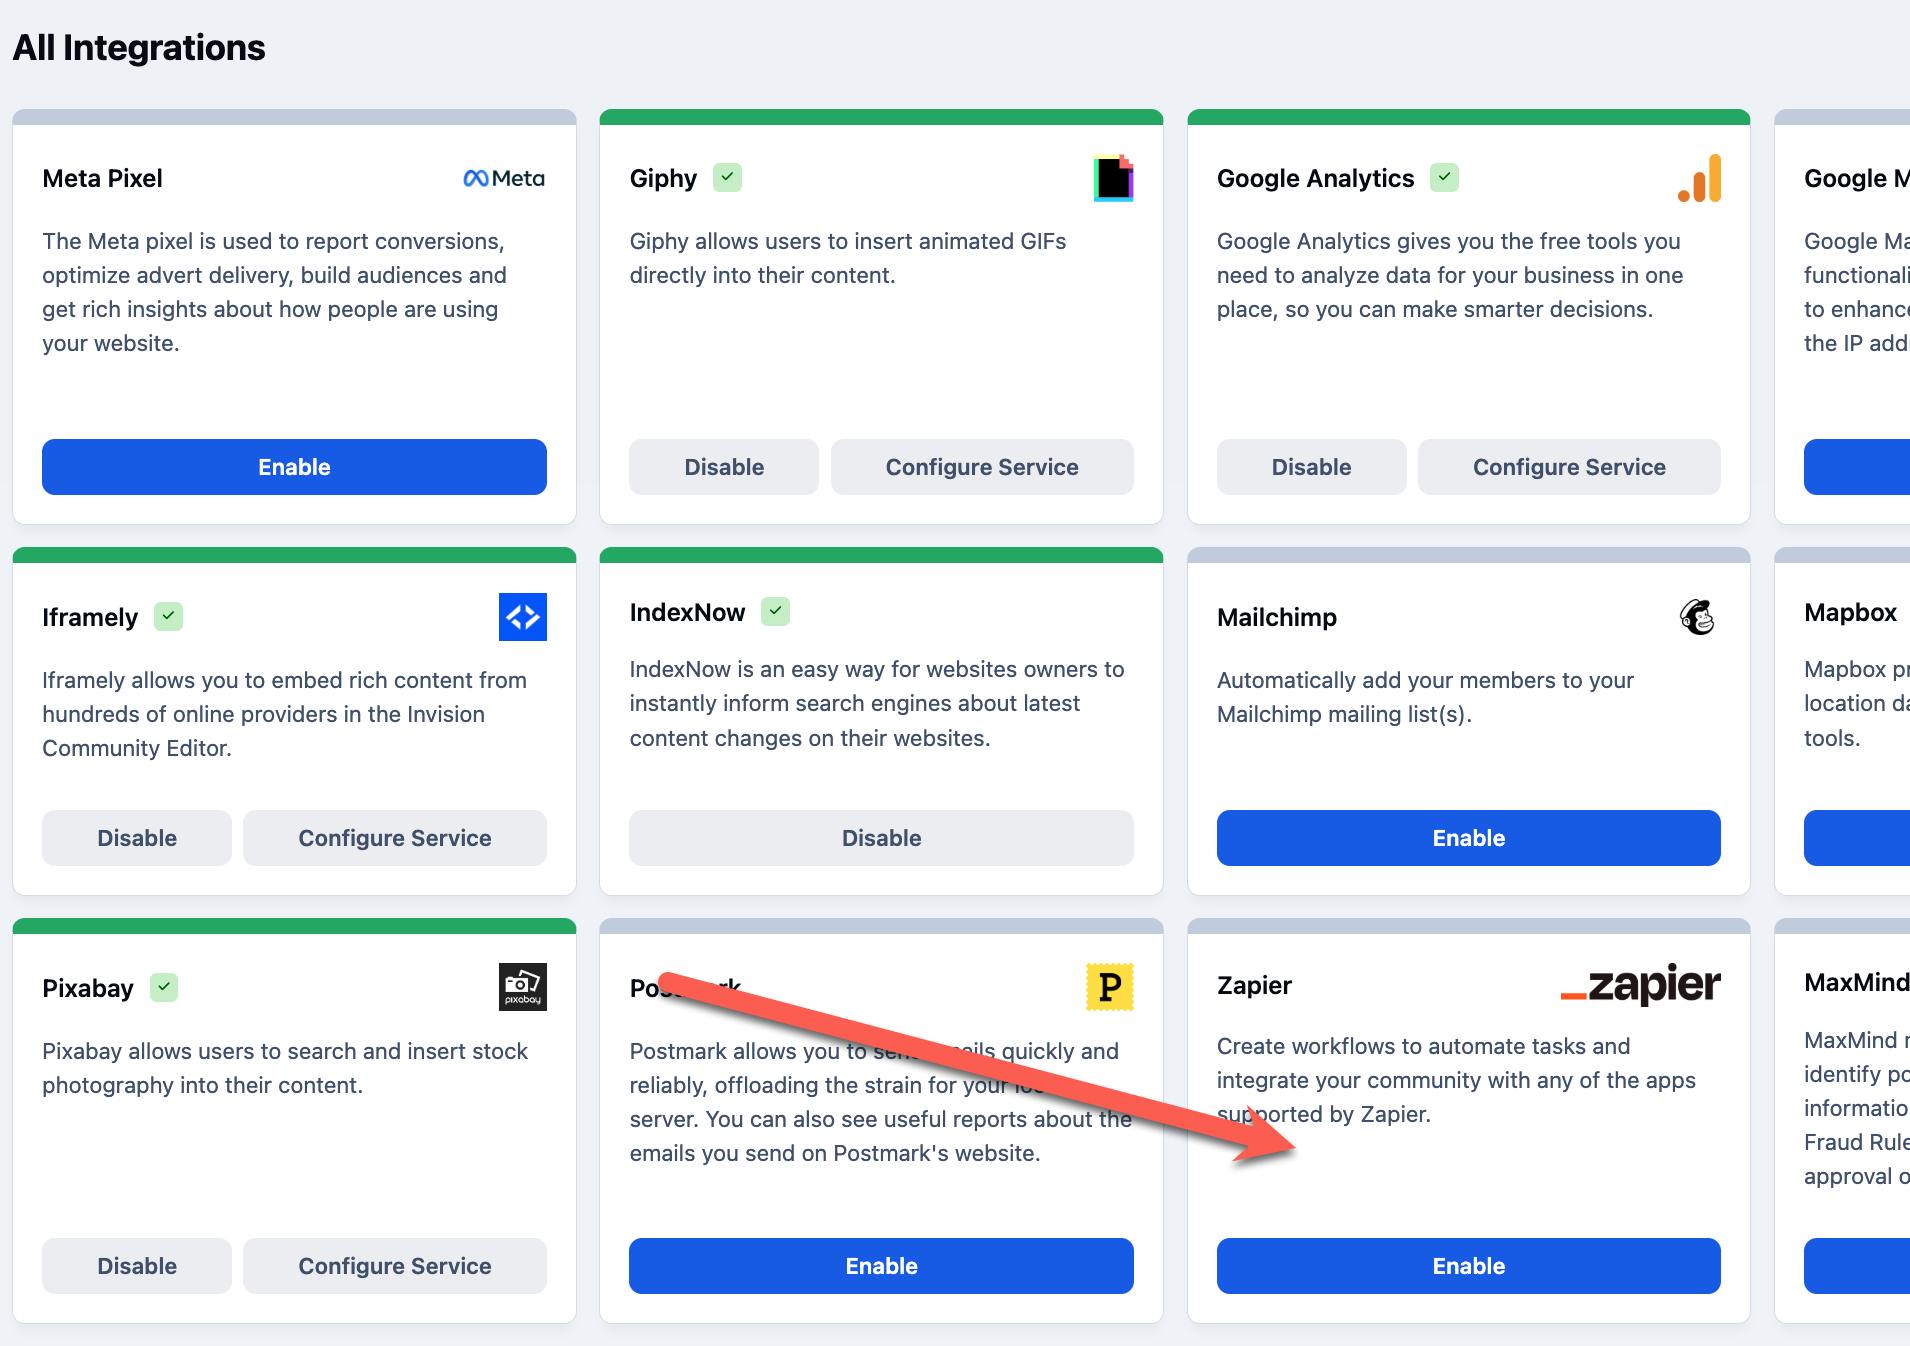
From here, locate the Zapier integration and select Enable to activate it and view your key.
Enable Zapier
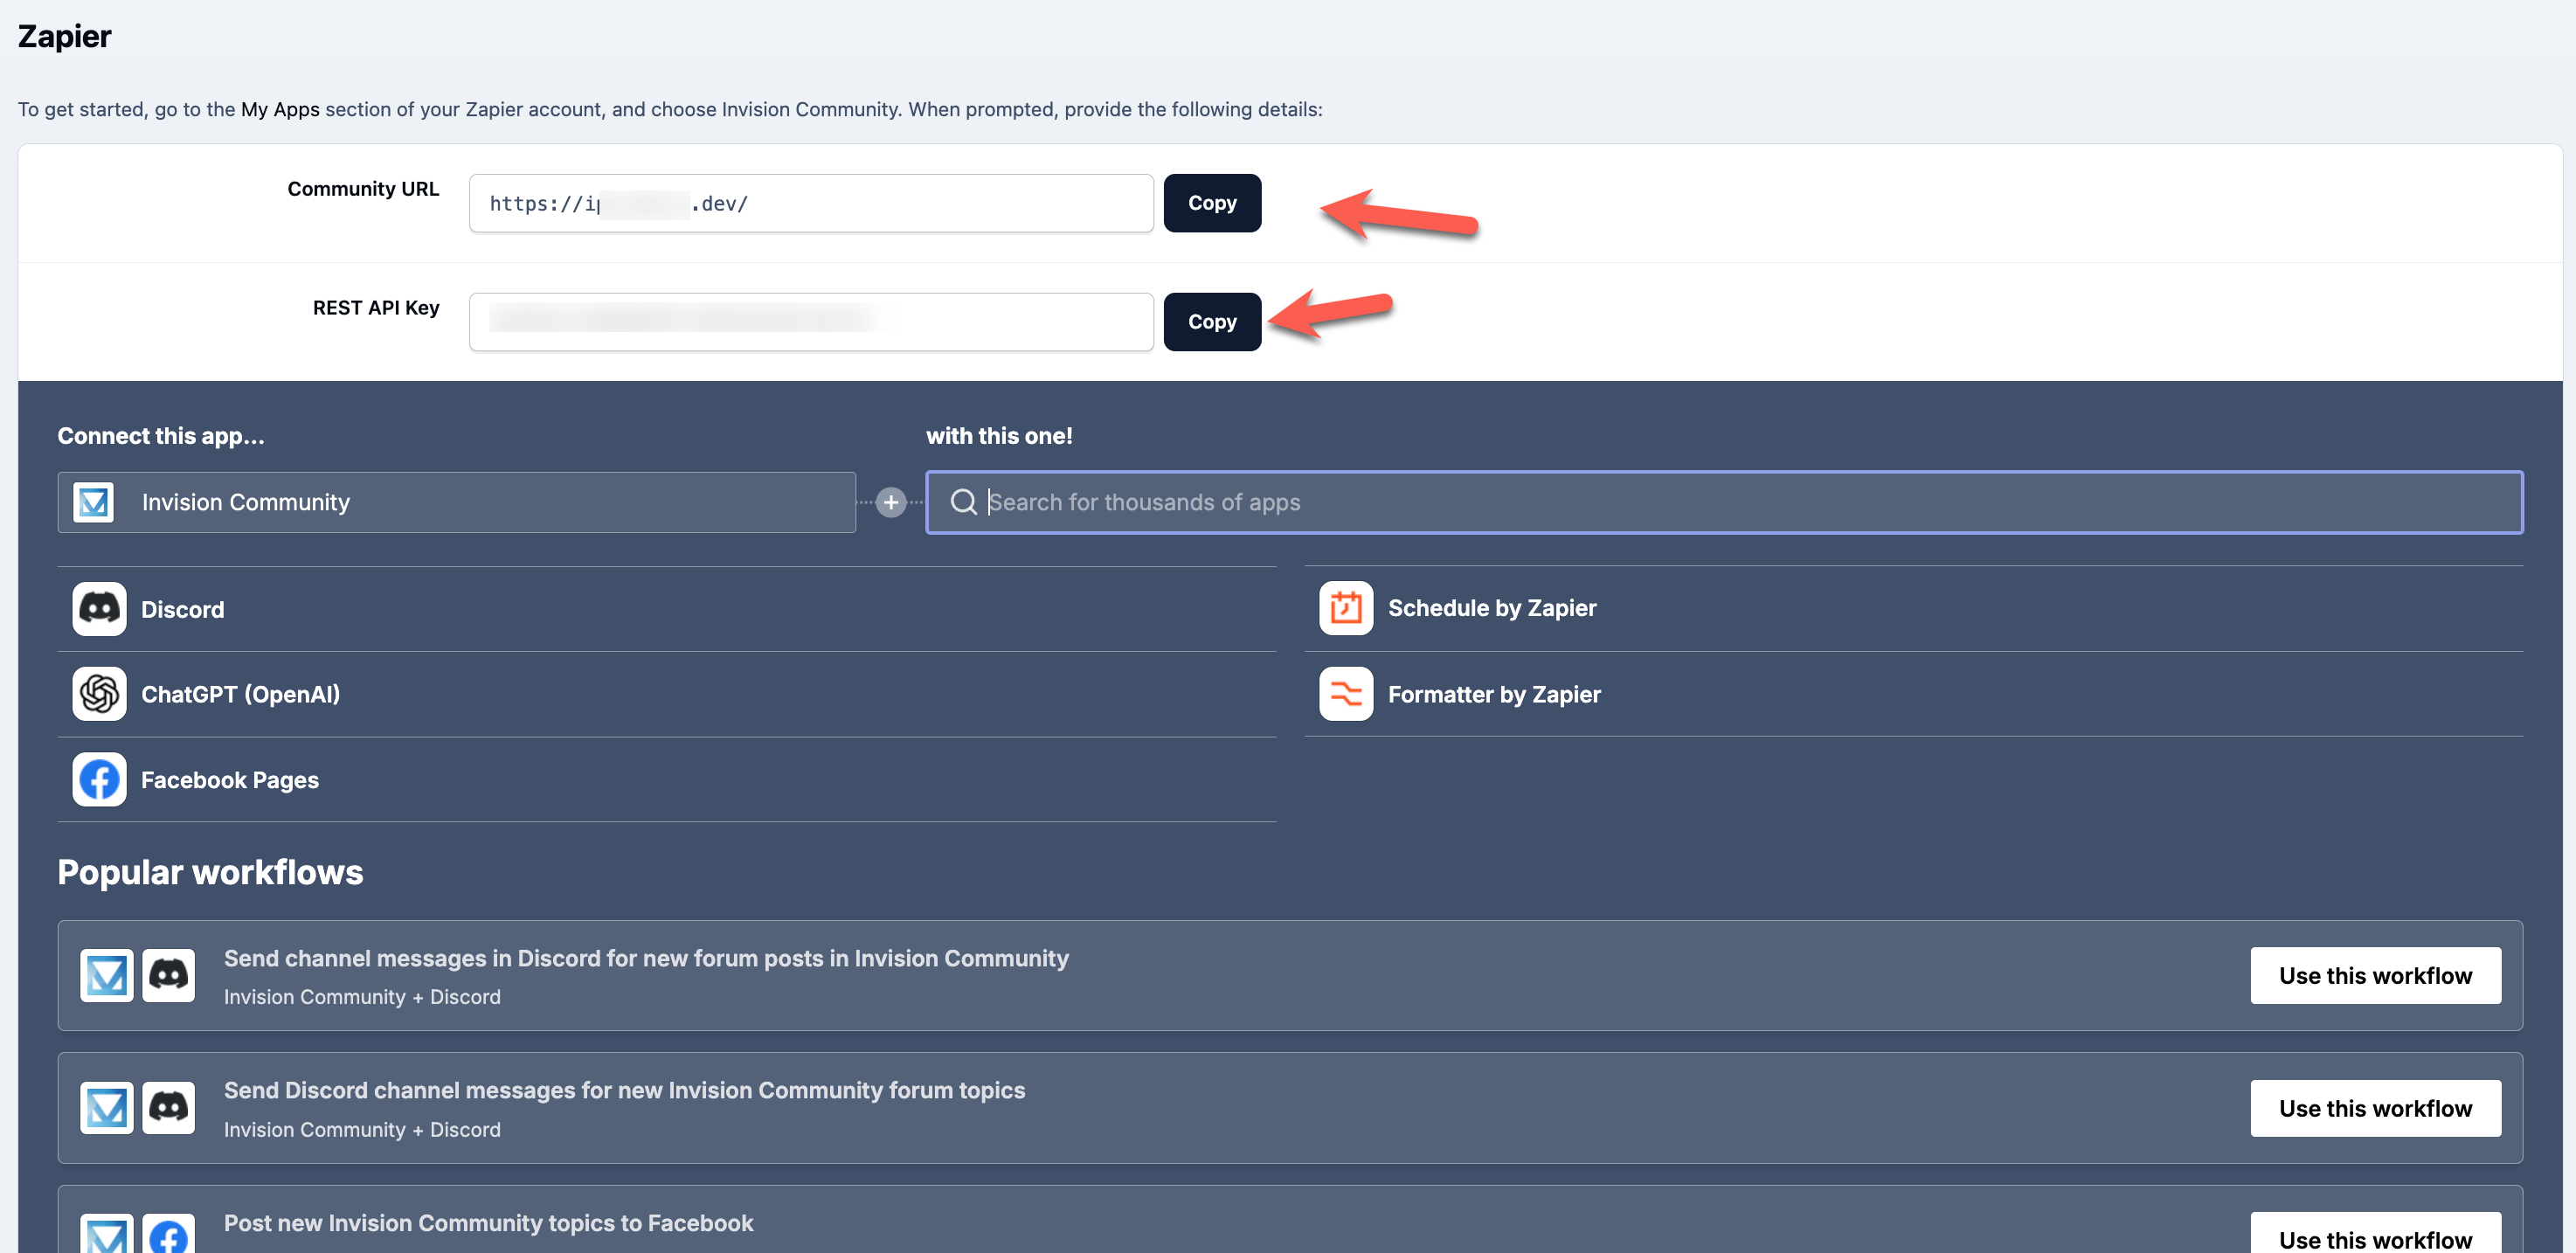
Once enabled, select Configure to view your site URL and Zapier key. These details are used to connect your community with Zapier.
You will also find shortcuts to some commonly used Zapier functions within this area. These can be useful for quickly creating popular workflows, and you are encouraged to explore these options.
For the purpose of this guide, however, we will create an example directly within the Zapier interface to demonstrate the full process.
Copy Zapier Keys
Creating a Zap
The trigger
Once you have completed the setup within your AdminCP, you will need to ensure you have a Zapier account and are logged in before continuing with the integration process.
You can create an account or sign in to Zapier using the following URL:
Important
The below information is correct at the time of writing, however we cannot account for changes within the zapier interface. For any queries on this, please refer to Zapiers documentation.
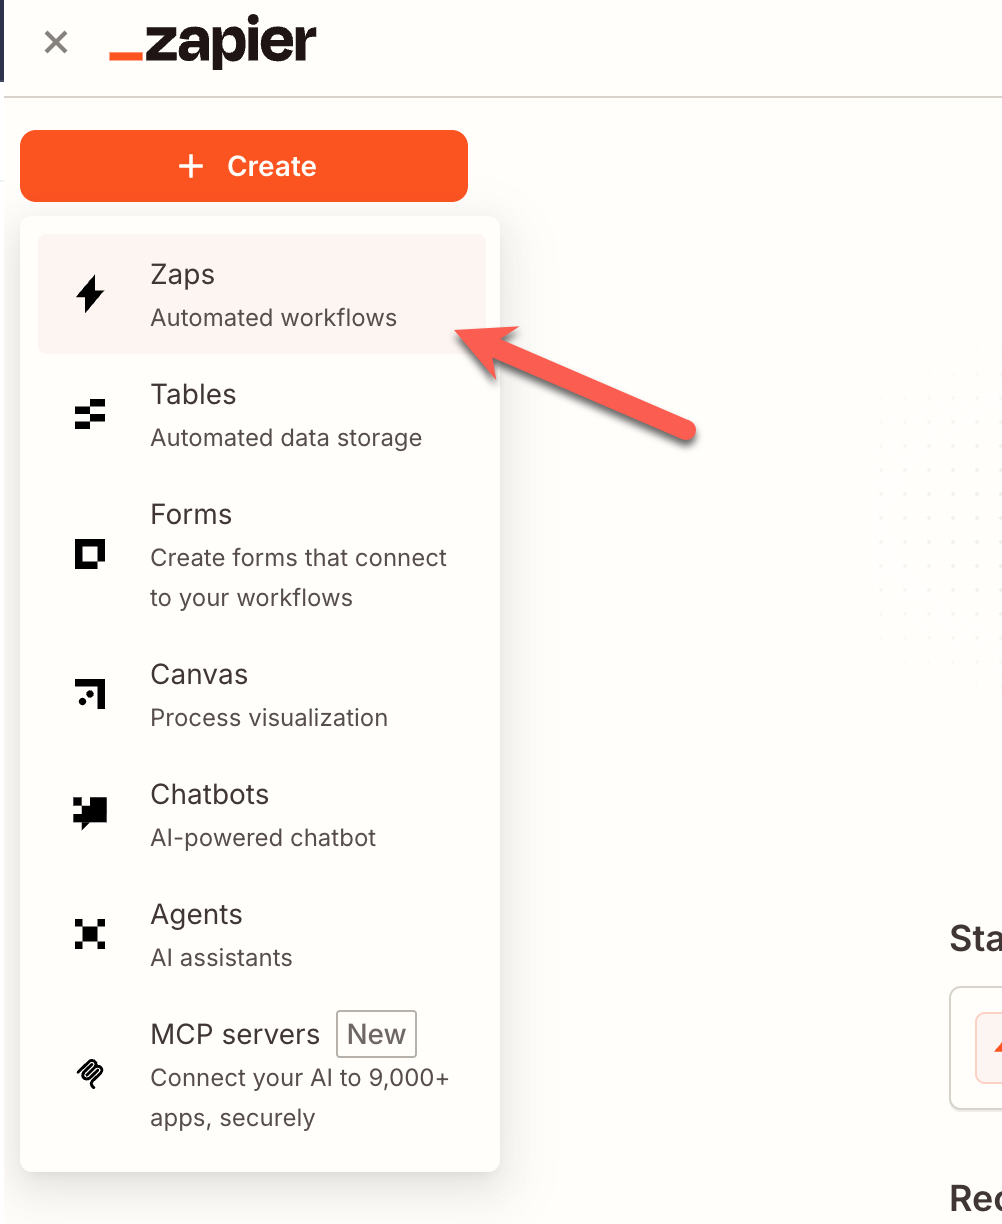
Once logged in, you are ready to begin creating your first automated workflow. To get started, select:
Create → Zaps
Add a New Zap
Once you have selected this option, you will be prompted to choose a trigger for your Zap.
For this example, we will create a workflow that automatically sends a message to a Slack channel whenever a new topic is created within your community.
Add a Trigger

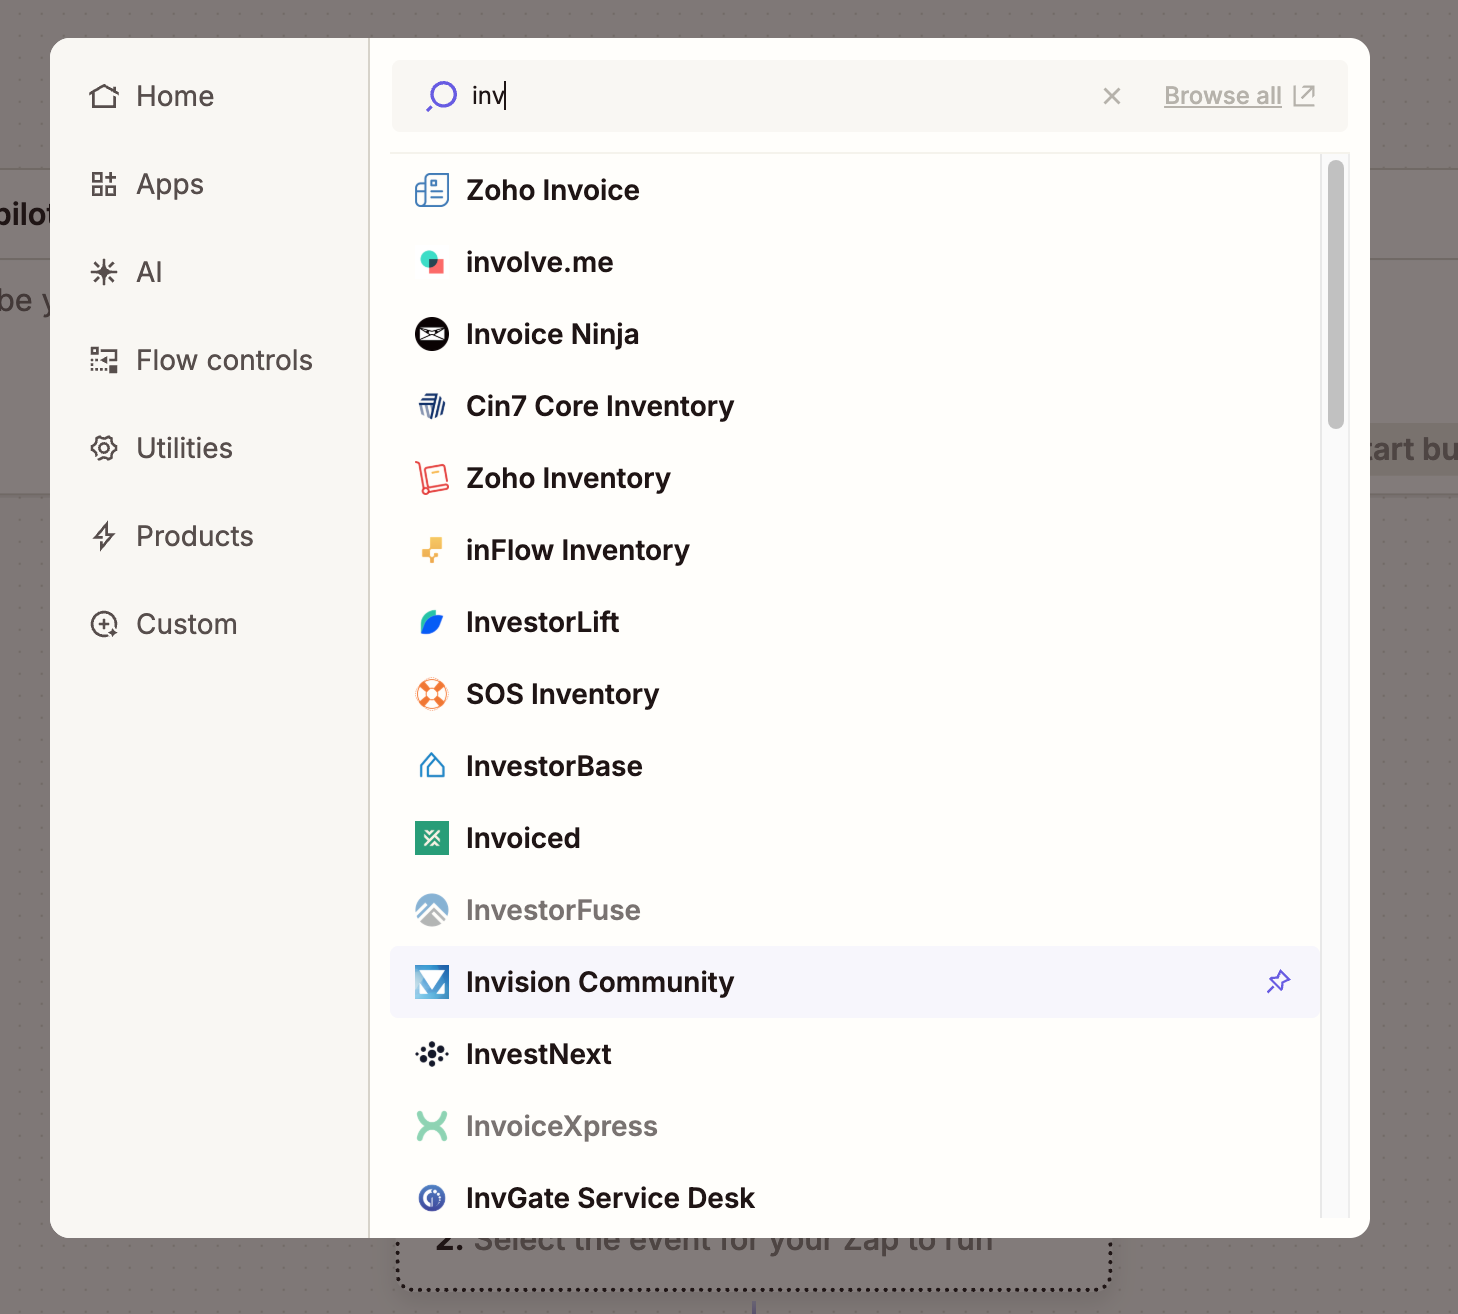
Once selected, you will be able to search for Invision Community as the application. Select it from the results when it appears.
Finding Invision Community
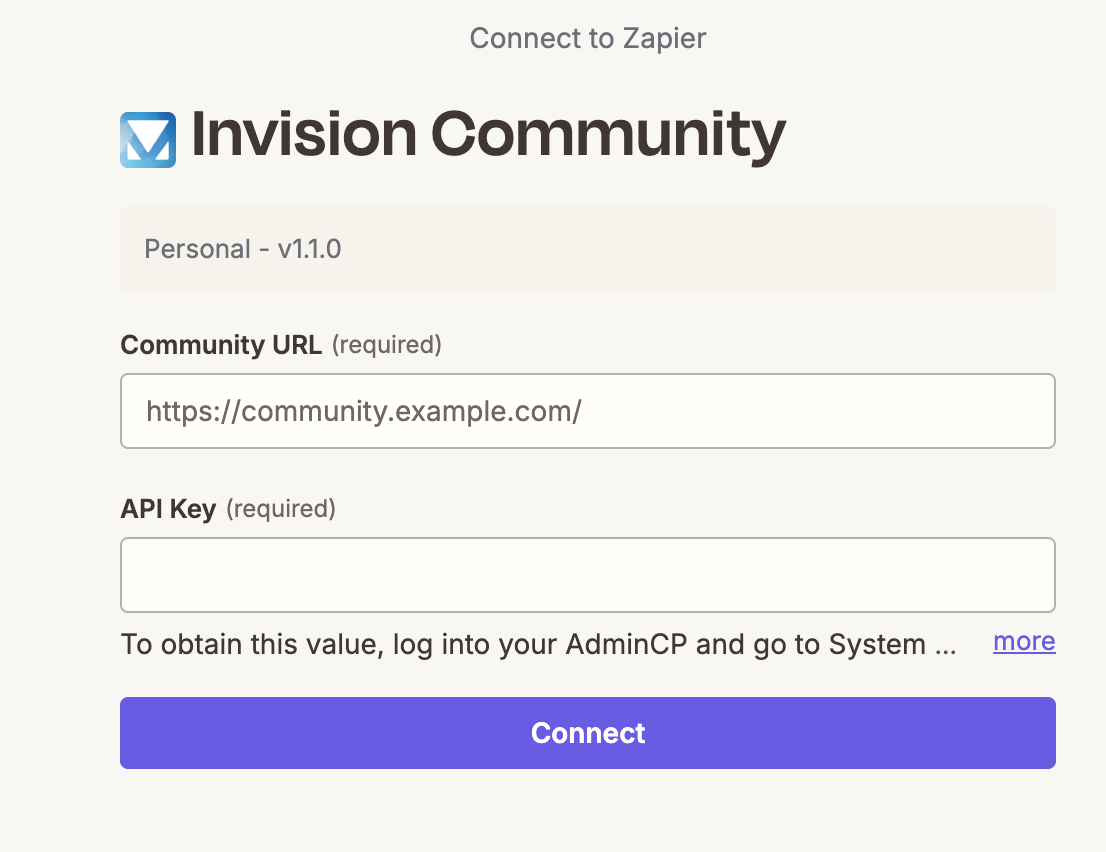
You will then be able to connect your Invision Community using the URL and API key obtained during the previous steps.
Linking Invision Community
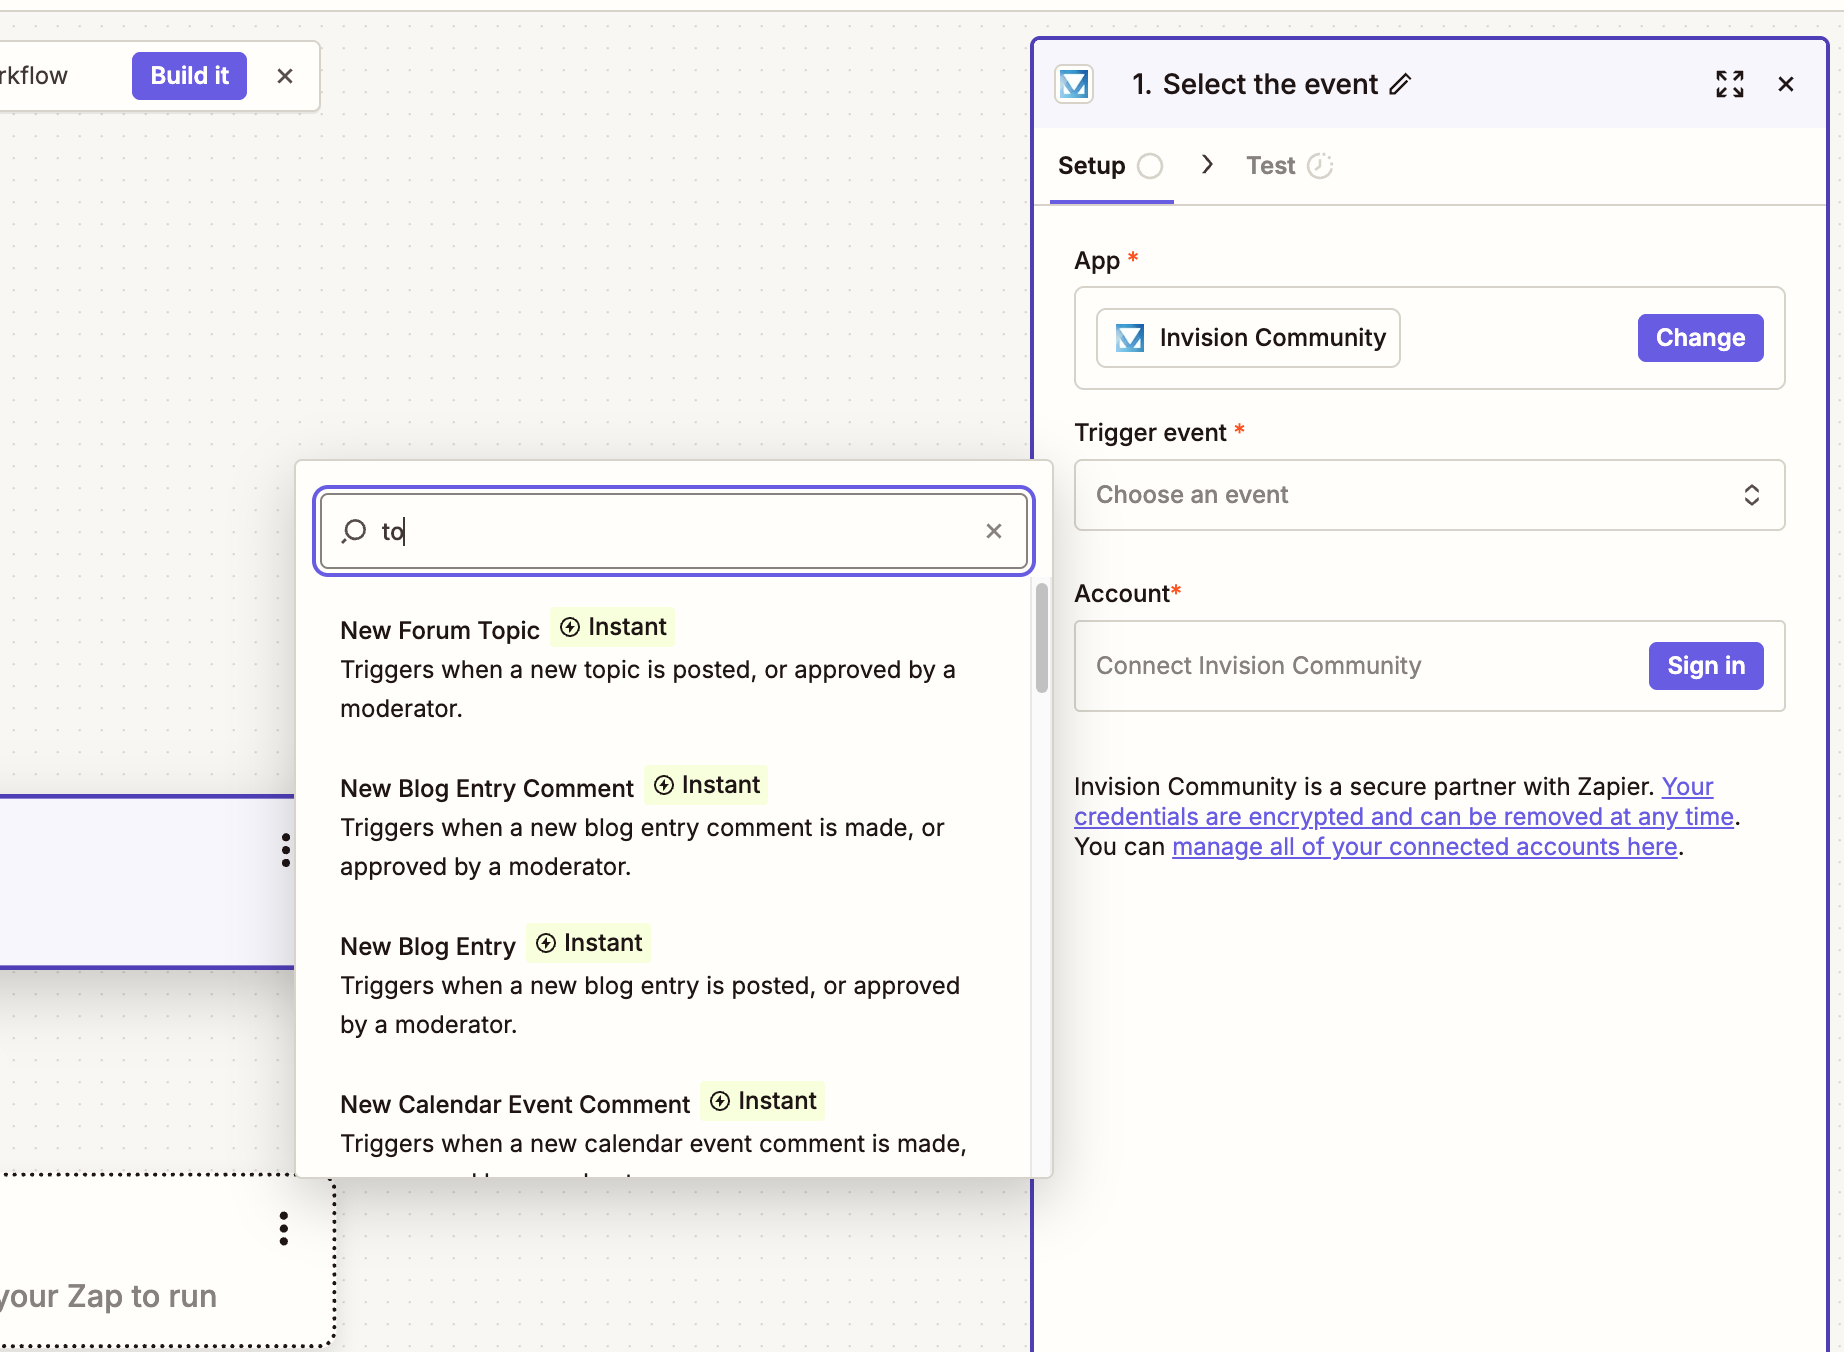
Next, you will need to select the event trigger. This is the action that will occur within your community to start your Zap.
Select Choose an event and search for Topic.
Adding a Trigger Event
Info
You will notice there are many different events available that you can choose from when setting up your triggers.
There are also similar options available for actions, allowing your Zap to perform tasks within your community when triggered by an event from an external service.
You will then be prompted to test your trigger. Zapier will display sample records from your community, allowing you to confirm the data being received before continuing with the selected record.
Testing Topics

The Action
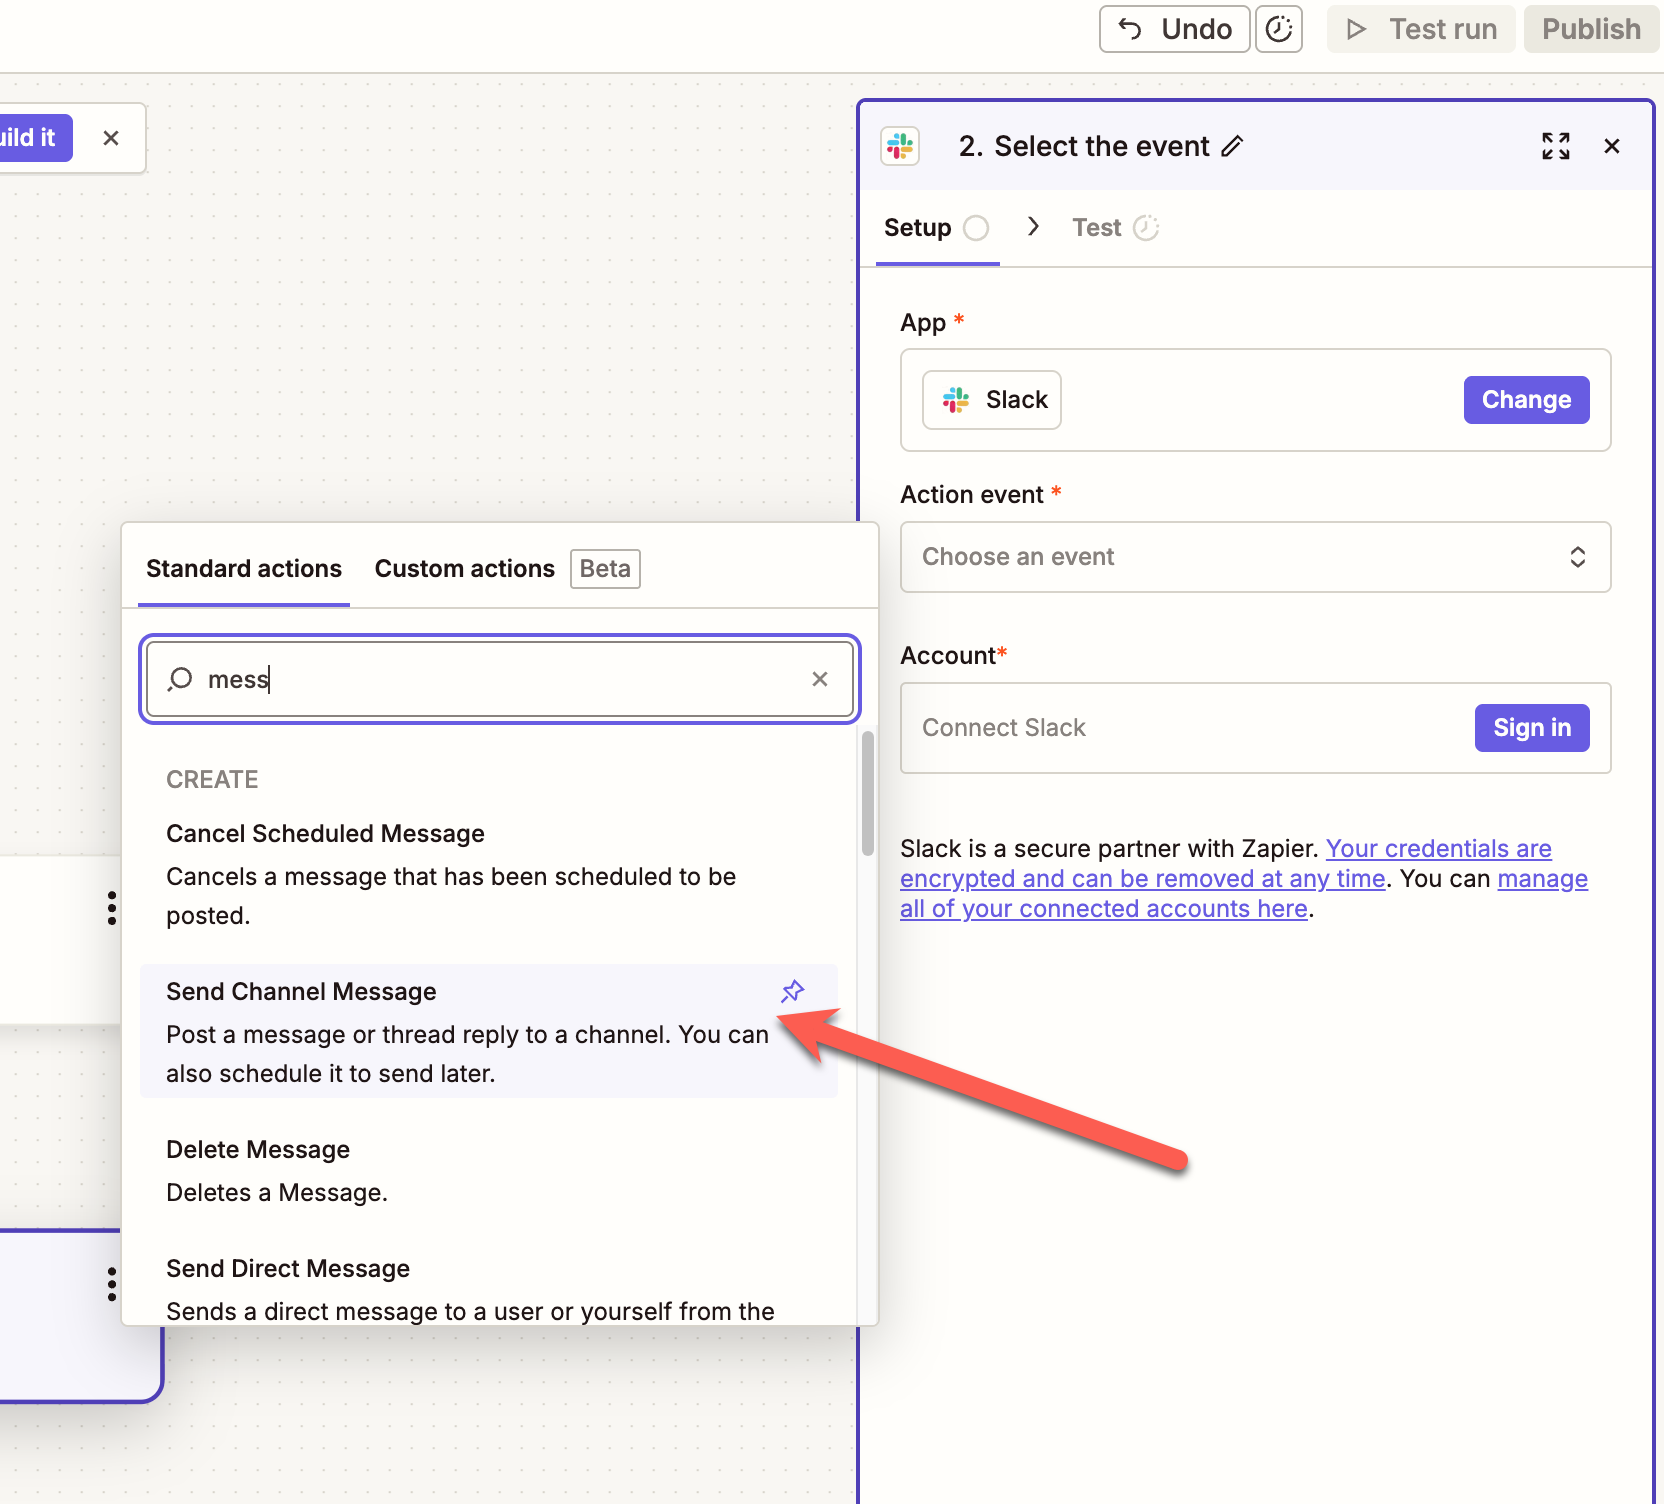
We will now create the action part of the Zap. Select the option to add an action, then search for Slack as the application.
Once Slack has been selected, choose the action event you would like to perform. For this example, select Send Channel Message.
Adding Slack
Select this option and connect your Slack account by logging in, in the same way you connected your Invision Community account in the previous step.
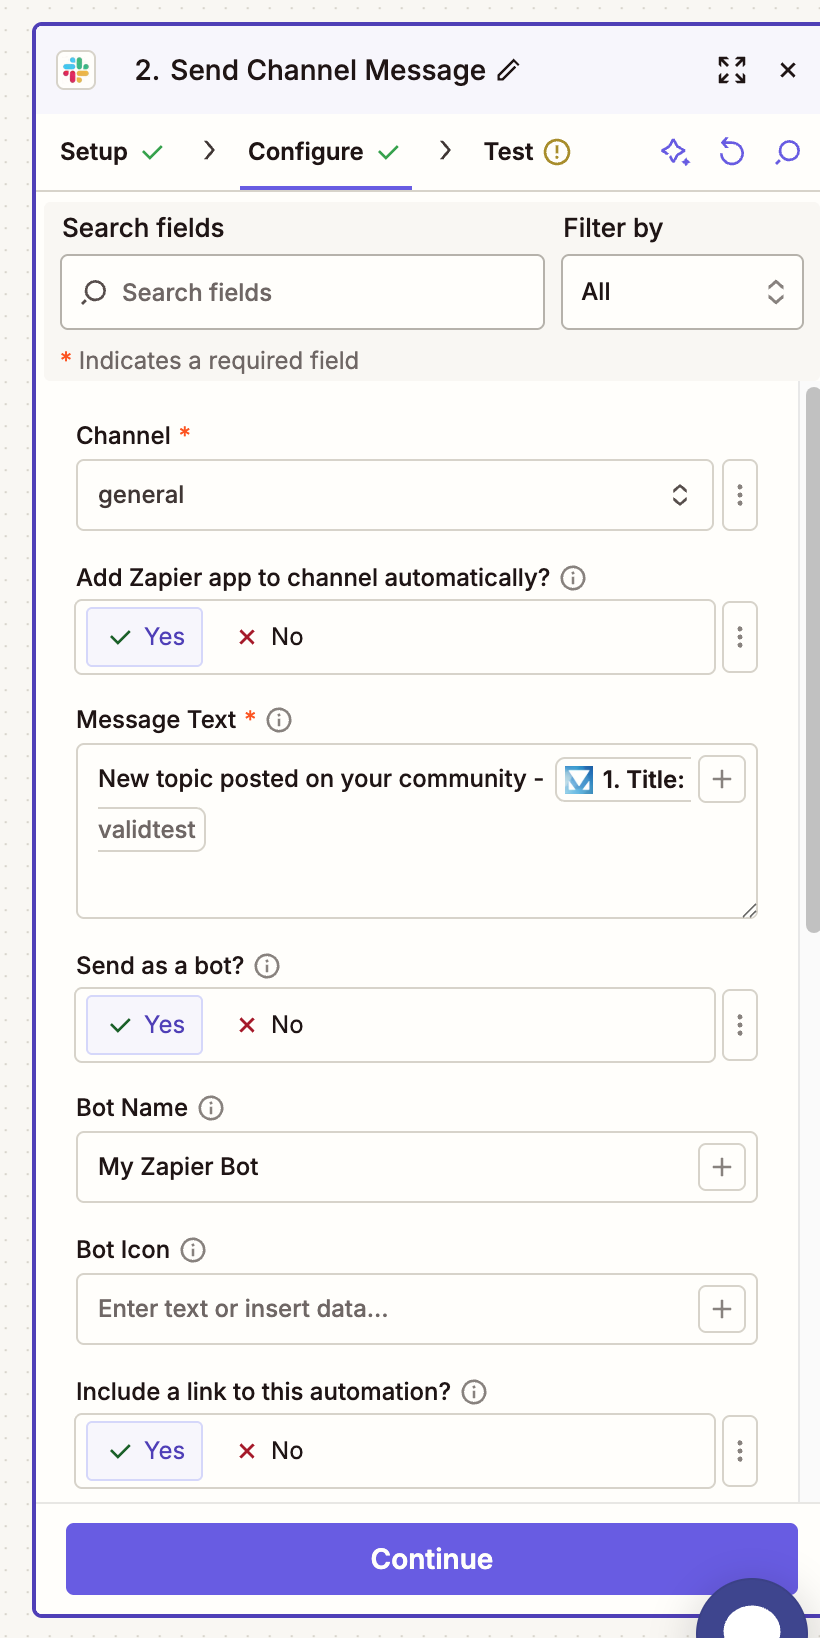
Once connected, click Next and you will be prompted to configure the message that will be sent. Here, you can choose the Slack channel to post into, along with the content of the message itself.
In this example, we have chosen to send the message using the Zapier channel bot and include the topic title from the community. You can insert values from your trigger by selecting the + icon next to the message text field and choosing the information you wish to include.
Configuring the Slack Message
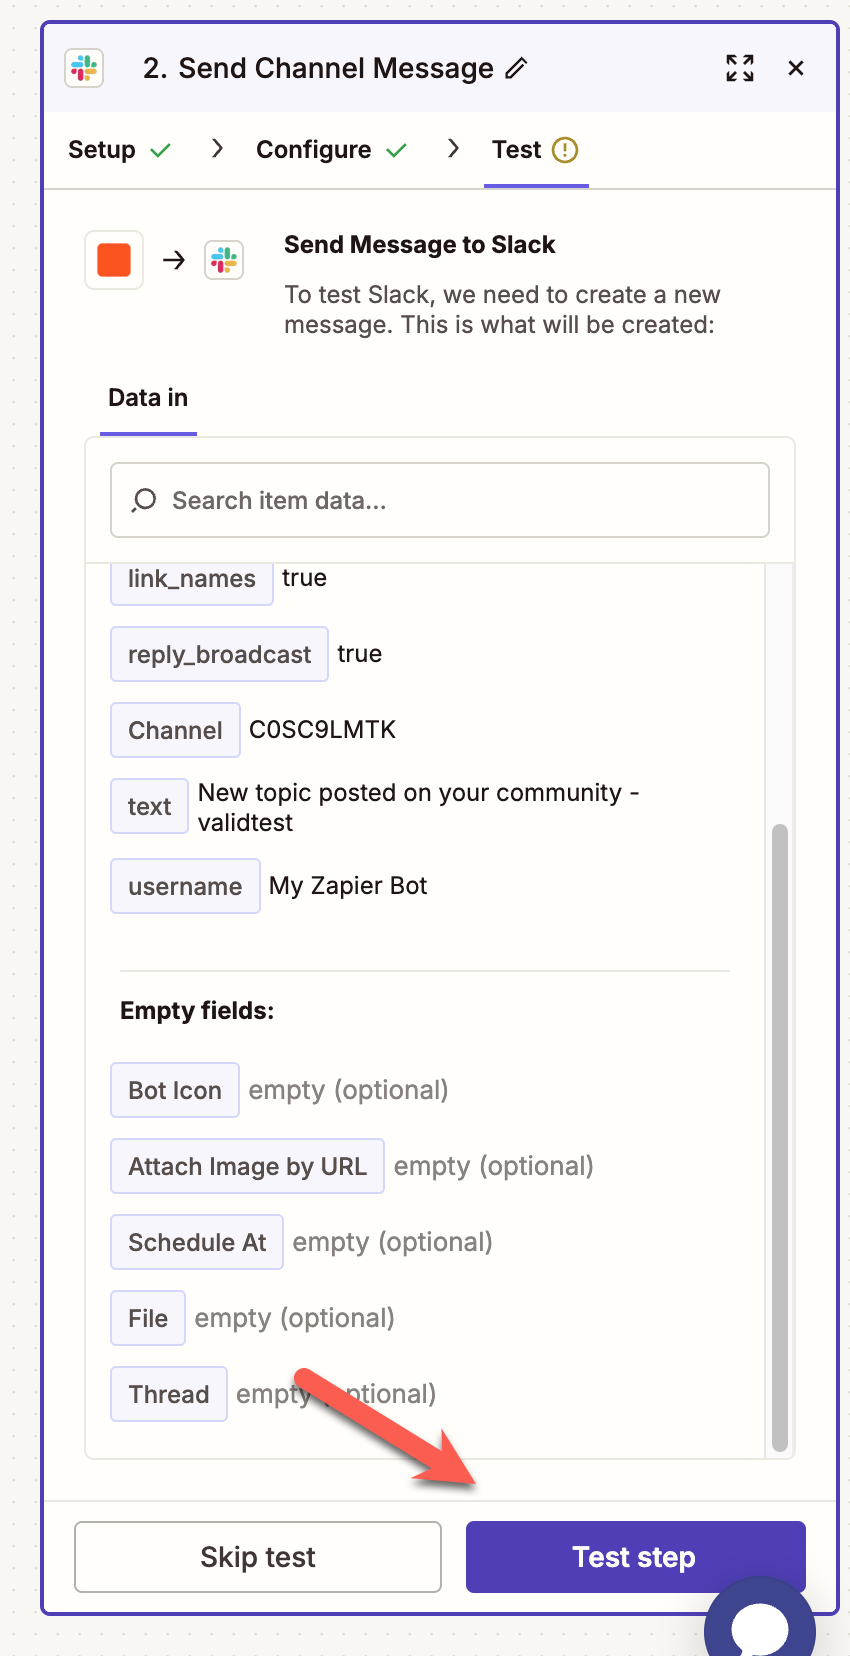
You can then select the option to test this step. This will send a sample message using the settings you have configured, allowing you to confirm everything is working as expected before enabling your Zap.
Testing Slack Messages
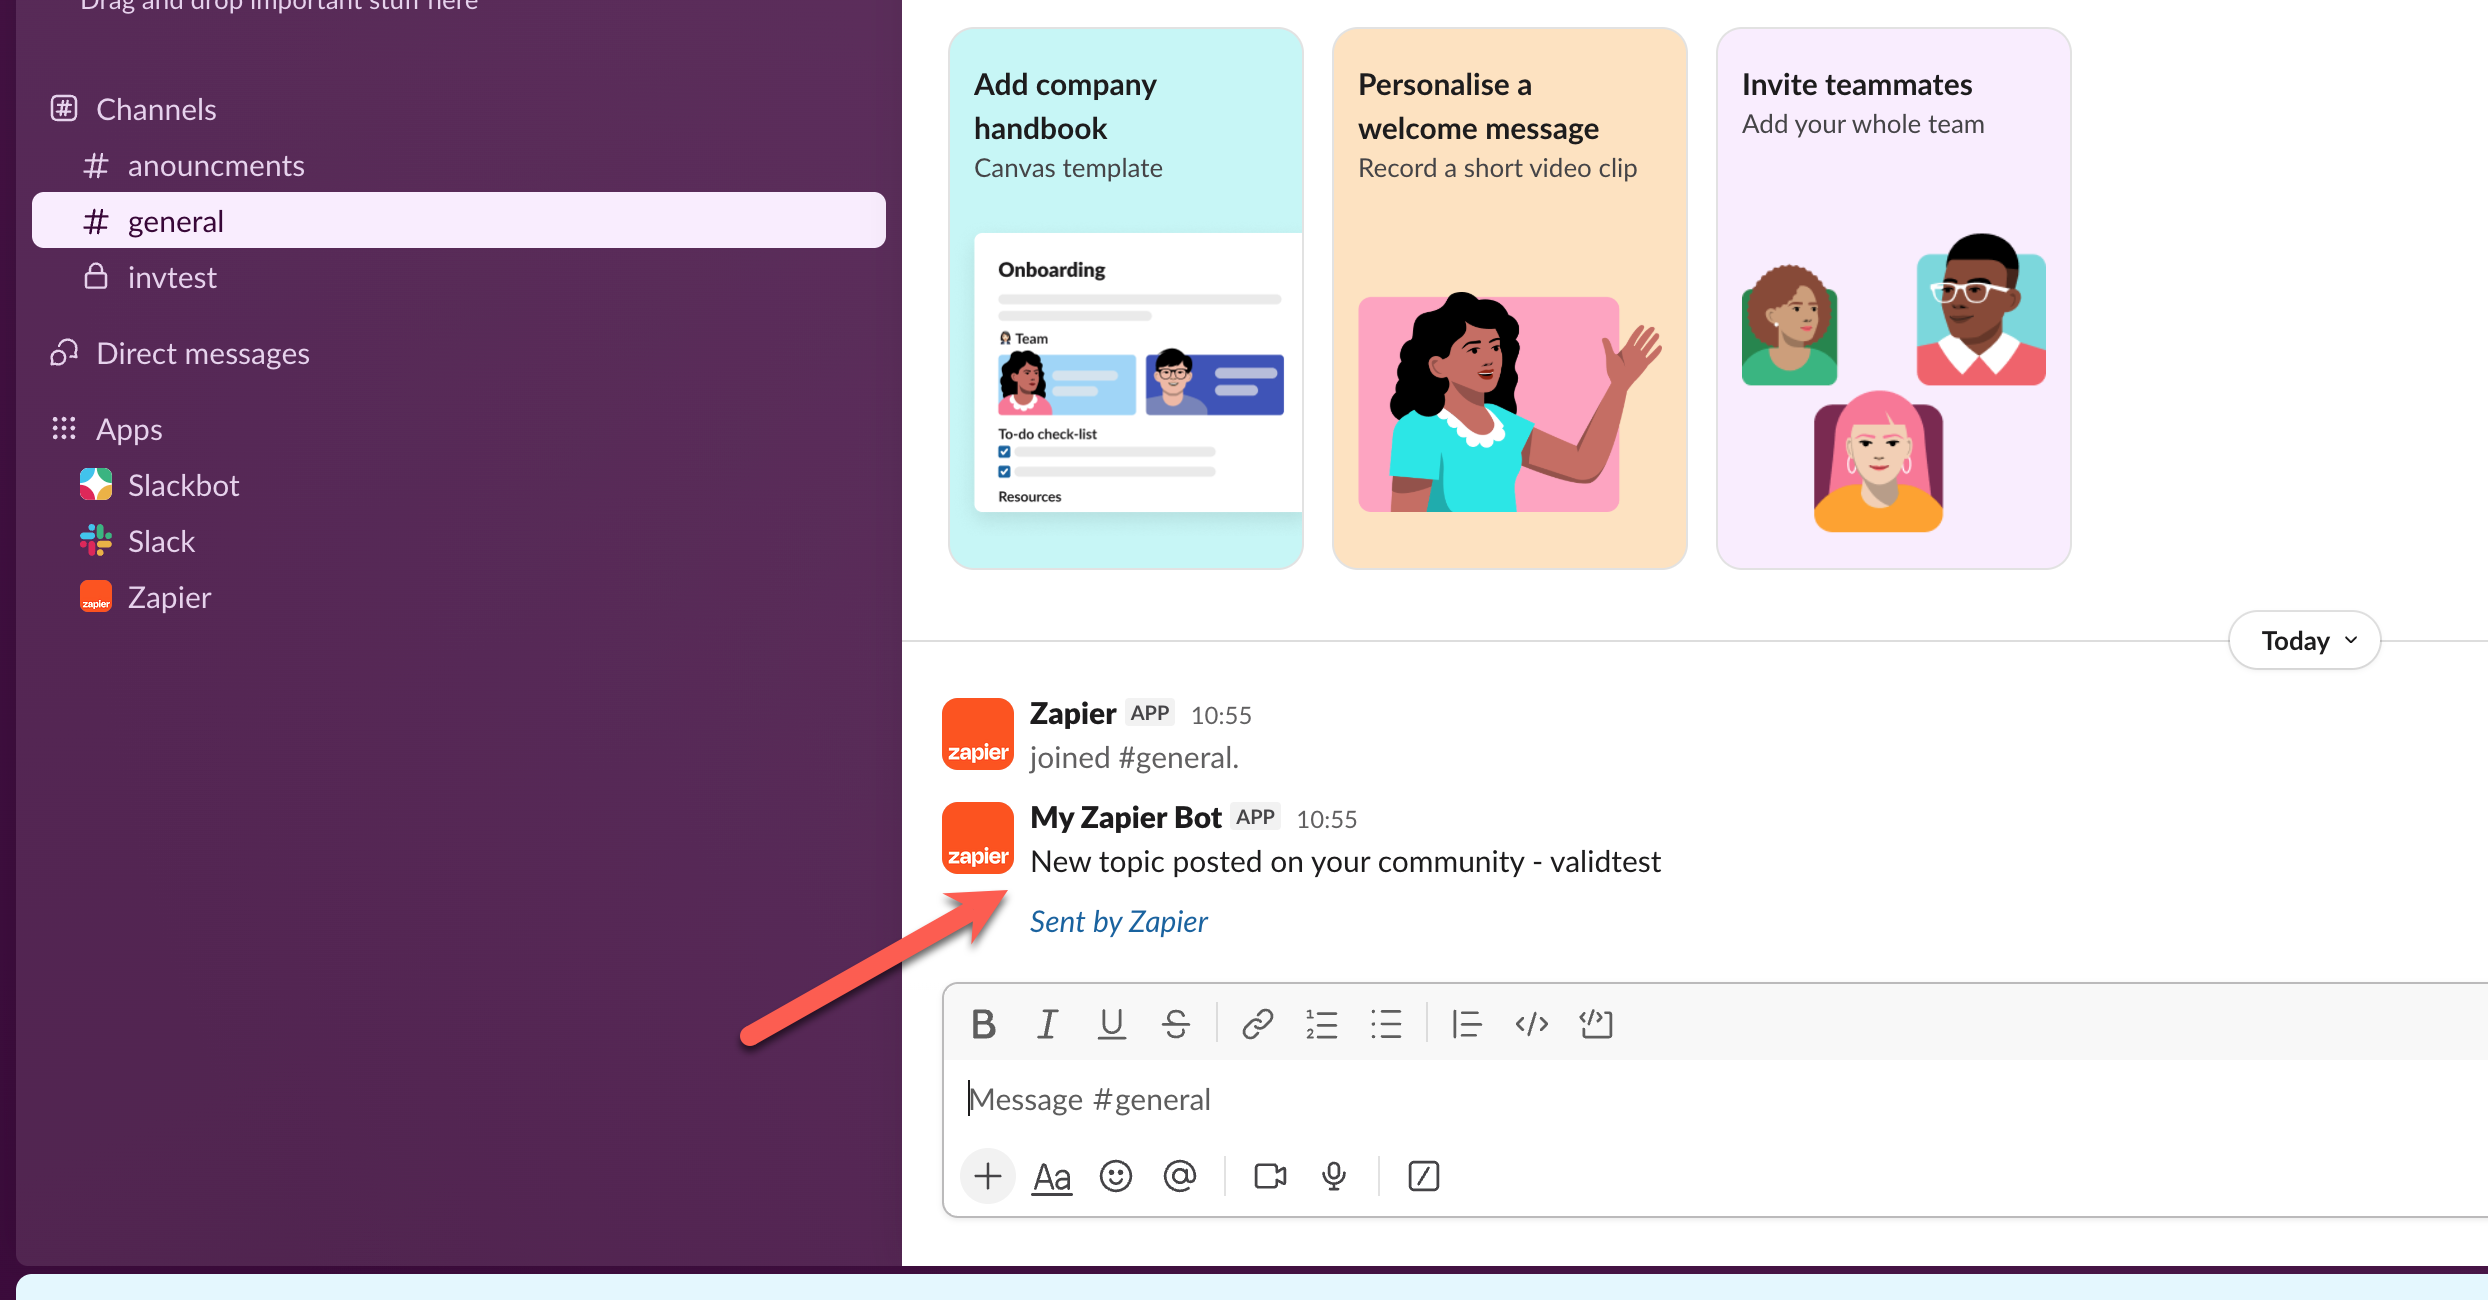
If everything has worked correctly, you should then see a slack message to show something has been posted
Example Test Message
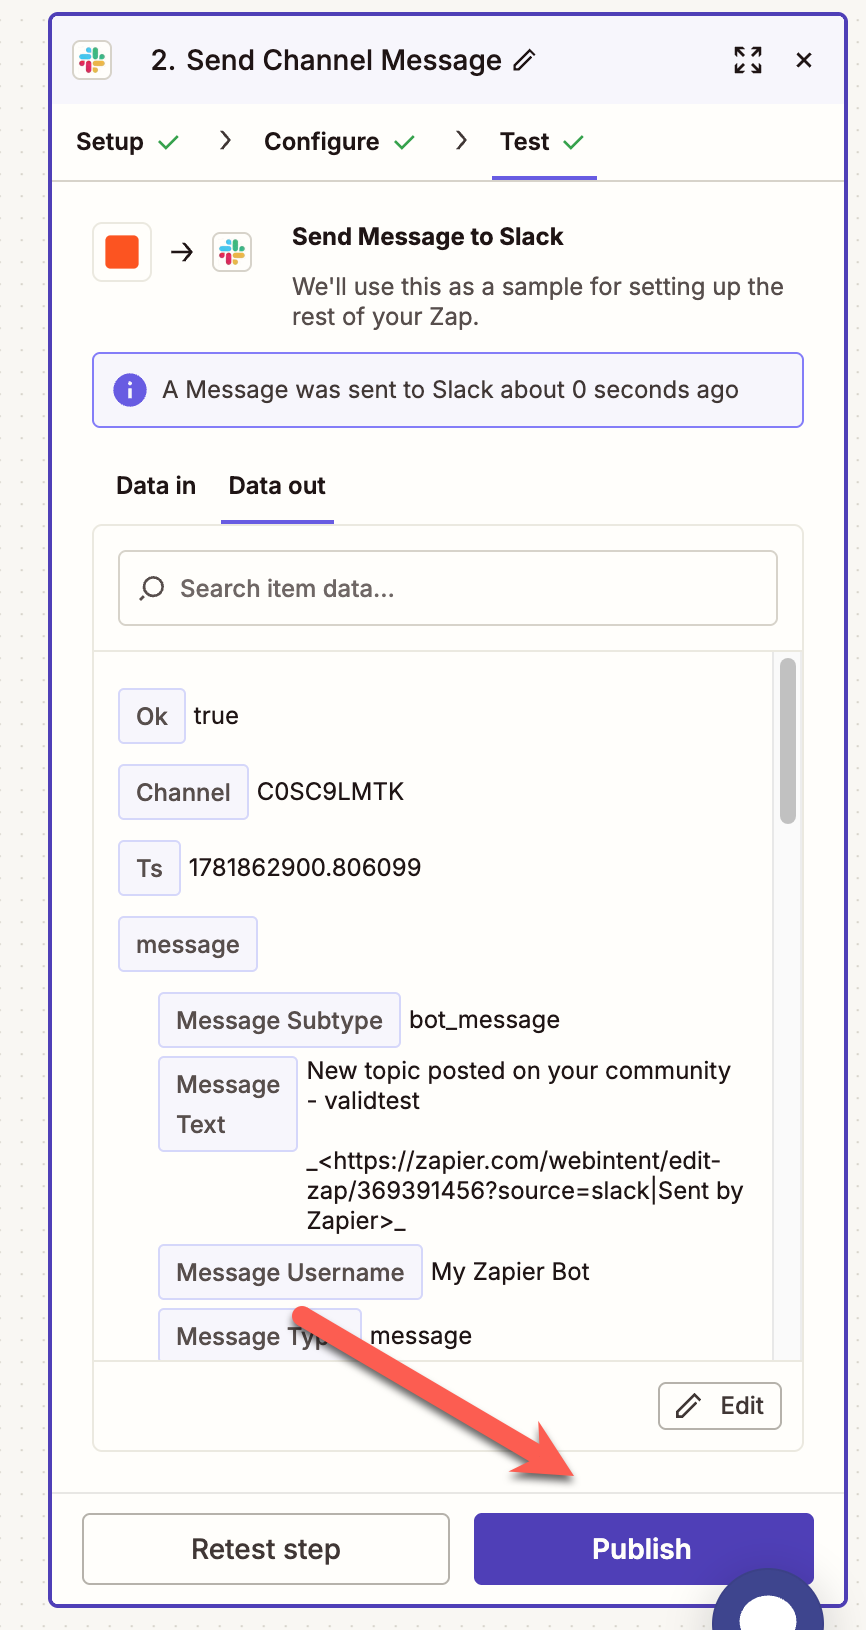
Once you are happy that things are working, the last thing you need to do is select publish, to start this working automatically
Publish your Zap
Recommended Comments